Barn Door Installation Guide and Cost Breakdown
Want to give your space a fresh look and save room at the same time? A barn door is a great way to do both.
Many people worry that installing a barn door is hard, but it’s easier than you might think. With the right steps, you can do it yourself without stress.
In this guide, I’ll show you how to install a barn door from start to finish. You’ll learn about the tools you need, the steps to follow, and common mistakes to watch out for.
By the time you finish reading, you’ll be ready to tackle your project with confidence. Let’s get started and make your barn door a success!
Benefits of Installing a Barn Door
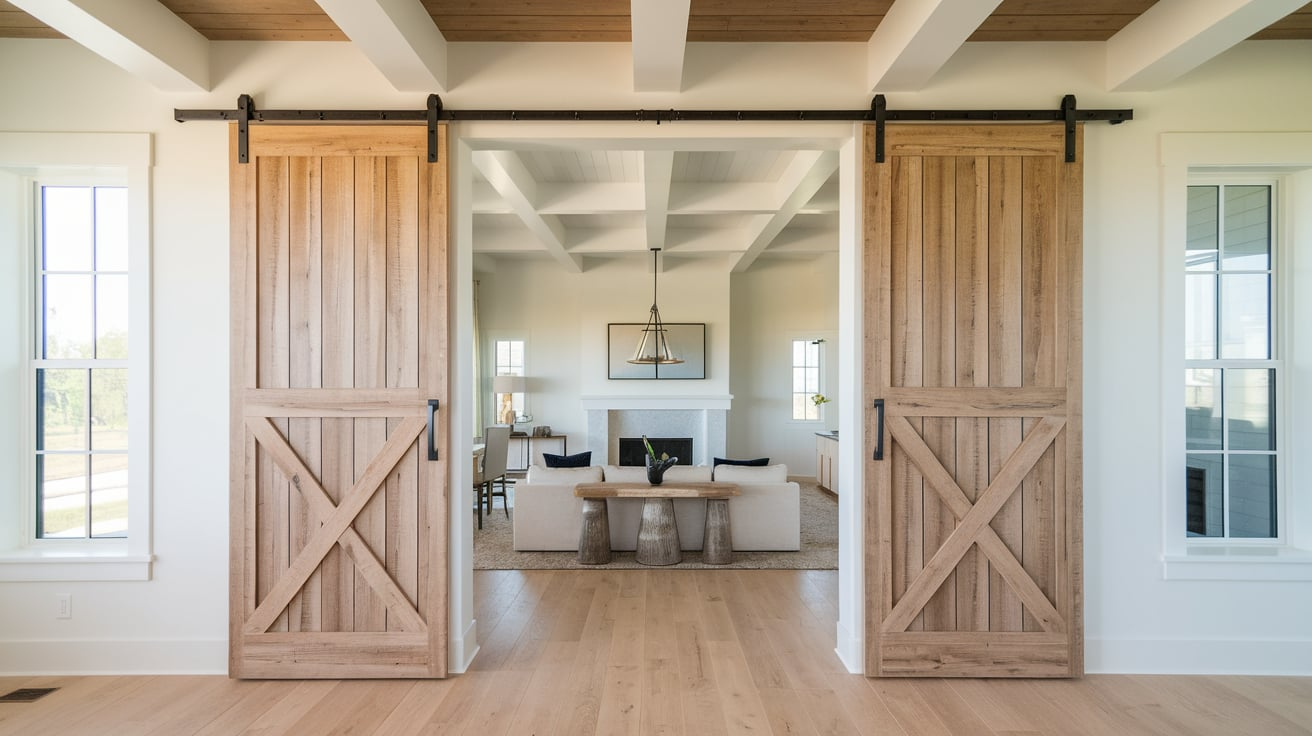
A barn door is a smart choice for many homes because it saves space and looks great at the same time. Unlike regular doors that swing open, barn doors slide along a track, making them perfect for tight areas like hallways, closets, or small rooms.
They’re easy to open and close, which is helpful for all ages. Barn doors also add a nice style to your space, giving it a clean and simple touch. You can find them in many designs, so it’s easy to match your home’s look.
Another good thing is that barn doors work well in many rooms, from bedrooms to bathrooms and even as room dividers. They’re also a fun DIY project if you like hands-on work.
With the right guide, installing one can be a smooth and satisfying task that improves both the look and function of your home.
Materials Required
Before you begin your barn door installation, gather everything you’ll need. Having the right materials on hand makes the process smoother and more efficient.
- Barn Door: The door itself, which can be wood, metal, glass, or MDF depending on your style and budget.
- Track System: Includes the metal rail, rollers, stoppers, and anti-jump discs. This allows the door to slide smoothly.
- Floor Guide: Keeps the bottom of the door in place as it slides, preventing swinging.
- Screws and Anchors: For attaching the track, backer board (if needed), and hardware to the wall.
- Backer Board (optional): If your studs don’t align with the track holes, use a backer board for extra support.
- Handles and Pulls: For opening and closing the door. Can be simple or decorative.
- Drill and Drill Bits: For making pilot holes and installing screws.
- Level: Ensures your track and door are aligned straight.
- Measuring Tape: For accurate measurements of your doorway and door.
- Screwdriver or Wrench: For tightening the screws and bolts.
- Stud Finder: To locate wall studs for secure track mounting.
Step-by-Step Barn Door Installation Guide
Installing a barn door may seem tricky, but with the right steps, it becomes an easy and rewarding project. Let’s go through each part of the process so you can feel confident from start to finish.
Step 1: Measure the Door Opening
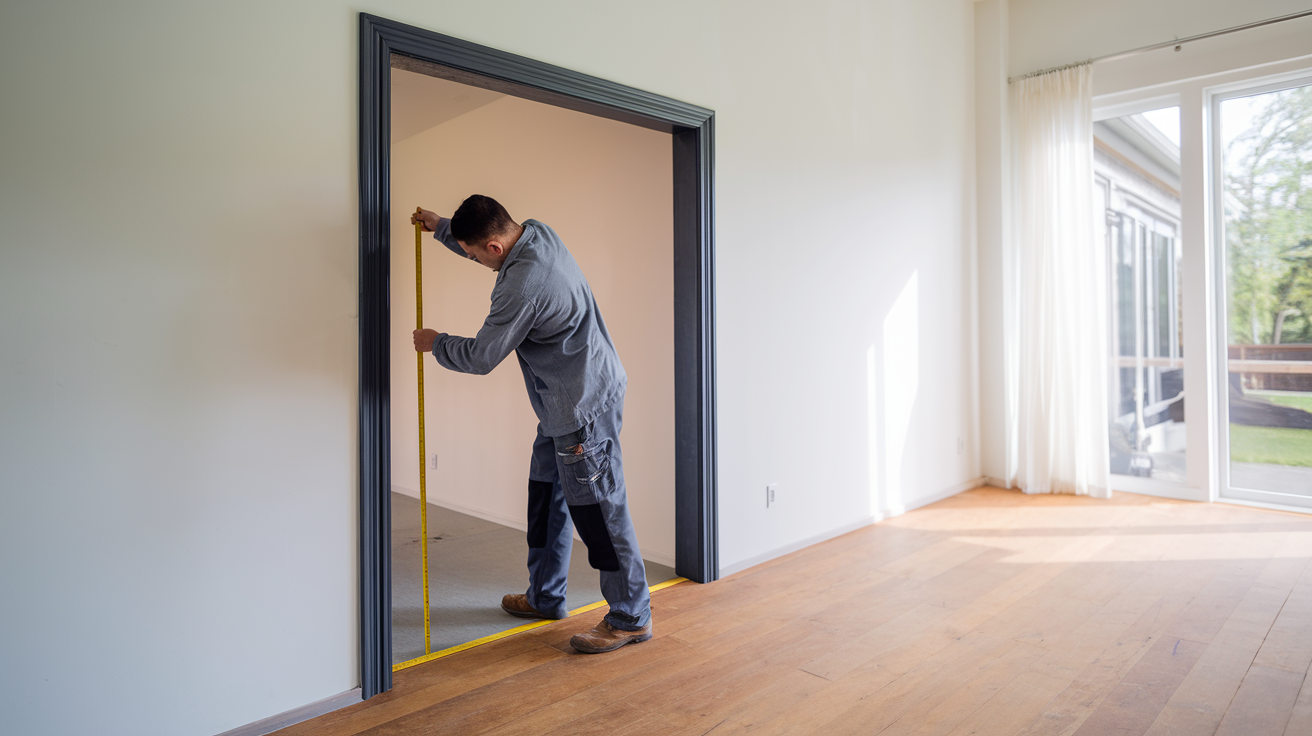
Measure the width and height of your doorway. This will help you choose the right size barn door.
Your door should be a little wider than the opening to cover the space fully. This adds privacy and makes the door look neat when closed.
Measure from one side of the opening to the other, then from the floor to the top of the frame. Write these numbers down, as you’ll need them later when picking your door and hardware.
It’s also a good idea to double-check your measurements to avoid mistakes later on.
Step 2: Prepare the Mounting Surface
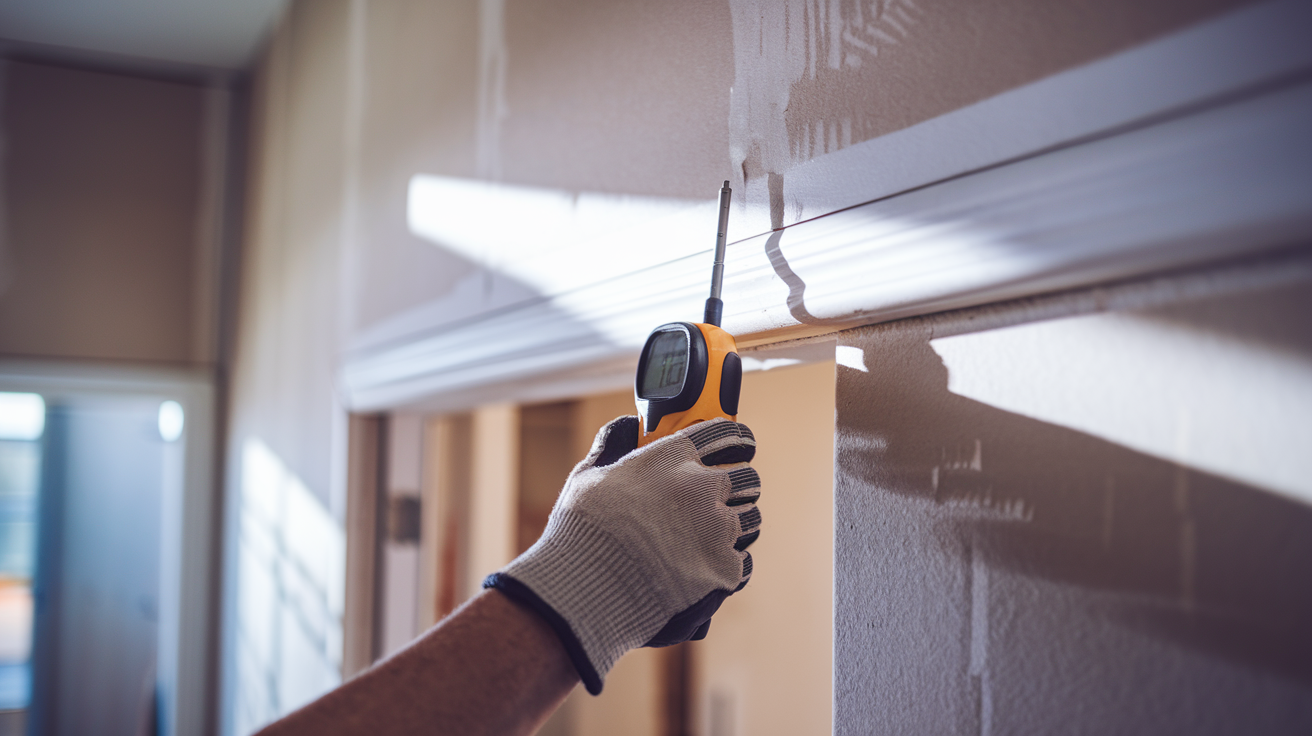
Use a stud finder to locate the wall studs above your doorway, and mark where each stud is with a pencil.
The studs will support the weight of the barn door and track. If the mounting holes on your track don’t line up with the studs, you’ll need to use a backer board.
This extra board helps spread the weight safely across the wall. It also makes the track more secure, which keeps the door sliding smoothly.
Step 3: Install the Backer Board (If Needed)
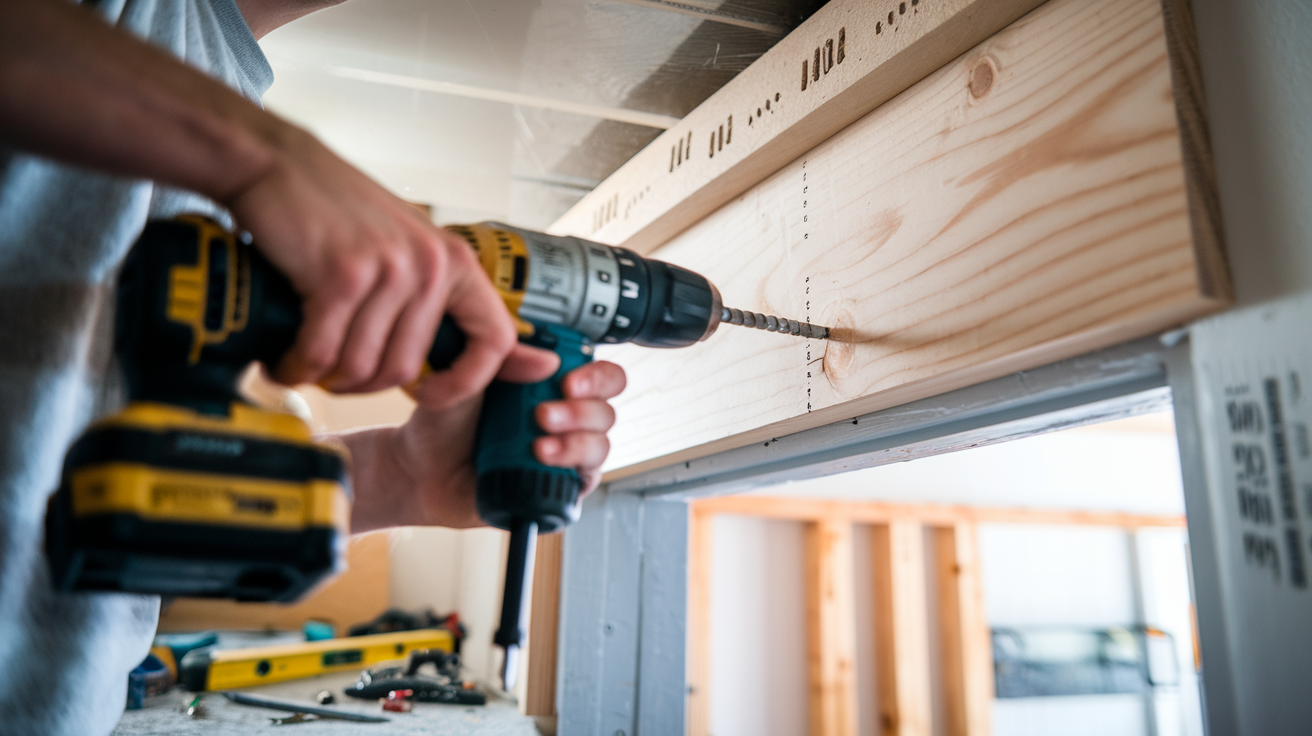
If you need a backer board, start by cutting it to match the length of your track.
Place it above the doorway, lining it up with your stud marks. Use screws to attach the board directly to the wall studs.
Make sure the backer board is level before you secure it fully. A straight board will help keep the track even and the door running properly.
Step 4: Attach the Track
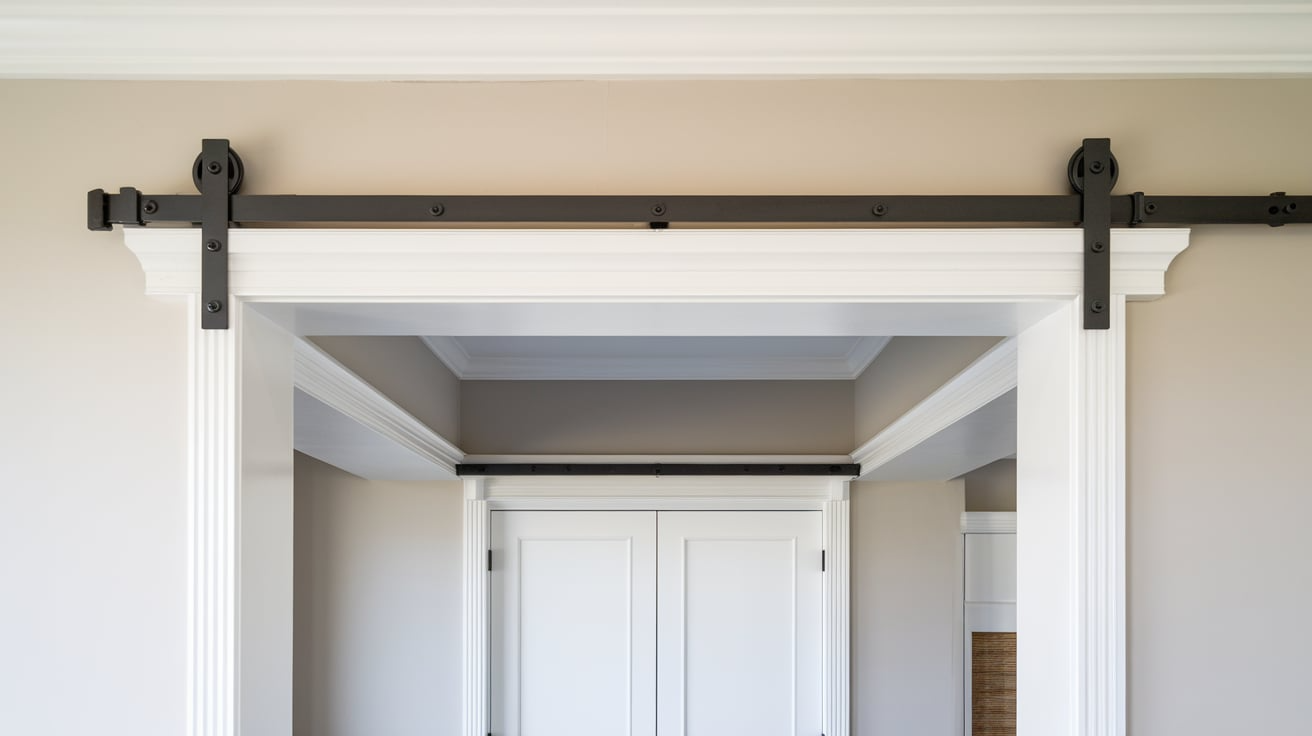
Hold the track against the wall or backer board at the right height. Use a level to make sure it’s straight before marking the drill holes.
Once marked, drill pilot holes at each point. This makes it easier to screw the track in place.
Now, use the hardware from your kit to attach the track firmly. Check again with your level to be sure it’s straight before tightening all the screws.
Step 5: Install the Rollers on the Door
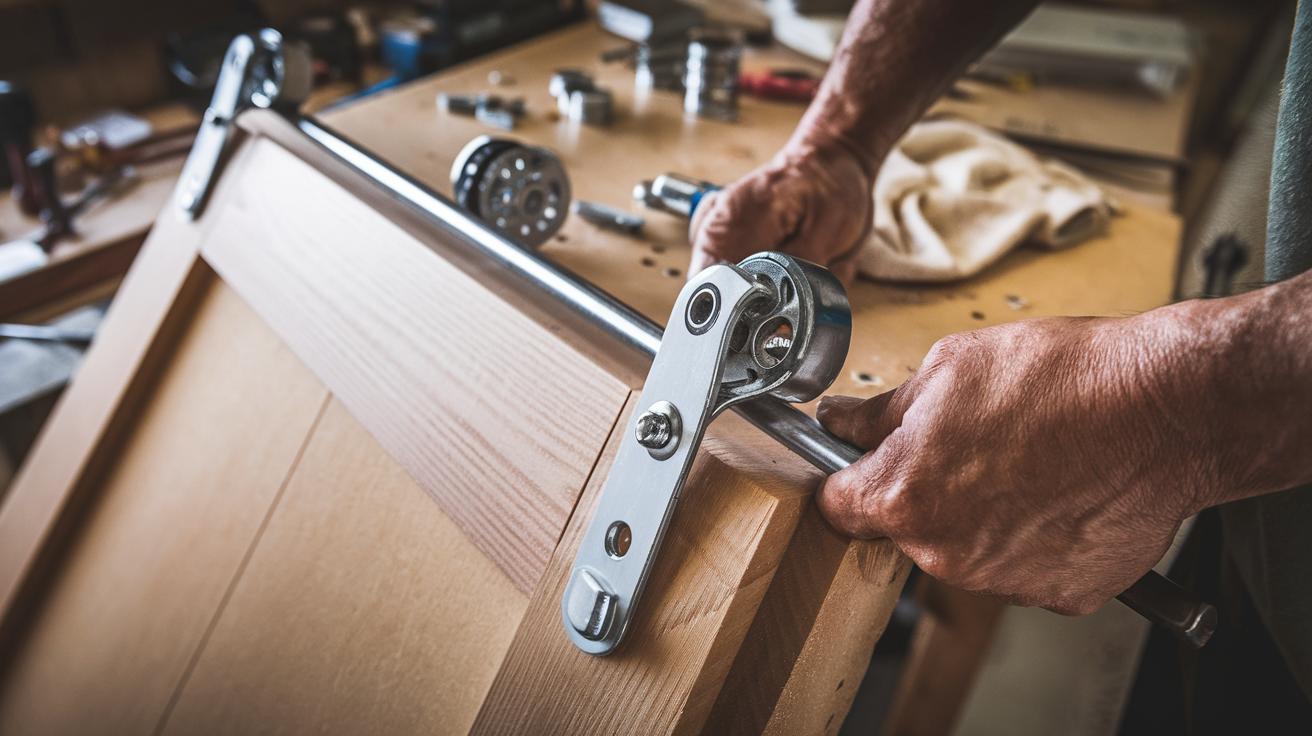
Lay your door flat on a safe surface. Follow the instructions in your hardware kit to place the rollers at the top of the door.
Make sure the rollers are evenly spaced and lined up straight. Tighten them well so they stay secure when the door is hanging.
Double-check that everything is tight and in the right spot. This will keep the door running smoothly once it’s on the track.
Step 6: Hang the Door
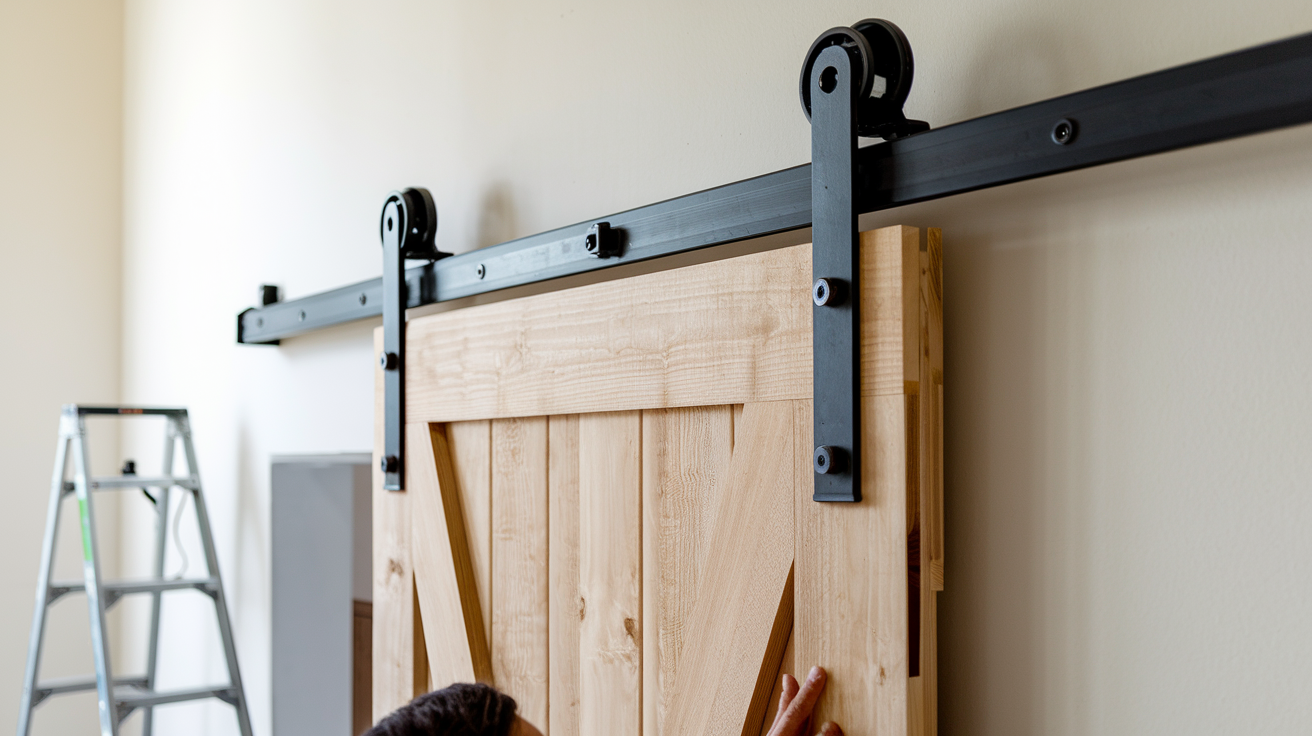
With the help of a second person, lift the door and place the rollers onto the mounted track.
Gently slide the door back and forth to check if it moves smoothly. Make sure the rollers sit properly on the track.
Take your time with this step. A good fit now will save you trouble later and help the door slide without issues.
Step 7: Install Door Stops and Anti-Jump Discs
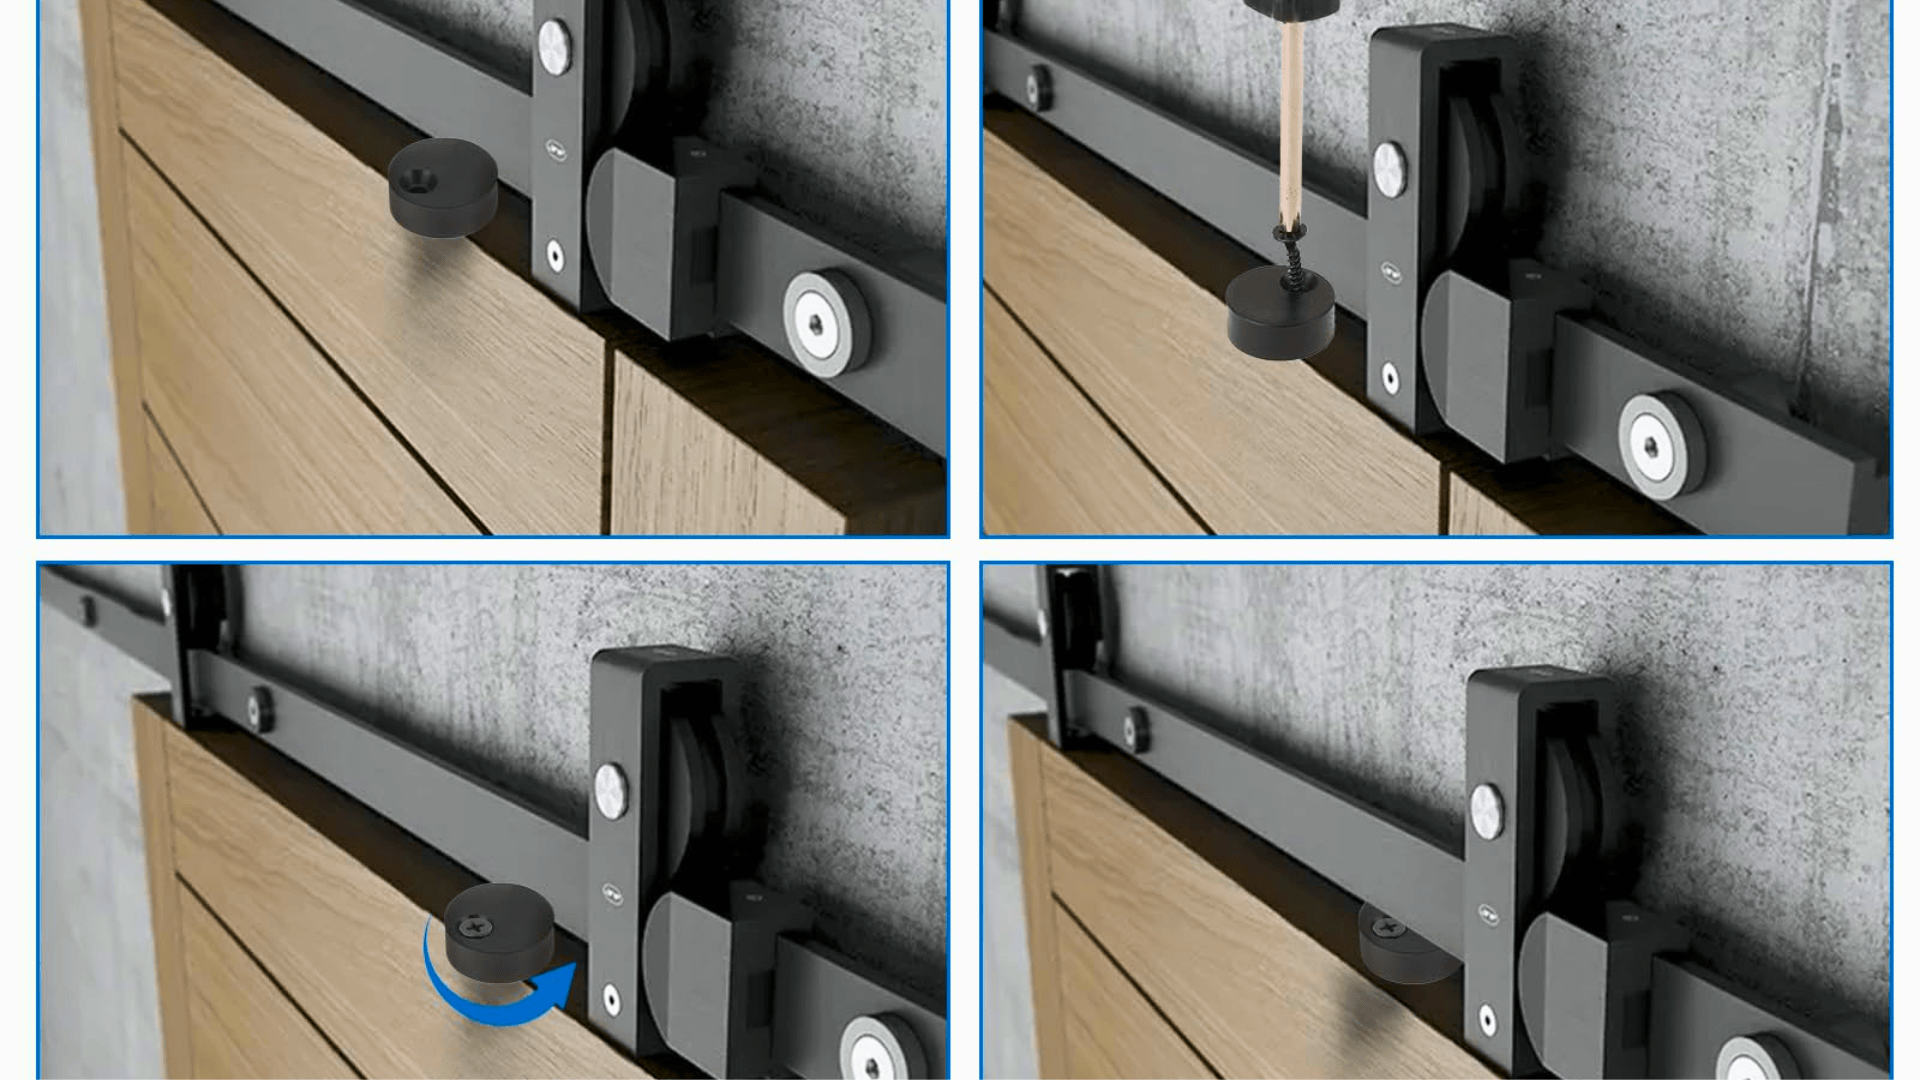
Next, attach the door stops at both ends of the track. These stops will keep the door from sliding off the track.
Also, install the anti-jump discs on the top of the door. These small pieces stop the door from lifting off the track while in use.
Tighten everything firmly to make sure the door stays safe and secure.
Step 8: Install the Floor Guide
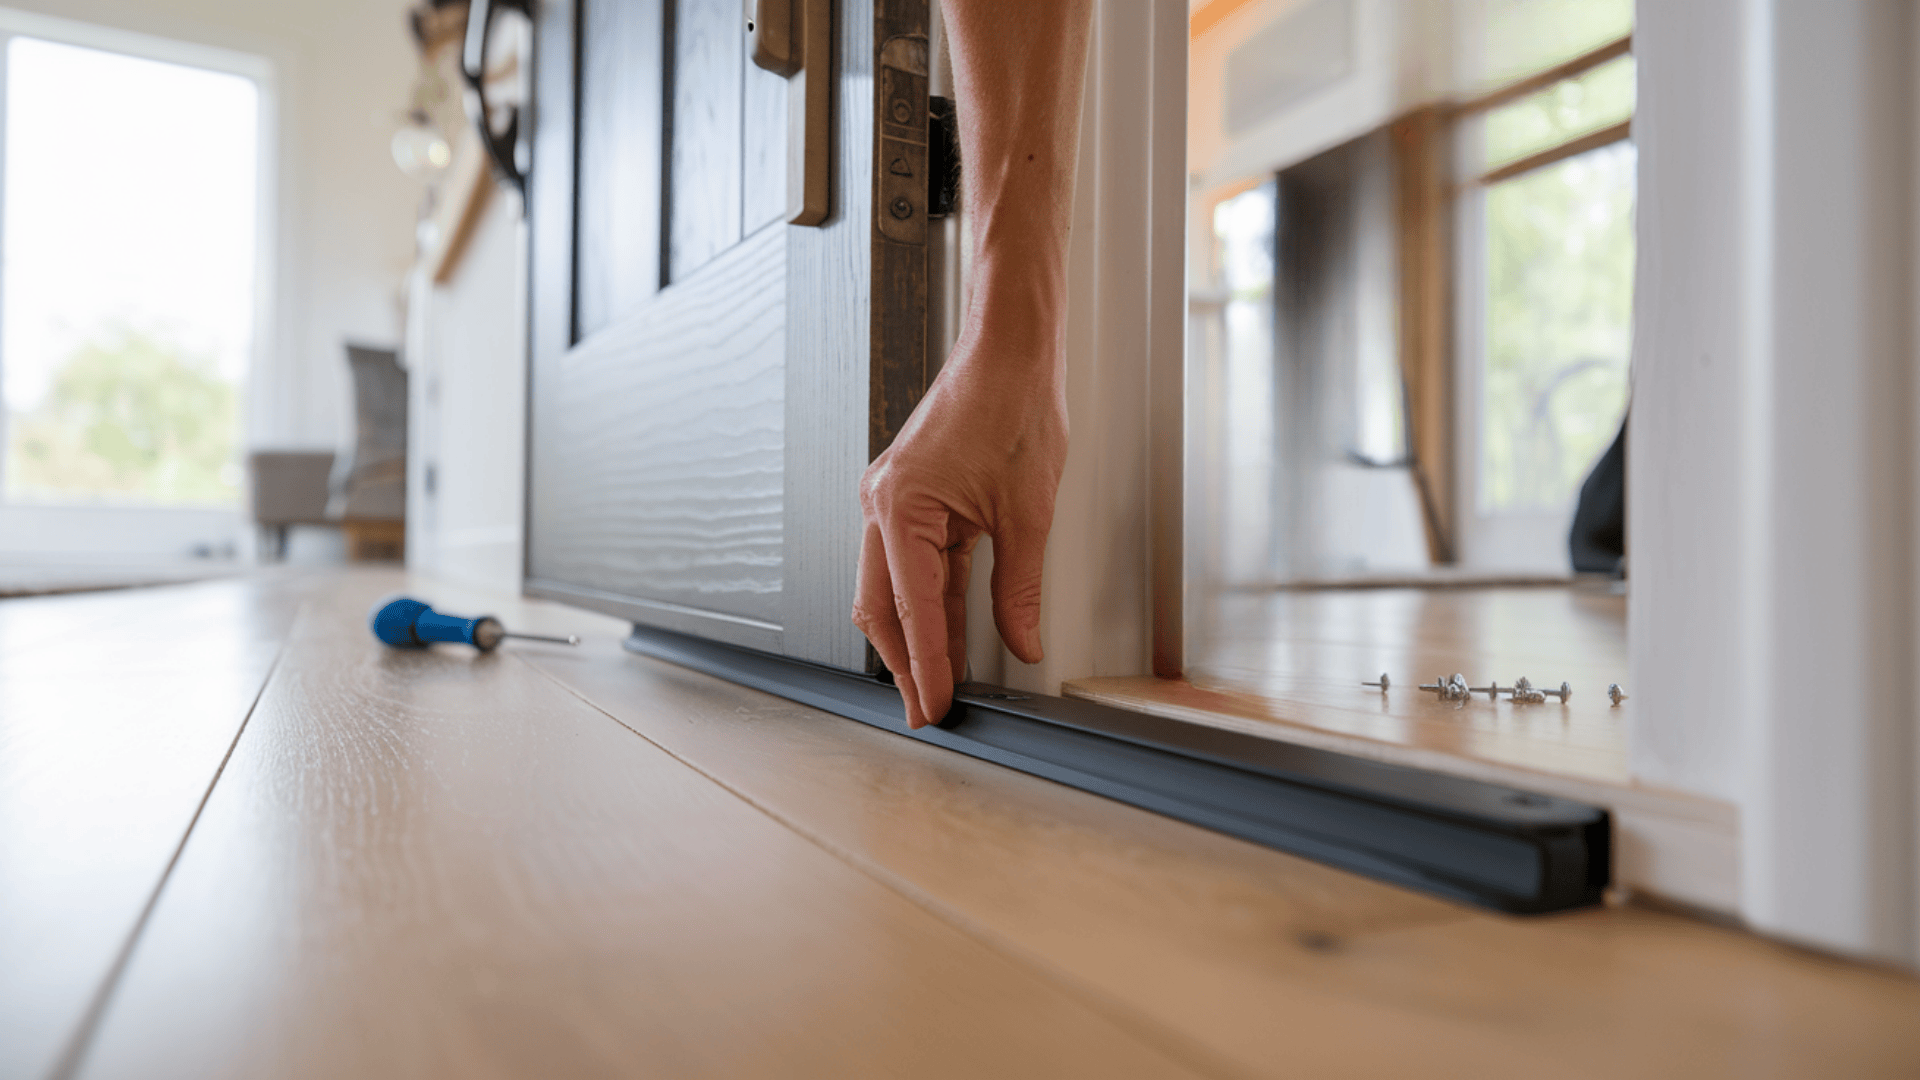
Place the floor guide at the base of your doorway. This guide keeps the door from swinging away from the wall.
Align the guide with the path of the door. Mark the spots for your screws, then secure the guide to the floor.
Make sure the guide fits well with the door as it slides. This small part helps keep everything steady and smooth.
Step 9: Final Adjustments
Slide the door back and forth a few times to check its movement. Listen for any scraping sounds and watch for gaps.
If the door feels off or uneven, adjust the hardware. Tighten any loose screws and check that the track and rollers are in place.
Taking a few extra minutes here will help your door work perfectly and last longer.
Advanced Installation Tips
Some spaces need extra care when installing a barn door. These helpful tips will make sure your door works well, even in tricky areas.
For Tight Spaces
In small rooms or narrow hallways, a full-size sliding door might feel too big.
A mini barn door or bifold barn door is a smart choice. These styles take up less space while still giving you the sliding function.
They work well for closets, bathrooms, and laundry rooms where every inch matters.
Ceiling-Mounted Tracks
If your wall doesn’t have strong studs or you want a cleaner look, a ceiling-mounted track is a great option.
Before you install it, check that your ceiling can handle the door’s weight.
Use strong anchors and double-check your measurements to keep the door level and safe.
Non-Load-Bearing Walls
If your wall isn’t built to carry weight, don’t worry. You can add extra framing behind the drywall to create a solid base.
Another option is to use heavy-duty wall anchors. Make sure the hardware is rated for the weight of your barn door and track.
Taking this step prevents the door from pulling away from the wall over time.
Double Doors and Wider Openings
For wider doorways, you might want to install double barn doors.
You’ll need two tracks or a longer, shared track, along with extra hardware.
Measure carefully and leave enough space on both sides of the opening for the doors to slide freely.
Soft-Close and Quiet Options
If you want your door to close smoothly and quietly, add a soft-close system.
This small upgrade makes daily use more comfortable and protects the door from slamming shut.
It’s a good choice, especially for bedrooms or shared living spaces.
Post-Installation Barn Door Care
Keeping your barn door in good shape is simple, and a little care goes a long way. Regular cleaning and small checks will help the door slide smoothly for years to come.
Start by wiping the track and rollers with a soft cloth every few weeks. This removes dust and dirt that could slow the door down. If you spot stubborn dirt, use a damp cloth and make sure to dry the area well after cleaning.
Check the hardware every few months to keep everything tight and secure. Look out for:
- Loose screws, bolts, or brackets
- Signs of rust, especially in damp rooms
- Parts that feel worn or shaky
It’s also smart to add lubricant to the rollers and track from time to time. This helps stop squeaks and keeps the door sliding easily. Use a product that’s safe for indoor use and wipe off any extra.
Don’t forget the floor guide. Make sure it stays clean and tight against the floor. If it becomes loose or dusty, give it a quick check and tighten the screws if needed.
Finally, look over the anti-jump discs. These small parts keep your door safely on the track. If they feel loose, tighten them right away. If they look worn out, replace them to keep your door secure.
With just a few simple steps, your barn door will work smoothly and stay looking great for years.
Common Mistakes to Avoid
Keep these simple points in mind to avoid common problems during and after your barn door installation:
- Support: The track must be secured to studs or a strong backer board.
- Measurements: Double-check the size of your door and doorway before starting.
- Hardware: Tighten all screws and bolts to prevent wobbling.
- Alignment: Keep the track and rollers level to avoid uneven sliding.
- Safety: Use anti-jump discs to keep the door safely on the track.
- Floor guide: Make sure it’s tight to stop the door from swinging.
- Testing: Slide the door several times after installation to check for smooth movement.
- Maintenance: Don’t skip regular checks to keep the door working well over time.
Cost Considerations for Barn Door Installation
Installing a barn door can enhance your home’s style and functionality. Understanding the associated costs will help you plan effectively. Below is a breakdown of potential expenses:
Door Material Costs
The material you choose significantly affects the overall cost:
- Wood Doors:Prices range from $300 to $2,500, depending on the wood type and quality. Pine is more affordable, while oak and walnut are premium options.
- Metal Doors: These typically cost between $400 and $2,000. Aluminum doors are on the lower end, whereas steel options are more expensive.
- Glass Doors:These range from $600 to $1,800, offering a modern aesthetic but at a higher price point.
- MDF (Medium-Density Fiberboard) Doors:Cost-effective, with prices between $200 and $800.
- Vinyl Doors:The most budget-friendly, ranging from $200 to $500.
Hardware Expenses
Proper hardware ensures smooth operation:
- Track Systems:Basic kits start at $100, while custom or high-end systems can exceed $500.
- Handles and Pulls:These accessories typically range from $20 to $100, depending on design and material.
- Additional Hardware:Soft-close mechanisms, locks, and decorative elements can add $50 to $500 to your total.
Labor Costs
Labor charges vary based on complexity and location:
- Professional Installation:Expect to pay between $200 and $1,000 for labor. Simple installations are on the lower end, while complex or custom jobs cost more.
- DIY Installation:Taking the DIY route can save on labor costs, but ensure you have the necessary skills and tools to avoid potential issues.
Total Estimated Costs
Combining materials and labor, here’s what you might expect:
- Single Interior Barn Door:Total costs range from $600 to $3,050, depending on material and hardware choices.
- Double Barn Doors:Due to additional materials and labor, costs typically double, ranging from $1,200 to $6,100.
Factors Influencing Costs
Several elements can impact your overall expenses:
- Door Size:Larger doors require more materials and robust hardware, increasing costs.
- Customization:Unique designs or finishes add to the price.
- Installation Complexity:Structural modifications or challenging installations can raise labor fees.
- Location:Labor rates and material costs can vary by region.
By understanding these cost components, you can make informed decisions and budget effectively for your barn door installation.
Note: Prices can vary based on your location, supplier, and specific choices. For the most accurate rates, it’s always best to check with local suppliers or contractors in your area.
Conclusion
Installing a barn door is a smart way to save space and add style to your home. It works well in many rooms and adds a nice finishing touch.
With simple steps and the right tools, you can handle this project yourself or hire a pro if you prefer. From picking your door to setting up the track, each part matters for a smooth result.
Once your door is up, keep it clean and check the hardware from time to time. This will help it last and slide easily for years.
Use this guide to plan your project and enjoy the results. For more helpful tips, read our other DIY guides to keep your home projects moving!