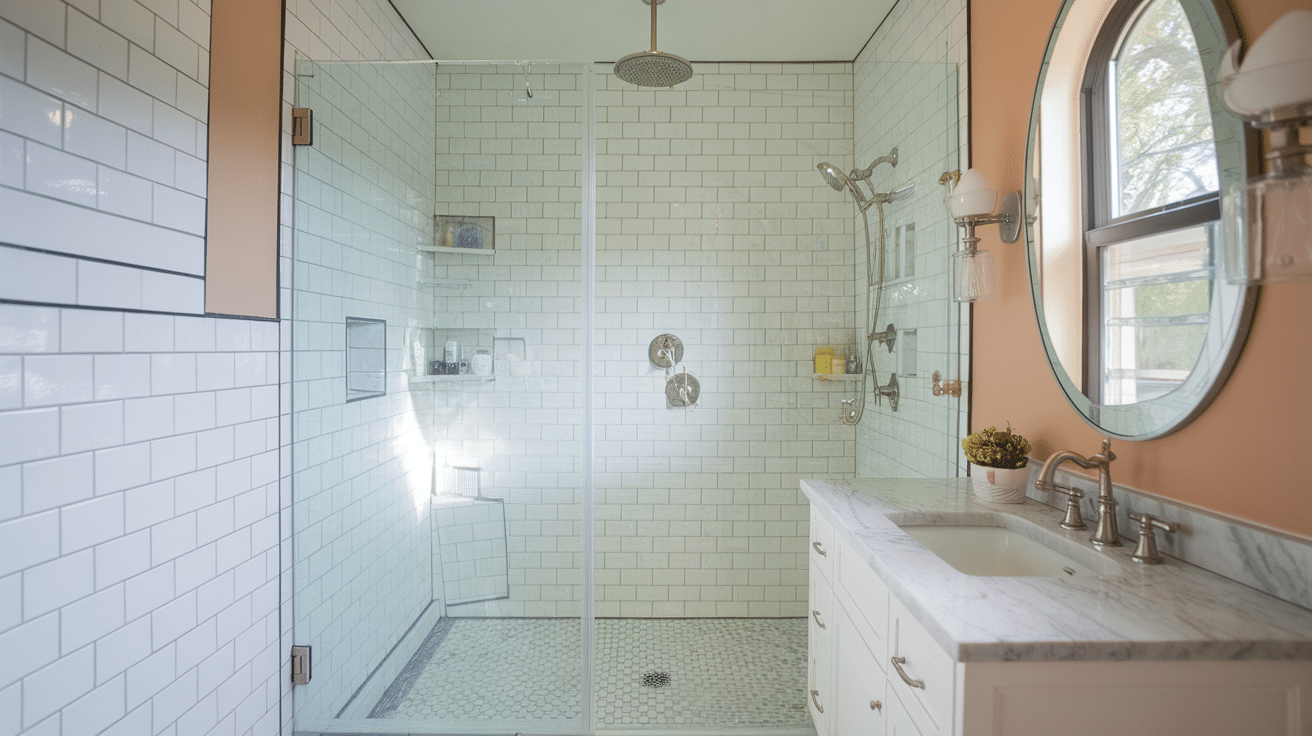
A Complete Guide to Bathroom Shower Remodeling
Upgrading your bathroom shower can completely renew your daily routine. If you’re looking to fix issues with an outdated shower or want to refresh your bathroom’s style, a shower remodel offers endless possibilities.
This guide walks you through every phase of the process, from initial planning and budgeting to demolition, installation, and final touches. We cover critical waterproofing techniques, material selection tips, and practical ideas that work for various spaces and budgets.
By following our step-by-step approach, you’ll avoid common pitfalls and create a shower that combines function with style.
The result? A bathroom that not only meets your needs but also adds significant value to your home.
Step-by-Step Guide on Bathroom Shower Remodeling
Remodeling a bathroom shower can be a rewarding project that upgrades your space. It can refresh your space and make it more useful. Planning helps you get the best results within your budget.
This guide will walk you through the steps to change your old shower into one that meets your needs and looks good in your home.
Step 1: Assess and Plan the Project
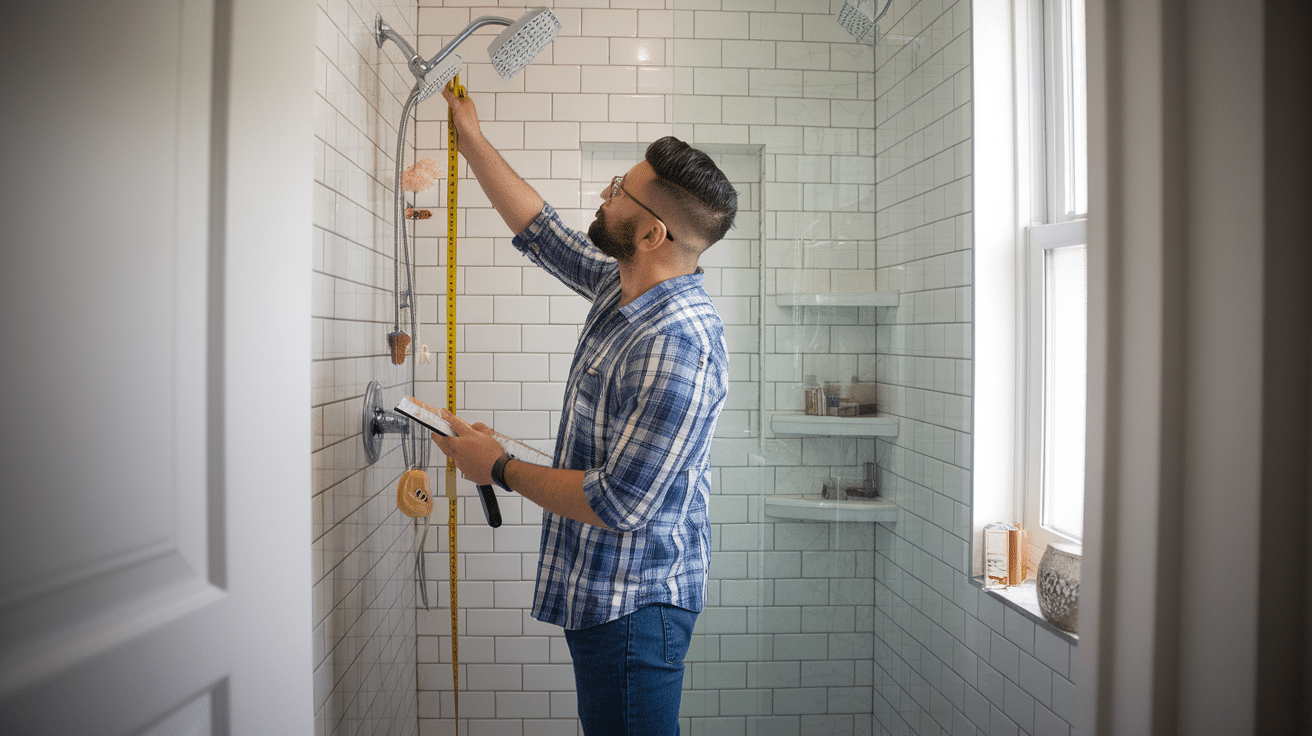
Before starting your shower remodel, taking time to assess and plan properly will save you money and stress in the long run. A well-thought-out plan helps you stay on budget and creates a clear roadmap for your bathroom update.
Identify Issues and Define Scope
Carefully examine your current shower space for warning signs. Check for water damage, mold growth, and structural problems, which are more common in older bathrooms.
Pay special attention to signs of leaks around the shower base and walls. Look for mold spots, especially in corners and along caulking lines.
Test if the bathroom fan works correctly, as poor ventilation often leads to moisture problems. Examine the floor and walls for damage that might need fixing before new fixtures can be installed.
Set a Budget
Creating a clear budget is key to a successful shower remodel. Make a list of all costs, including labor, materials, and tools needed for the job.
It’s wise to add 10-15% extra for unexpected problems like hidden water damage that might only become visible once work begins.
Decide if this is a job you can handle yourself or if you need to hire professionals. Keep in mind that plumbing and electrical work often require licensed experts to ensure safety and code compliance.
Getting multiple quotes from contractors can help you understand the realistic cost range for your specific project.
Step 2: Tear Down the Existing Shower Area
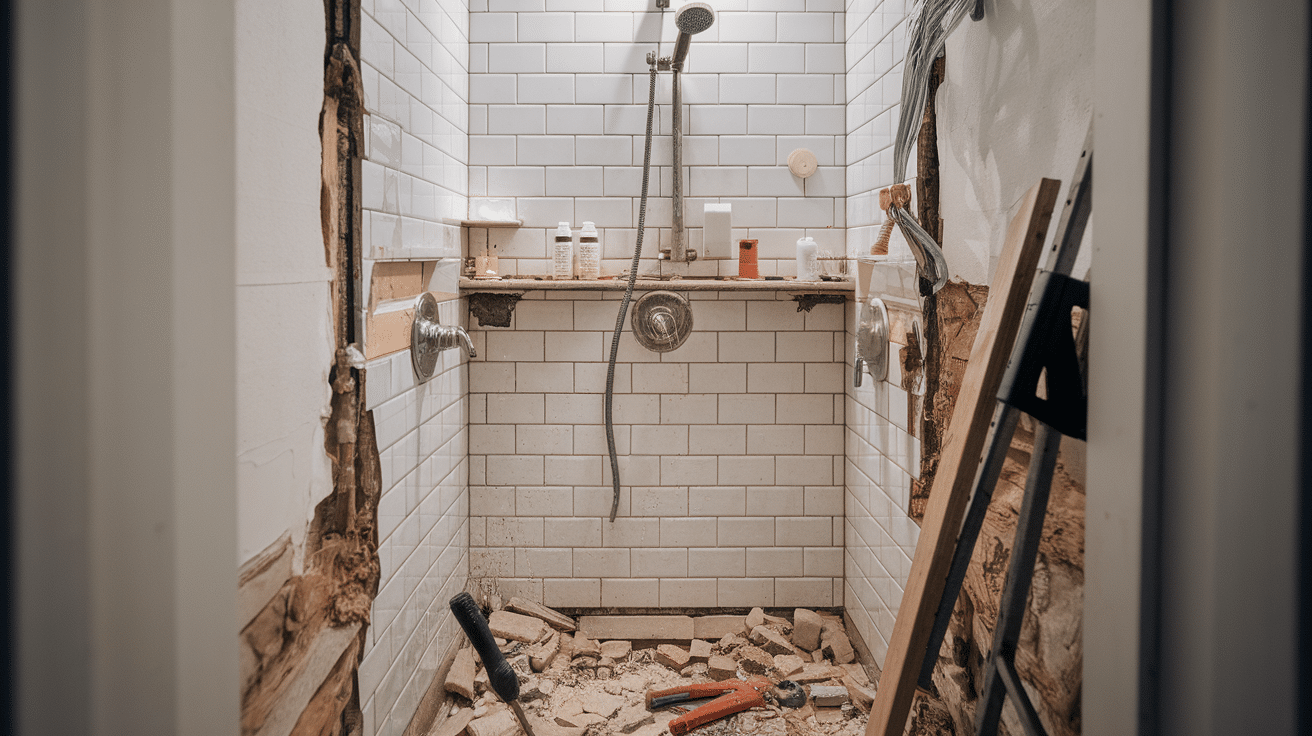
The tear-down phase requires care and method to avoid damaging parts of your bathroom that aren’t being updated. Working systematically will make the rebuild process much easier.
Start your shower remodel by turning off the water supply to prevent damage. Remove the showerhead, tub spout, and doors, saving them if you plan to reuse them.
Disconnect all plumbing, including drain and water supply lines, using a bucket to catch the remaining water. Next, take out wall coverings like tile or wallboard to expose the studs and subfloor.
You might also find old flooring layers that need to be removed. Use tools like pry bars and hammers, but work carefully to avoid damaging the underlying structure.
While demolishing, inspect the exposed areas for water damage or mold. If you find any, those sections will need to be replaced before you can install new materials.
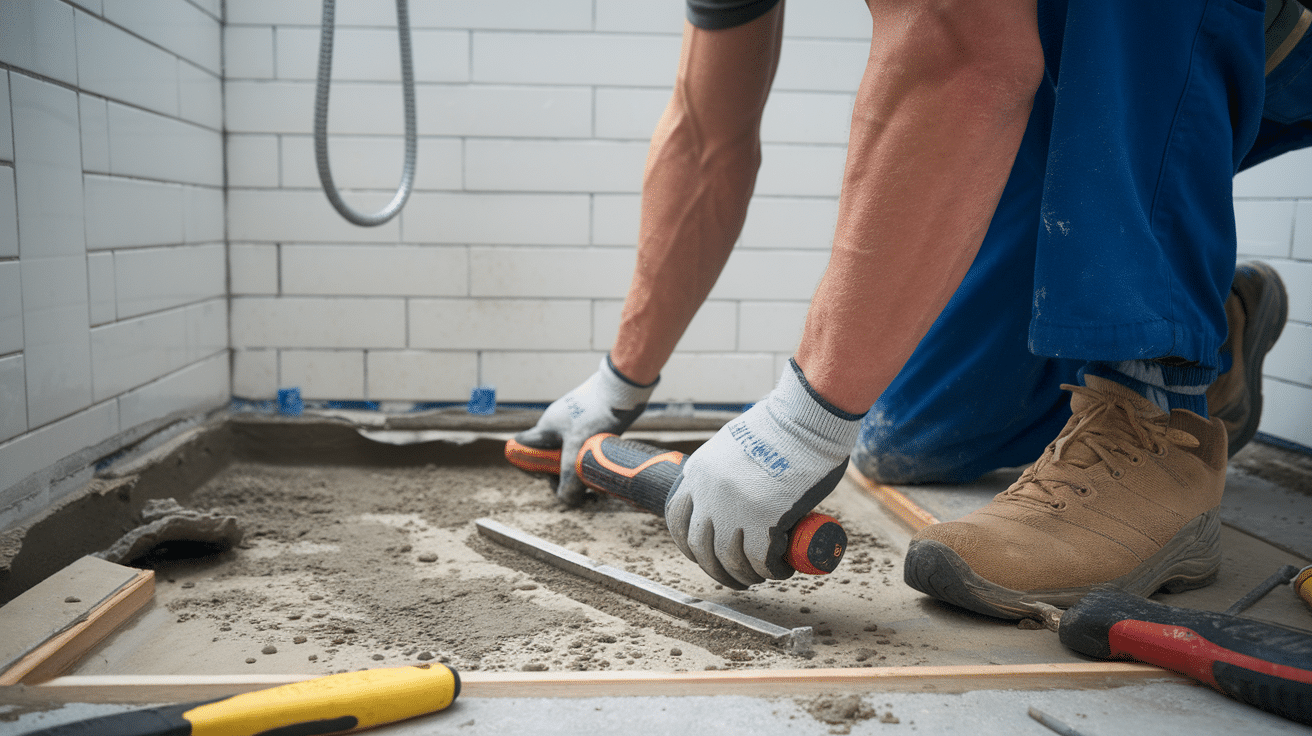
Step 3: Assess the Subfloor and Structure
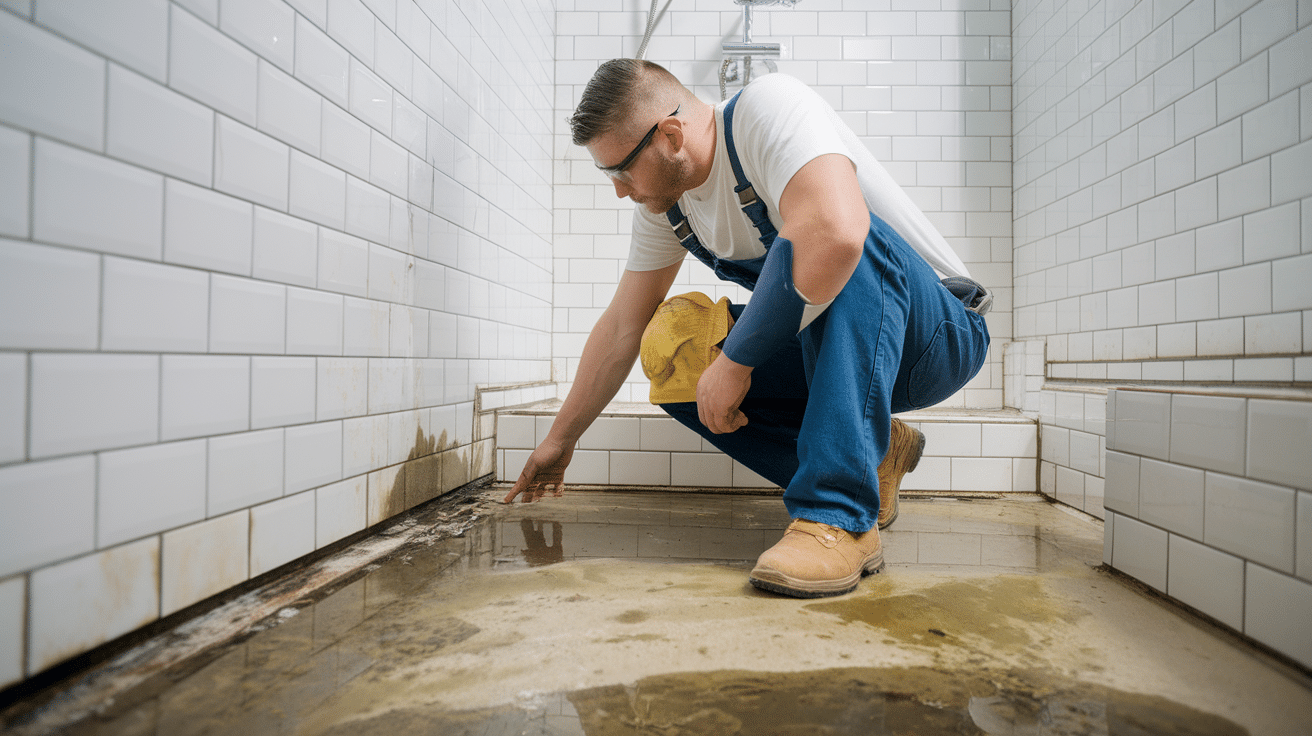
After demolition, take time to examine your shower’s foundation thoroughly. This critical step helps you identify problems before they become costly issues under your new shower.
Check for Water Damage
Inspect the subfloor for moisture or mold. Water damage often leads to structural issues, such as weakened floorboards or mold growth.
If the subfloor is soft or rotting, it will need to be replaced. For minor damage, treat and reinforce the area with a mold-resistant sealant.
Before proceeding, make sure that the floor and walls are sturdy enough to support the new shower installation.
Repair or Replace Subfloor
When planning a shower remodel, checking your subfloor is essential. If you notice spots that feel soft when you walk or see discoloration and warping, you may have water damage.
For small problems, you can clean the area, let it dry completely, and apply a mold-resistant sealant to prevent future issues.
But if the damage covers a large area or the wood feels weak, it’s better to replace the entire section. Taking this step now prevents bigger problems later.
Check for Structural Integrity
Before installing your new shower, make sure your bathroom can handle it. Test the floor by walking on it to find any weak or bouncy spots.
Look at the walls where the shower will attach and check for any cracks or damage.
The structure needs to be solid since showers are heavy, especially when filled with water and a person. If you find any issues, fix them before moving forward with your shower project.
Step 4: Install New Plumbing and Ventilation
The plumbing and ventilation work forms the hidden backbone of your shower remodel. Getting these elements right ensures your new shower will function well for years to come.
When updating your shower, a 3-way valve lets you control multiple water sources simultaneously. This means you can use your main shower and handheld unit simultaneously. PEX pipes are a good option since they’re cheaper than copper, easier to install with fewer joints, and resistant to corrosion.
For ventilation, pick a fan sized right for your bathroom (1 CFM per square foot). Be sure it vents outside completely.
Step 5: Install Waterproofing System
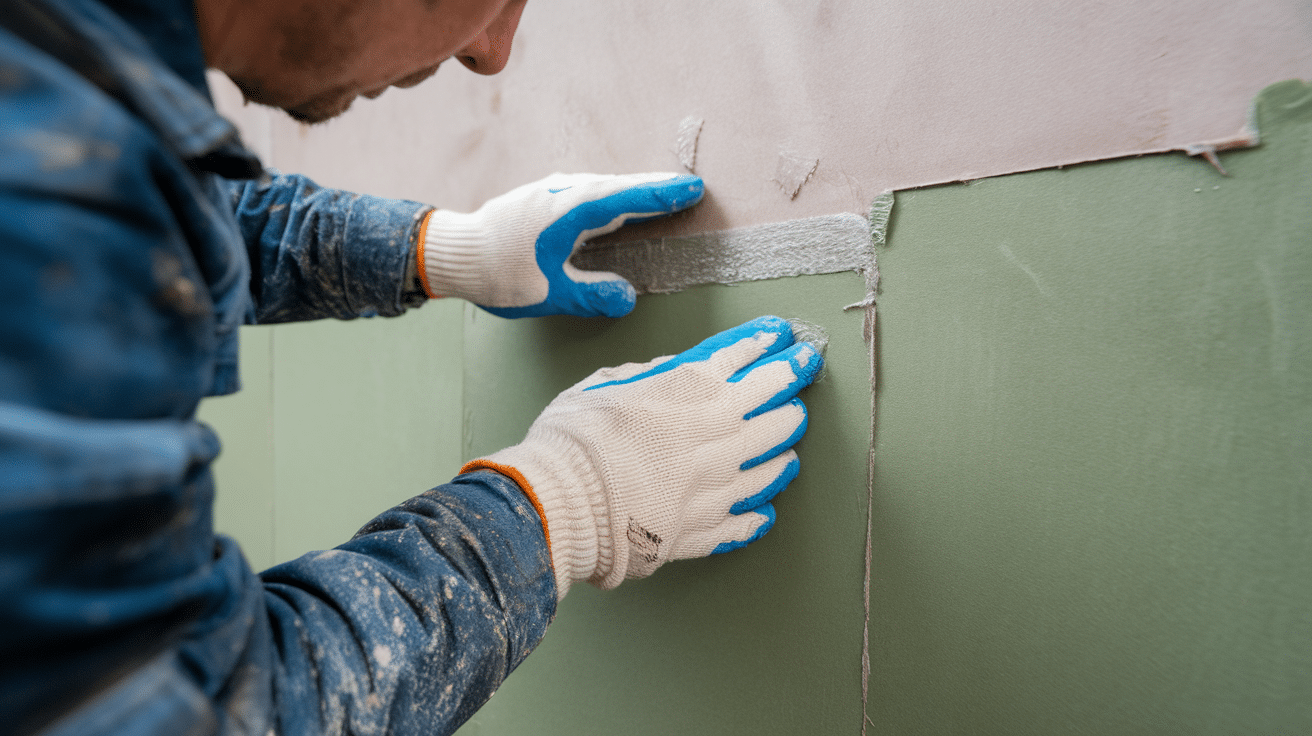
Proper waterproofing is the most critical part of your shower remodel, as it prevents costly water damage to your home.
For shower walls, use cement board or water-resistant drywall (green or blue board) instead of regular drywall. These materials won’t break down when exposed to moisture.
After installing the boards, apply a waterproofing membrane like Aqua Defense as an extra protection layer. This liquid-applied barrier creates a complete seal that stops water from reaching the structure behind your shower.
Every seam and corner in your shower needs careful sealing. Use a high-quality silicone sealant around all joints, especially where the shower meets the floor and where walls meet each other.
Pay special attention to spots where fixtures come through the wall. Taking time with this step prevents water from finding its way into hidden spaces where it can cause damage.
Step 6: Install New Shower Walls
Installing shower walls is a key step that defines both the look and durability of your new shower. The materials and methods you choose here will impact how your shower performs for years to come and how much upkeep it will need.
When choosing wall material, consider tile, as it offers many benefits. Tile comes in ceramic, porcelain, or stone options that suit different budgets and styles.
Large-format tiles or subway tiles are good choices as they have fewer grout lines to clean and maintain over time.
For the tiling process:
- Use a laser level for straight lines
- Start at the bottom and work upward
- Apply adhesive carefully and check each tile for level
- Allow proper drying time between steps
When grouting, push the material firmly into joints using a float. Clean excess grout promptly before it sets. A damp sponge helps create smooth, even grout lines. Allow the grout to cure fully before using the shower.
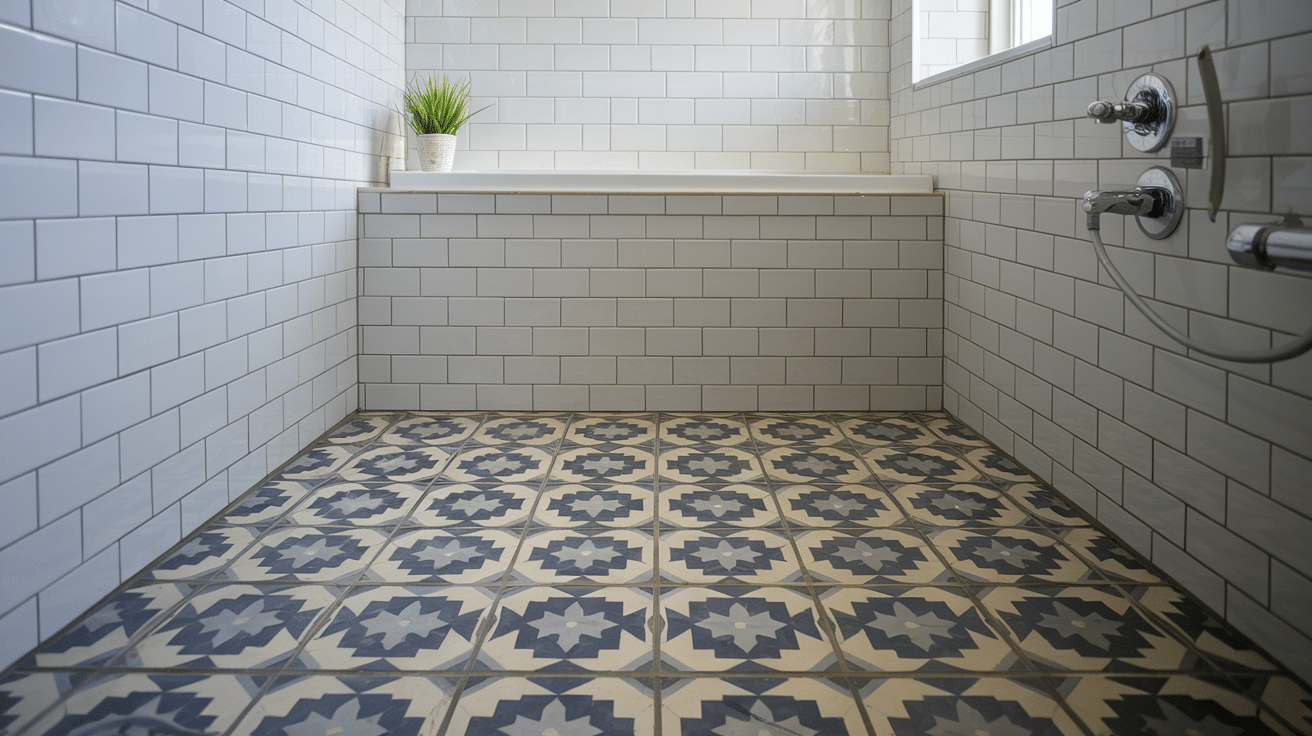
Step 7: Install the Shower Base or Floor
The shower base or floor forms the foundation of your shower and determines both drainage and comfort. You can choose between a pre-formed shower base for easier installation or build a custom shower pan for unique shapes and sizes.
Pre-formed bases come ready to install, while custom pans require more skill but offer greater design freedom.
Preparation and precision are essential in the floor tile installation process. The floor must be completely level before laying any tile to ensure proper water drainage toward the drain.
- Apply thin-set mortar evenly across the shower floor.
- Place tiles carefully, checking alignment as you go.
- Use spacers to maintain consistent grout lines.
- Allow adequate drying time before walking on the new surface.
- Apply grout with a float, working it into all joints.
- Clean excess grout before it hardens completely.
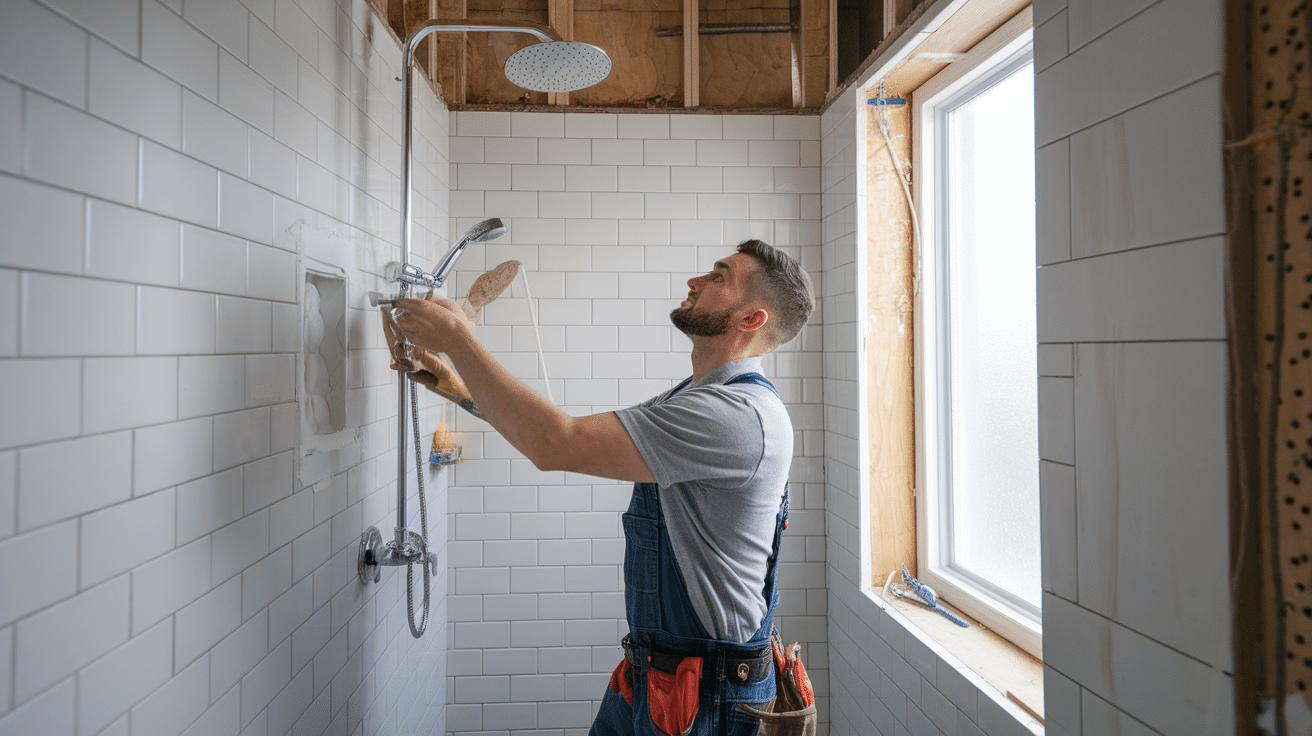
Step 8: Install Shower Fixtures and Accessories
The final touches of your shower remodel involve adding the fixtures and accessories that make the space both functional and personal.
This step transforms your shower from a construction project to a finished bathroom feature.
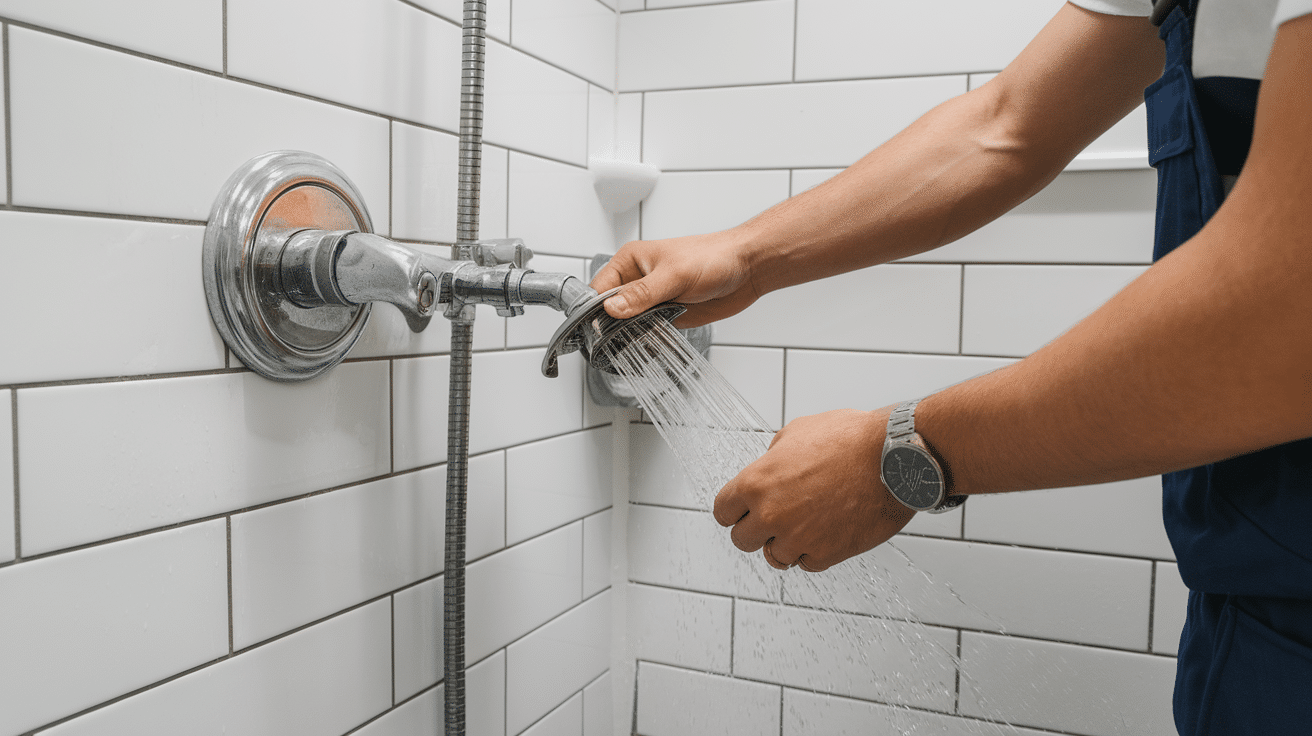
Install Showerhead and Faucet
When installing the showerhead and faucet, select fixtures that match your style and water needs. Use the correct connectors for your plumbing system and tighten all fittings properly to prevent water leaks.
Even small drips can cause damage over time, so take care with each connection.
Add Accessories
For accessories, think about what would make your shower more useful daily. Built-in shower shelves or a custom niche provide convenient spots for bath products.
A shower bench can add comfort and accessibility. When choosing between a shower door or curtain, consider your space and style preferences.
Many homeowners now favor glass doors for their clean look that makes the bathroom appear larger, though curtains offer more color options at a lower cost.
Step 9: Finish the Room
Completing your shower remodel requires careful attention to sealing and final details to ensure both beauty and function. These last steps protect your investment and create a clean, finished look.
Apply high-quality waterproof caulk around all edges of your shower walls, focusing on points where tiles meet the tub or floor. This creates a watertight seal that prevents moisture damage. Choose a caulk that matches your grout color for a seamless look.
For final touches, install any trim pieces, like baseboards, that frame your shower area. Touch-up paint on walls affected by construction. Give the entire bathroom a thorough cleaning to remove construction dust and debris, wiping down all surfaces and fixtures to reveal the true beauty of your newly remodeled shower space.
Step 10: Test and Inspect
The final phase of your shower remodel involves thorough testing and inspection to ensure everything works correctly before daily use. This critical step helps catch small issues before they become major problems.
Turn on the water to check for leaks around all fixtures, especially at the faucet, showerhead, and shower base connections. If you notice any dripping, tighten connections or apply additional sealant. Even tiny leaks can cause significant damage over time.
Complete a final inspection by checking that tile surfaces are level and properly set. Examine grout lines to ensure they’re even and fully cured.
If you installed a shower door, test that it opens and closes smoothly. Walk on the floor to verify that it feels solid without movement or squeaking. Once satisfied, give the entire area a final cleaning to remove any construction dust or debris.
Shower Ideas to Upgrade or Remodel Your Bathroom
Updating your shower can completely change how your bathroom looks and functions.
If you want a quick refresh or a complete overhaul, these ideas offer options for any budget and style preference.
The right shower design can make your daily routine more pleasant while adding value to your home.
1. Walk-In Showers
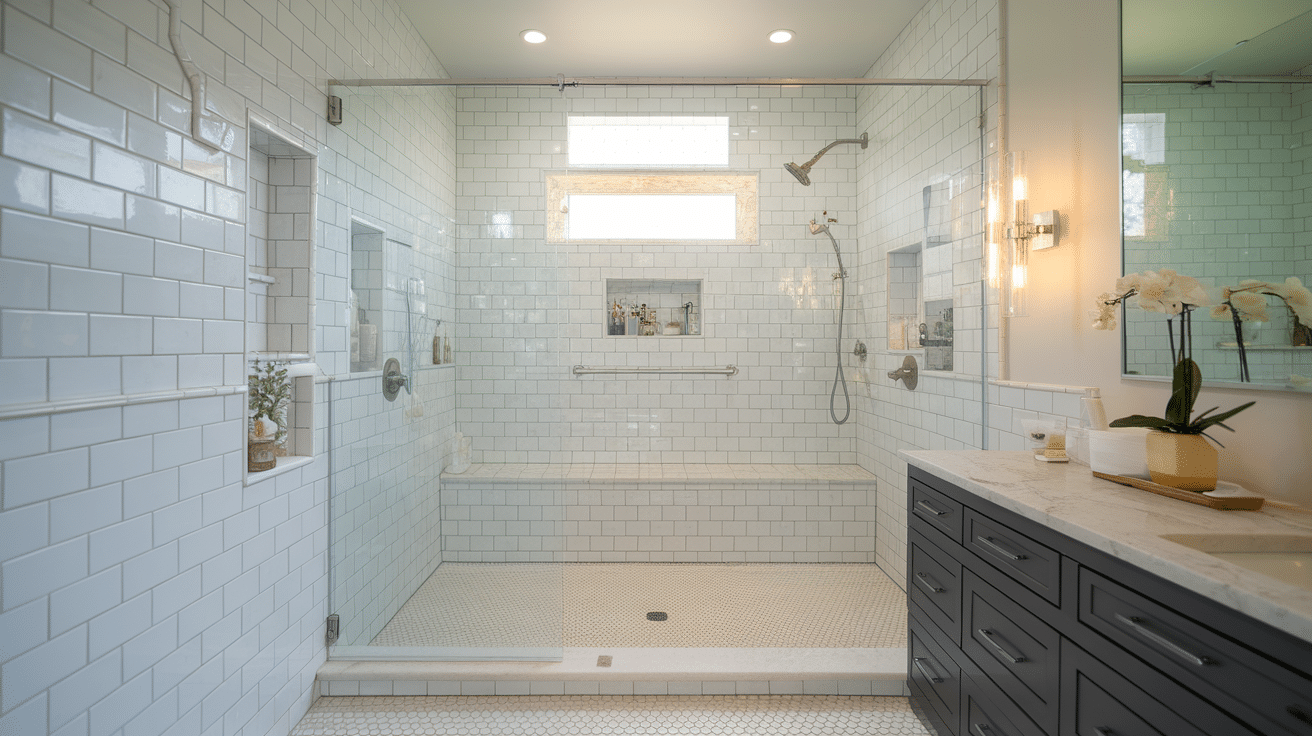
Walk-in showers create an open, spacious feel in any bathroom. They remove barriers between the shower and the rest of the room, making the space feel larger.
These designs work well for people with mobility concerns and add a clean, current look to your bathroom.
2. Frameless Glass Shower Doors
Frameless glass doors create a smooth, unbroken look that makes your bathroom seem bigger and brighter.
The clear glass shows off beautiful tile work and allows light to flow freely throughout the space, helping small bathrooms feel less cramped.
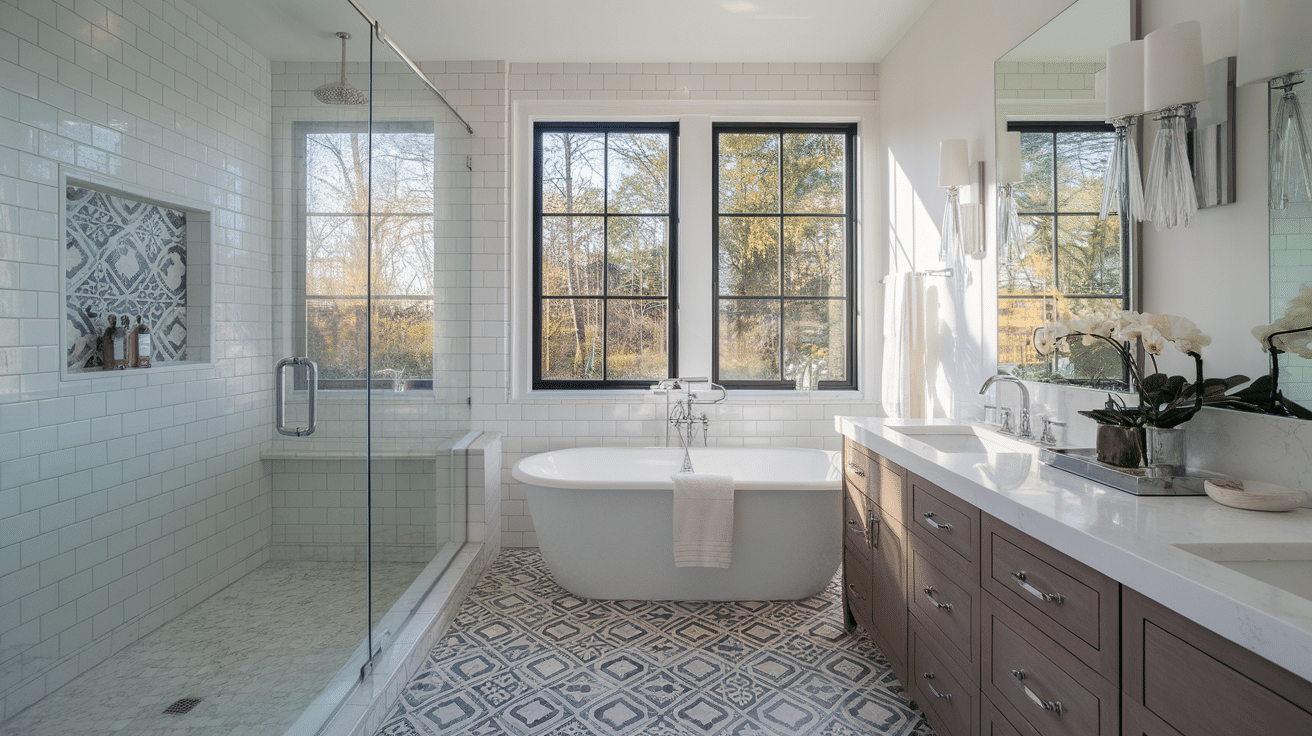
3. Tub-to-Shower Conversion

Converting an old tub to a shower increases the usable space and functionality of your bathroom.
This change works well for people who rarely use a bathtub and prefer the quick convenience of a shower. It also makes the room feel more open.
4. Rain Showerheads
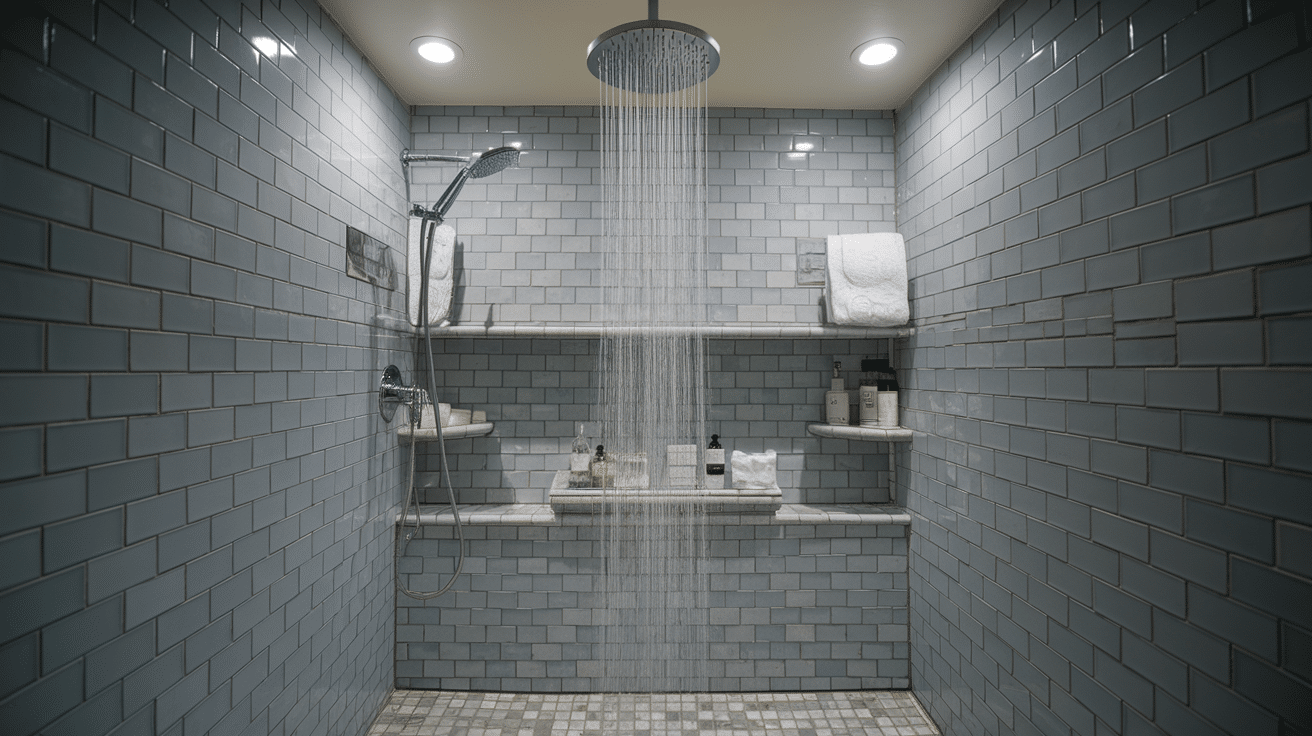
Rain showerheads create a gentle, full-body water flow that mimics standing in natural rainfall.
These fixtures mount directly overhead and provide wide water coverage that feels soothing and relaxing, turning your daily shower into a mini spa treatment.
5. Dual Showerheads
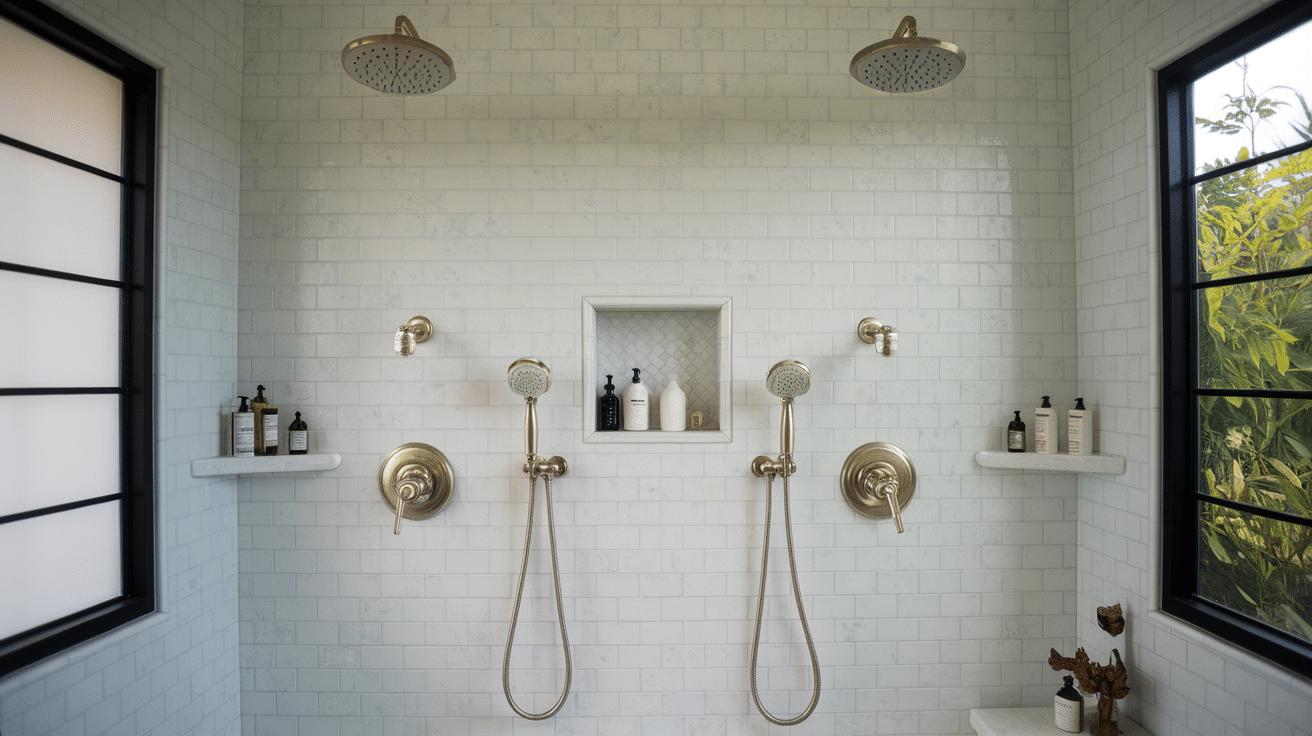
Dual showerheads offer both fixed and handheld options in one shower, giving you the best of both worlds.
This setup lets you switch between a steady overhead stream and a movable spray, making tasks like washing hair or cleaning the shower much easier.
6. High-Tech Shower Systems

Modern shower systems offer digital controls for perfect water temperature, built-in speakers for music, and water-saving features.
Some include LED lights that change color based on water temperature, helping you save energy while enjoying a more personal shower experience.
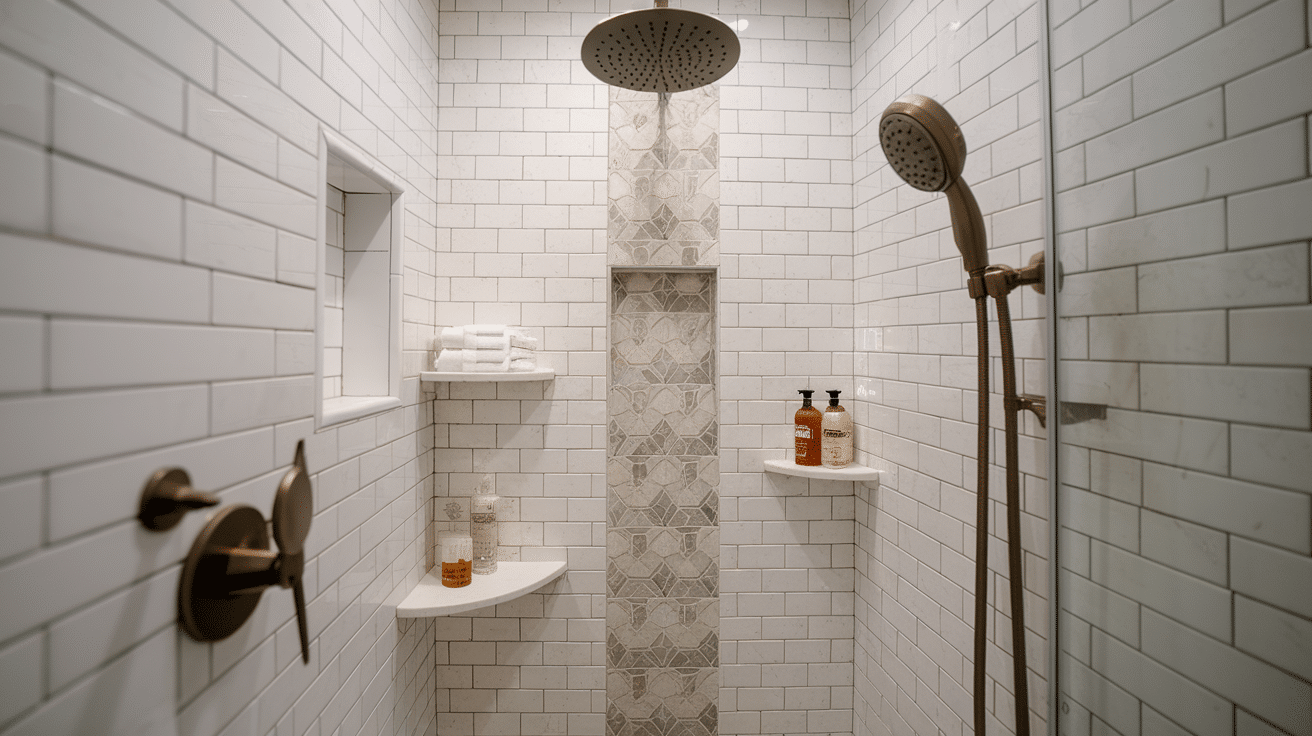
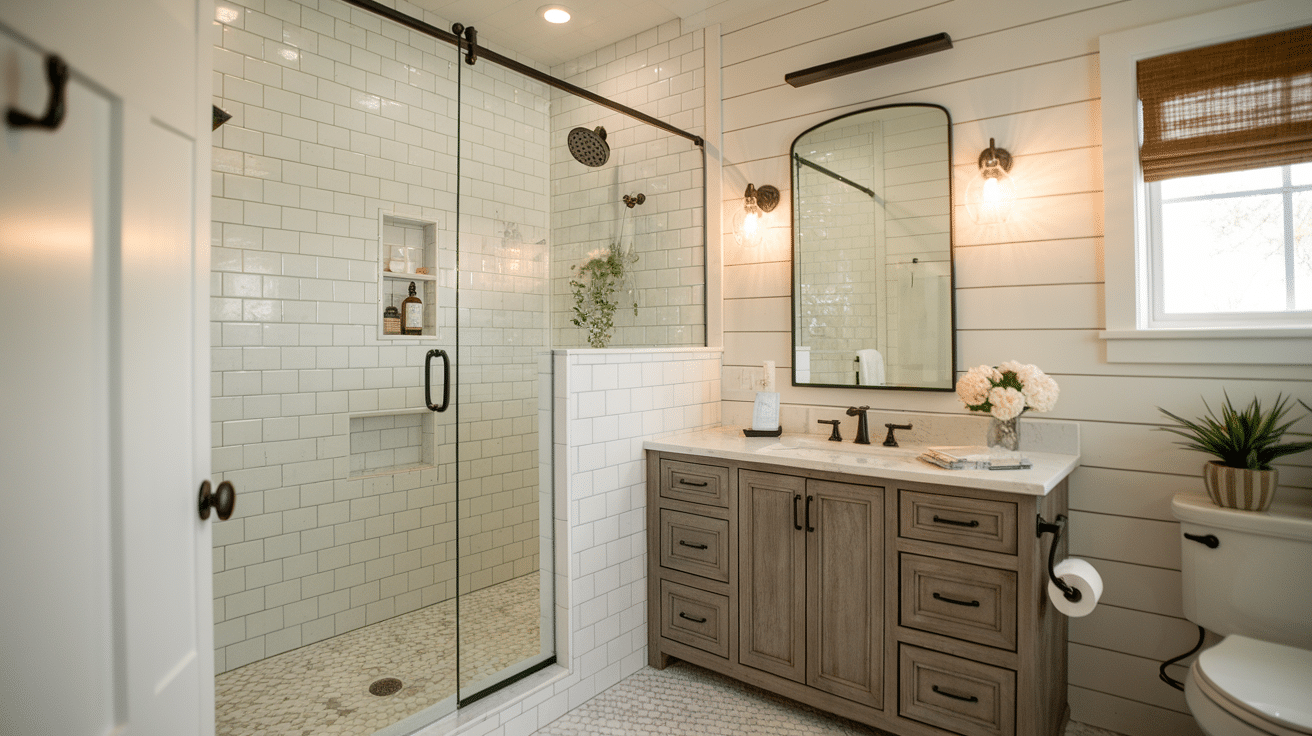
7. Subway Tile Showers
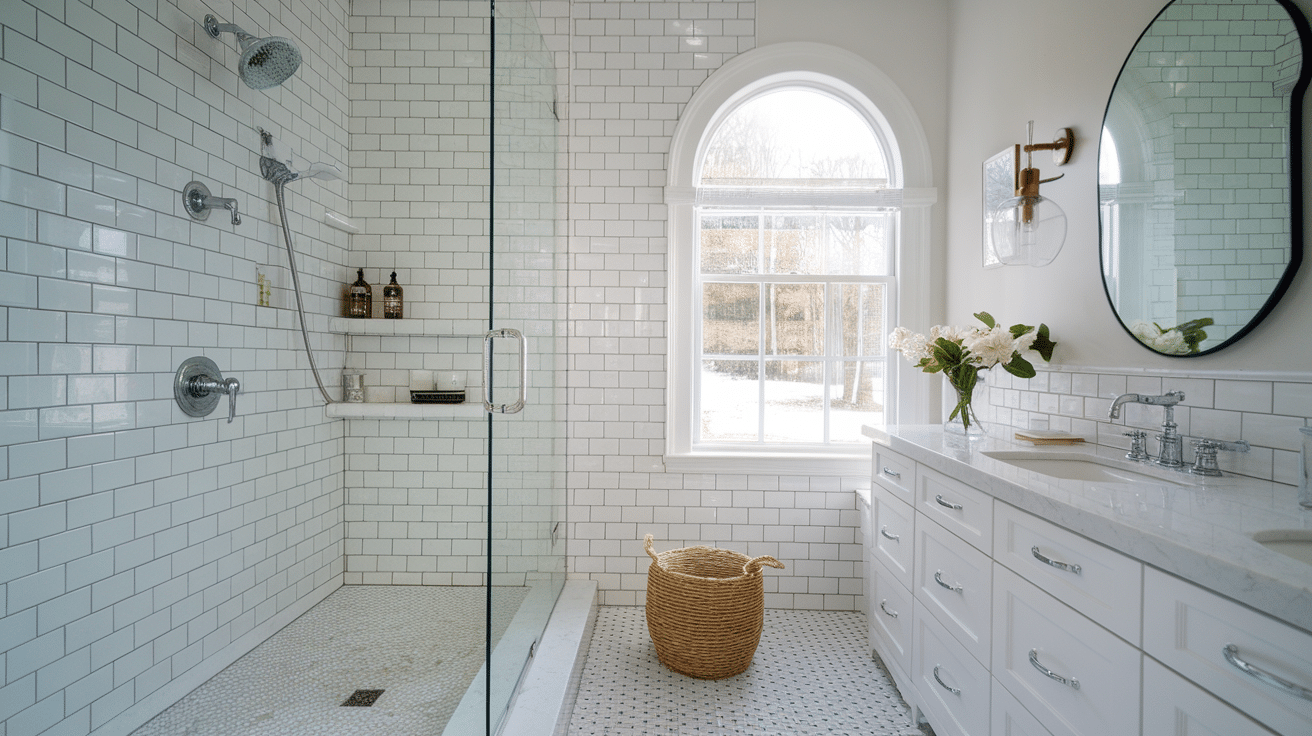
Subway tiles offer a clean, classic look that fits almost any bathroom style.
The simple rectangular shape creates visual interest with its pattern while remaining subtle enough to work with many design choices, from very old-fashioned to quite modern.
8. Mosaic Tile Patterns
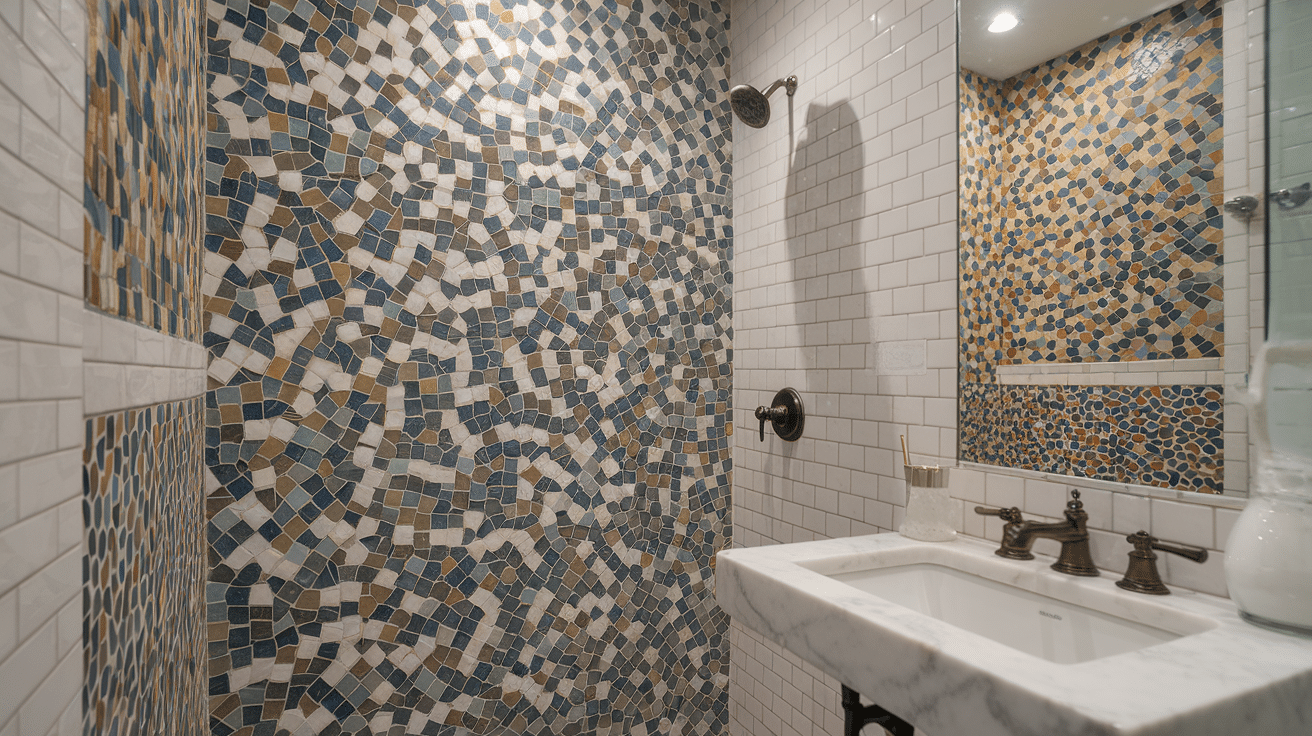
Mosaic tiles let you add color and pattern to your shower in countless combinations.
Small tiles create visual texture and can form pictures or patterns that make your shower unique. They can turn a basic wall into a beautiful focal point for the entire bathroom.
9. Natural Stone Tile Showers
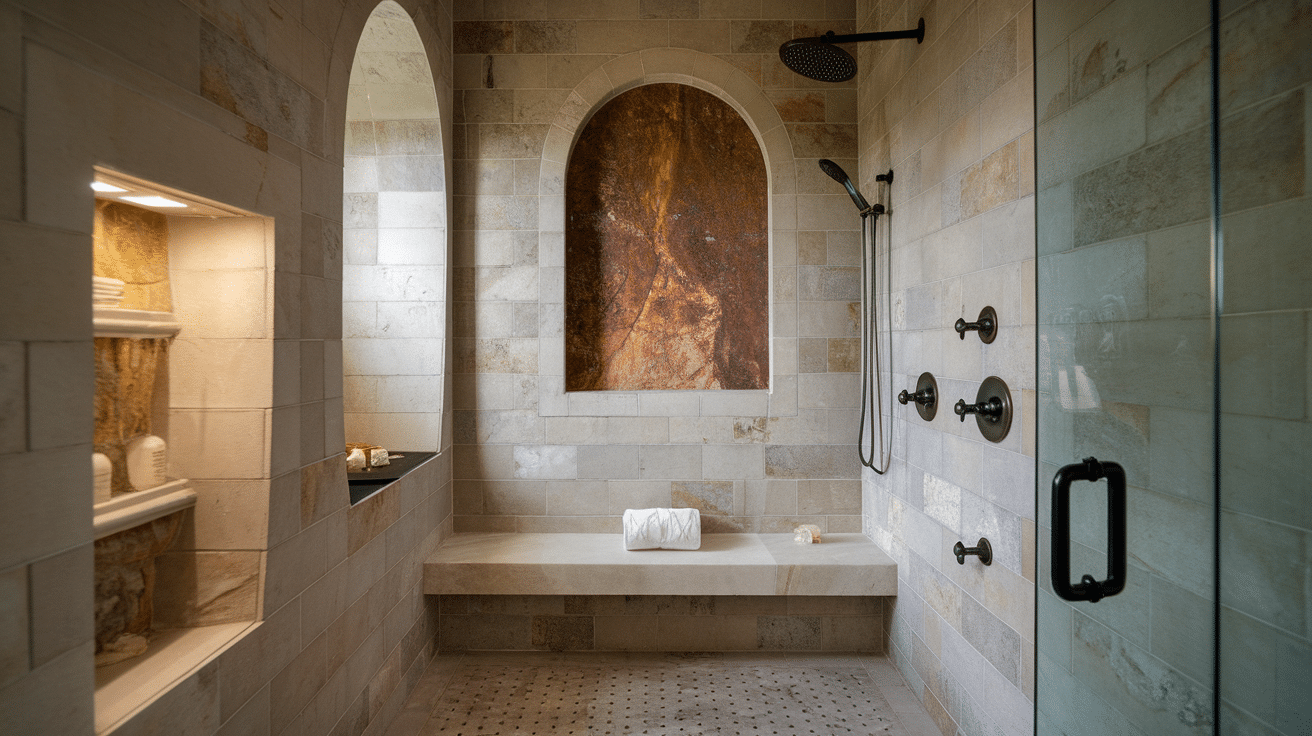
Natural stone brings the beauty of the outdoors inside your bathroom. Each stone tile has unique patterns and colors that create a one-of-a-kind shower.
Materials like marble, granite, or slate add texture and visual depth while giving your bathroom a high-end, lasting quality.
10. Shiplap Wall Showers
Shiplap walls (with proper waterproofing) bring warmth and character to shower spaces. The horizontal lines create a sense of width in small bathrooms.
This look pairs nicely with both modern fixtures for a current feel or vintage elements for a more country-inspired design.
11. Bold Color Tiles
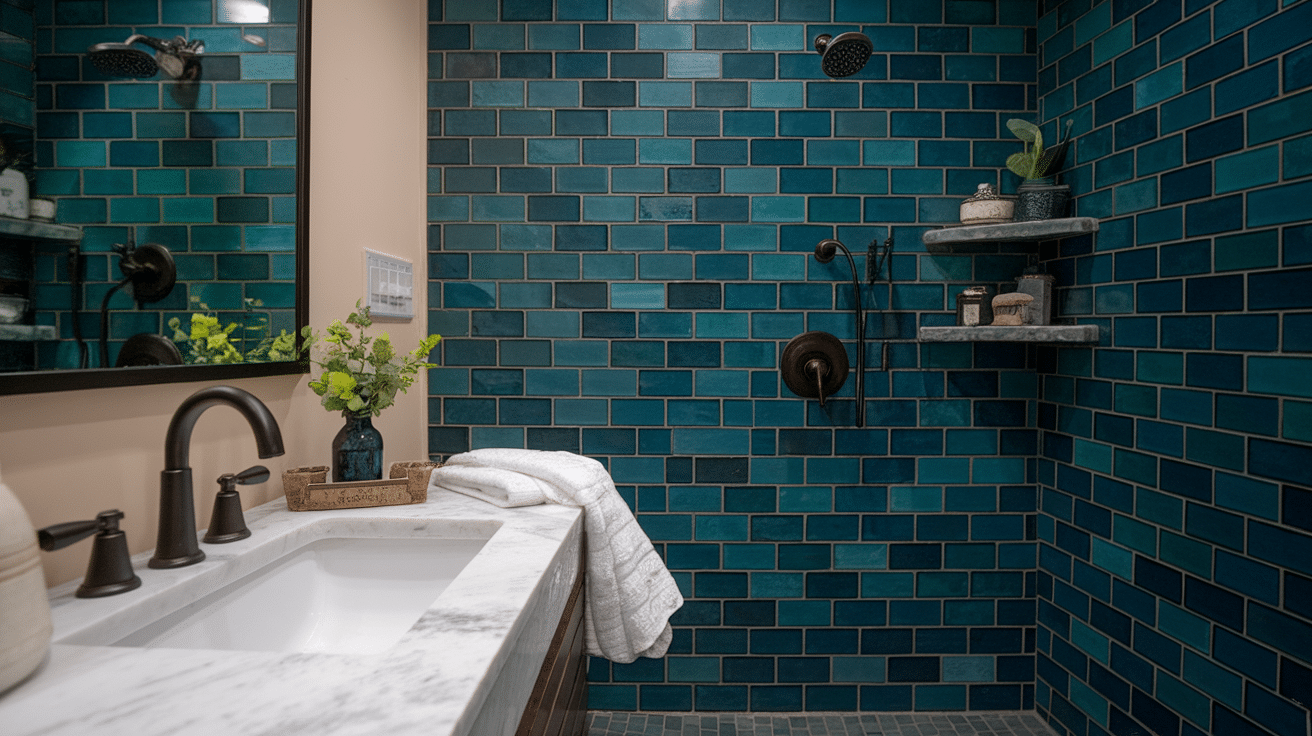
Colorful tiles turn your shower into the star of your bathroom. Deep blues, rich greens, or warm terracottas create mood and personality in an otherwise plain space.
Even using color on just one wall can completely change how your shower looks and feels.
Conclusion
Remodeling your shower offers many ways to improve both the function and look of your bathroom. From simple updates like new fixtures to complete overhauls with custom tile work, the options fit various budgets and skill levels.
When planning your project, consider what matters most to you—whether that’s extra space, better accessibility, water savings, or a more modern style.
Take time to assess your needs, set a clear budget, and plan each step carefully.
With proper preparation and the right materials, your shower update can transform your daily routine and add lasting value to your home.