70 Pumpkin Painting Ideas for Every Skill Level
Carving a pumpkin gets messy fast, and it barely lasts a week before it sags and molds. Painting fixes both problems and opens up far more design options than a knife ever could manage.
This article brings together all pumpkin painting ideas for every style, from five-minute beginner designs to detailed showstoppers.
You will also find a full step-by-step tutorial, honest tool advice, and simple display tips. Your painted pumpkin actually holds up through the whole season.
What You Need Before You Start
Good results start before you even pick up a brush. Here is everything worth having on hand so your painting session goes smoothly.
|
What You Need |
Why It Matters |
|---|---|
|
A real or foam pumpkin |
Real pumpkins look natural but rot over time, while foam pumpkins can be reused every year. |
|
Acrylic paint |
Dries fast, covers well, and cleans up easily if you make a mistake. |
|
Paintbrush set |
Different sizes let you switch between base coats and fine details. |
|
Paint pens or markers |
Best for lettering, outlines, and designs that need a steady, thin line. |
|
Sponges |
Useful for texture, blending, and stippled effects like polka dots. |
|
Painter’s tape |
Keeps stripes, color blocks, and split designs sharp and even. |
|
Sealant or clear varnish |
Protects the finished design and helps the pumpkin last longer outdoors. |
|
Spray paint (optional) |
Fastest way to apply a solid base coat or a blended ombre effect. |
|
Stencils (optional) |
Give you a clean, repeatable outline for more detailed designs. |
|
Pencil |
Used to sketch your design before committing to paint. |
70 Pumpkin Painting Ideas
These ideas are grouped into seven styles, so you can jump straight to the mood you want. Most work on a real or a foam pumpkin, using paint you likely already own.
Easy and Beginner-Friendly Pumpkin Painting Ideas

Start here if you want a good-looking pumpkin in under an hour, with no drawing skills required.
-
Classic Jack-o’-Lantern Face. Paint the traditional triangle eyes, a triangle nose, and a jagged, toothy grin in black. It looks just like a carved pumpkin, minus the mess and short lifespan.
-
Solid Color Base Pumpkin. Cover the whole pumpkin in one flat coat of paint, in orange, white, or a shade that matches your porch. Two coats usually give the most even finish.
-
Polka Dot Pumpkin. Paint a solid base color first and let it dry. Then dip a pencil eraser or small sponge in a contrasting color to add rows of even dots.
-
Simple Stripe Pumpkin. Run strips of painter’s tape from the stem to the base before you paint, then peel them off once dry. You get crisp stripes with almost no skill involved.
-
Spray-Painted Ombre Pumpkin. Spray two or three shades from the same color family, blending from dark at the base to light at the top. Light, even coats blend better than one heavy pass.
-
Plaid Pattern Pumpkin. Paint a light base coat, then add crossing horizontal and vertical lines in brown and red once it dries. It reads as plaid from a few feet away.
-
Two Tone Dipped Pumpkin. Paint the top half one color and the bottom half another, splitting them at the widest ridge. Use tape along that line first for a clean edge.
-
Chevron Zigzag Pumpkin. Sketch a zigzag pattern in pencil first, then fill in alternating sections with two or three colors. This one photographs well for a fall porch display.
-
Paint Pen Dot Art Pumpkin. Use paint pens to build small dot patterns, like a mandala, without ever picking up a brush. It is one of the most forgiving techniques for shaky hands.
-
Metallic Gold Pumpkin. One coat of metallic acrylic or spray paint turns any pumpkin into a polished accent piece. It pairs well with neutral fall florals on a mantel or table.
Scary and Spooky Pumpkin Painting Ideas

If you want your porch to feel like a horror movie set, these designs bring the blood and bones.
-
Cracked Skull Pumpkin. Paint a white skull shape across the front, then add thin black lines running through it like cracks. Keep the cracks uneven for a more realistic look.
-
Bloody Drip Pumpkin. Paint the pumpkin white, then let red paint run from the top down the sides in thin streaks. Tilt the pumpkin slightly while it dries so the drips fall unevenly.
-
Screaming Ghost Face Pumpkin. Paint a wide-open mouth and stretched, panicked eyes on a plain white or gray base. The exaggerated expression sells the scare, not fine detail.
-
Dracula Fangs Pumpkin. Paint a sharp widow’s peak, heavy arched brows, and two pointed white fangs against pale skin tones. A touch of red near the mouth finishes the look.
-
Haunted House Silhouette Pumpkin. Paint a black house shape with jagged rooftops against a glowing yellow or orange moon. This design works especially well on a larger pumpkin with a flat side.
-
Bloody Handprint Pumpkin. Paint the pumpkin white, then press paint-covered hands directly onto the surface. Real handprints look messier and more convincing than painted ones.
-
Spiderweb Wrap Pumpkin. Paint thin white lines that stretch around the entire pumpkin like a spiderweb, following the natural ridges. Add a small black spider near one edge for detail.
-
Zombie Skin Pumpkin. Blend green and gray paint unevenly across the surface, then add a few painted-on stitches or cuts. Uneven blending helps sell the decayed skin look.
-
Grim Reaper Hood Pumpkin. Paint a black hooded shape with a dark, empty space where a face should be, then add two glowing eyes. Keep the rest of the design minimal.
-
Creepy Doll Face Pumpkin. Paint pale skin, oversized rosy cheeks, and a thin stitched smile in dark red. Slightly uneven eyes make the doll face feel more unsettling than a symmetrical one.
Cute and Kid-Friendly Pumpkin Painting Ideas

These designs use bright colors and simple shapes, so kids can paint most of them with very little help.
-
Smiling Ghost Pumpkin. Paint a rounded white ghost shape with a big smile and two pink circles for cheeks. It is friendly enough for toddlers to paint with minimal supervision.
-
Baby Owl Face Pumpkin. Paint two large round eyes and a small triangle beak in warm browns and creams. Add short, feather-like strokes around the edges for texture.
-
Fingerprint Critter Pumpkin. Let kids press paint-covered fingertips onto the pumpkin to form little bugs, bees, or ladybugs. Add legs and antennae with a thin brush once the prints dry.
-
Emoji Face Pumpkin. Paint the pumpkin bright yellow, then add a favorite emoji expression in black. Heart eyes and laughing faces are the most requested by kids.
-
Ladybug Pumpkin. Paint the pumpkin red, then add black spots and a small black head near the stem. A thin white line down the middle finishes the classic wing pattern.
-
Puppy Dog Pumpkin. Paint a simple dog face in brown or tan, with floppy felt or painted ears. Add a pink tongue sticking out for extra personality.
-
Rainbow Heart Pumpkin. Paint small hearts scattered across the surface in every color of the rainbow. This one works especially well on a white or cream pumpkin.
-
Monogram Letter Pumpkin. Paint one large initial per pumpkin, which looks especially good lined up across several mini pumpkins. It doubles as a place card for a family gathering.
-
Handprint Monster Pumpkin. Paint a simple monster face, then add kids’ handprints around it as arms, spikes, or fur. Every handprint monster ends up a little different.
-
Sleepy Cat Pumpkin. Paint a cat face with closed, curved eyes and a small pink nose. Add two simple whisker lines on each side to complete the look.
Floral and Nature-Inspired Pumpkin Painting Ideas

For a softer look that suits a tablescape more than a haunted porch, these designs borrow from the garden.
-
Botanical Line Art Pumpkin. Paint thin, single-color outlines of leaves and stems across the surface, similar to a botanical print. Black or dark green on a white pumpkin gives the cleanest result.
-
Sunflower Face Pumpkin. Paint one large sunflower centered on the front of the pumpkin, with yellow petals around a dark brown center. It works well as a fall centerpiece on its own.
-
Wildflower Bouquet Pumpkin. Paint a small cluster of mixed wildflowers on one side, leaving the rest of the pumpkin plain. Slightly uneven flowers look more natural than perfectly matched ones.
-
Watercolor Leaf Pumpkin. Thin your acrylic paint with a little water, then blend soft leaf shapes so the edges bleed together. This gives a watercolor effect without needing actual watercolor paint.
-
Vine and Berry Pumpkin. Paint a thin green vine trailing around the pumpkin, with small clusters of red berries along its length. It reads as festive without leaning into typical Halloween colors.
-
Autumn Wreath Pumpkin. Paint a circular wreath shape around the stem, using leaves, small berries, and a bit of ribbon detail. This turns the stem into part of the composition.
-
Pressed Flower Stencil Pumpkin. Lay real pressed flowers against the pumpkin, dab paint around the edges, then lift them away to reveal the shape. The result looks like a print stamped onto the surface.
-
Painted Fern Silhouette Pumpkin. Paint dark fern shapes against a lighter background, keeping the fronds thin and slightly irregular. This works especially well on a green or sage colored pumpkin.
-
Mushroom and Moss Pumpkin. Paint small clusters of mushrooms with patches of moss near the base of the pumpkin, like a tiny woodland scene. Reds and browns work well against cream.
-
Harvest Wheat Pumpkin. Paint a few stalks of wheat tied together with a small ribbon near the stem. Golden tones on a white or cream pumpkin give this one a farmhouse feel.
Funny and Punny Pumpkin Painting Ideas

These are built to get a laugh at the front door instead of a scare. Most take less than 20 minutes.
-
Goofy Unibrow Pumpkin. Paint a confused-looking face, then top it with one thick, exaggerated eyebrow stretching across the forehead. The unibrow alone does most of the comedic work.
-
Pumpkin Wearing Glasses. Paint any simple face, then add a pair of painted-on glasses frames. It works on a jack-o-lantern face just as well as a plain smiley face.
-
Hamburger Pumpkin. Paint the top and bottom sections brown for the bun. Add a wide band of dark brown in the middle for the patty. Top it with yellow, green, and red rings for cheese, lettuce, and tomato.
-
Bundt Cake Pumpkin. Paint the pumpkin a cake-like brown. Drip white or cream paint over the top so it looks like frosting. Add a few painted sprinkles to finish.
-
Braces Smile Pumpkin. Paint a wide, toothy grin, then add small silver or gray squares across the teeth to look like braces. It makes any face design instantly funnier.
-
Spa Day Cucumber Pumpkin. Paint a relaxed, half-closed face, then glue two real or painted cucumber slices over where the eyes would go. A small painted towel wrap completes the joke.
-
Bad Hair Day Pumpkin. Paint a tired, grumpy face, then top it with wild yarn or painted hair sticking out in every direction. The messier the hair, the funnier the result.
-
Pun Word Pumpkin. Paint a short pun in bold bubble letters, like gourd geous or pumpkin spice and everything nice. Keep the letters large enough to read from the sidewalk.
-
Googly Eyes Pumpkin. Skip painting eyes entirely and glue on a few oversized googly eyes instead. Paired with almost any painted mouth, it instantly reads as funny rather than scary.
-
Mustache Pumpkin. Take any simple face design and finish it off with one bold, painted mustache. A curled, old-fashioned style tends to get the biggest laugh.
Unique and Showstopper Pumpkin Painting Ideas

These take a bit more time and a steadier hand, but they stand out the most on a crowded porch.
-
Galaxy Swirl Pumpkin. Blend blue, purple, and black paint together in soft swirls, then add small white dots for stars once it dries. Mixing in metallic paint gives the stars extra shine.
-
Marbled Nail Polish Pumpkin. Drip a few colors of nail polish onto a bowl of water and swirl it lightly. Then dip the pumpkin through the surface. The marbled pattern transfers in seconds.
-
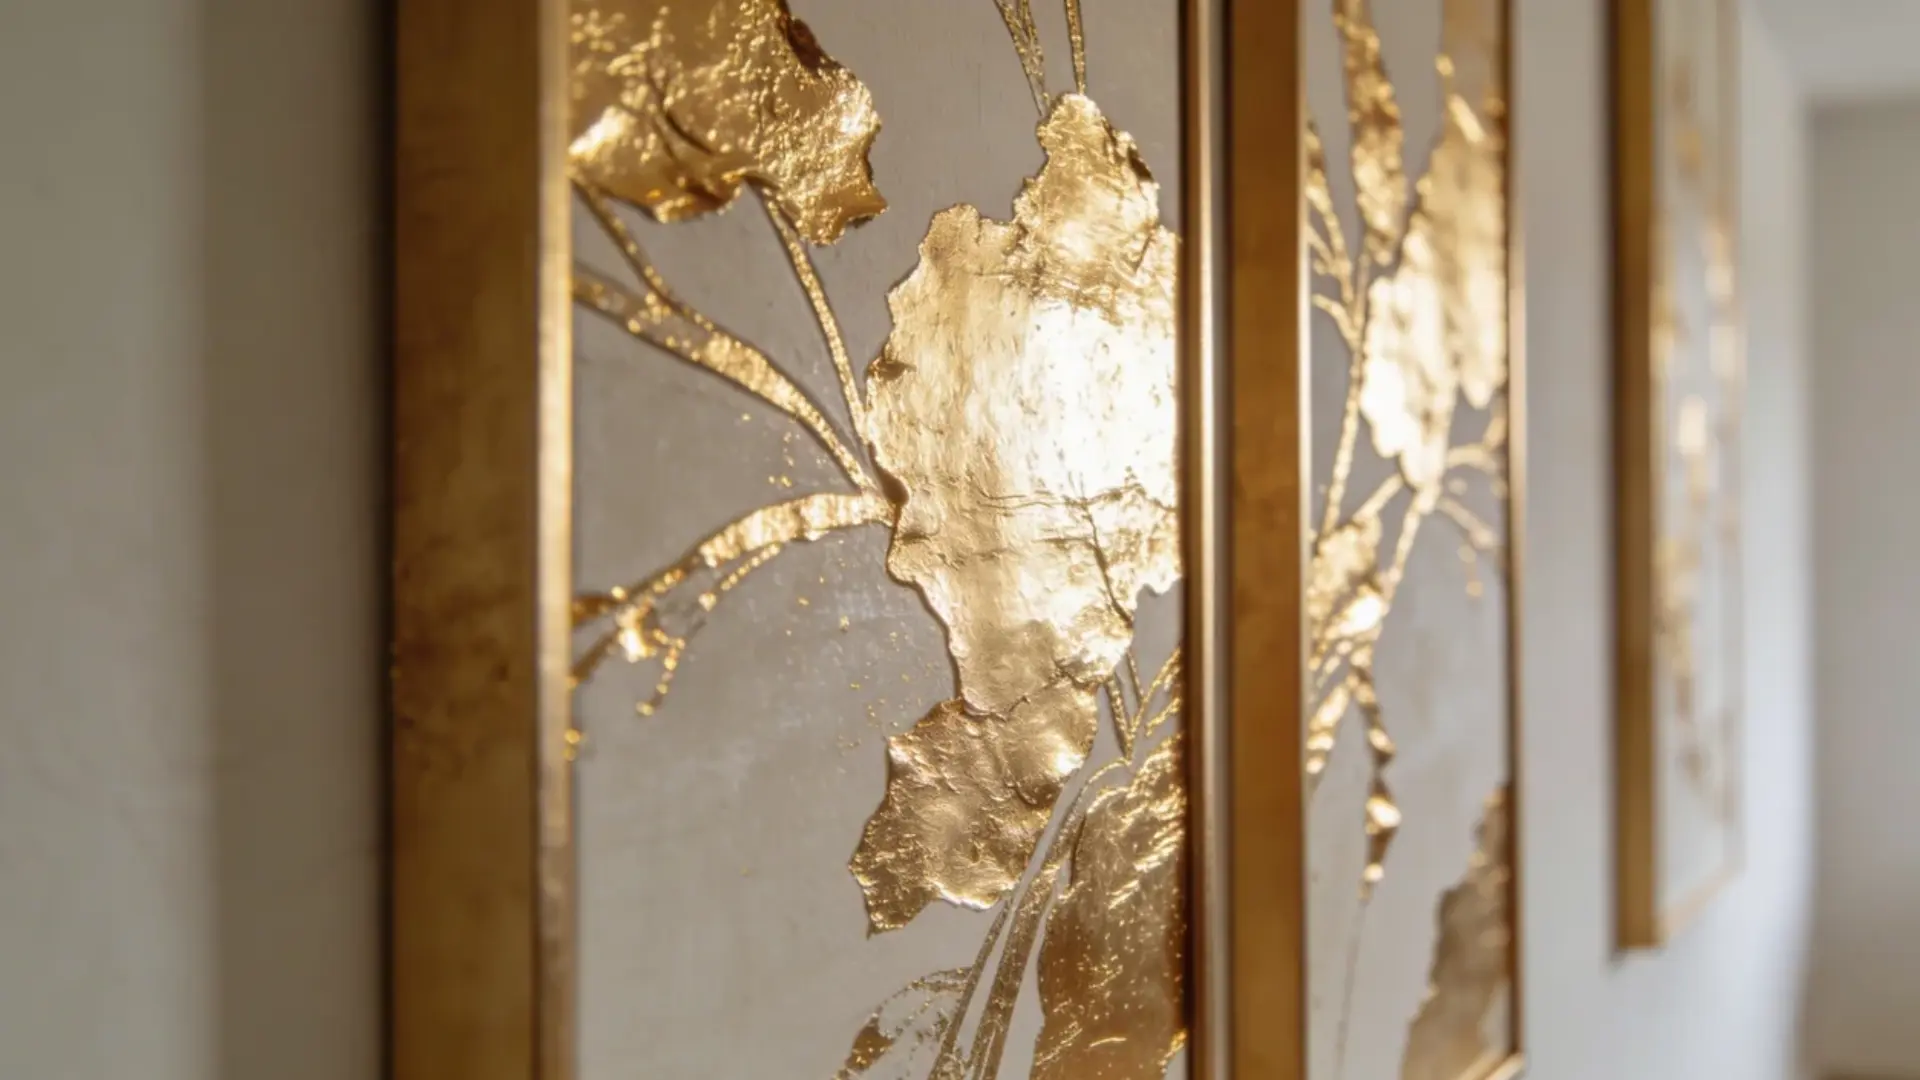
Gold Leaf Pumpkin. Paint the entire pumpkin, including the stem, in a warm metallic gold. Under porch lighting, it can look convincingly like a real gilded surface.
-
Tiled Pattern Pumpkin. Sketch a simple design first, like a face or a star. Then fill it in using small painted squares instead of solid color. Each square can be a slightly different shade.
-
Glitter Drip Pumpkin. Paint the pumpkin a solid metallic color, then pour glittery paint over the top so it drips down the sides. Let it dry undisturbed so the drips keep their shape.
-
Abstract Face Pumpkin. Paint a face with the features placed in unexpected spots, using bold, unrelated colors instead of natural skin tones. There is no wrong way to arrange it.
-
Splatter Paint Pumpkin. Load a brush with paint, then flick it toward the pumpkin from a short distance for a splattered effect. Cover your work area first, since this gets messy fast.
-
Feather Texture Pumpkin. Press real or faux feathers against wet paint, then gently peel them away once it starts to set. The texture left behind mimics real feather detail.
-
Constellation Pumpkin. Paint the pumpkin black, then add small white dots connected by thin lines to form a few real constellations. A star map printout makes this easier to copy.
-
Crackle Finish Pumpkin. Apply a crackle medium over a base coat, then add a top coat in a contrasting color. As it dries, the top layer cracks, revealing the color underneath.
Color-Themed and Trendy Pumpkin Painting Ideas

Instead of a character or a scene, these designs build around one color story. That makes it easy to group several pumpkins into one display.
-
All-White Minimalist Pumpkin. One flat coat of white paint, with no design added at all. It works best in a group of two or three, mixed with a bit of greenery.
-
Black and Gold Pumpkin. Paint the pumpkin black, then add thin gold lines along the ridges or around the stem. It reads as more refined than traditional Halloween colors.
-
Pastel Spring Tone Pumpkin. Paint the pumpkin in soft pink, mint, or lavender instead of the usual fall palette. It stands out precisely because it breaks from the expected orange and black.
-
Coastal Blue and White Pumpkin. Paint simple stripes or a light pattern in navy and white, similar to a sailor’s classic stripe pattern. This one suits a beach house porch better than a typical fall display.
-
Neon Glow Pumpkin. Paint the pumpkin in a bright neon shade, like pink, green, or orange. Under blacklight or string lights, the color practically glows on its own.
-
Sage Green Cottagecore Pumpkin. Paint the pumpkin a muted sage green, then add a few small hand-painted botanical accents. It pairs naturally with dried flowers and neutral linen decor.
-
Terracotta and Rust Pumpkin. Layer two or three warm, earthy shades of orange and brown, blending them slightly at the edges. This gives the pumpkin more depth than a single flat color.
-
Copper Metallic Pumpkin. Paint the entire surface in a shimmering copper tone for an elevated look on a dining table. It photographs particularly well under warm indoor lighting.
-
Blush Pink Pumpkin. One solid coat of soft pink paint, left plain or paired with a small ribbon around the stem. This shade has become a popular choice for bridal showers.
-
Color Block Rainbow Pumpkin. Divide the pumpkin into vertical or horizontal sections using tape, then paint each one a different color. Peel the tape away once dry for clean color blocks.
How to Paint a Pumpkin Step by Step
Once you have picked a design, the process barely changes between styles. Follow these steps in order for a finish that actually lasts.
Step 1: Choose a Smooth, Unblemished Pumpkin
Look for a pumpkin with a flat, even surface and no soft spots or cracks. A smoother surface gives paint something even to grip, and a firm pumpkin holds its shape while you work.
Step 2: Clean and Dry It Completely
Wash the pumpkin with warm, soapy water to remove dirt, wax, and residue from the patch. Dry it fully with a towel, since leftover moisture stops paint from sticking properly.
Step 3: Prime or Seal the Surface First
This step is optional, but a light coat of sealant or gesso gives paint a better surface to hold onto. It also helps prevent the orange skin from showing through lighter colors.
Step 4: Sketch Your Design in Pencil
Lightly sketch your design onto the pumpkin before picking up any paint. Pencil lines wipe away easily if you change your mind, unlike a paintbrush.
Step 5: Paint a Base Coat First
If your design needs a solid background color, paint that layer first and let it dry completely. Painting details over a wet base almost always smears the design.
Step 6: Add Details with a Smaller Brush or Pen
Once the base coat is dry, switch to a smaller brush, a sponge, or a paint pen for finer details. Working in thin layers gives you more control than one heavy pass.
Step 7: Seal the Finished Design
Once everything is fully dry, apply a clear sealant or varnish over the whole design. This step protects the paint from smudging and helps the pumpkin hold its color longer outdoors.
What Kind of Paint and Tools Work Best
Not every paint behaves the same way on a pumpkin’s curved, slightly waxy skin. Here is what each option actually works best for.
-
Acrylic Paint: The most reliable all-around choice, since it dries fast, covers in two coats, and cleans up with soap and water.
-
Paint Pens and Markers: Best for fine lines, lettering, and small pumpkins, since they give more control than a brush ever could.
-
Spray Paint: The fastest way to lay down a solid base color, best used outdoors or in a well-ventilated space.
-
Chalk Paint: Gives a soft, matte, vintage finish that suits neutral or farmhouse style displays better than glossy acrylic.
How to Display and Preserve Your Painted Pumpkin
Keep painted pumpkins out of direct sun and rain, since both fade the color and speed up rot underneath. If your display sits outside, reseal the design every couple of weeks to protect it from the weather.
Painting instead of carving already helps a pumpkin last longer, since there are no open cuts for bacteria to enter.
Mississippi State University Extension confirms this in its guide to keeping pumpkin decor fresh. Group your painted pumpkins by category, like all the scary designs together, for a display that looks planned, not random.
Conclusion
Painting a pumpkin gives you more design freedom than a knife ever could. It also lasts much longer once it is sealed properly.
Every design on this list follows the same basic steps, whether it’s easy or a full showstopper. Clean the pumpkin, sketch your idea, paint in layers, and seal the finish.
This list gives you all pumpkin painting ideas to choose from. The hardest part now is picking just one pumpkin to start with.
Frequently Asked Questions
What kind of paint can you use on pumpkins?
Acrylic paint works best for most designs, since it dries quickly, covers well, and cleans up with water. Paint pens suit fine details, and spray paint suits solid base colors.
What should I spray on the pumpkin before painting?
A light coat of clear sealant, gesso, or primer gives paint something to grip. This step is optional, but it helps prevent peeling and stops the orange skin from showing through.
What does WD-40 do for pumpkins?
People mainly use WD-40 on carved pumpkins to slow rot, repel insects, and add shine. It is not a paint primer, so it will not help paint stick to the surface.
What is the best tool to paint a pumpkin?
A basic paintbrush set covers most designs, while paint pens work better for lettering and fine lines. Sponges are useful for texture and blended color effects.
How can I get paint to stick to a pumpkin?
Clean and fully dry the pumpkin first, since leftover moisture or wax stops paint from bonding properly. A light coat of sealant beforehand also helps the paint hold.
What are the best paint markers for painting pumpkins?
Paint pens with a fine or medium tip work best for lettering, outlines, and small details. Look for ones labeled for use on multiple surfaces, since they tend to cover better.
Will spray paint stay on a pumpkin?
Yes, as long as the pumpkin is clean and dry before spraying and you seal the finish afterward. Without sealing, spray paint can chip or fade faster outdoors.