How to Patch Drywall and Hide Repairs
A hole in the wall always looks more intimidating than it actually is. Most people assume drywall repair requires professional skills, but that simply is not the case.
With the right materials and a clear process, even a complete beginner can learn how to patch drywall. The results can look like the wall was never touched.
This covers everything needed to get it done properly. From gathering the right materials to applying the final coat of paint, each step is simple and straightforward to follow.
Types of Drywall Repairs
Not every drywall repair requires the same approach. The size of the damage determines the level of structural support, materials, and techniques needed for a strong, invisible finish.
| Damage Type | Repair Method | What You Need |
|---|---|---|
| Small Dents or Nail Holes | Fill the spot with spackle or lightweight joint compound, then sand and paint once dry. | Putty knife, spackle, sandpaper, paint |
| Medium-Sized Holes (1–4 Inches) | Cover the hole with a self-adhesive mesh patch and apply multiple thin coats of compound. | Mesh patch, joint compound, putty knife, sandpaper |
| Large Holes (Over 4 Inches) | Install a wood furring strip behind the wall, attach a drywall patch, then finish with compound. | Drywall patch, wood furring strip, screws, drill, joint compound |
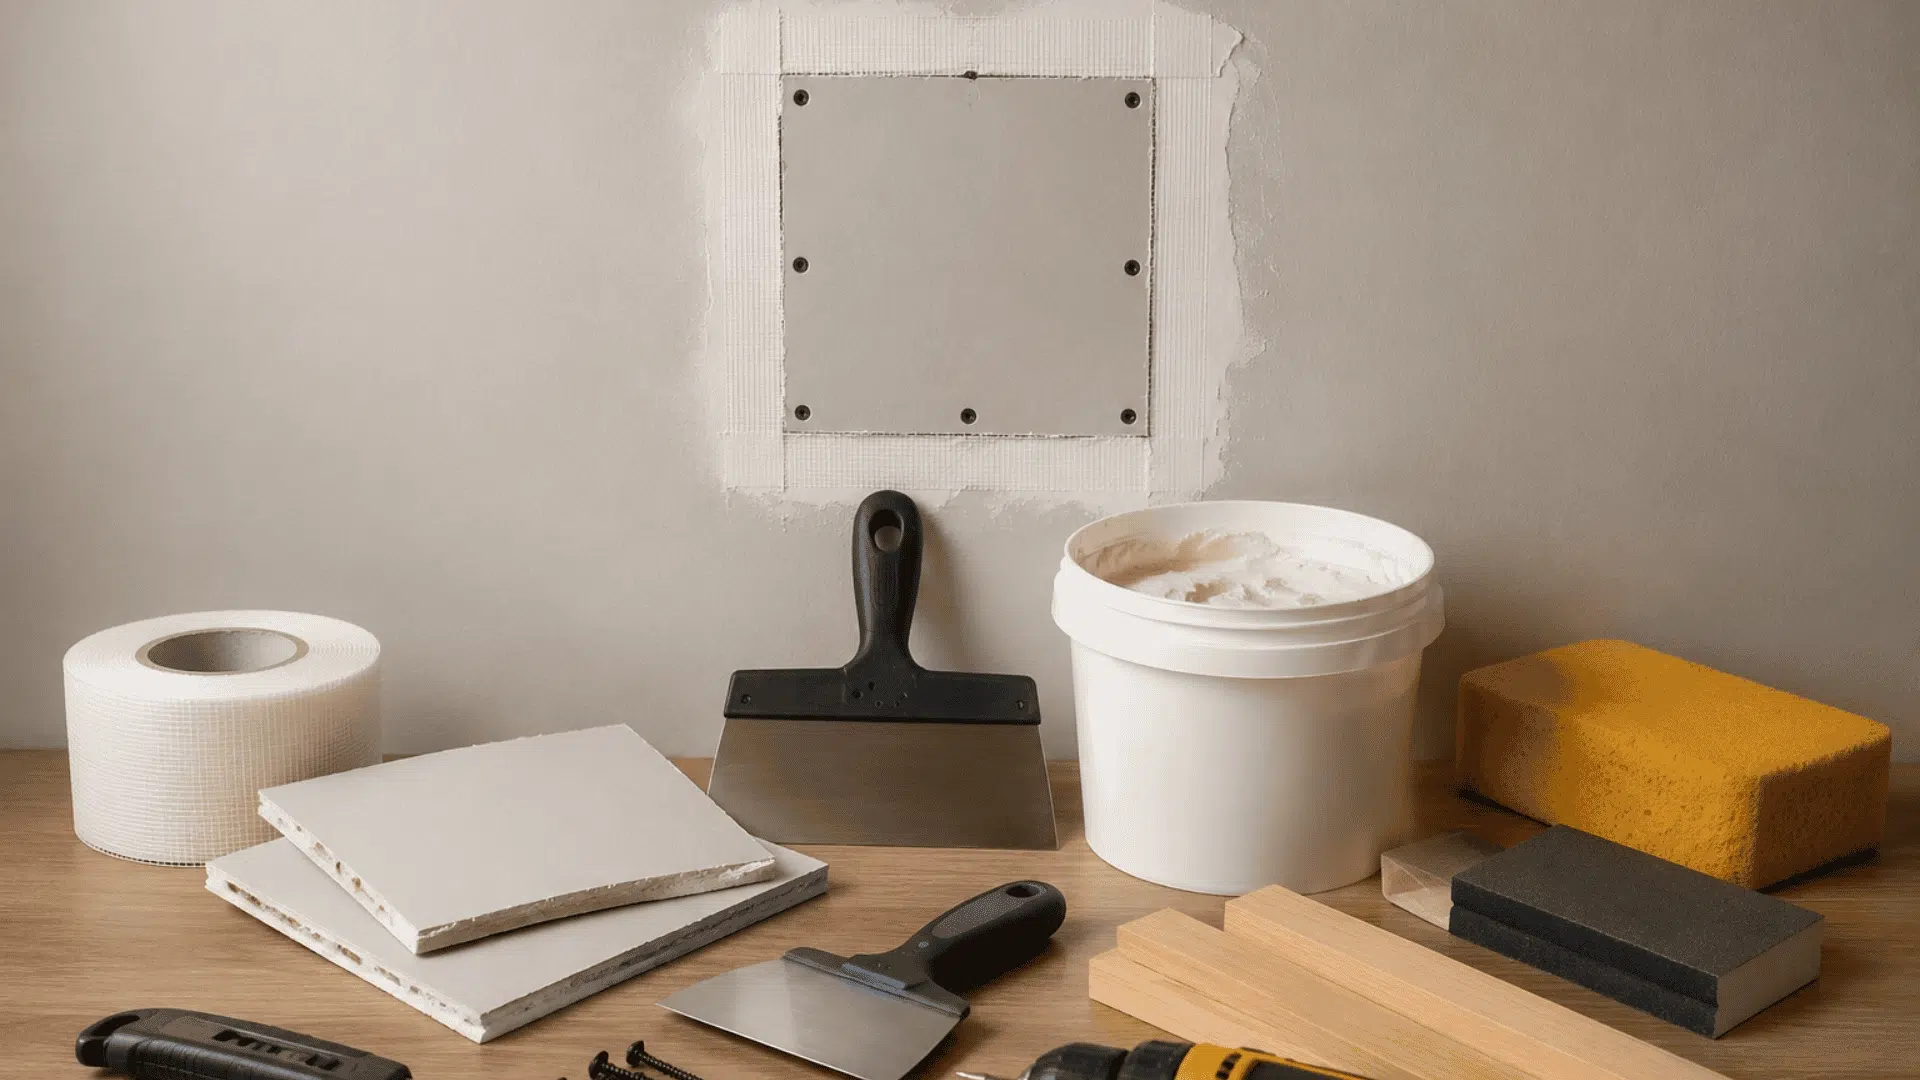
Materials Required
Before starting, gather all the materials and tools listed below to make the repair process smooth and easy.
- Drywall Patch Kit – or separate drywall pieces for larger holes
- Fiber mesh tape – preferred over paper tape for stronger seam bonding
- Quick-set mud – for the first coat; dries fast and builds a strong base
- Regular joint compound – used for second and third coats for a smooth finish
- Tape measure & chalk box – for accurate marking around the damaged area
- Utility knife or keyhole saw – to cut cleanly around the hole
- Wood furring – acts as a backing support behind the patch
- 1¼” drywall screws & drill – to secure the patch and furring firmly in place
- Sanding sponge or hand sander – for smoothing dried compound between coats
- 10″ or 12″ taping knives – for spreading joint compound evenly
- Texture sponge – to match orange peel or knockdown wall texture if needed
- Paint primer & wall paint – for the final finish to blend the patch seamlessly
How to Patch Drywall: Step-by-Step Process
Follow these simple steps carefully to repair your drywall like a pro, even as a complete beginner.
Step 1: Prep
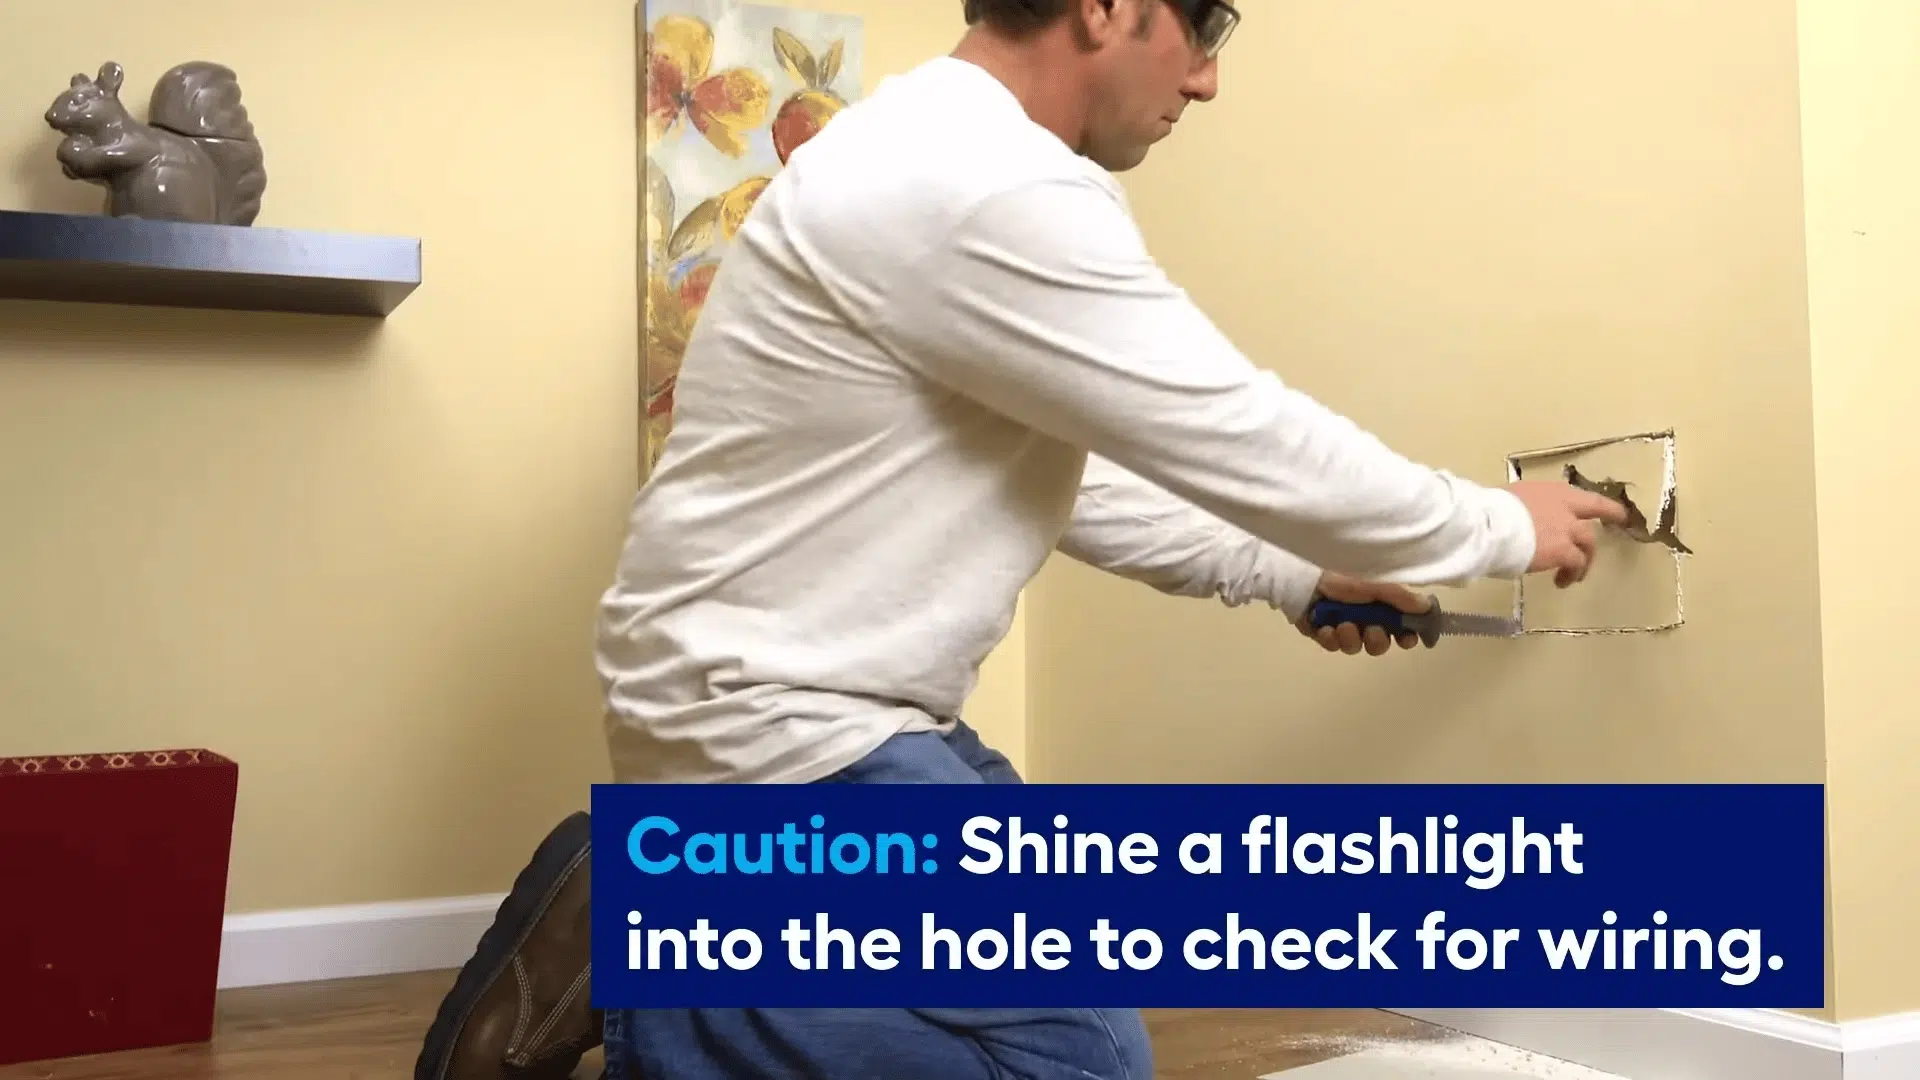
Clean the damaged area thoroughly, removing all loose drywall, dust, and debris. Use a tape measure and chalk box to mark a precise square or rectangle around the hole.
Cut carefully along the marked lines to reduce edge fraying. A clean, straight cut helps the patch fit snugly and allows joint compound to adhere properly to both sides.
Step 2: Adding Wood Furring for Support
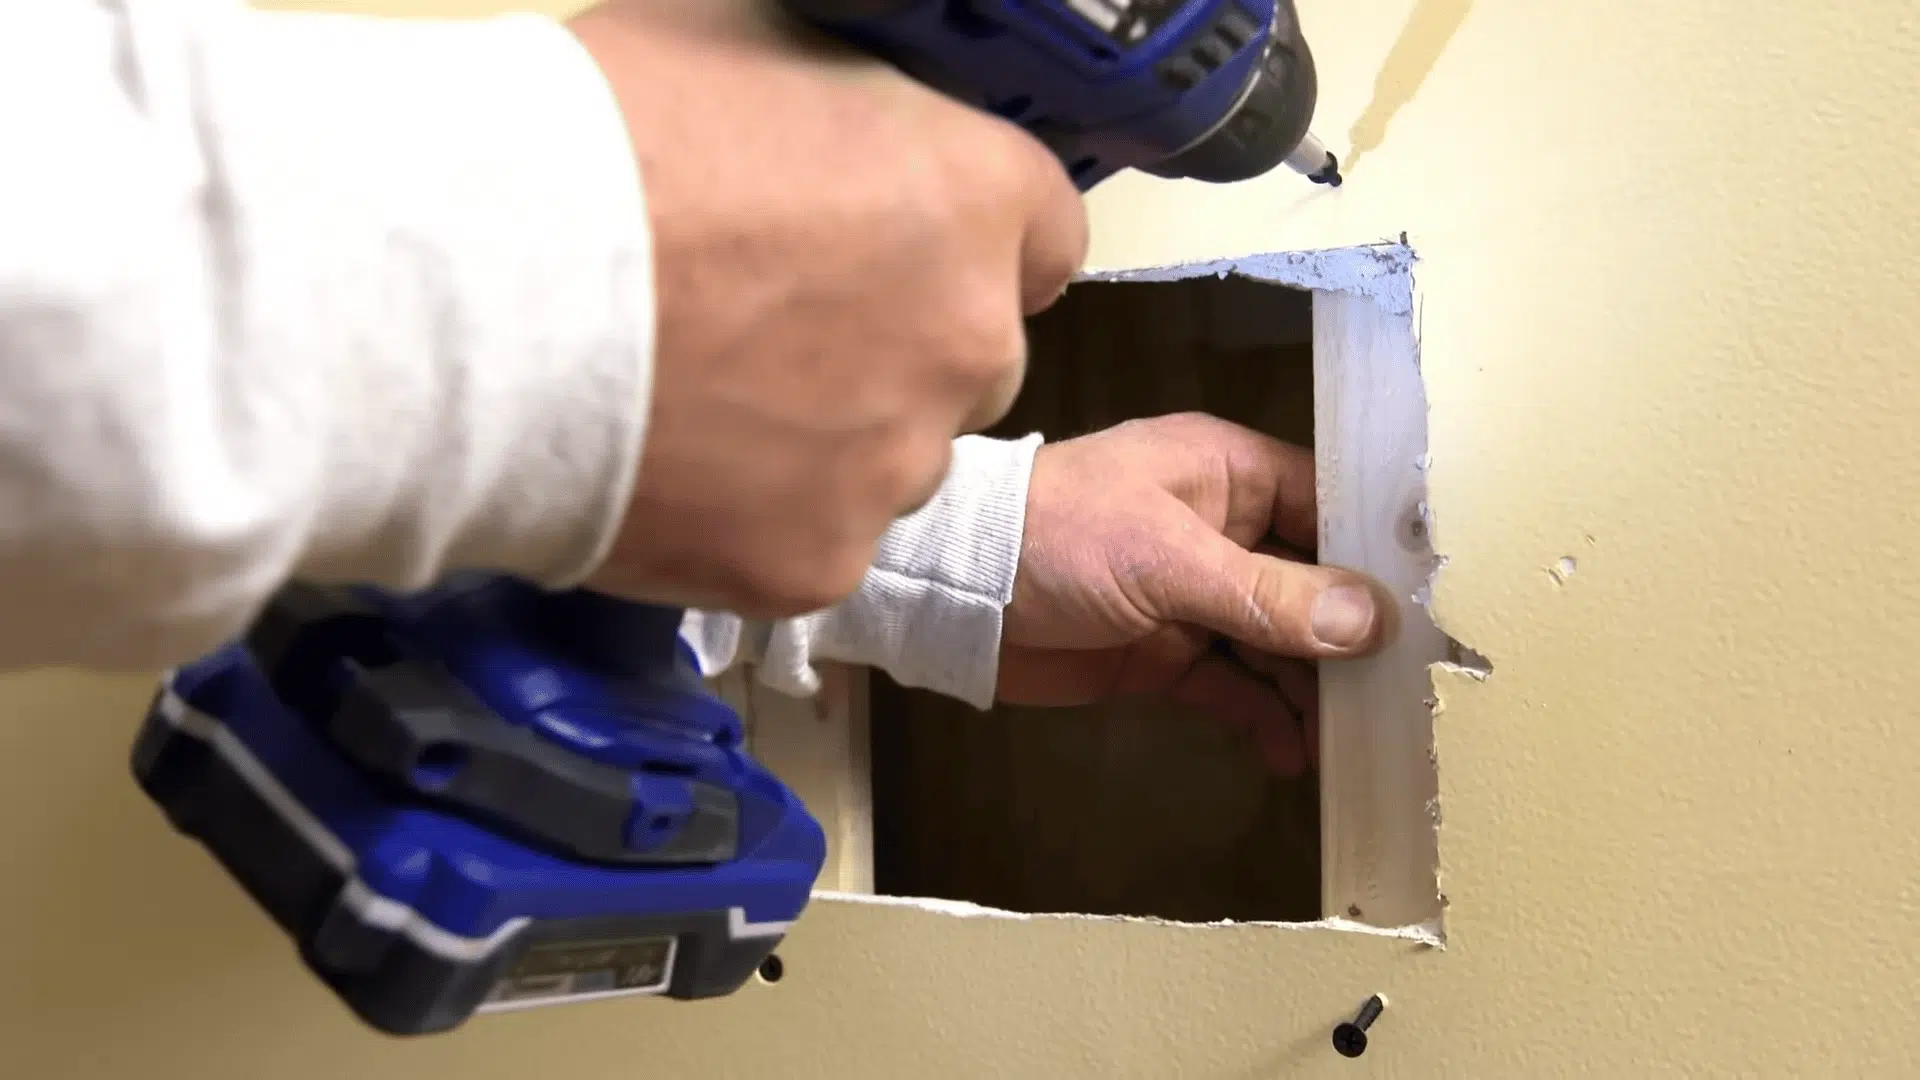
Cut a piece of wood furring slightly larger than the hole and slide it behind the opening. Secure it with drywall screws through the existing wall on both sides.
This creates a firm backing surface that keeps the patch stable and secure. Without it, the patch has nothing solid to grip and will loosen and crack over time.
Step 3: Cutting and Installing the Drywall Patch
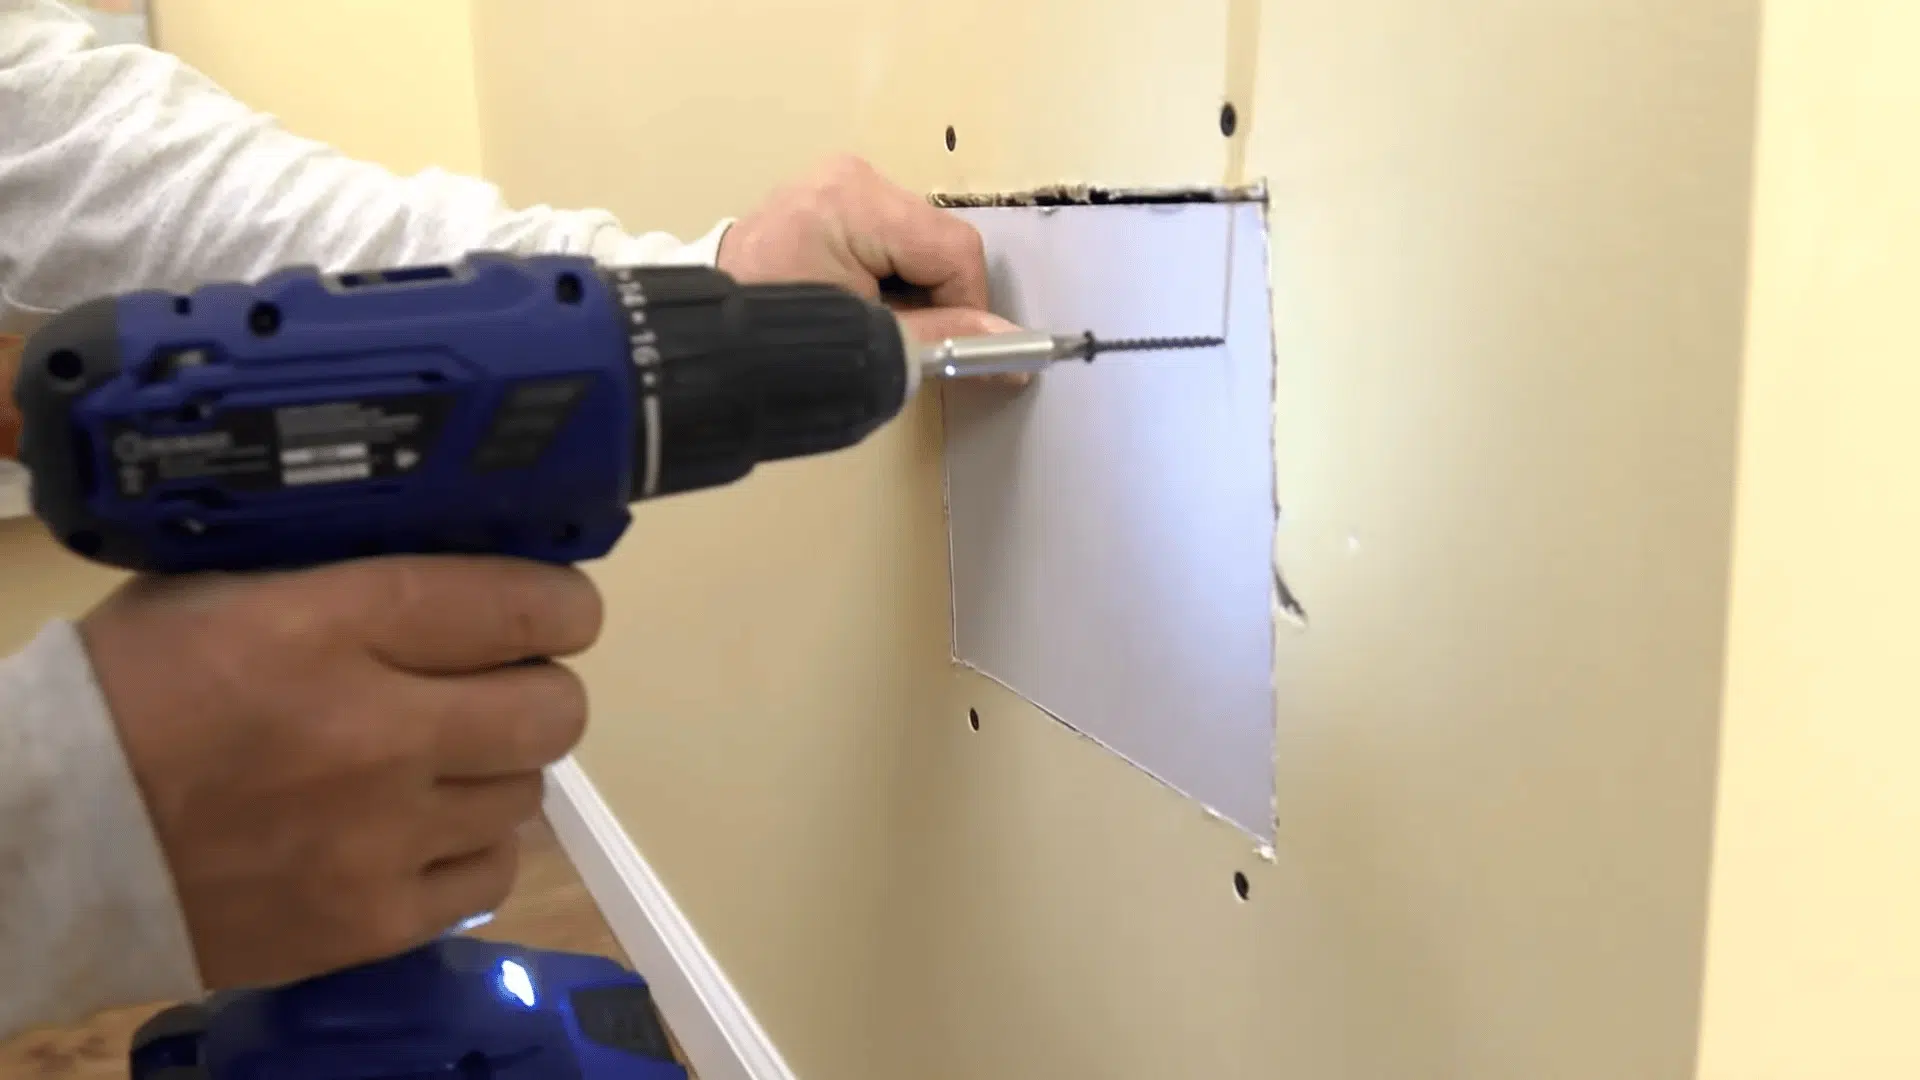
Measure the hole carefully and transfer those measurements onto your drywall piece. Cut along the lines using a utility knife or keyhole saw to get clean, straight edges.
Place the patch into the hole and secure it with drywall screws spaced 6″ apart. Always double-check measurements first, as an ill-fitting patch creates weak points once compound is applied.
Step 4: Taping the Seams
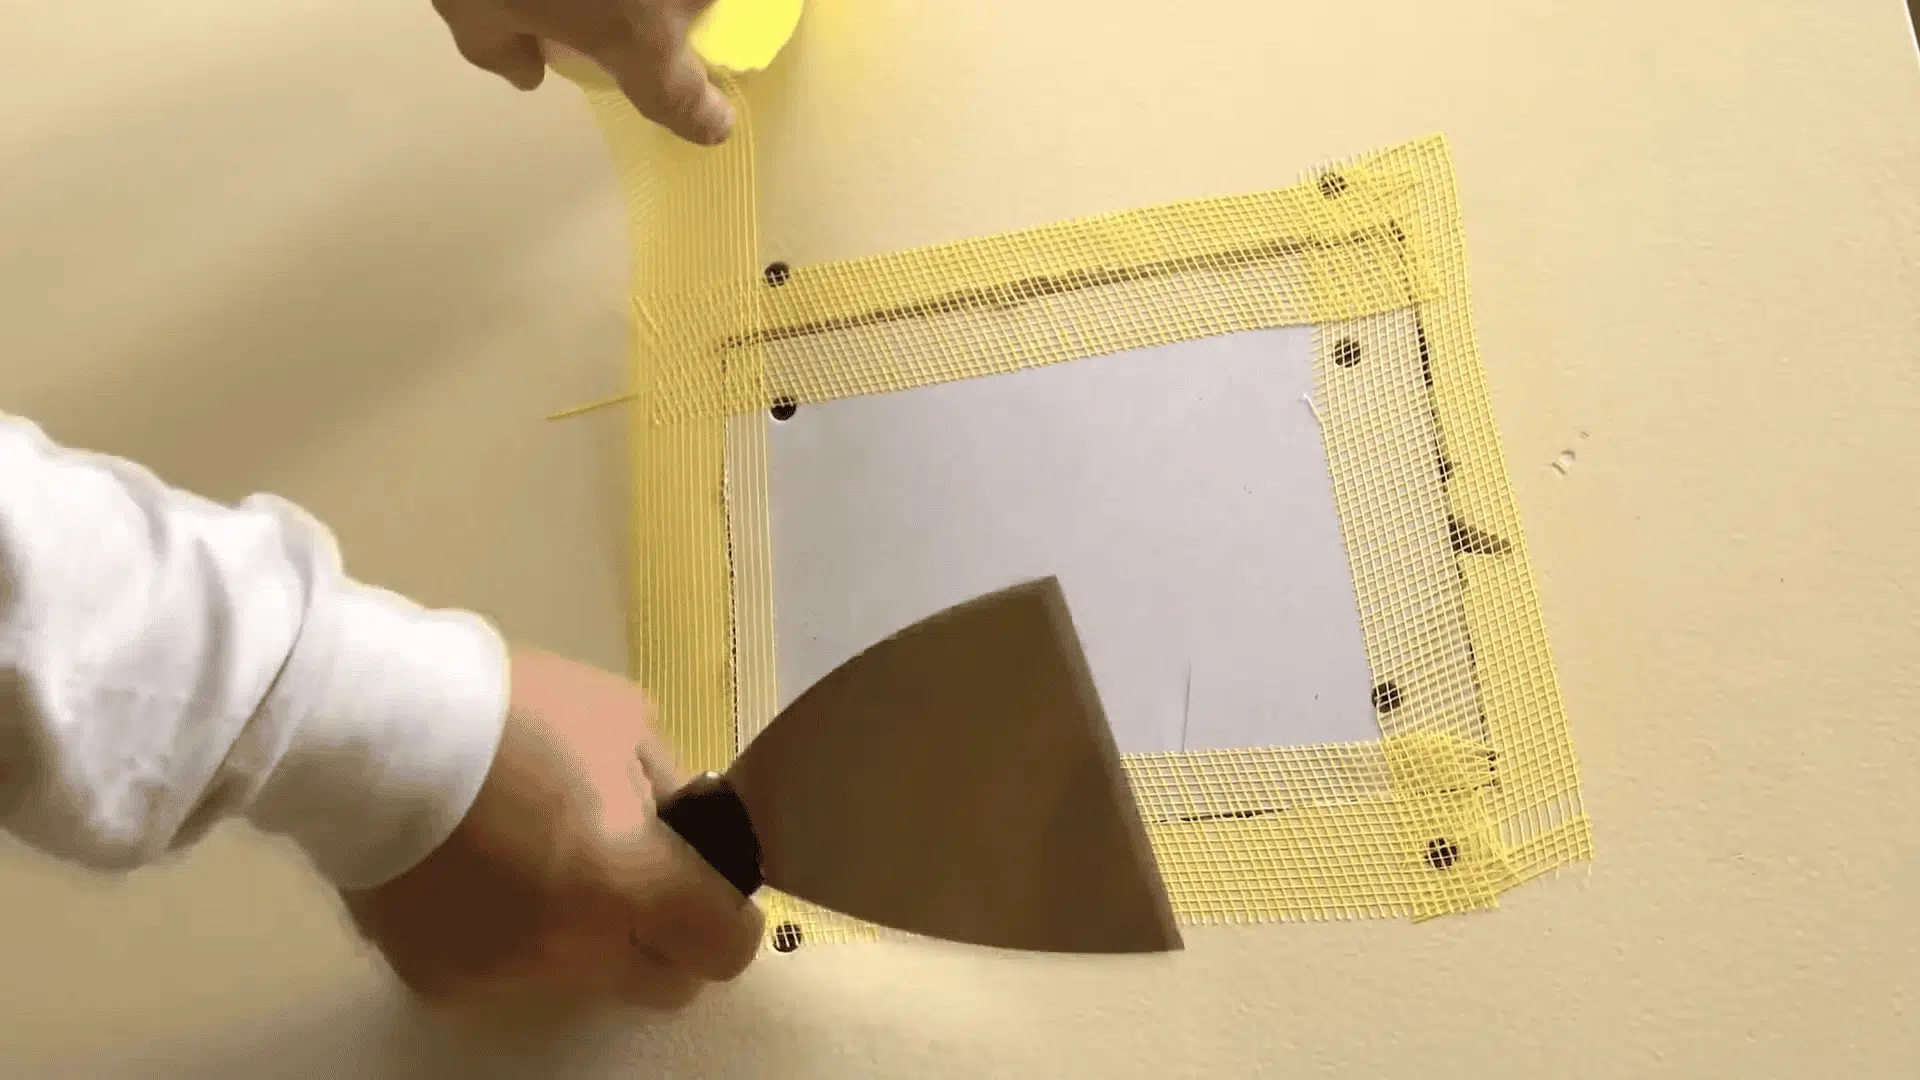
Apply fiber mesh tape over every seam where the patch meets the original wall. Press it down firmly and cover each seam completely without leaving any gaps behind.
The tape binds both surfaces together and prevents cracking at the seams over time. Mesh tape works especially well with quick-set mud for a stronger, longer-lasting bond.
Step 5: Applying, Sanding and Reapplying Joint Compound
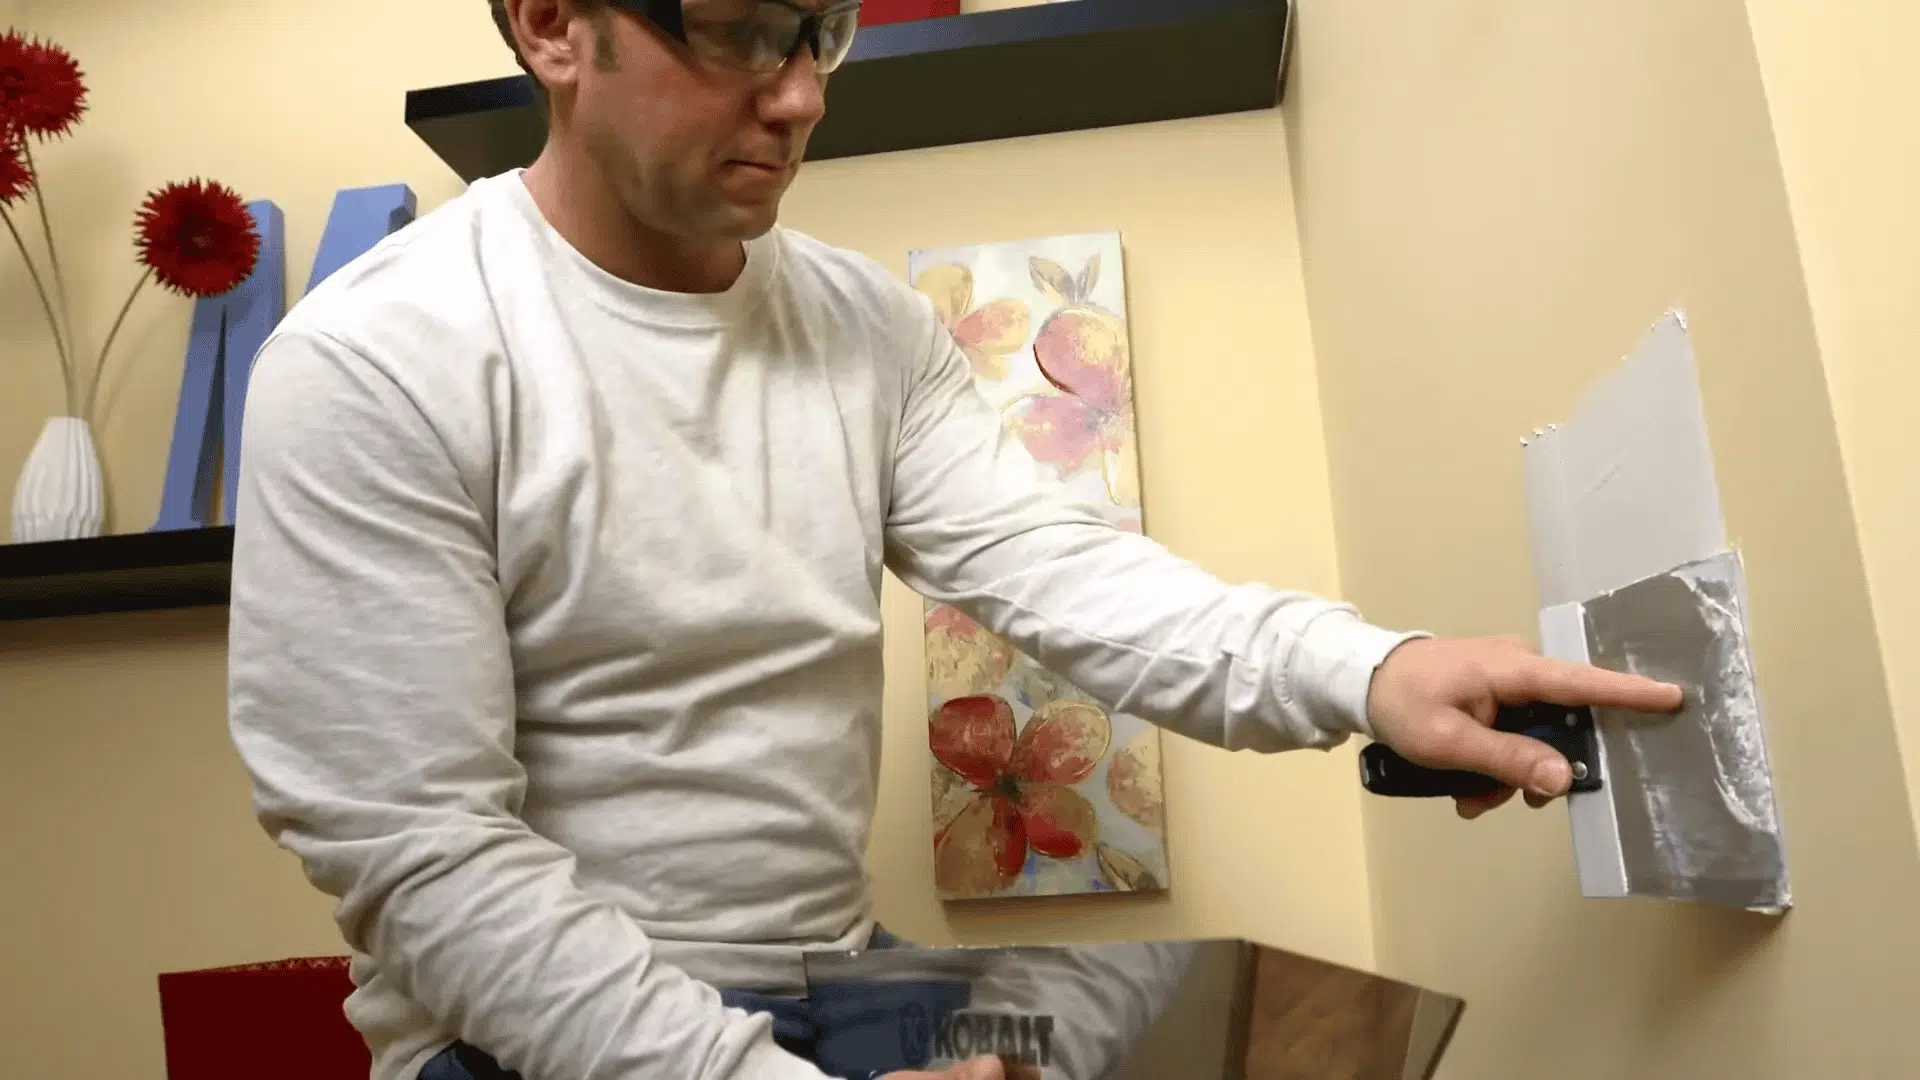
Load a taping knife with quick-set mud and spread it evenly over the tape and patch edges. Feather the edges outward to blend the compound smoothly into the surrounding wall.
Once completely dry, lightly sand the surface to remove any high spots. Apply a second coat slightly wider than the first, repeating until the surface is smooth and even.
Step 6: Adding Texture and Painting the Wall
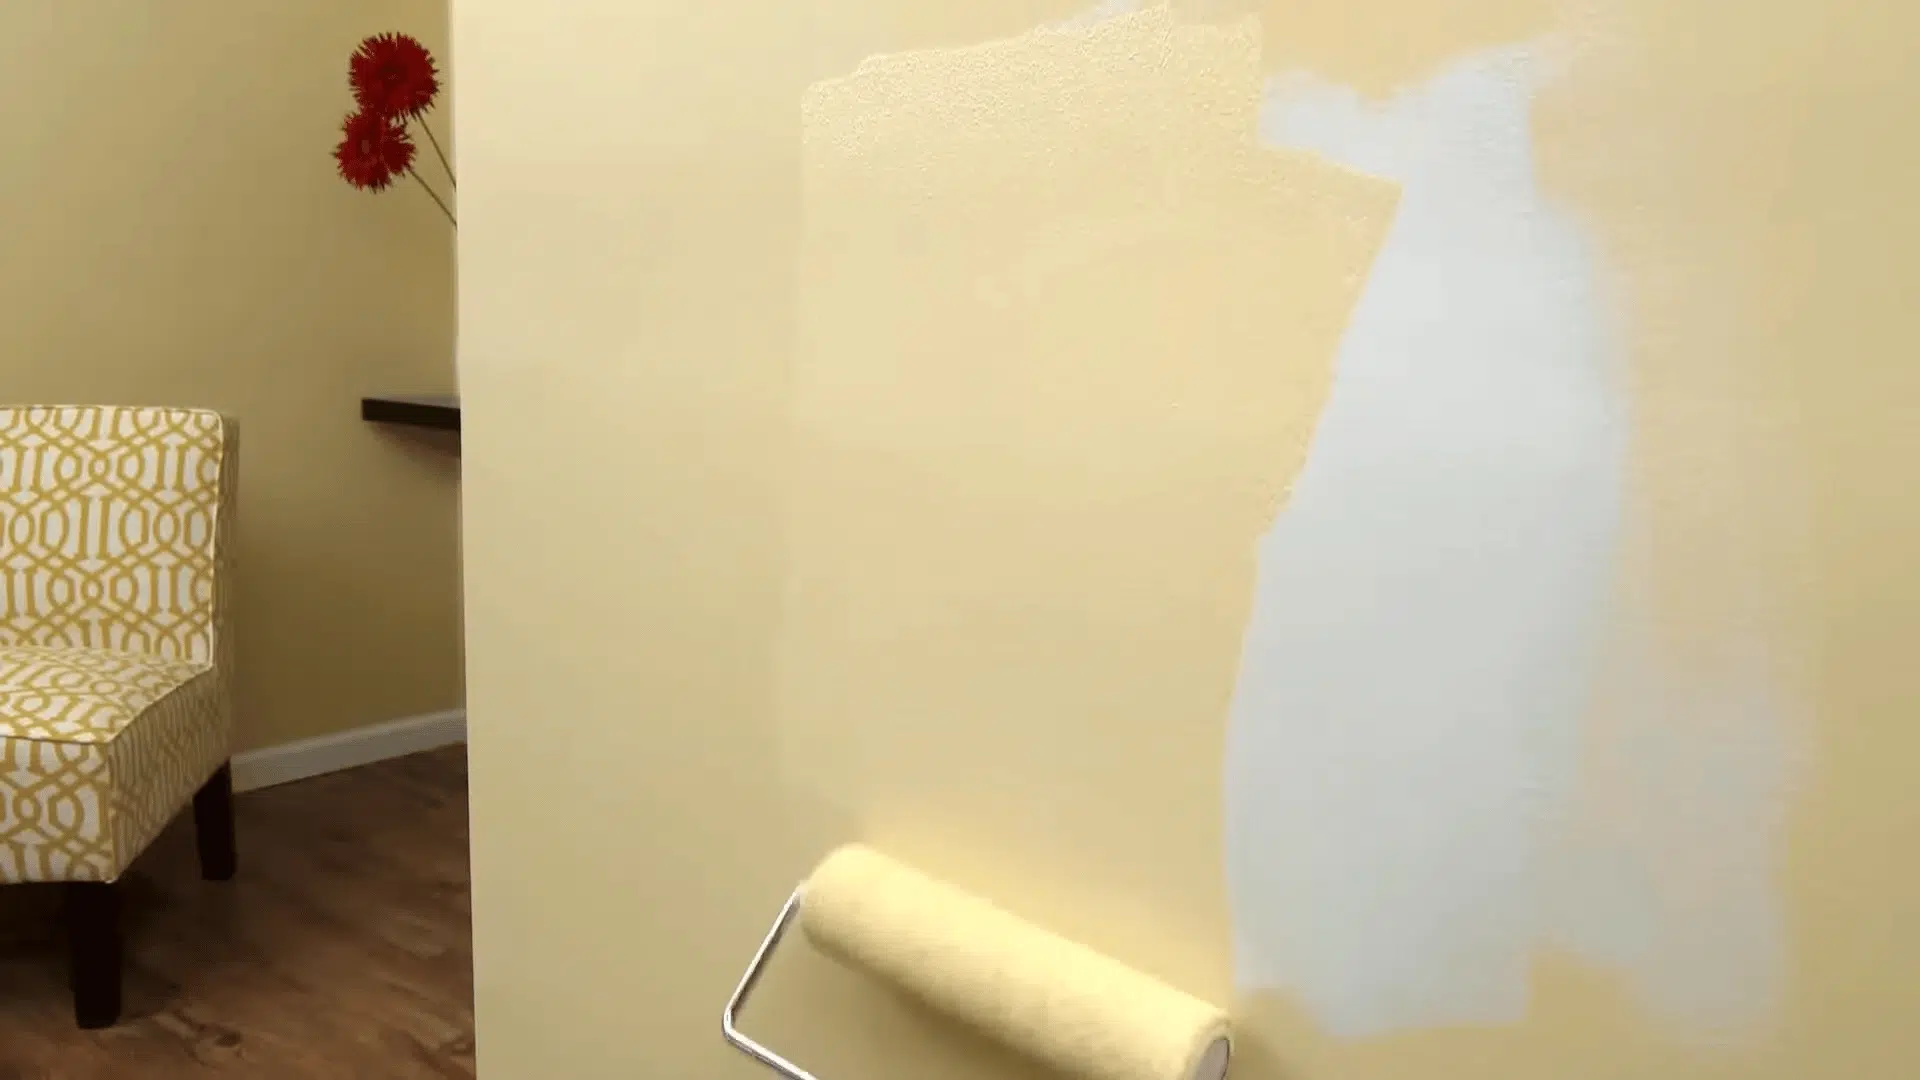
Once dry, apply primer before painting. Check the wall for its texture type and use a texture sponge or spray to recreate a smooth, orange peel, or knockdown finish over the patch.
After texturing, apply wall paint in the same color and finish. Skipping primer or painting too early causes uneven color and makes the patched area noticeably stand out against the wall.
Step 7: Checking for Imperfections
Once the paint dries, inspect the repaired area carefully under natural or side lighting. Run a hand gently over the surface to feel for any bumps not visible to the eye.
Mark any problem areas lightly with a pencil so nothing gets missed. Skipping this inspection leaves imperfections permanently visible, making the entire repair look unfinished and incomplete. You have successfully learned how to patch drywall!
For some extra help, watch this video
How to Maintain Your Drywall After Repair
A good repair is only worth it if the wall is properly maintained afterward. A few simple habits go a long way in keeping drywall looking clean and damage-free.
- Regular Inspections: Check high-traffic walls periodically for early signs of cracks, dents, or holes. Catching small issues early makes them significantly cheaper and easier to fix.
- Preventive Measures: Use furniture pads and wall protectors where chairs, tables, or shelves sit close to walls. These simple additions prevent scuffs, dents, and surface damage effectively.
- Moisture Control: Excess moisture is one of the biggest threats to drywall integrity. Use a dehumidifier or proper ventilation, especially in bathrooms and kitchens.
- Avoiding Direct Impact: Be mindful of heavy impacts near walls when moving furniture or large objects. Even a single hard knock can create a dent requiring a full repair.
- Prompt Repairs and Touch-Ups: Never ignore a small dent or hole hoping it will stay small. Addressing minor damage immediately with spackle and touch-up paint prevents it from expanding further.
Final Verdict
Learning how to patch drywall is a skill that every homeowner can learn without hiring a professional. With patience and the right materials, the finished result can look completely flawless and natural.
A small hole left unrepaired can grow into a bigger, costlier problem over time. Taking care of it early saves both money and unnecessary stress down the road.
Now you know exactly what it takes to handle this repair from start to finish. The process is straightforward and the results are well worth the effort invested.
Ready to tackle another home repair? Explore more beginner-friendly DIY guides and build the confidence to handle any fix around the house.
Frequently Asked Questions
How Long Does a Drywall Repair Typically Take?
Most repairs take one to two days total. The majority of that time is waiting for each coat of joint compound to dry completely between applications.
Can Drywall Repair Be Done on a Ceiling or Only on Walls?
The same process applies to ceilings. However, working overhead requires extra care and support to hold the patch in place while securing it with screws.
Does Humidity or Temperature Affect How Joint Compound Dries?
Yes. High humidity and cold temperatures significantly slow drying time. Always work in a well-ventilated space with moderate temperature for the best results.