How to Clean a Chimney Safely: A Step-by-Step Guide
Most people think chimney cleaning is just about removing visible soot, but the real issue is what stays behind inside the flue. That hidden buildup is what creates risk over time.
Knowing how to clean a chimney properly matters because incomplete cleaning can actually make future buildup worse.
In practice, even chimneys that look clean from the fireplace can still have thick creosote higher up, especially after regular wood burning.
Not every chimney condition is suitable for DIY, and some situations need professional handling. Here’s what you need to understand before starting the cleaning process.
How Does Chimney Cleaning Actually Work Inside the Flue?
Chimney cleaning works by breaking creosote off the flue liner so it falls down and can be removed. It is not a surface wipe.
How does Creosote Form?
Creosote builds when smoke cools and sticks to the inner walls.
The first deposits are soft and flaky, but repeated heat cycles harden them into denser layers that bond tightly to the liner. The deeper the layer, the harder it is to remove.
What the Brush Actually Does?
Chimney brush works through abrasion. The bristles create friction that cracks loose soot and weaker creosote, but thick or glazed buildup often needs repeated passes or professional tools.
Cleaning logs can soften light residue, yet they cannot replace mechanical brushing.
Once the buildup is loosened, it falls into the firebox and the smoke shelf.
Anything left behind narrows the flue and gives new deposits a surface to cling to, which is how incomplete cleaning quietly sets the stage for the next problem.
How Do You Clean a Chimney From the Bottom Up (Without Roof Access)?
Clean your chimney from inside by pushing a brush upward through the flue and removing the debris that falls down.
Tools and Materials Required
- Chimney Brush
- Extension Rods
- Work Gloves
- Drop Cloth or Tarp
- Ash Vacuum
- Broom and Dustpan
- Fireplace Shovel
- Bucket (Metal or Plastic)
Step 1: Choose the Right Brush and Measure Your Chimney
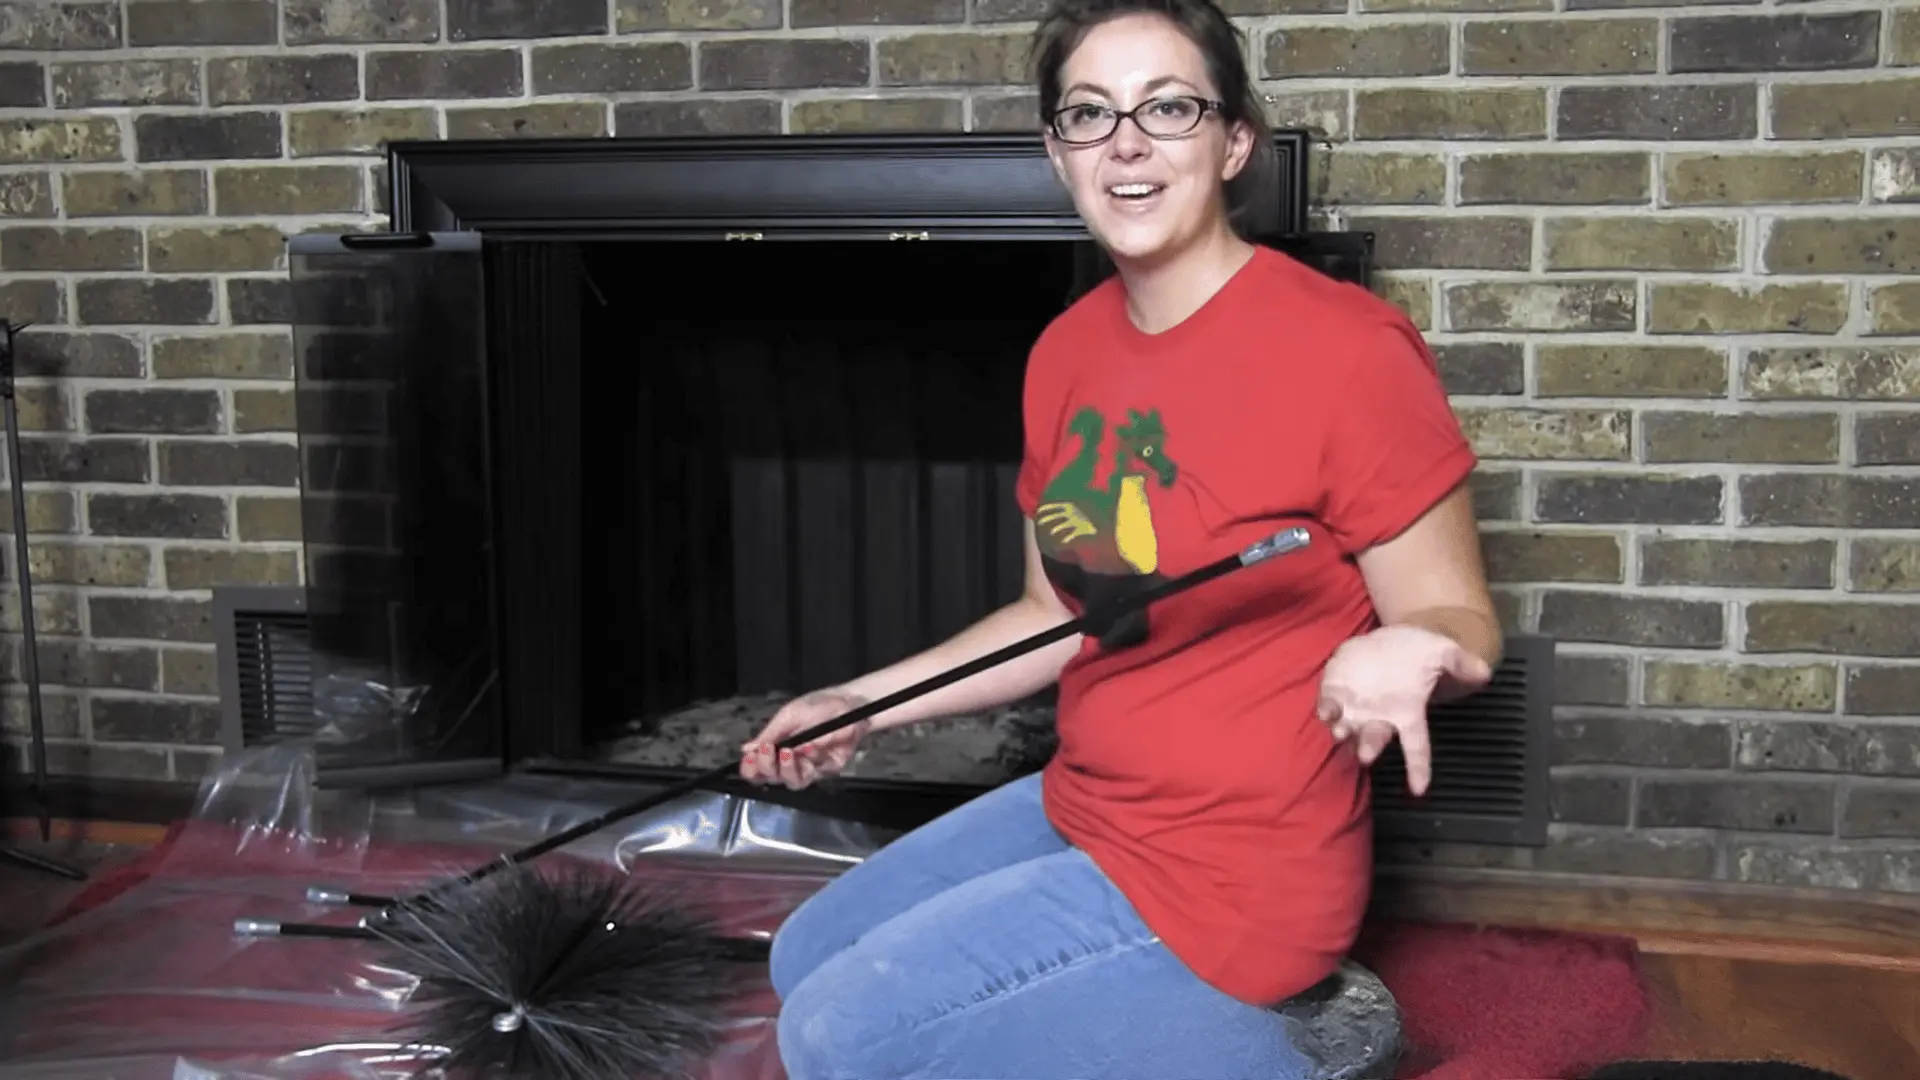
Start by selecting a chimney brush that matches the shape and size of your flue. It should fit snugly, about a quarter inch larger than the inner diameter, so it scrapes effectively.
Measure your chimney height using a rope to estimate how many rods you’ll need, ensuring you can reach the full length.
Step 2: Set Up Your Work Area
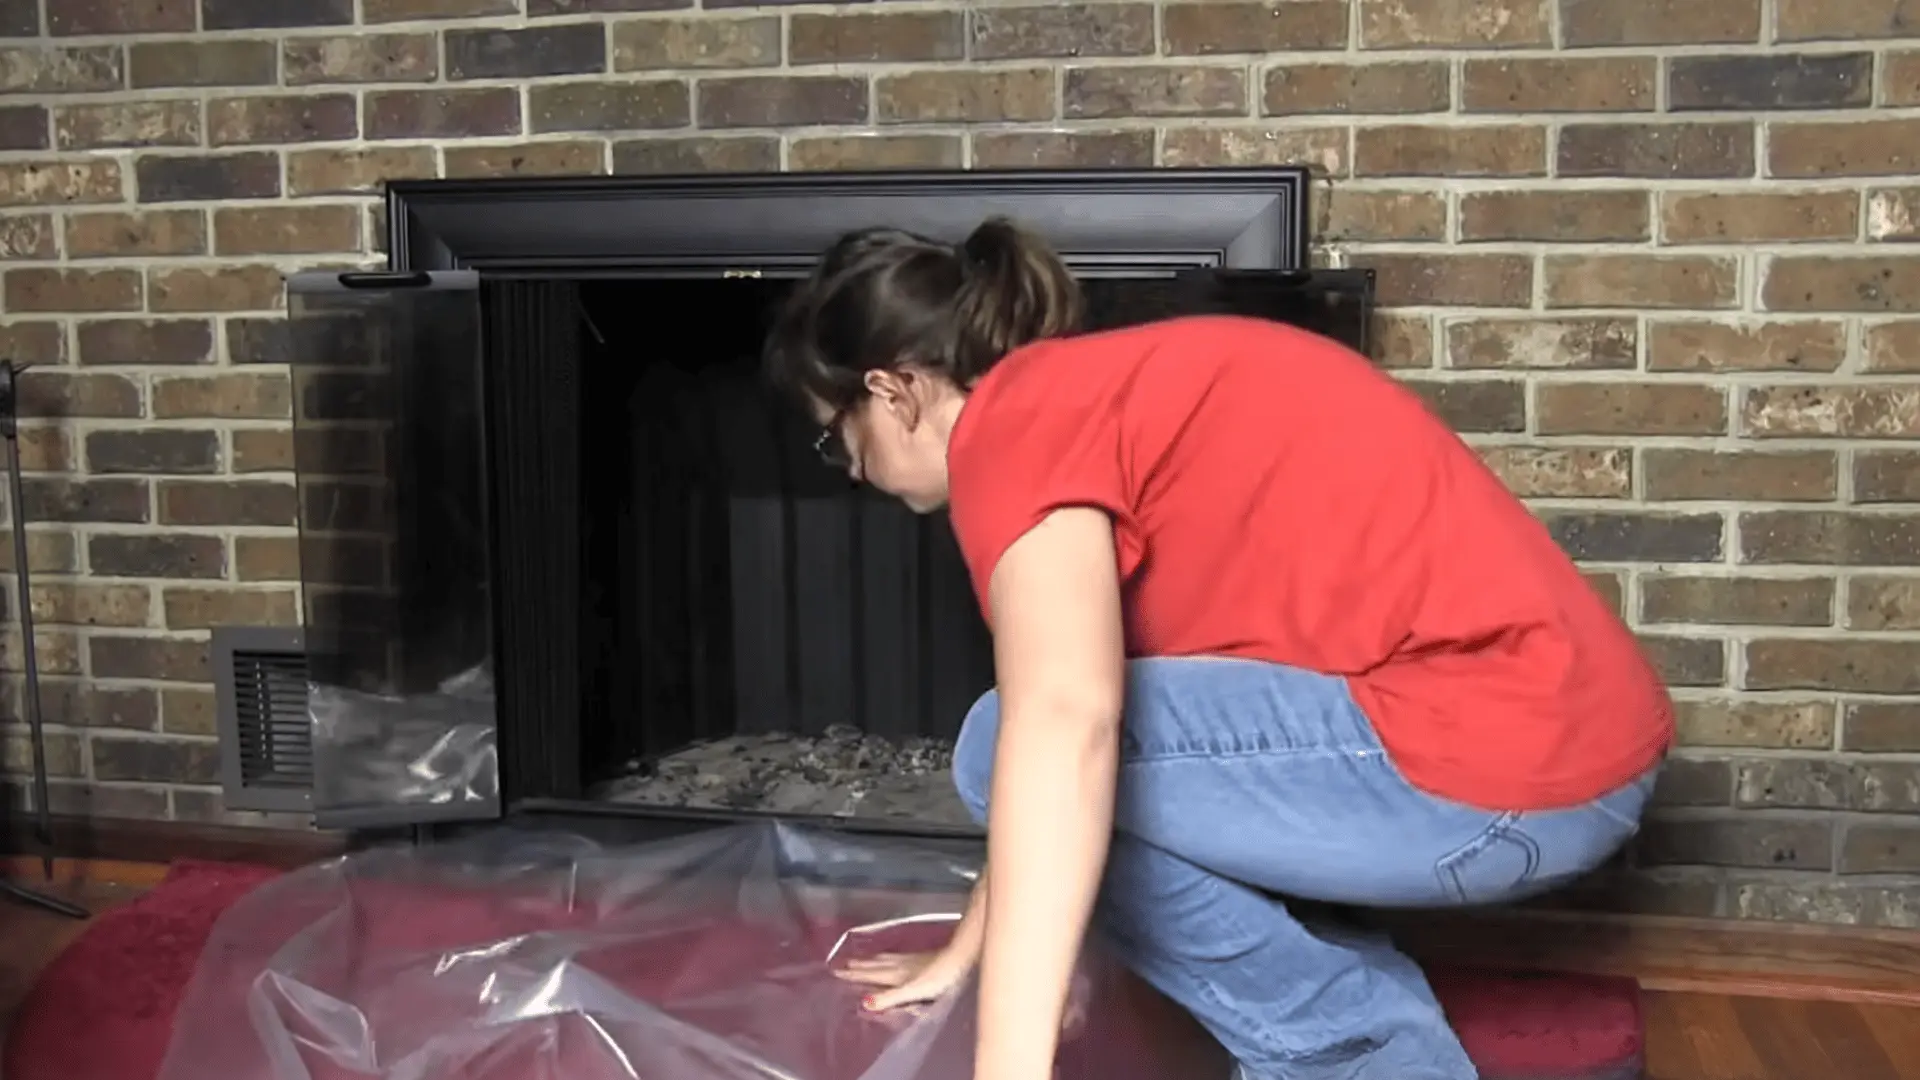
Prepare the area around your fireplace by laying down a drop cloth to catch soot and debris. Since this method is done from inside, sealing the opening is harder, so protecting your floor and nearby furniture is important.
Clear surrounding items and make sure you have enough space to move rods safely and work without obstruction.
Step 3: Attach the Brush to the First Rod
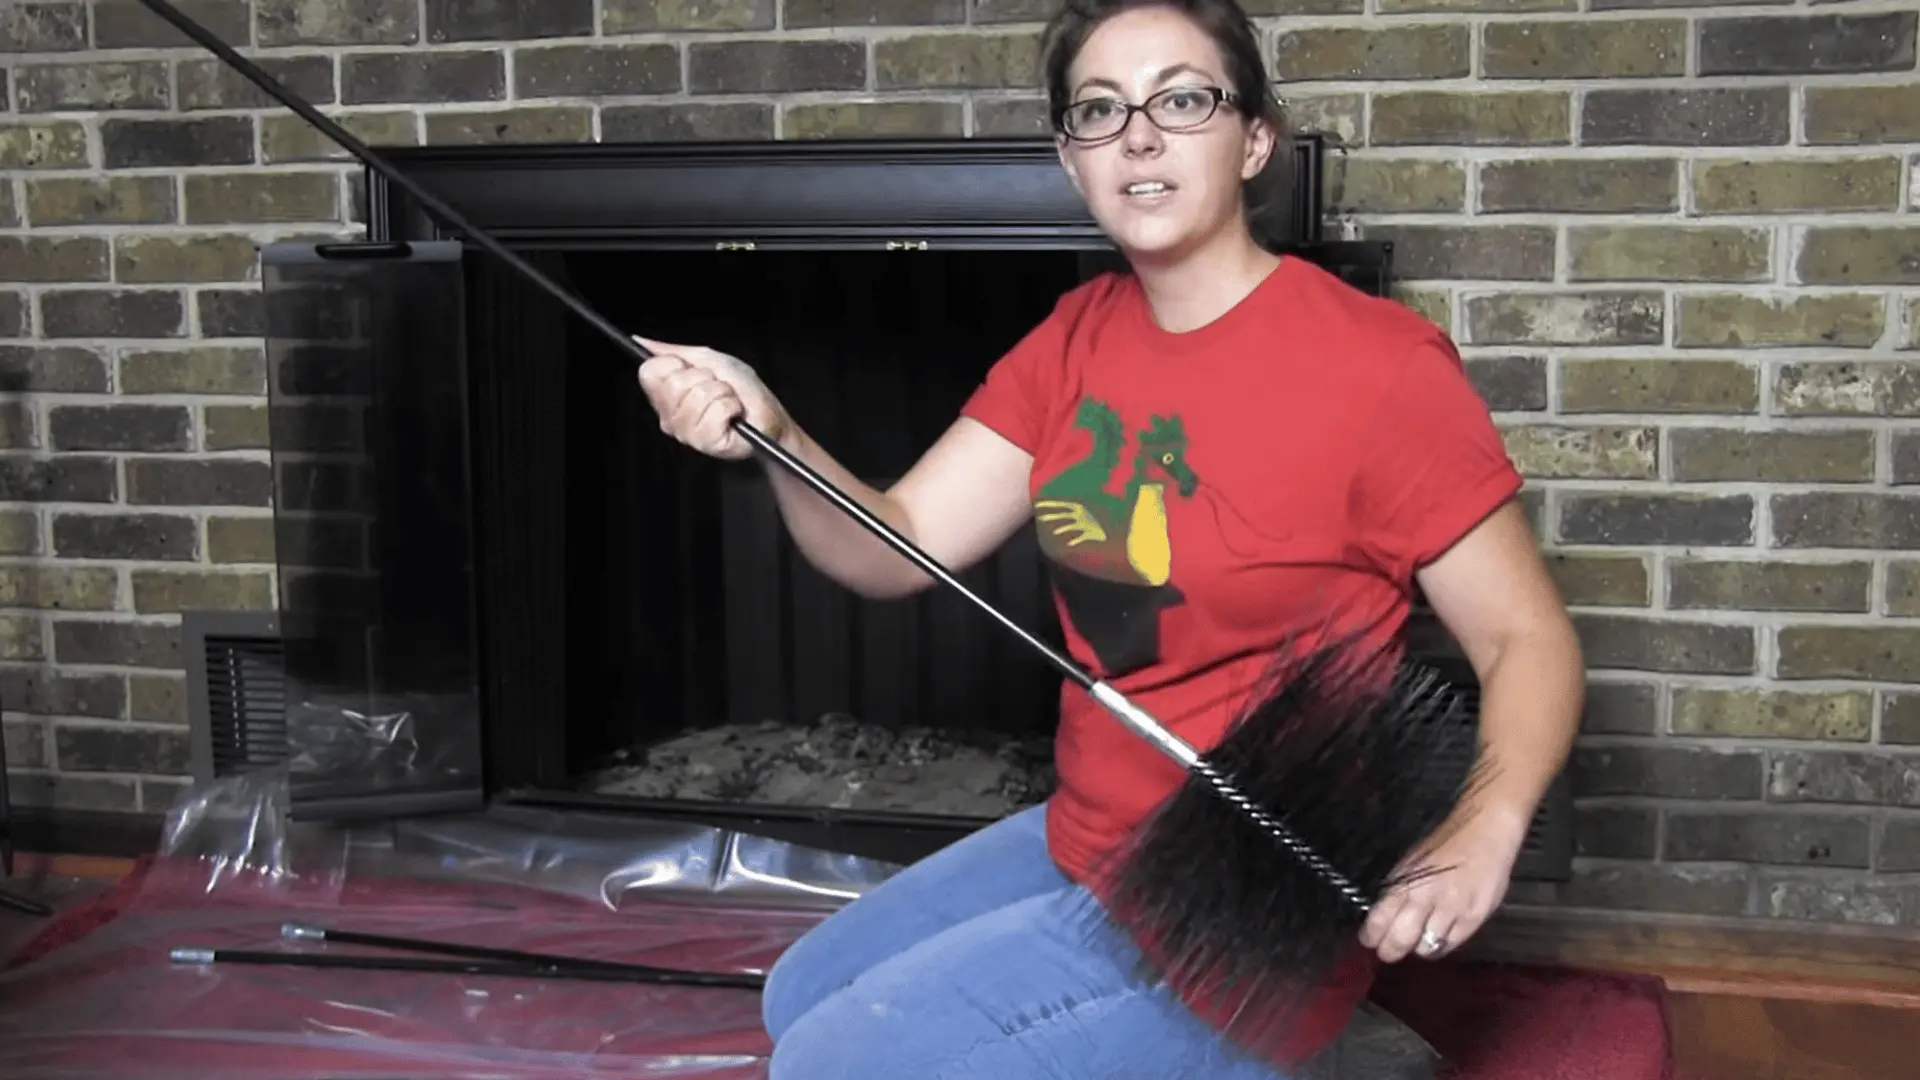
Securely connect the chimney brush to the first rod, ensuring both use the same connection type so they stay firmly attached.
Start with a single rod to keep things manageable indoors. This approach makes it easier to handle the setup and prevents awkward movement when working in a tight space.
Step 4: Insert the Brush Through the Damper
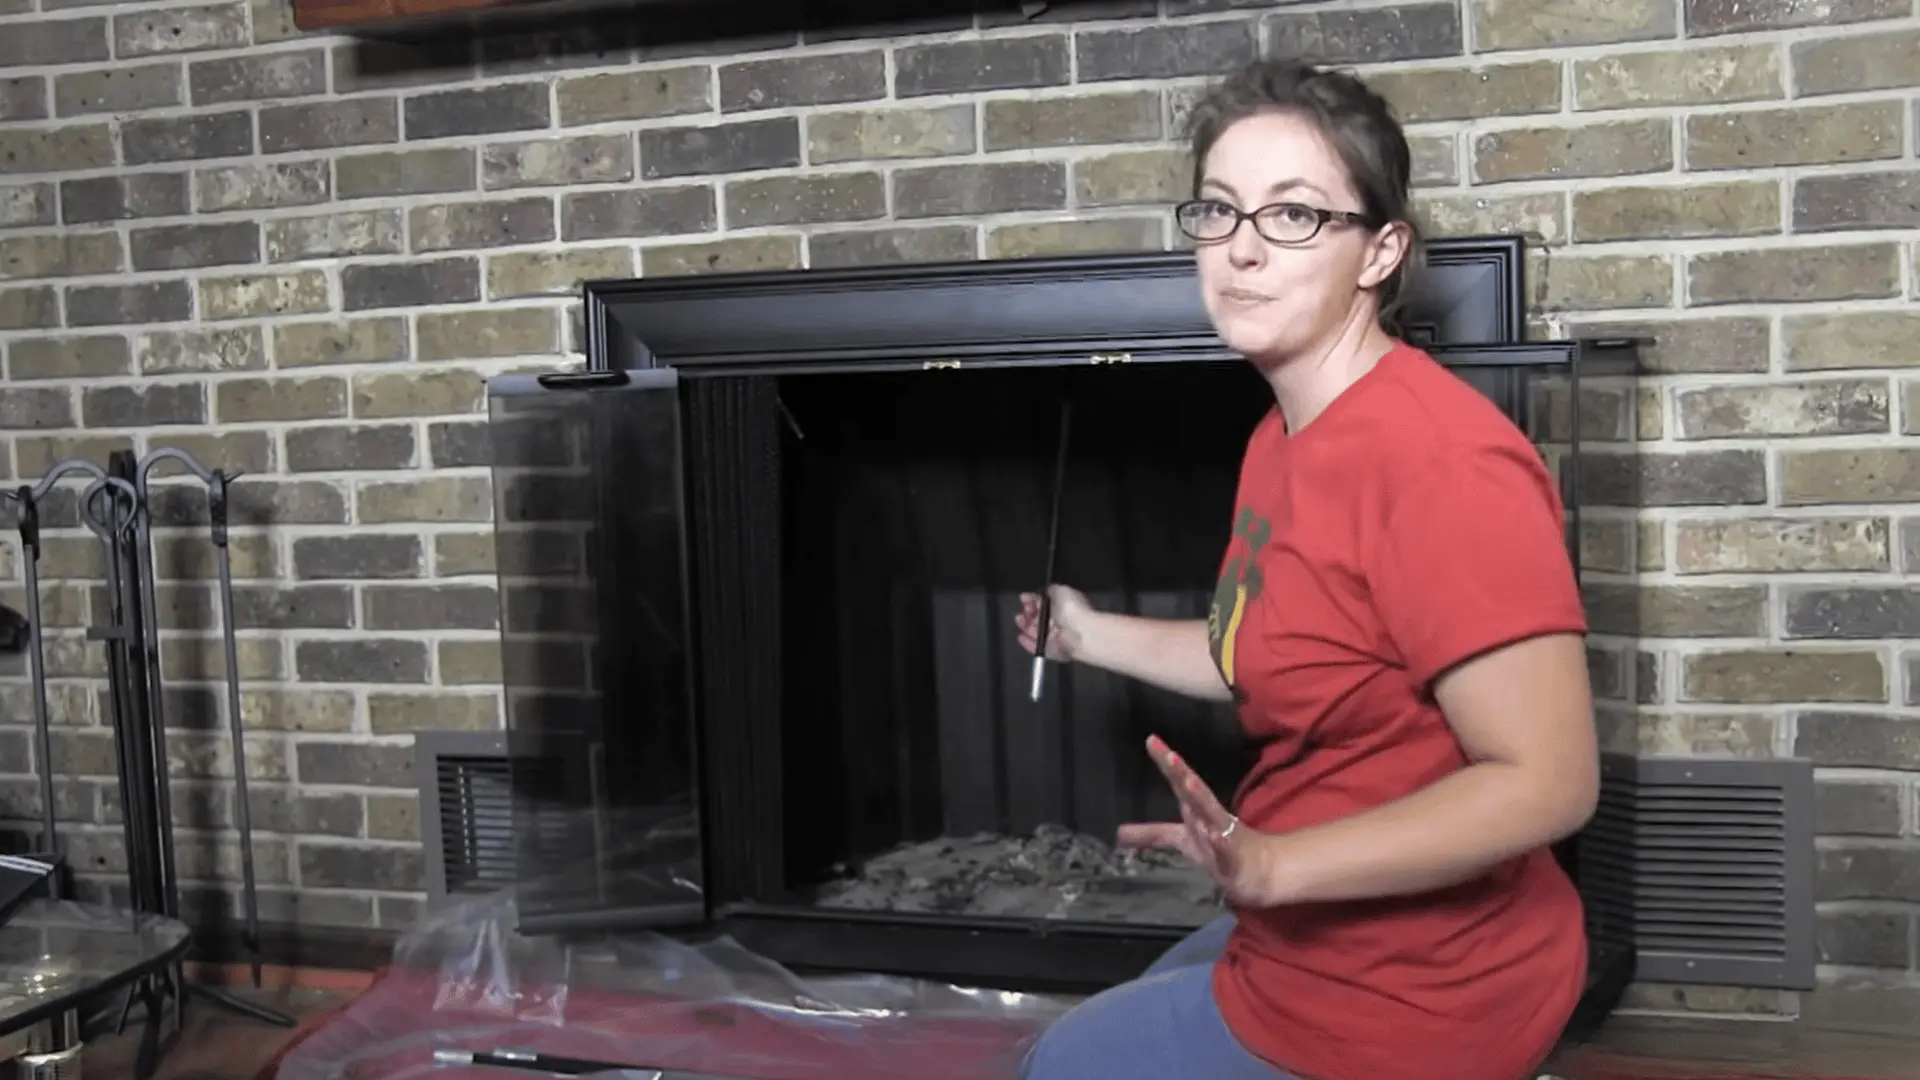
Carefully push the brush upward through the damper and into the flue. You may need to apply steady pressure to guide it through the opening, especially if space is tight.
Once inside, it should move more smoothly. Keep the rod aligned as you push to avoid bending, resistance issues, or damaging the setup.
Step 5: Add Rods and Scrub the Flue
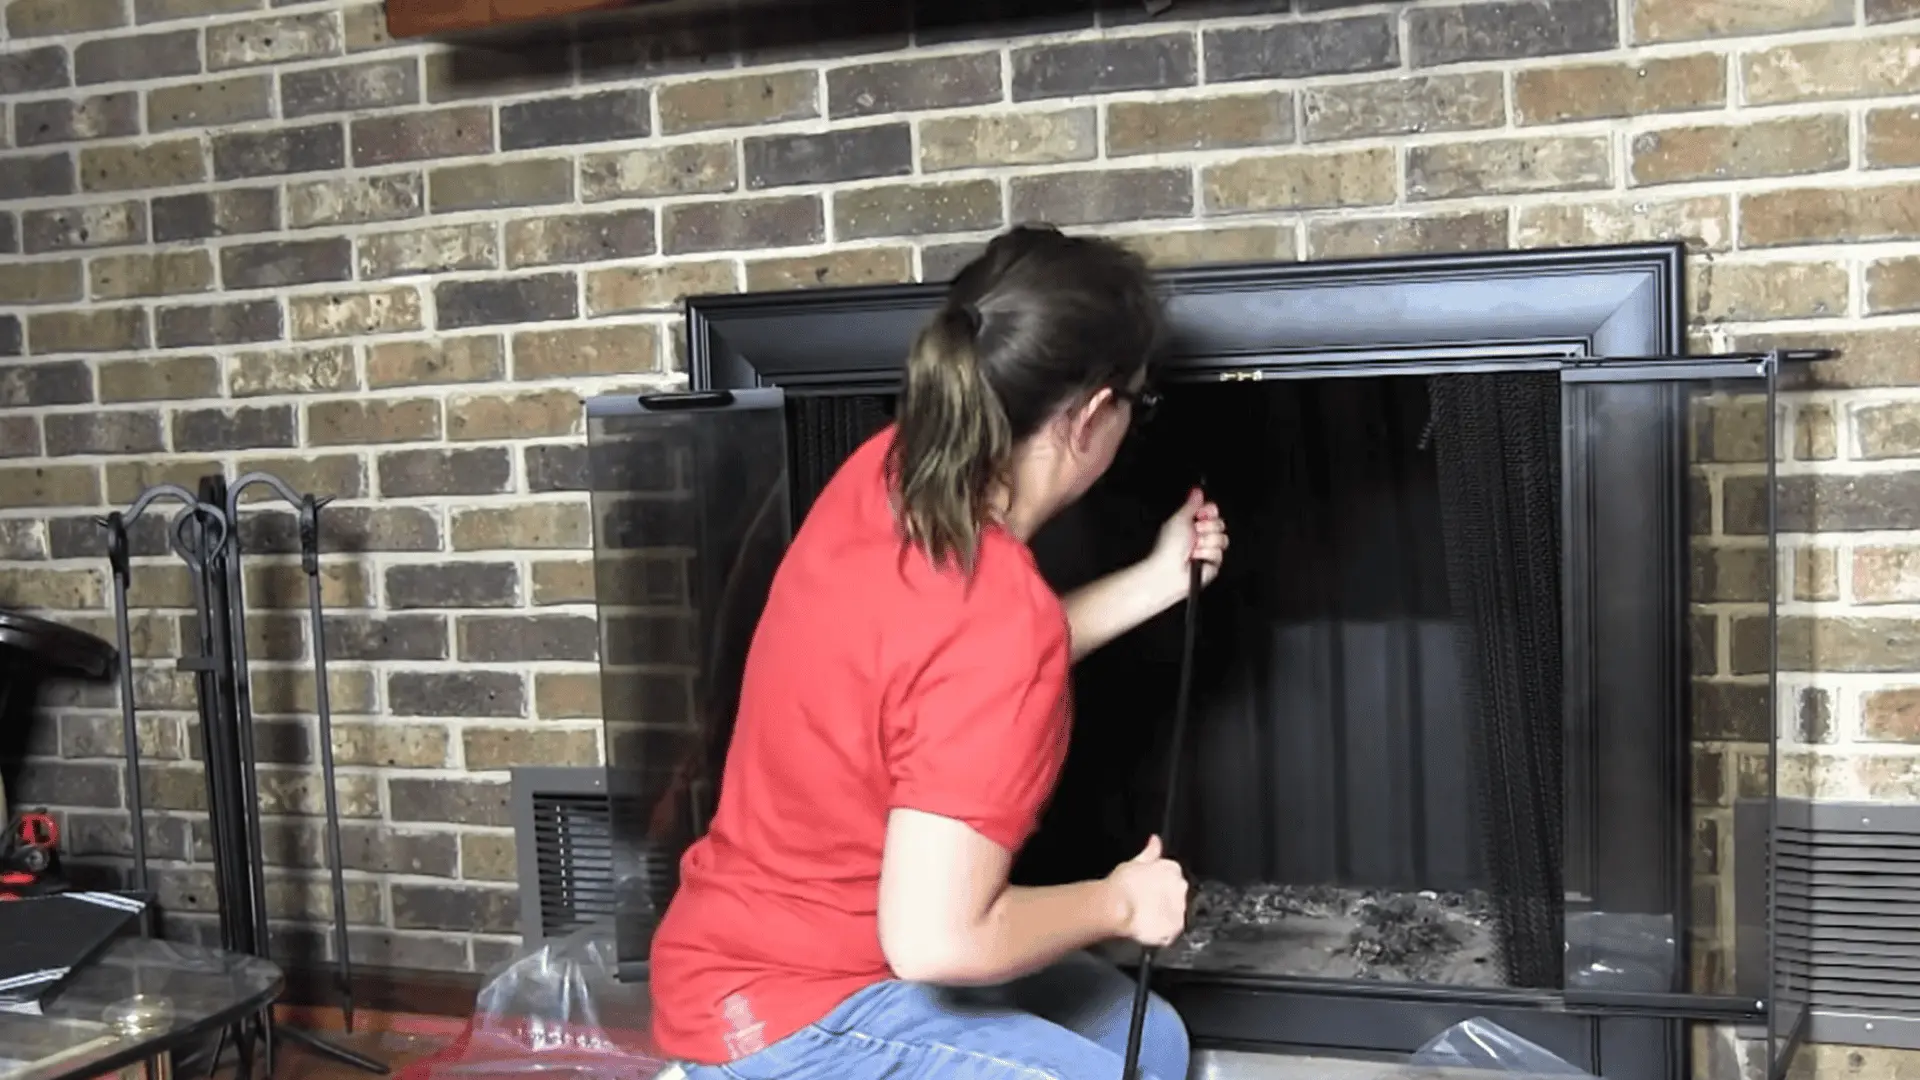
As the brush moves higher, attach additional rods one at a time until you reach the top of the chimney. Once fully inserted, move the brush up and down several times.
This repeated motion helps loosen and remove soot and creosote buildup from all sides of the flue.
Step 6: Remove Debris and Clean the Fireplace
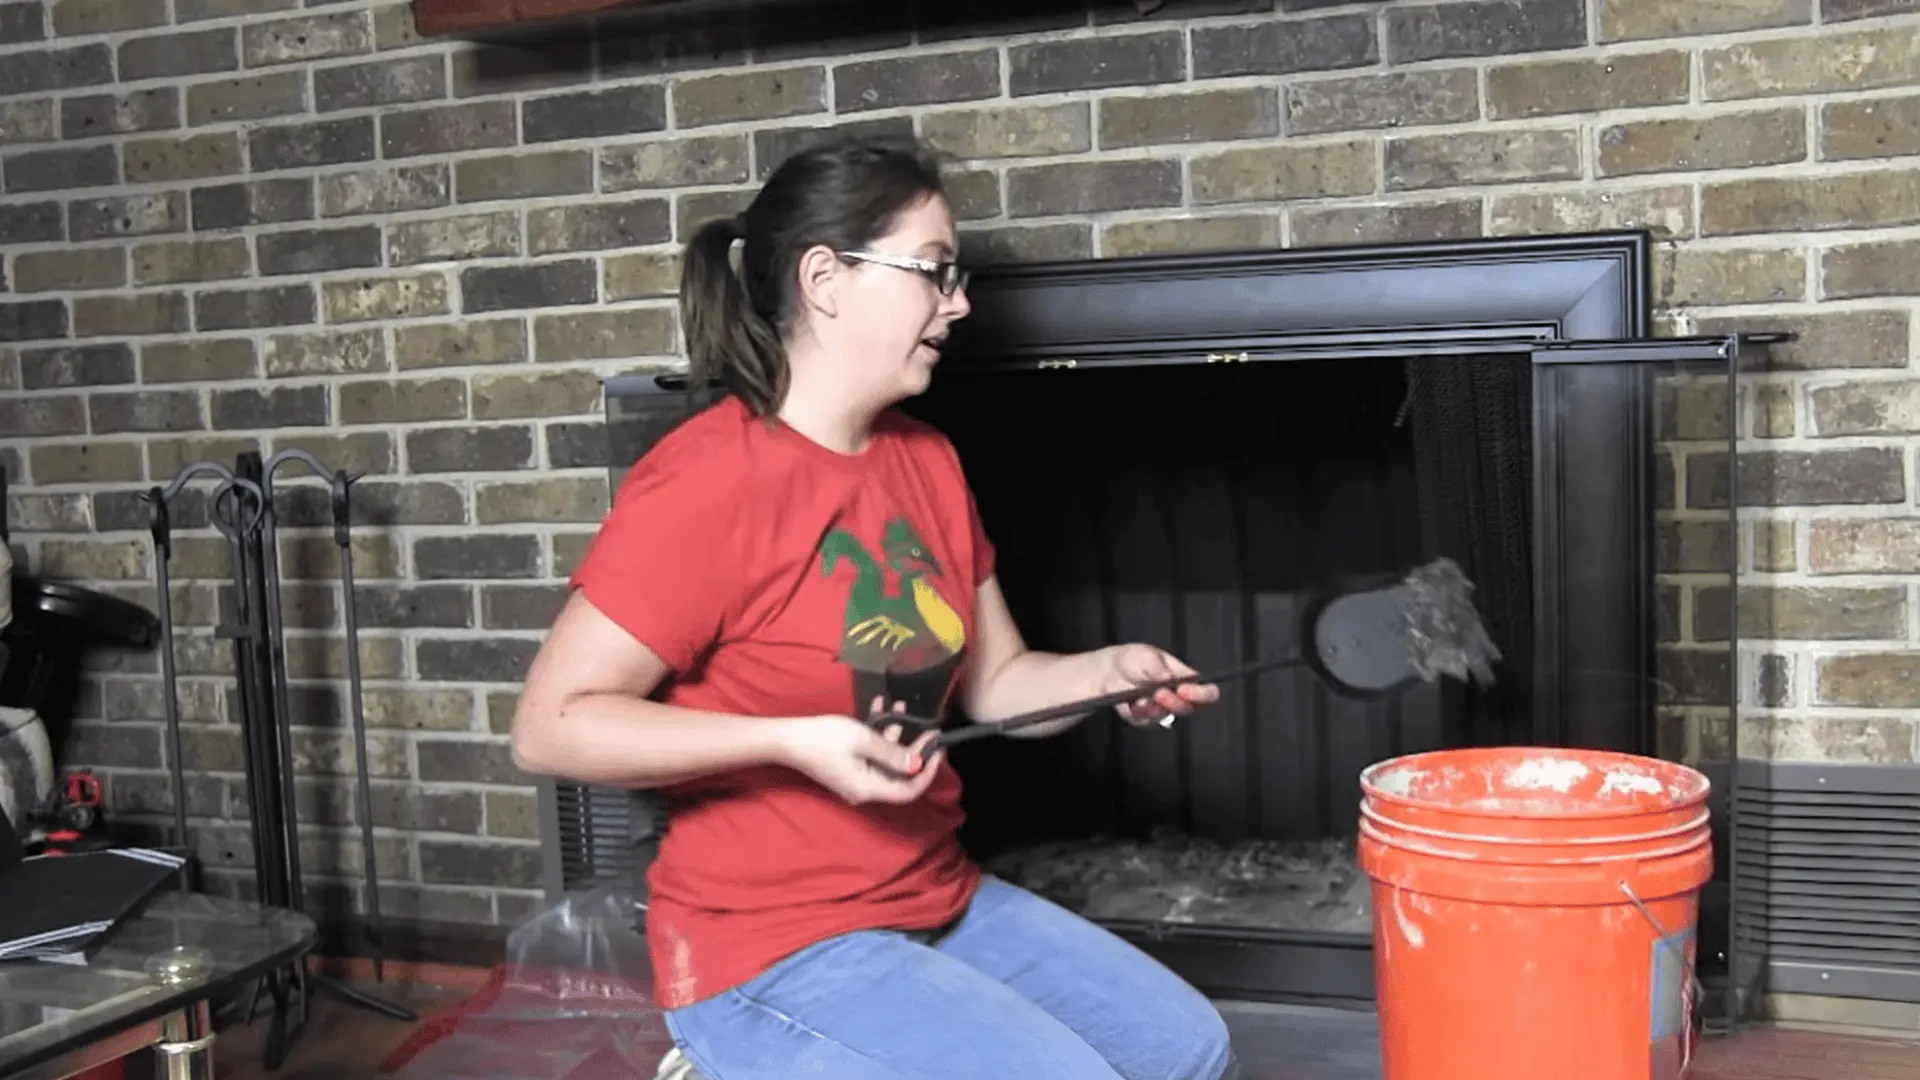
After scrubbing, pull the brush back down carefully and remove it from the chimney. All loosened debris will fall into the fireplace and smoke shelf area.
Use an ash vacuum or a broom and shovel to clear everything out completely, leaving the fireplace clean and ready for safe use.
For a complete walkthrough of the process, check out the video tutorial below:
What are the Exact Steps to Clean a Chimney from Top Down?
Clean your chimney from the top down by brushing the flue from the roof, allowing loosened soot and creosote to fall downward for complete removal and easier cleanup.
Tools and Materials Required
- Chimney sweeping brush
- Fiberglass extension rods
- Drill-compatible brush attachment, if using one
- Plastic sheeting
- Tape
- Shop vacuum with a good filter
- Ladder
- Flashlight or action camera
- Screwdriver
- Respirator
- Safety glasses
- Work gloves
- Small shovel or scoop
Step 1: Let the Fireplace Cool and Measure the Flue
Make sure the fireplace has not been used recently and is completely cool before starting. Measure the diameter of your chimney flue or liner so you can choose a brush that fits snugly.
A proper fit helps remove buildup effectively and prevents damage. Skipping this step often results in poor cleaning.
Step 2: Seal the Fireplace Area
Cover the fireplace opening with plastic sheeting and secure it tightly using tape to prevent soot from spreading into your home.
Place a shop vacuum hose inside the sealed space if possible to capture airborne dust. Clear the area around furniture and create enough working space so you can handle rods safely and move freely.
Step 3: Access the Chimney and Remove the Cap
Use a stable ladder to reach the roof and access the chimney safely. Once there, remove the chimney cap by unscrewing the fasteners holding it in place. Set it aside carefully.
The cap prevents debris and animals from entering, so removing it is necessary to access the flue for cleaning.
Step 4: Inspect the Flue Before Cleaning
Shine a flashlight down into the chimney to check for creosote buildup, blockages, or visible damage. If available, use a camera for a clearer view inside.
This step helps you understand how much cleaning is needed and whether there are any issues that could affect safety or require professional attention.
Step 5: Scrub the Full Chimney Liner
Attach the chimney brush to the rods and insert it into the flue. Add rods gradually as you move deeper into the chimney.
Scrub the liner by moving the brush up and down several times to loosen soot and creosote. If using a drill attachment, ensure all connections are tight to avoid equipment getting stuck.
Step 6: Let Dust Settle and Remove Debris
Once cleaning is complete, reinstall the chimney cap and allow dust and soot to settle for about 30 minutes.
After that, remove the debris collected in the firebox or cleanout area using a shop vacuum, shovel, or scoop. Clearing all residue is important to prevent airflow issues and future buildup problems.
For a complete walkthrough of the process, check out the video tutorial below:
Where Does Chimney Cleaning Go Wrong? (Common Failure Points)
Most chimney problems don’t come from not cleaning, but from cleaning it the wrong way and leaving behind hidden buildup.
- Partial Creosote Removal: Even a thin leftover layer allows buildup to return faster and become more dangerous over time.
- Misleading Airflow: Smoke can still flow normally, but that does not mean the chimney is clean.
- Buildup Cycle Acceleration: A base creosote layer stays on the flue liner, new deposits stick faster, the flue narrows, draft weakens, condensation increases, and fire risk rises.
- Wrong Brush Size or Type: A small brush leaves buildup behind, while a large or stiff one can damage the flue liner. Correct sizing is critical.
- Skipping Key Areas: Ignoring spots like the smoke shelf leaves hidden soot and creosote that restrict airflow and reduce draft.
- Debris Not Removed: Brushing only loosens buildup. If debris is not cleared, it can cause flue blockage and speed up new buildup.
- Ignoring Damage Signs: Cracks, loose mortar, or glazed creosote indicate bigger issues that basic cleaning cannot fix and may increase safety risks.
Getting the process right matters more than just doing it, because even small mistakes can restart the buildup and increase fire risk over time.
How Do You Know the Chimney is Properly Cleaned?
A chimney is properly cleaned when there is no visible creosote, airflow is smooth, and no debris remains in the flue or firebox. A clean fireplace alone does not mean the chimney is clear.
Use a flashlight to check the flue liner. It should show light dust, not dark or shiny buildup. Also, check the firebox and smoke shelf for leftover soot.
Test the draft by lighting a small fire. Smoke should rise quickly without coming back into the room. If airflow feels weak, there may still be a blockage.
If you cannot see the full flue, a professional inspection is the safest way to confirm. Even with DIY cleaning, a yearly check is recommended under current safety guidance.
When Should You Stop DIY and Call a Professional?
You should stop DIY cleaning when the buildup is too hard to remove, damage is visible, or the setup is unsafe to handle alone. A chimney sweep is the safer option in these cases.
- Glazed Creosote: Thick, shiny buildup that does not come off with brushing and keeps fire risk high.
- Flue Liner Damage: Cracks or gaps that affect safety and airflow.
- Structural Issues: Loose mortar or water damage that needs repair, not cleaning.
- Inspection vs. Cleaning: Cleaning removes creosote, but inspection checks for hidden damage and draft problems. They are not the same.
- Cost Note: Costs vary based on chimney condition and required service.
If any of these signs appear, it is better to stop and have a professional check the chimney before using it again.
Professional Chimney Cleaning Cost
If you’re planning a chimney cleaning, knowing costs helps set expectations. Prices depend on buildup, chimney height, structure, and how easy it is to access.
| Service | Cost (USD) | Includes | Price Goes Up When |
|---|---|---|---|
| Standard Cleaning | $150 – $400 | Soot + creosote removal, basic inspection | Tall chimney, hard roof access, multiple flues |
| Average Cost | ~$250 – $275 | Typical cleaning + inspection | Region and chimney condition vary |
| Low-End Cleaning | $80 – $150 | Light cleaning (often gas fireplaces) | Very little buildup, easy access |
| Complex Cleaning | $400 – $800+ | Heavy creosote, deeper inspection | Glazed buildup, steep roofs, repairs needed |
| Inspection Only | $160 – $800+ | Visual to camera inspection (Level 1–3) | Structural issues, deeper inspection needed |
| Add-Ons | +$75 – $300+ | Extra cleaning, nests, caps, and minor repairs | Severe blockage or heavy buildup |
In most cases, standard cleaning sits mid-range, but costs increase with complexity. A proper inspection helps you understand required work and avoid unexpected expenses future.
Conclusion
Cleaning a chimney is less about the act itself and more about doing it completely. Leftover creosote is what drives repeat buildup, poor draft, and fire risk.
A proper cleaning means clearing the flue, removing debris, and checking for hidden issues. Knowing how to clean a chimney the right way helps prevent problems instead of repeating them.
If anything looks off, stop and get it checked. Take action early to keep your chimney safe and working properly.
Frequently Asked Questions
How Often Should You Clean a Chimney?
Most chimneys should be cleaned at least once a year. If used frequently or showing signs like smoke or odor, cleaning may be needed more often.
Can You Clean a Chimney Yourself Safely?
Yes, you can clean it yourself if buildup is light and you follow safety steps. For heavy creosote or damage, professional cleaning is the safer choice.
What is the Best Way to Remove Creosote Buildup?
The best method is mechanical brushing with a properly sized chimney brush. It removes deposits effectively, while cleaning logs only help with light residue.