Spring Home Maintenance Checklist: Complete Guide
A spring home maintenance checklist helps you reset your home after months of cold, moisture, and wear and tear.
It gives you a clear path to spot issues early and handle them before they grow.
Instead of reacting to problems later, this approach keeps things under control from the start. You stay ahead of damage, not behind it.
In this guide, you’ll follow a structured system that covers every critical area. By the end, you’ll know exactly what to check, fix, and maintain.
Start with a Full Exterior Inspection Walk
Before fixing or cleaning anything, take time to inspect your home from the outside. This helps you spot winter damage so you don’t miss hidden problems later.
Winter puts stress on your home in a few ways. Snow adds weight to the roof. Freezing and thawing cause materials to expand and contract. Moisture seeps into small gaps and weakens surfaces over time. All of this can lead to cracks, loose parts, and water entry points.
Focus on these areas:
- Roofline: Check for missing or damaged shingles, uneven lines, or sagging spots
- Siding: Look for cracks, warping, or peeling paint
- Foundation: Watch for visible cracks or signs of shifting
- Drainage paths: Check where water flows away from your home
Also look closely for:
- Loose materials: Panels, trim, or fixtures that may have shifted
- Water marks: Stains that suggest past or ongoing leaks
- Gaps or openings: Areas where water or pests could enter
Tip: Take notes or photos during your walk. That makes it easier to plan repairs and track what needs attention next.
Clear and Repair Gutters and Roof Drainage
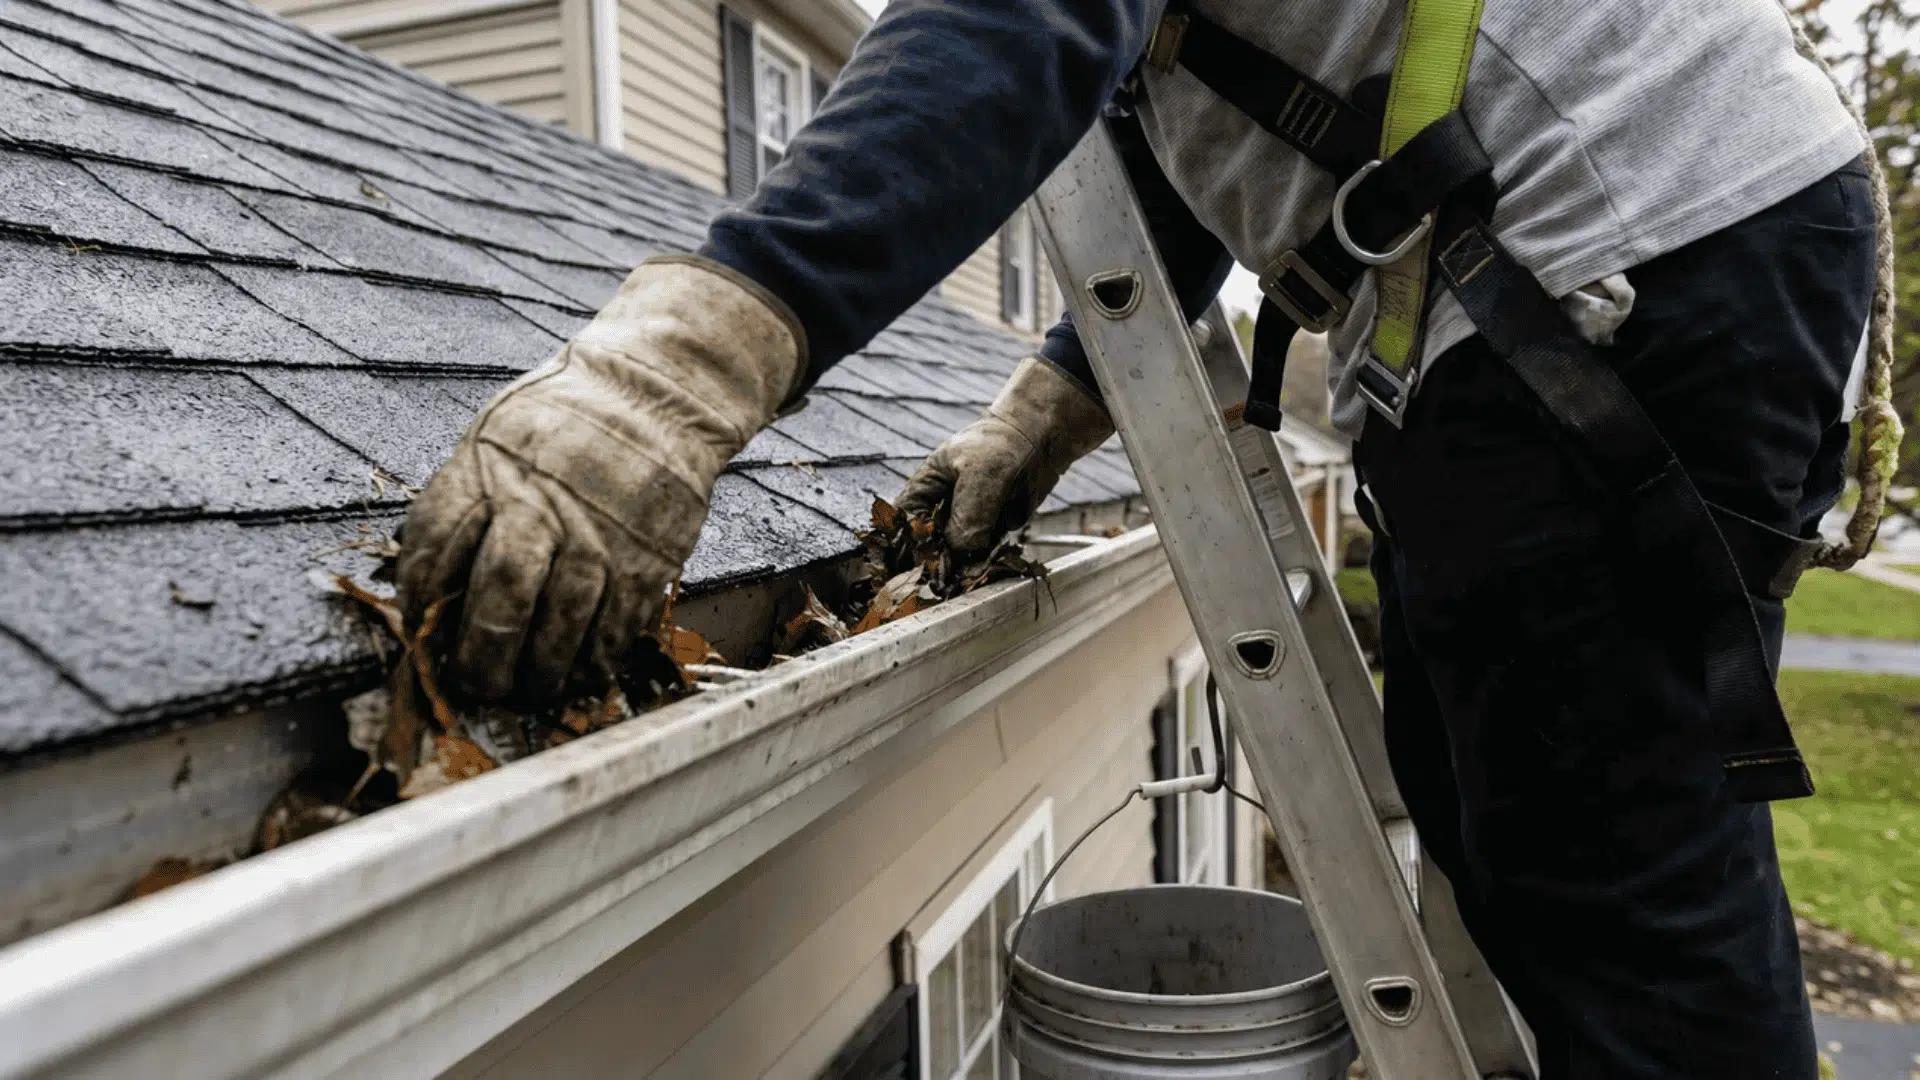
After inspection, handle your gutters and roof drainage. This controls how water moves around your home and protects the roof, walls, and foundation.
Over winter, debris builds up, and freezing can loosen joints or create cracks. If not fixed, rainwater will overflow and go where it shouldn’t.
Start by removing debris from gutters and downspouts, then flush with water to check the flow.
Check for:
- Sagging sections: Gutters pulling away from the house
- Leaks or holes: Water dripping from joints or seams
- Blockages: Water not draining properly
Gutters work by directing water away from your home. If clogged or damaged, overflow can cause foundation cracks, basement leaks, siding damage, and roof edge rot.
Seal Openings Around Windows and Doors
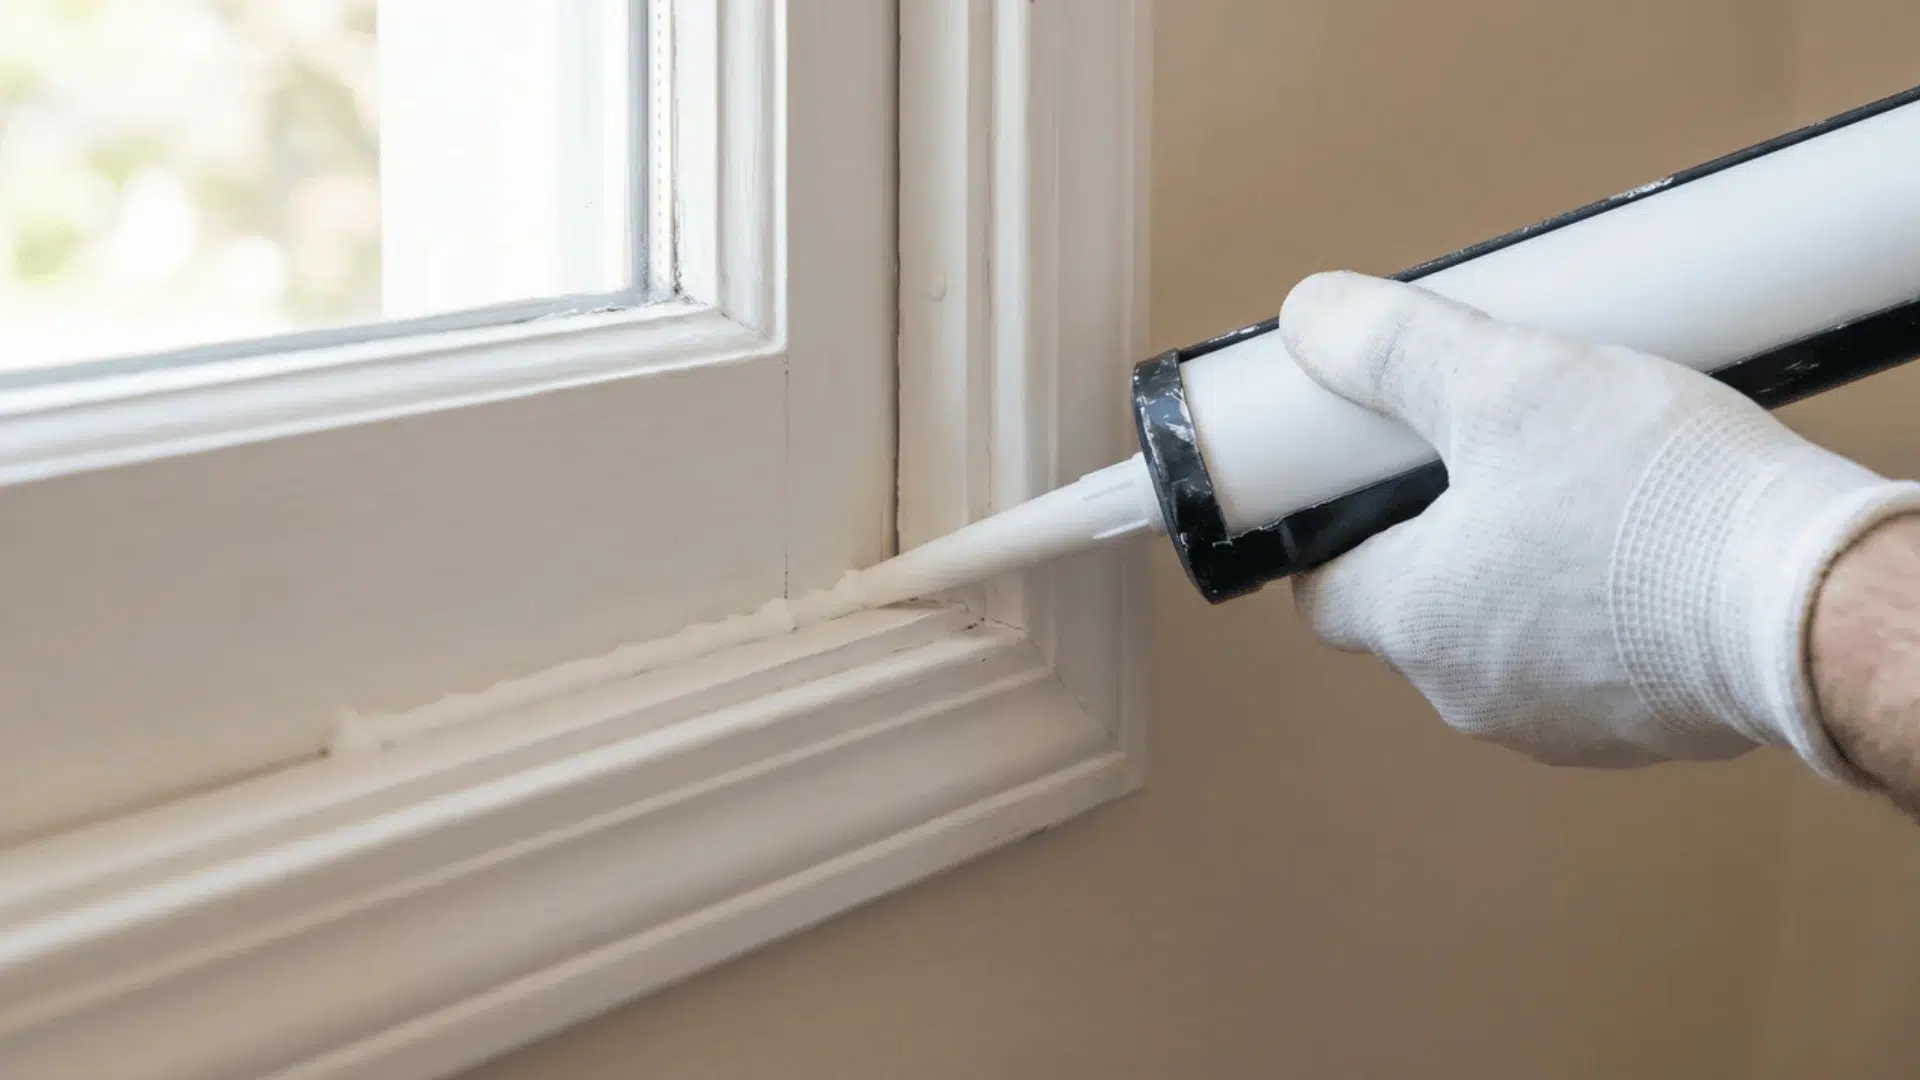
Next, seal any gaps around windows and doors to block air, moisture, and pests. Even small openings can compromise insulation and allow water to enter over time.
Check caulking and weather stripping closely, and replace anything cracked or loose. These gaps allow outside elements in, reducing efficiency and weakening protection.
Focus on:
- Caulking: Cracks or gaps around window and door frames
- Weather stripping: Loose, brittle, or missing seals
Check Foundation and Siding for Structural Issues
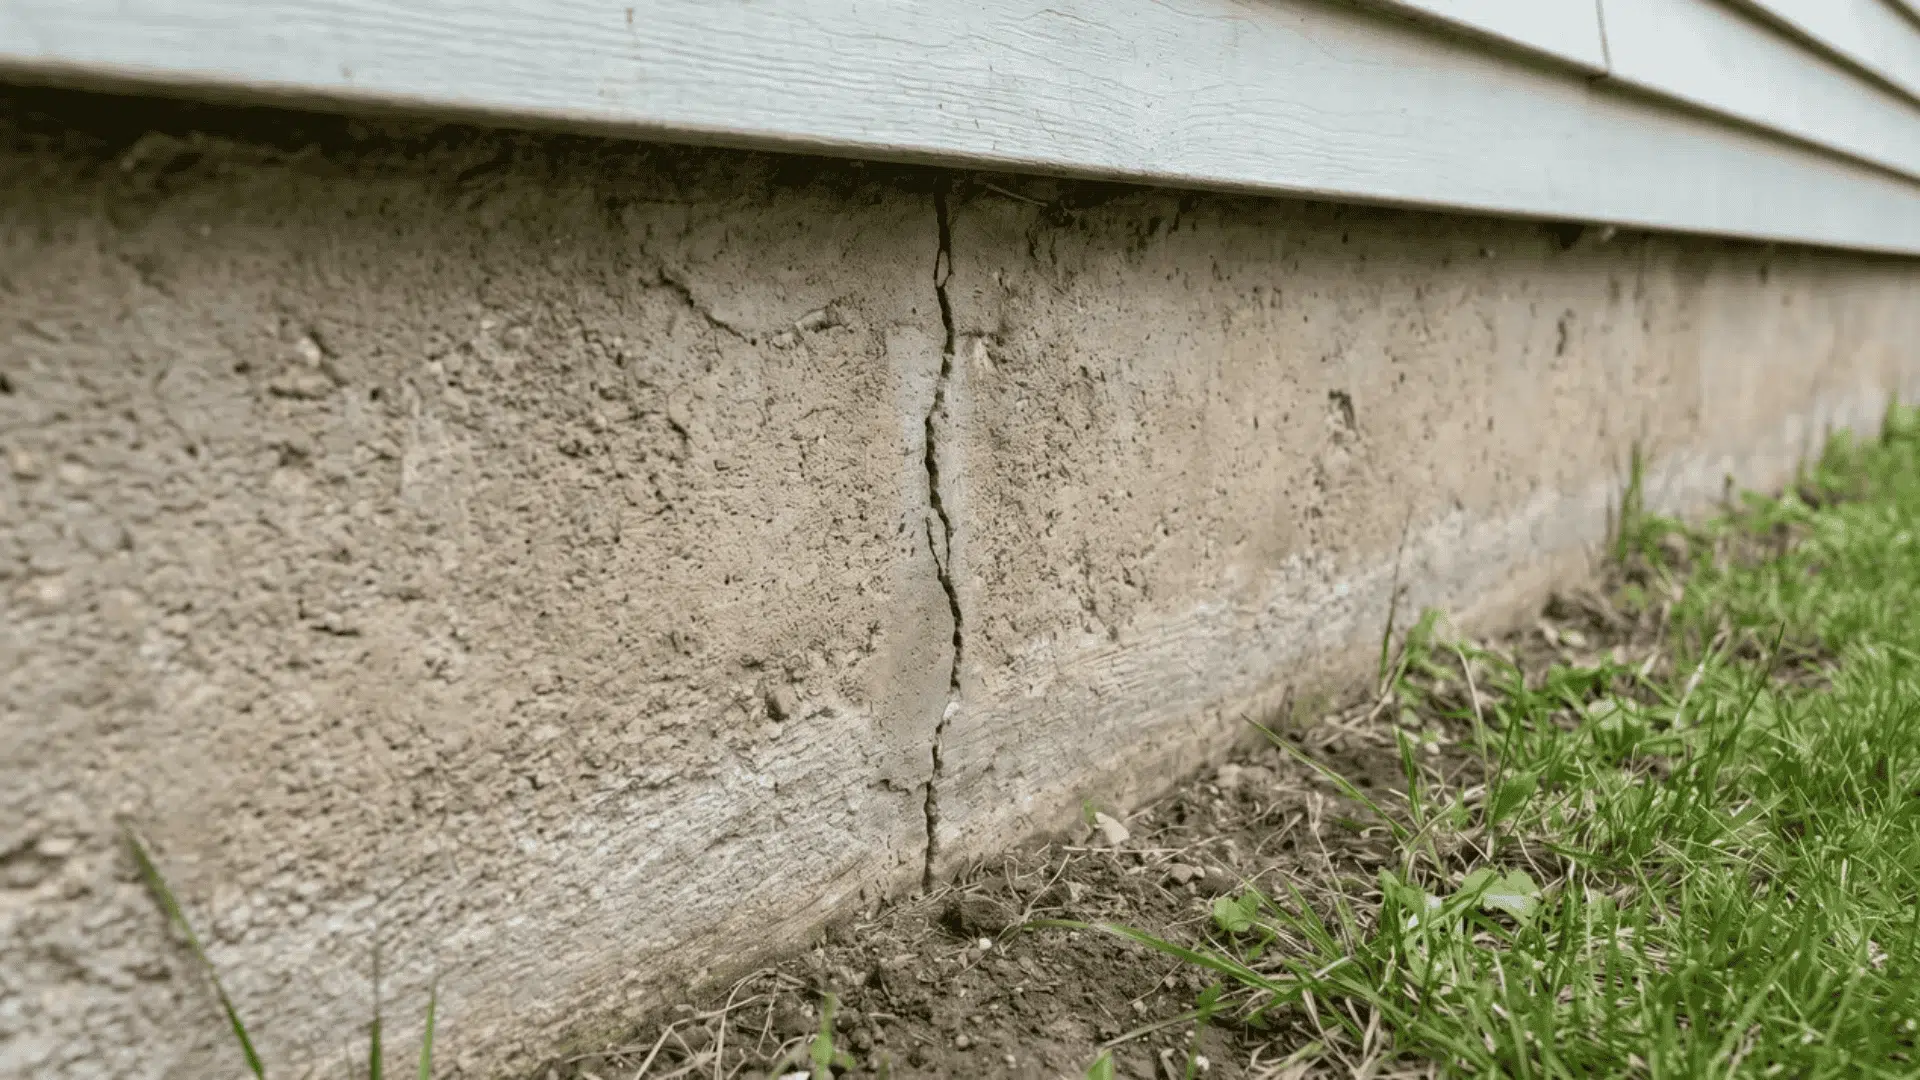
Inspect your foundation for cracks, shifting, or uneven surfaces. These often form due to freeze-thaw cycles that expand and contract materials.
Check siding for warping, rot, or peeling paint, as these are signs of moisture damage. Water entering small cracks can expand and worsen structural issues.
Look for:
- Foundation cracks: Horizontal, vertical, or widening gaps
- Siding damage: Warping, soft spots, or peeling surfaces
Service HVAC and Cooling Systems Before the Heat Starts
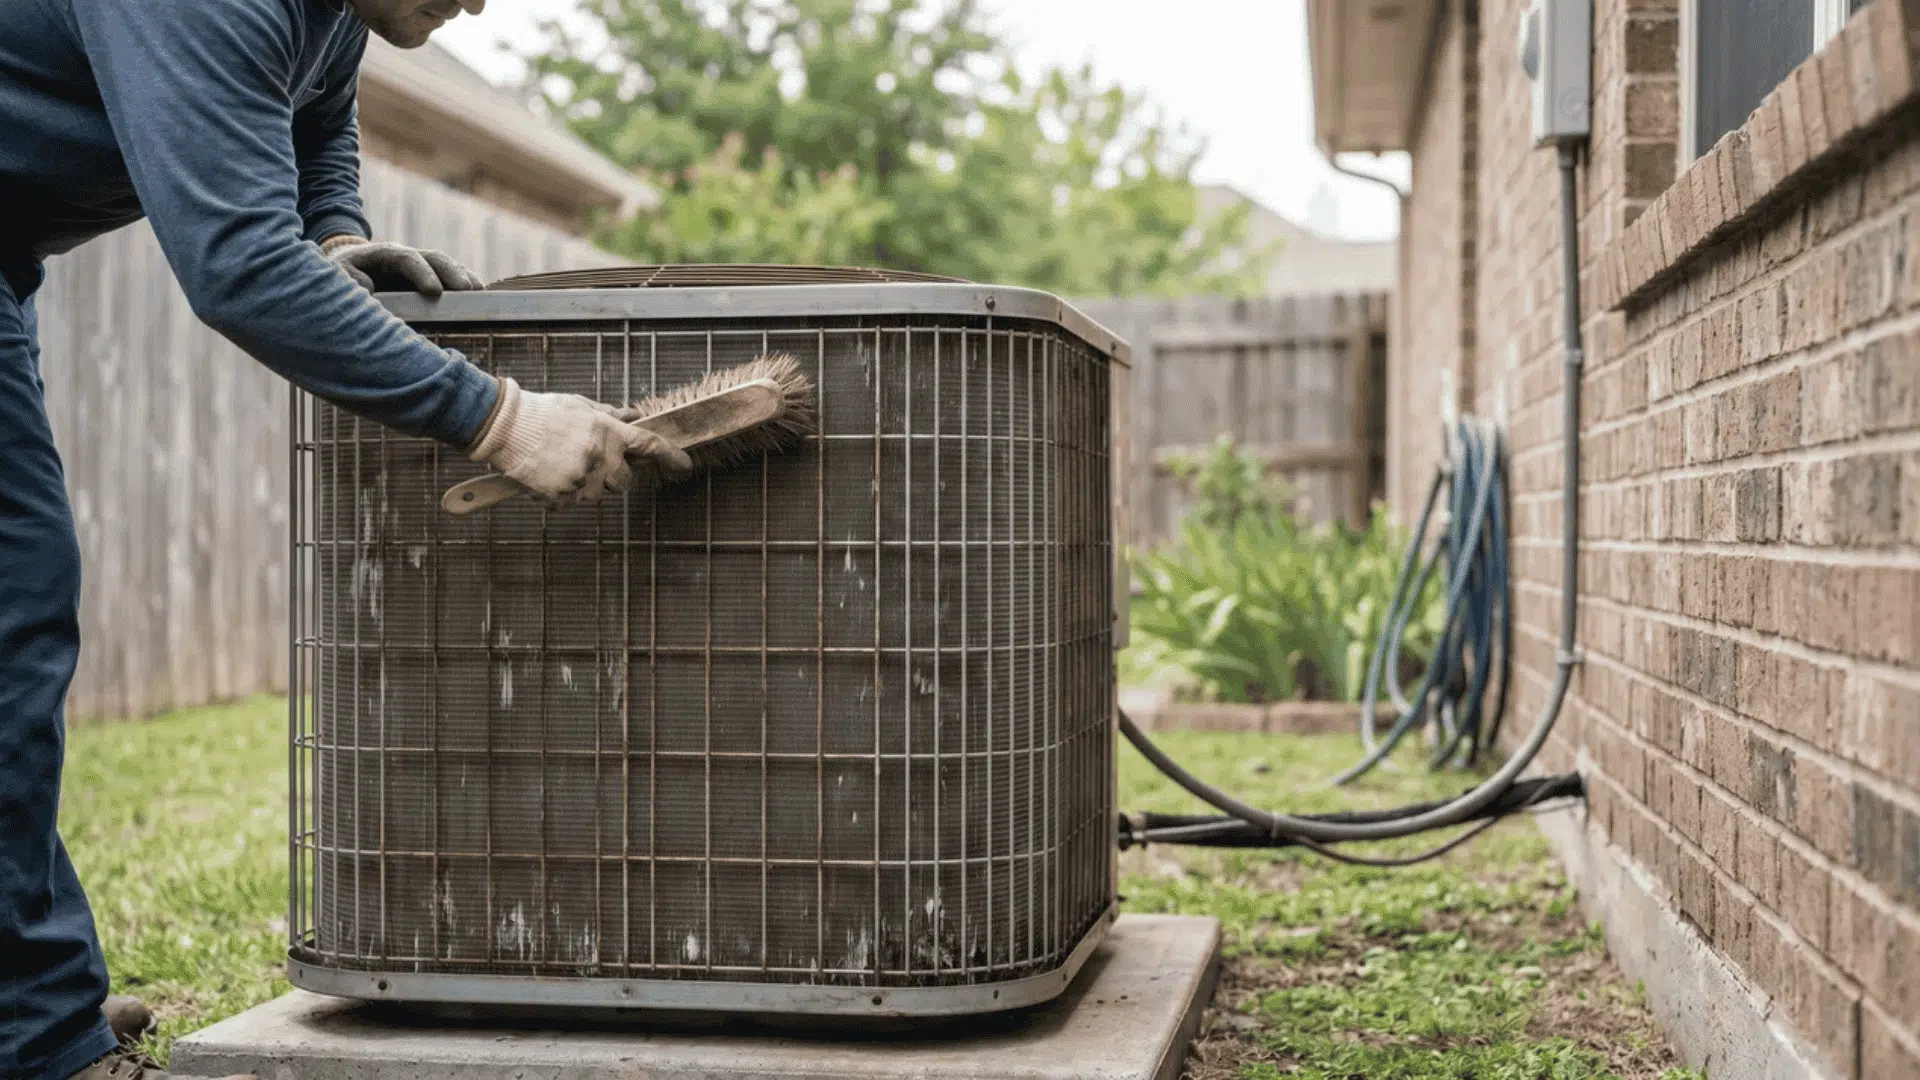
Replace air filters and check your AC unit before temperatures rise. Dust and debris accumulate over winter, restricting airflow.
Clean the unit and remove visible dirt around vents and coils. This helps the system run smoothly and maintain consistent cooling.
Key tasks include:
- Filter replacement: Improves airflow and efficiency
- Unit cleaning: Removes buildup that strains the system
- Professional servicing: Identifies hidden issues early
Inspect Plumbing and Check for Hidden Leaks
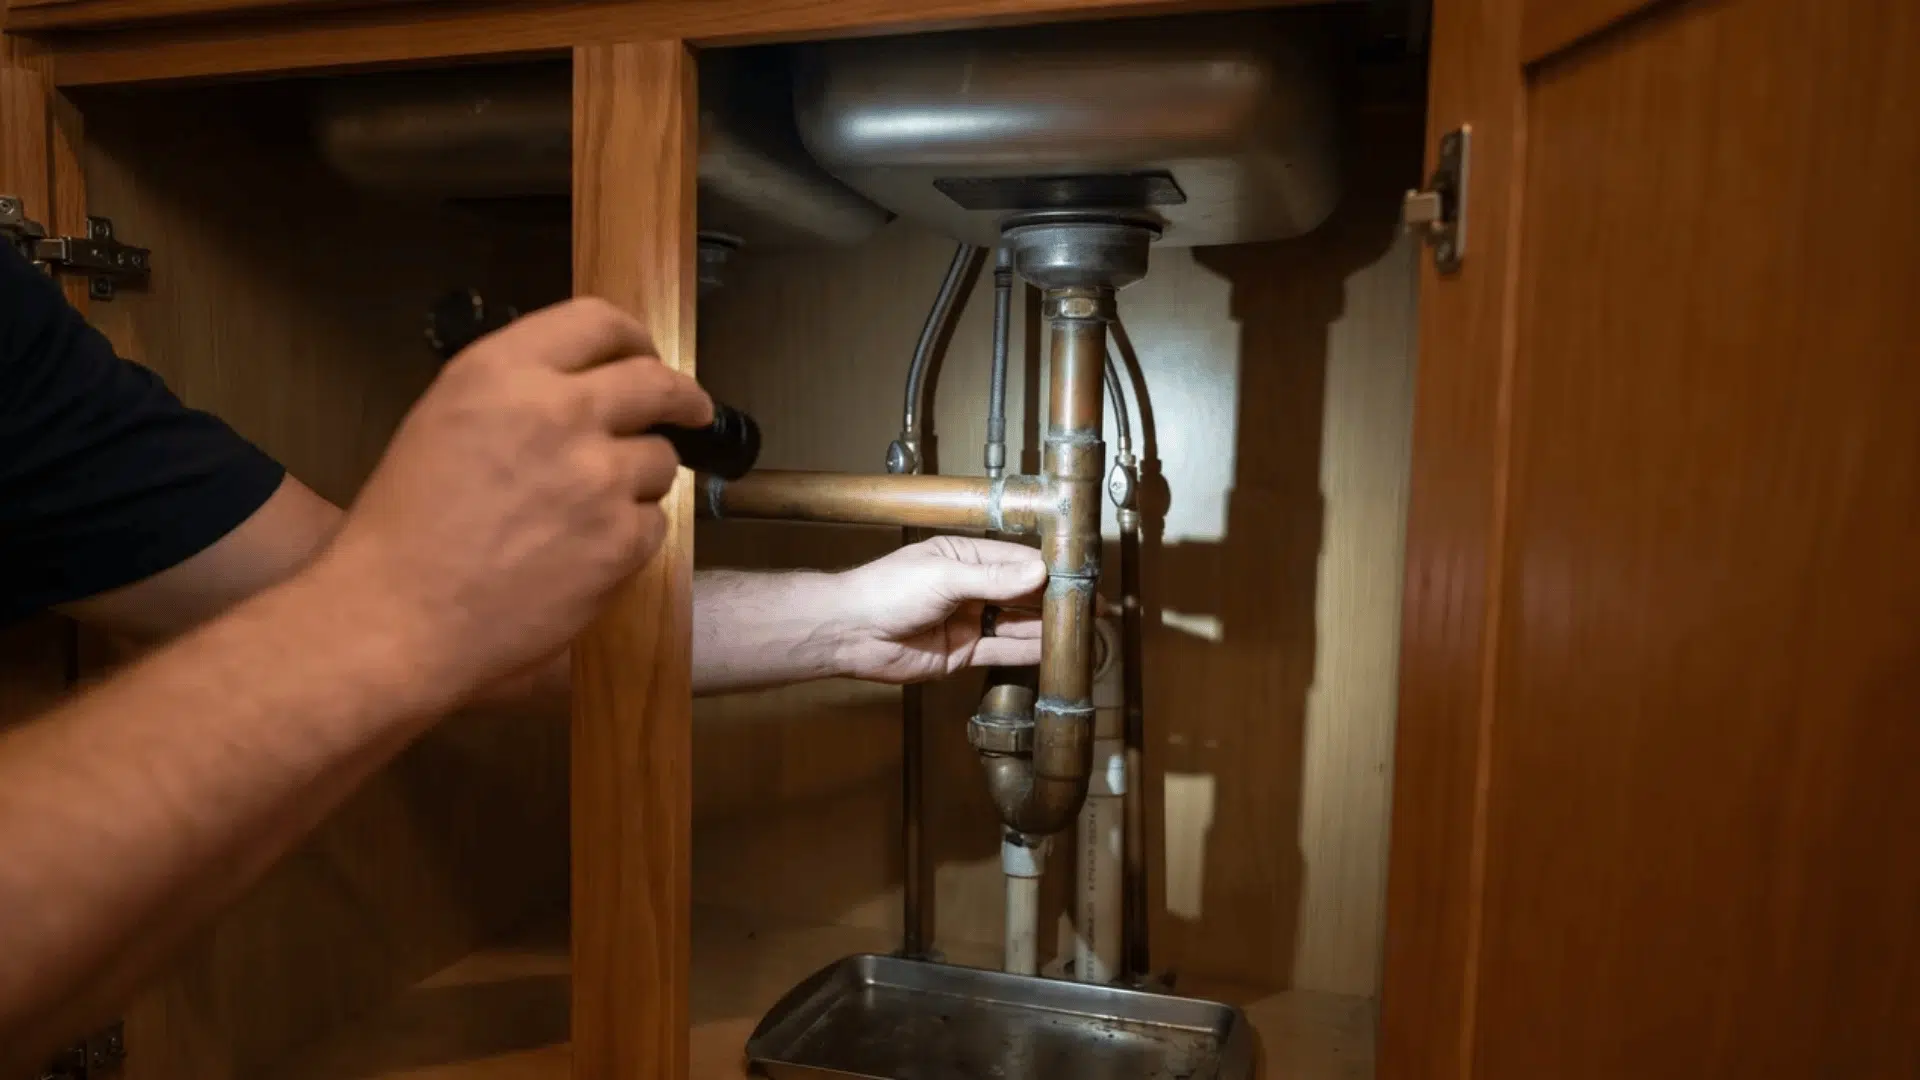
Check under sinks, around appliances, and along exposed pipes for any signs of leaks. Look for moisture, corrosion, or slow dripping that may not be obvious at first.
Test outdoor faucets as well, since frozen pipes can crack and start leaking after thawing. This type of damage often appears in the spring.
Pay attention to:
- Moisture signs: Damp spots or water stains
- Pipe condition: Corrosion or small drips
- Outdoor taps: Weak flow or leaking connections
Perform Safety Checks Inside the Home
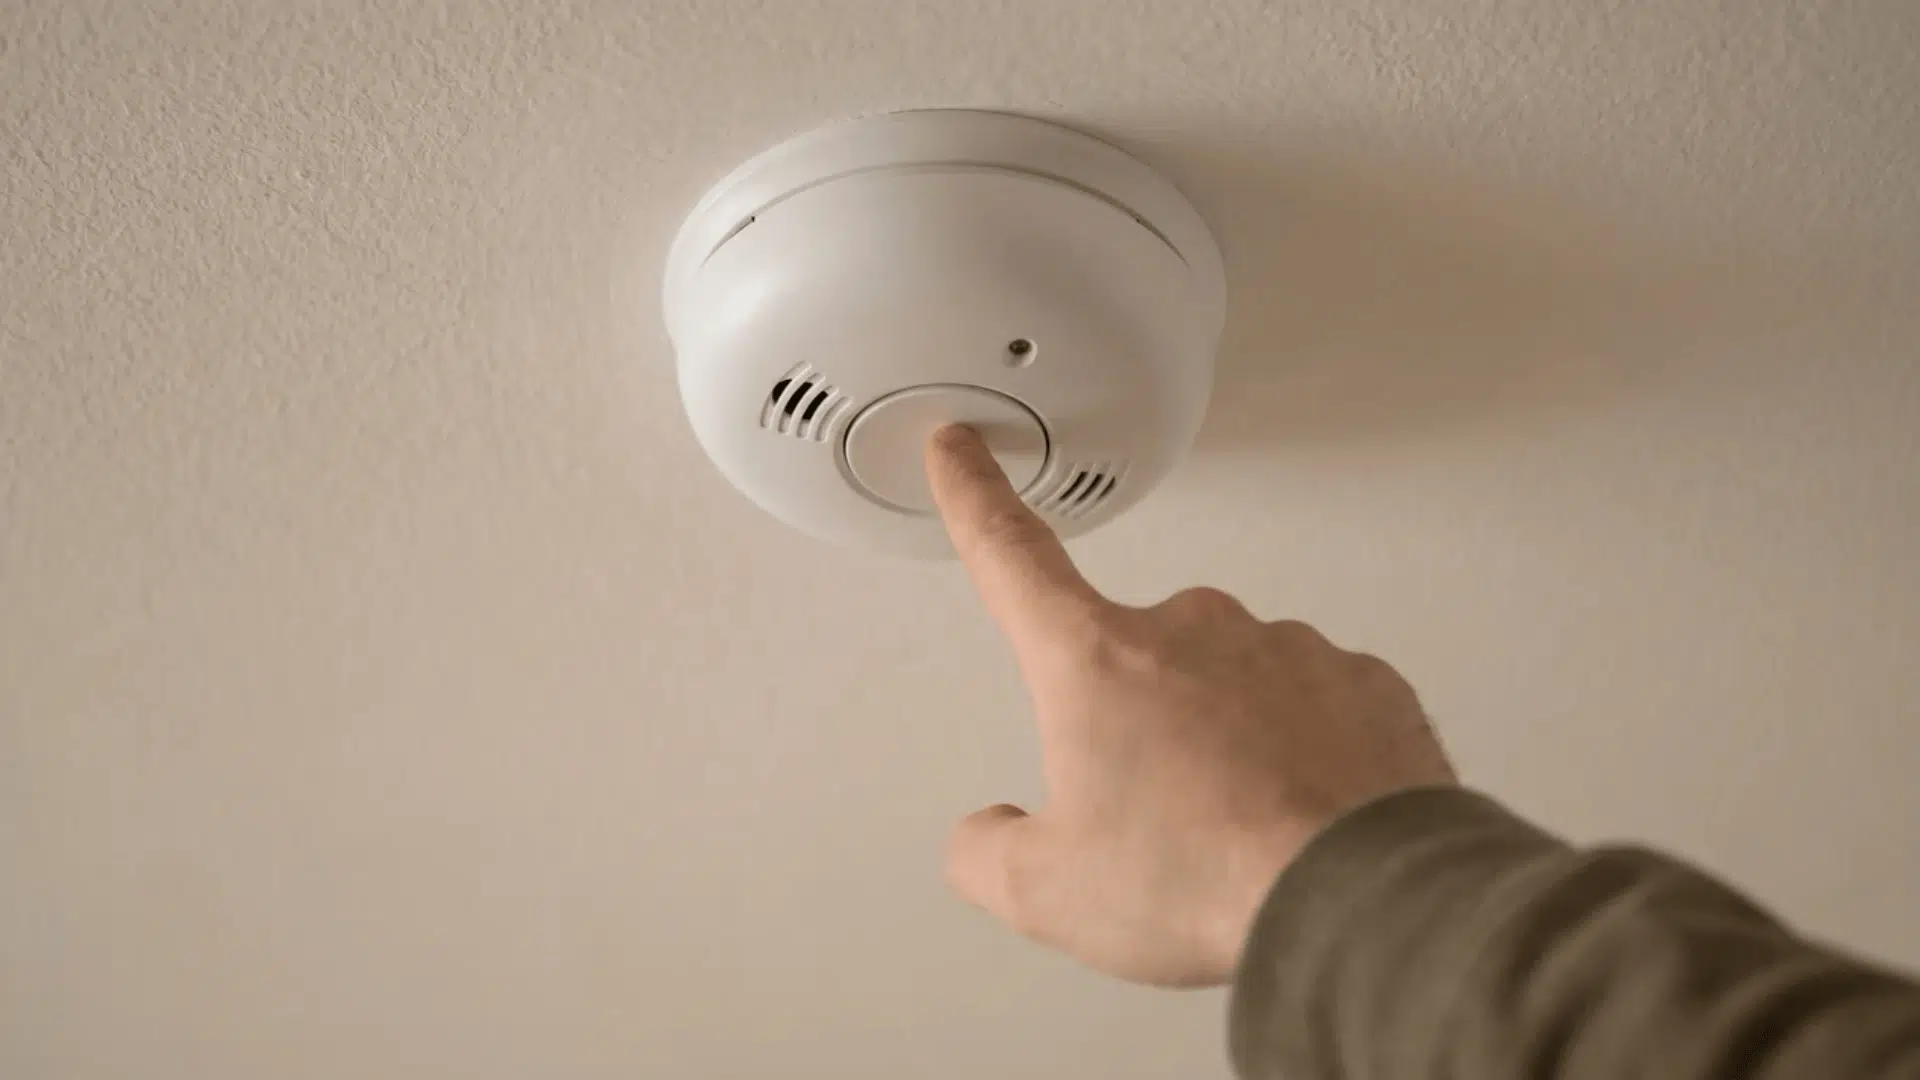
Test smoke and carbon monoxide detectors to ensure they are working. Replace batteries and confirm each unit responds properly.
Check the fire extinguisher for pressure level and expiration date. These systems provide early warnings and emergency protection.
Make sure to review:
- Detectors: Function test and battery condition
- Fire extinguisher: Pressure gauge and expiry
Prepare Lawn, Landscaping, and Irrigation Systems
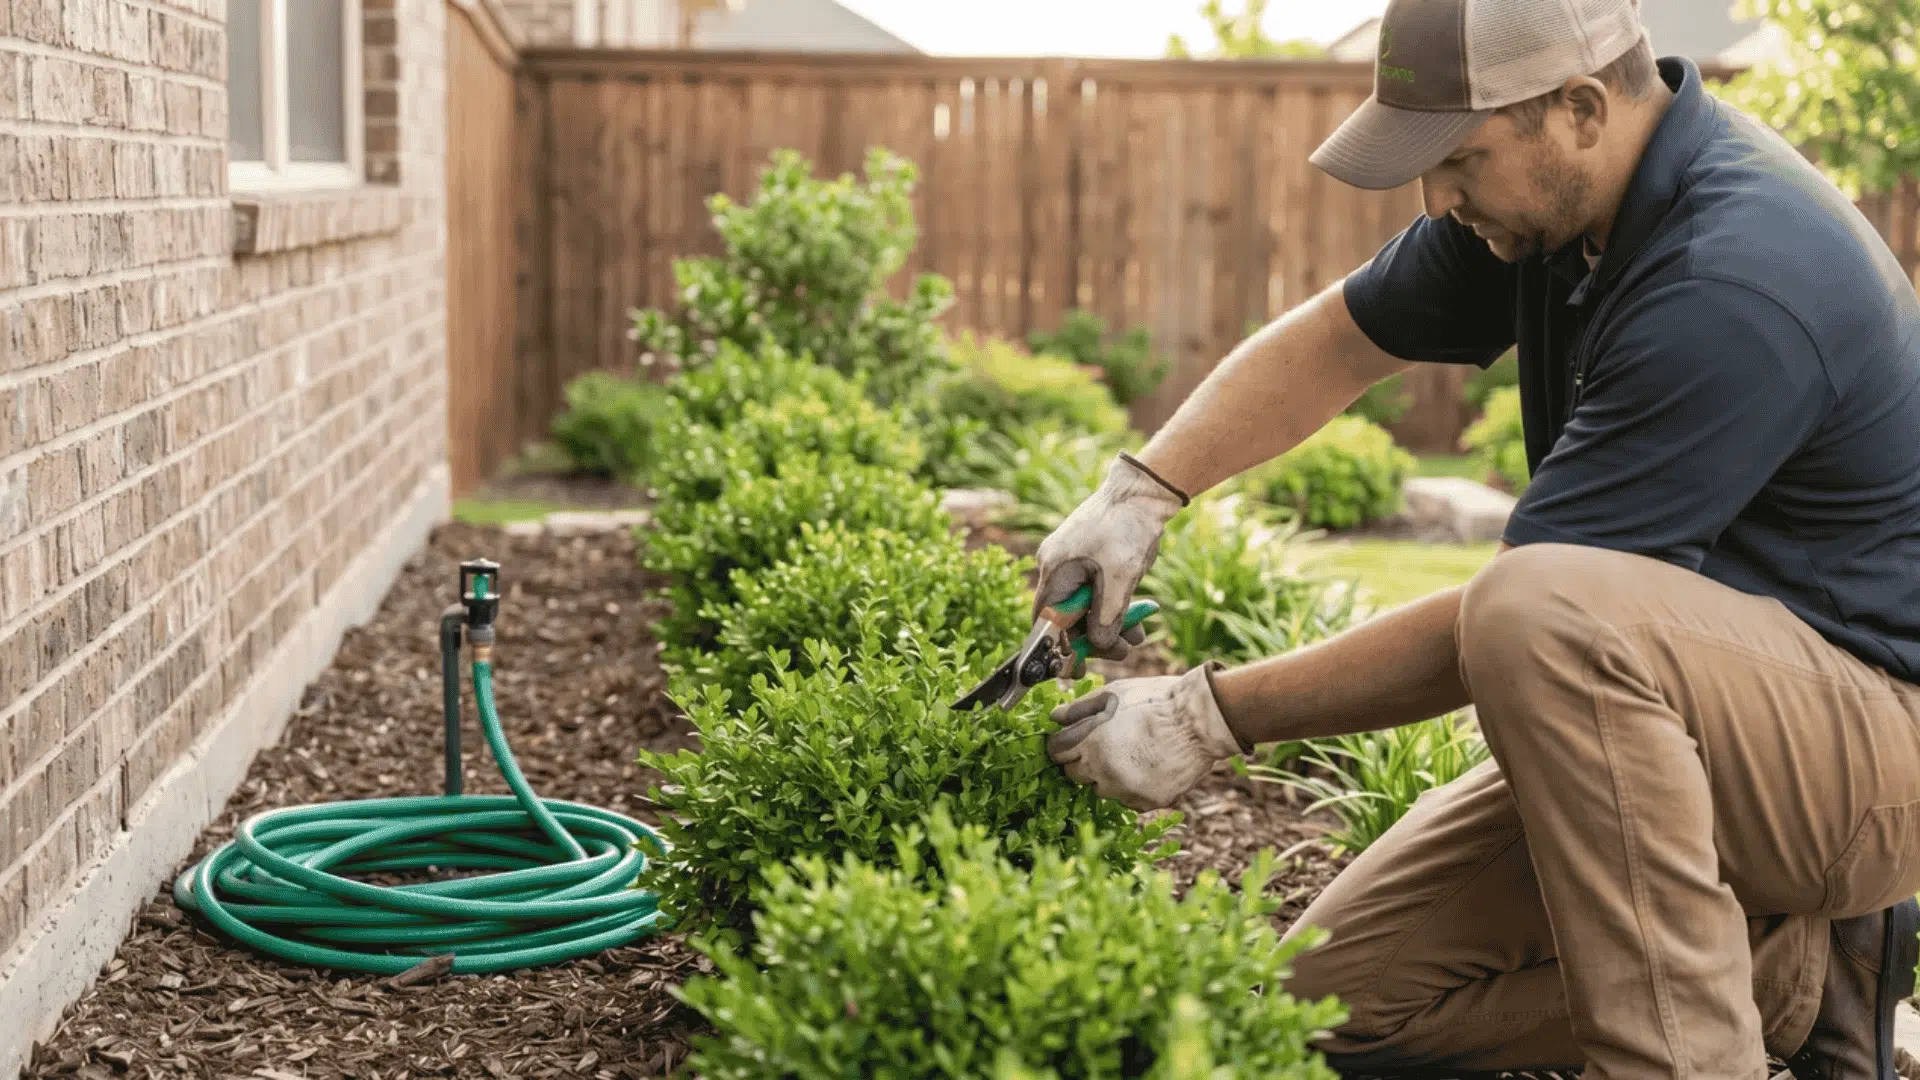
Start by clearing your yard and trimming plants around your home. Overgrown trees and shrubs can trap moisture and press against surfaces.
Cut back vegetation so there is space between plants and the house. This improves airflow and reduces the chance of moisture damage.
Focus on:
- Trimming plants: Keep branches and shrubs away from walls and rooflines
- Clearing debris: Remove leaves and buildup from garden beds
- Irrigation check: Look for leaks, broken sprinkler heads, or uneven watering
Clean Indoor Systems and Improve Air Quality
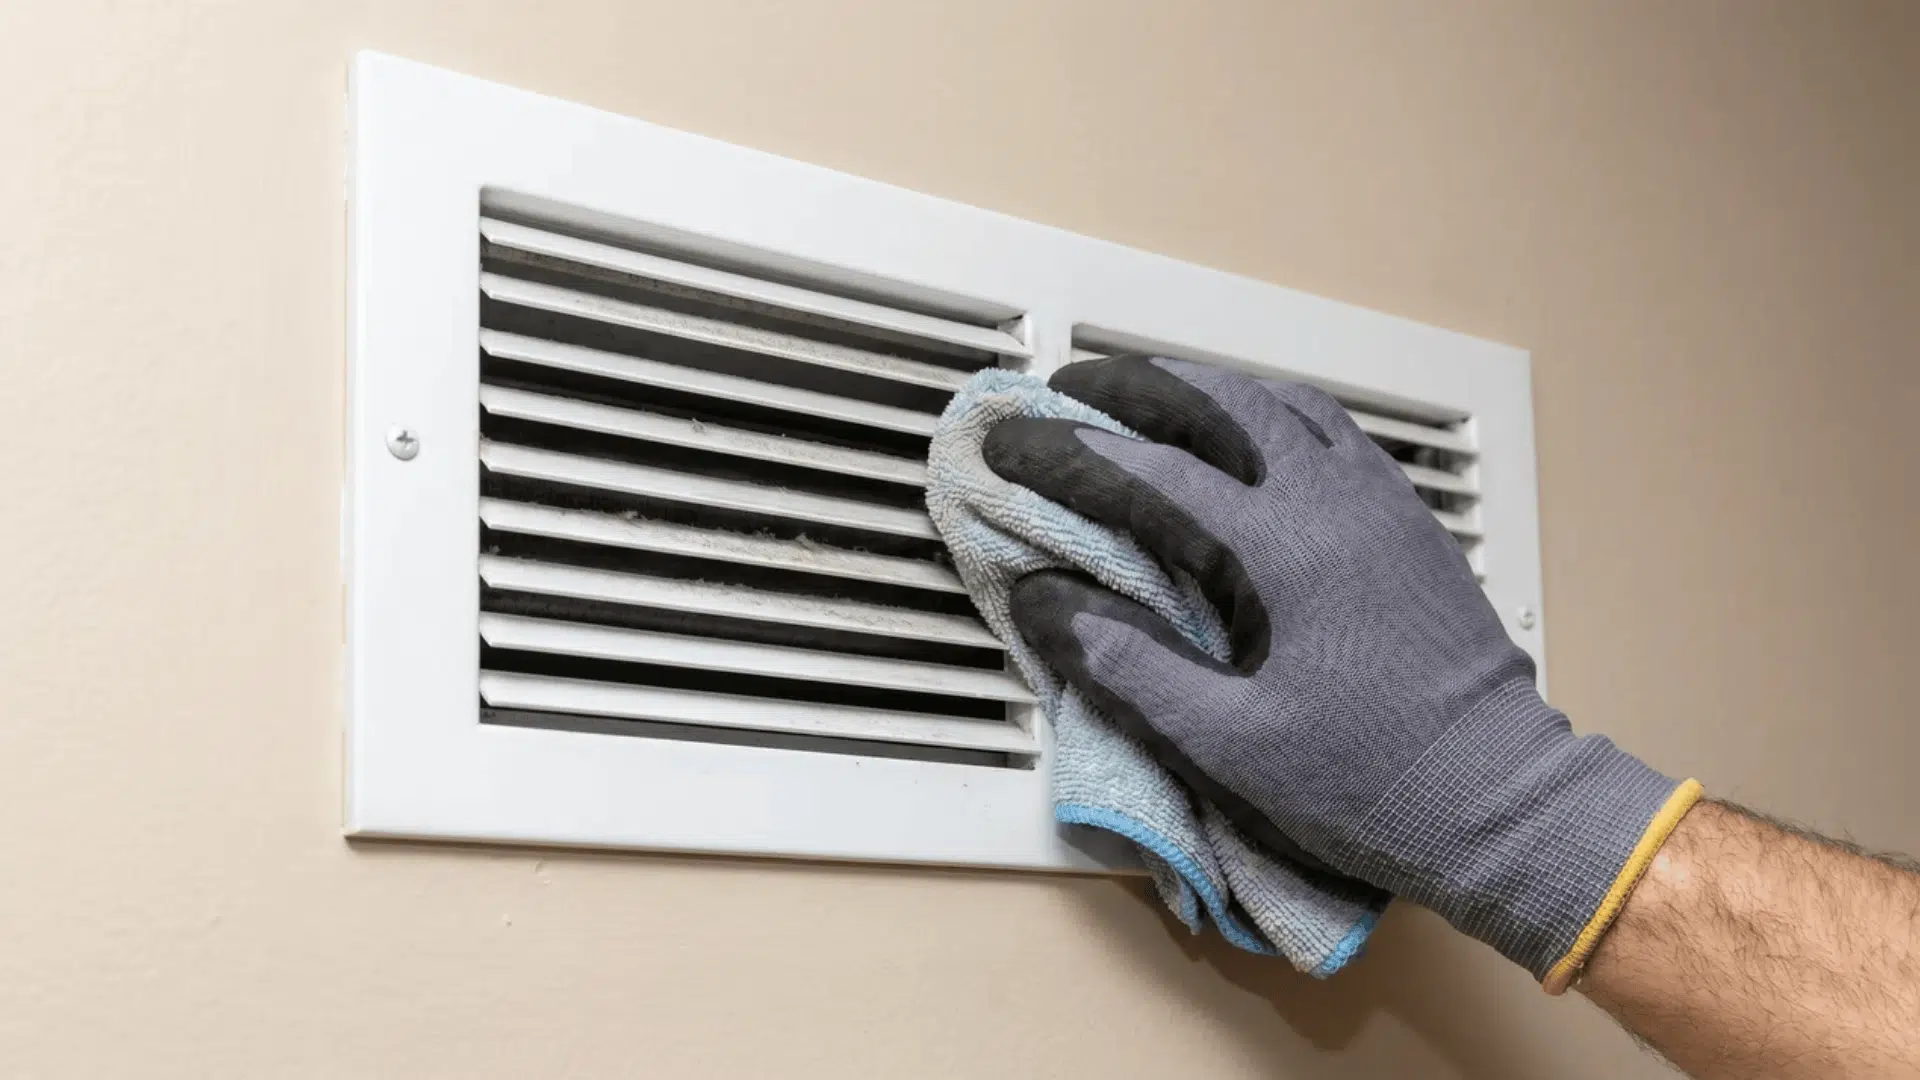
Clean indoor areas where dust builds up over winter, especially vents, fans, and light fixtures. Dust blocks airflow, reducing system performance.
Wash windows and screens to remove trapped dirt and improve air circulation. This also helps bring in cleaner air during warmer months.
Focus on:
- Air vents and fans: Remove dust to restore proper airflow
- Windows and screens: Clean buildup that restricts fresh air
- Dryer vents: Clear lint to reduce fire risk
Service Tools and Equipment for Seasonal Use
Get your tools and machines ready before regular use begins. Winter storage often leaves them less efficient and more prone to issues.
- Clean tools: Remove dirt, debris, and rust buildup to keep performance smooth
- Lubricate parts: Apply oil to moving components to reduce wear and friction
- Sharpen mower blades: Ensure clean, even cuts and avoid strain on the machine
- Replace old fuel: Prevent engine issues caused by stale fuel sitting over winter
Estimate the Cost of Spring Home Maintenance
Before starting, it helps to understand realistic cost ranges. Prices vary based on home size, condition, and whether you choose DIY or professional services.
Basic tasks remain affordable when done yourself, while professional work increases in cost depending on complexity and damage level.
Typical cost breakdown:
- Gutter cleaning: $100–$350, depending on size and access
- HVAC servicing: $100–$300 for inspection and basic cleaning
- Sealing windows/doors: $20–$150 for DIY materials like caulk and weather stripping
- Plumbing fixes: $100–$500+ for minor repairs (higher for major issues)
- Deck/patio cleaning: $100–$400 for pressure washing services
Handling small issues early keeps costs low and manageable. Minor fixes are far cheaper than repairs caused by long-term neglect.
Quick Spring Maintenance Checklist Summary
Use this checklist to quickly review all key spring tasks. It helps ensure nothing important is missed.
| Area | What To Do |
|---|---|
| Exterior Inspection | Walk around the home and check for visible damage |
| Gutters And Roof | Clear debris, check drainage, and inspect shingles |
| Windows And Sealing | Fix gaps, replace caulking, and weather stripping |
| HVAC Servicing | Replace filters, clean unit, schedule service |
| Plumbing Checks | Look for leaks, test faucets, and exposed pipes |
| Safety Systems | Test detectors, check the fire extinguisher |
| Outdoor Cleaning | Clean deck, patio, and exterior surfaces |
| Landscaping | Trim plants, clear debris, check irrigation |
| Indoor Cleaning | Clean vents, windows, and dryer vents |
| Equipment Prep | Clean, sharpen, and service tools and machines |
Conclusion
Following a spring home maintenance checklist keeps your home protected, efficient, and ready for the months ahead.
Each step works together to reduce damage risks and improve overall performance.
You now have a clear plan to inspect, repair, and maintain key areas before small issues turn serious. That means fewer surprises and better long-term results.
Take action now and go through each step one by one. A little effort today can save you time, stress, and repair costs later.
Frequently Asked Questions
How Long Does a Spring Home Maintenance Checklist take to Complete?
It usually takes a few hours to a couple of days, depending on home size, condition, and whether tasks are done alone or with professional help.
Should I Hire Professionals for All Spring Maintenance Tasks?
Not always. Basic tasks can be DIY, but roofing, HVAC servicing, and major structural issues are best handled by professionals.
How Often Should I Repeat this Checklist?
This checklist is typically done once every spring, but some tasks, such as filter replacement or inspections, may need to be repeated every few months.