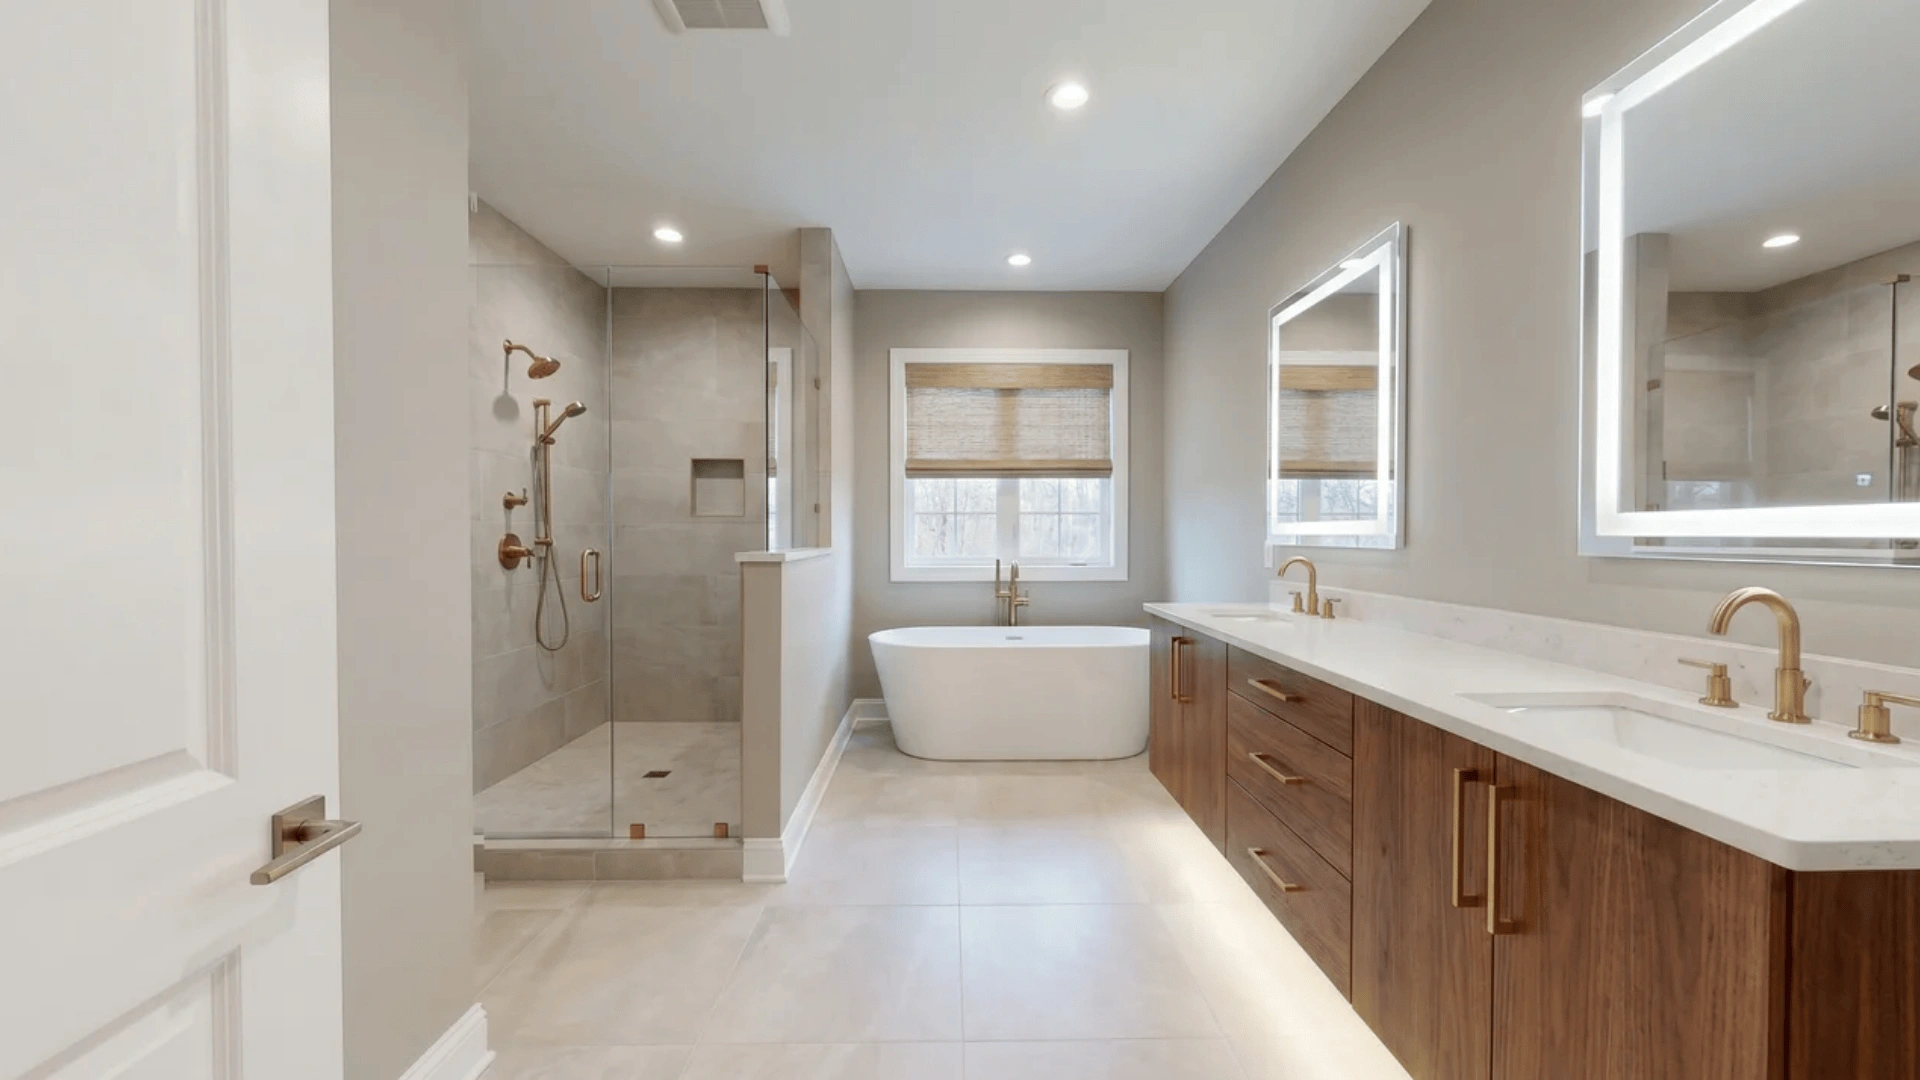
Bathroom Upgrade Ideas for Style and Function
Bathroom upgrades don’t always mean tearing everything apart or spending a huge budget.
Small, well-planned changes can shift how your space looks, feels, and functions every day.
The key is knowing what to fix first and why it matters. Without a clear approach, upgrades often feel incomplete or fail to improve daily use.
This guide walks you through practical bathroom upgrades that actually make a difference.
You’ll learn how to prioritize, execute, and avoid mistakes while getting better results from every change.
Start with a Quick Bathroom Assessment Before Upgrading
Before you change anything, you need to understand what actually needs fixing.
Jumping straight into upgrades often leads to wasted money and a bathroom that still feels off.
A quick assessment helps you focus on what will make the biggest difference. Instead of random changes, you get clear direction and better results.
The problem is that most bathrooms have mixed issues. Some affect how it looks, others affect how it works or feels.
Start by breaking your bathroom into three simple layers.
- Visual Problems: dated tiles, dull paint, poor lighting, mismatched finishes
- Functional Issues: lack of storage, poor layout flow, and difficult daily use
- Comfort Gaps: harsh lighting, poor ventilation, low usability
This approach works because it turns a vague problem into clear priorities. You stop guessing and start fixing what actually matters first.
Note: More upgrades don’t guarantee better results; a few well-targeted changes often deliver far better impact than multiple random ones.
Apply High-Impact, Lo-Effort Upgrades First
You don’t need to gut the bathroom to see a real shift. The right small changes hit hardest when they target what catches the eye every day.
Here are three upgrade areas to start with:
1. Paint and Surface Refresh
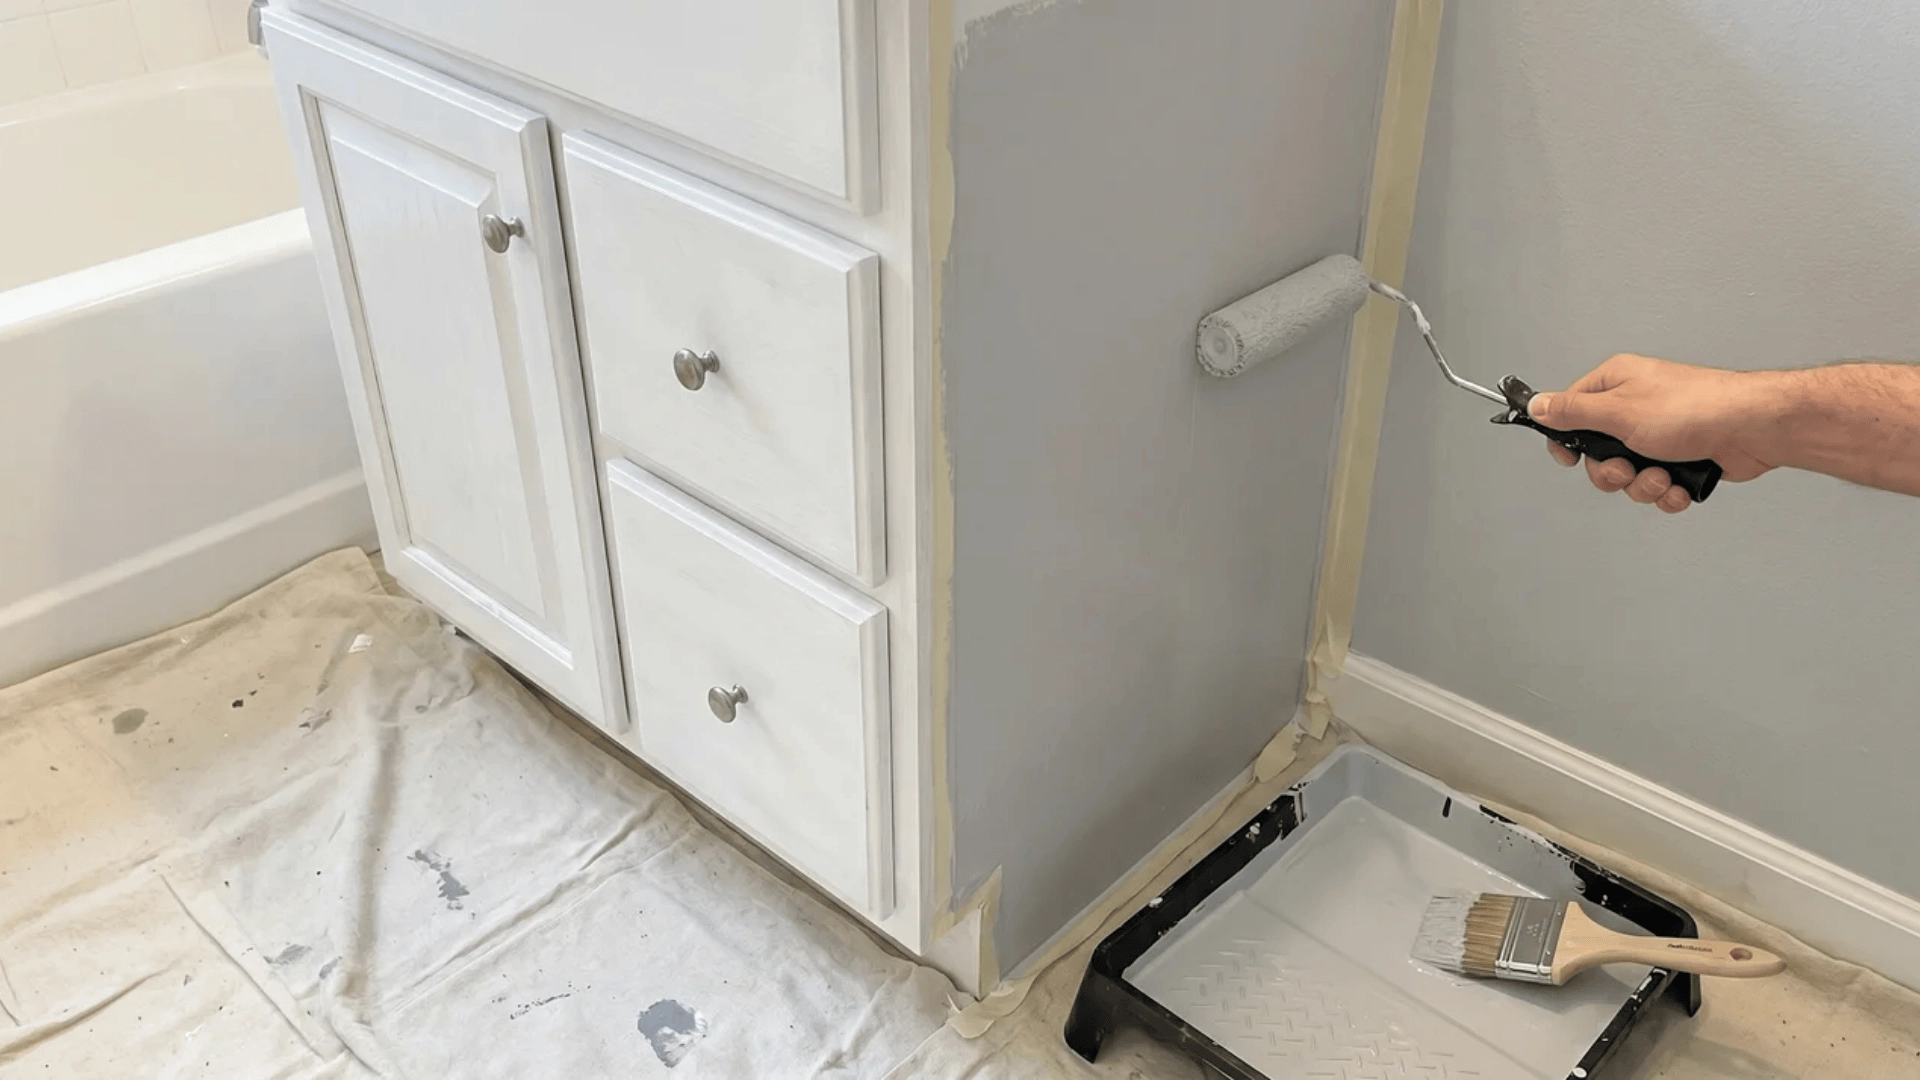
Paint resets the entire visual base of a bathroom faster than almost any other change. When walls, cabinets, or tiles look fresh, the rest of the space instantly feels more put together, even if nothing else has changed.
It also shifts how light moves through the room, helping smaller bathrooms feel more open and bright.
- Walls: Clean, sand, and apply moisture-resistant paint in light tones to brighten the space and make it feel larger.
- Cabinets: Remove hardware, sand the surfaces, and recoat with durable enamel for a smooth, updated finish without replacement.
- Tiles: Use tile-specific paint after deep cleaning and priming to cover outdated designs, which saves both time and the cost of full retiling.
2. Fixture and Hardware Replacement
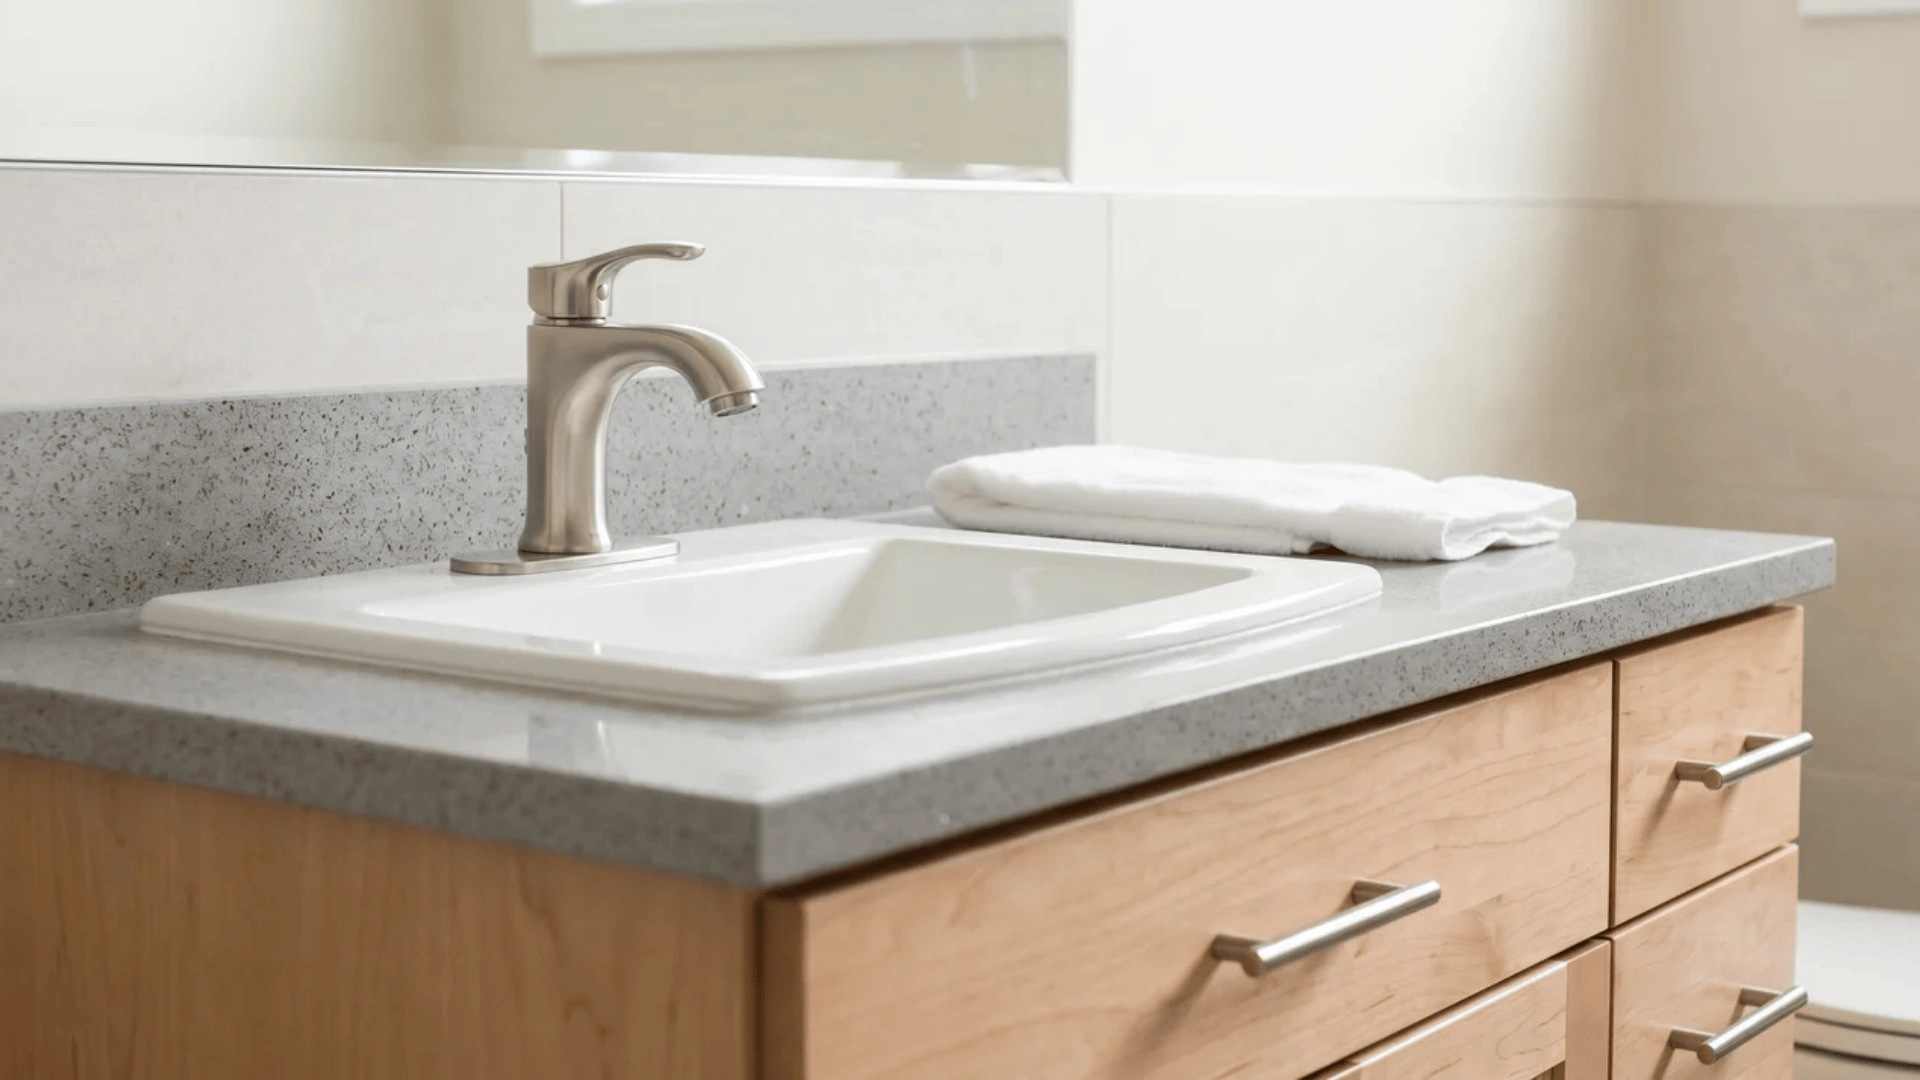
Fixtures get touched and seen more than almost anything else in a bathroom. Even small swaps in this area can shift the entire feel from outdated to modern, often within a single afternoon.
The trick is keeping finishes consistent so the upgrades feel intentional rather than scattered.
- Faucets: Swap older models for designs that match your sink size and existing plumbing for a quick win in both look and daily comfort.
- Handles and Knobs: Replace all cabinet hardware with one matching finish to avoid mixed metals and keep the look clean.
- Showerheads: Install a new showerhead with better pressure and spray options to improve daily comfort while refreshing the visual side too.
3. Lighting Adjustments
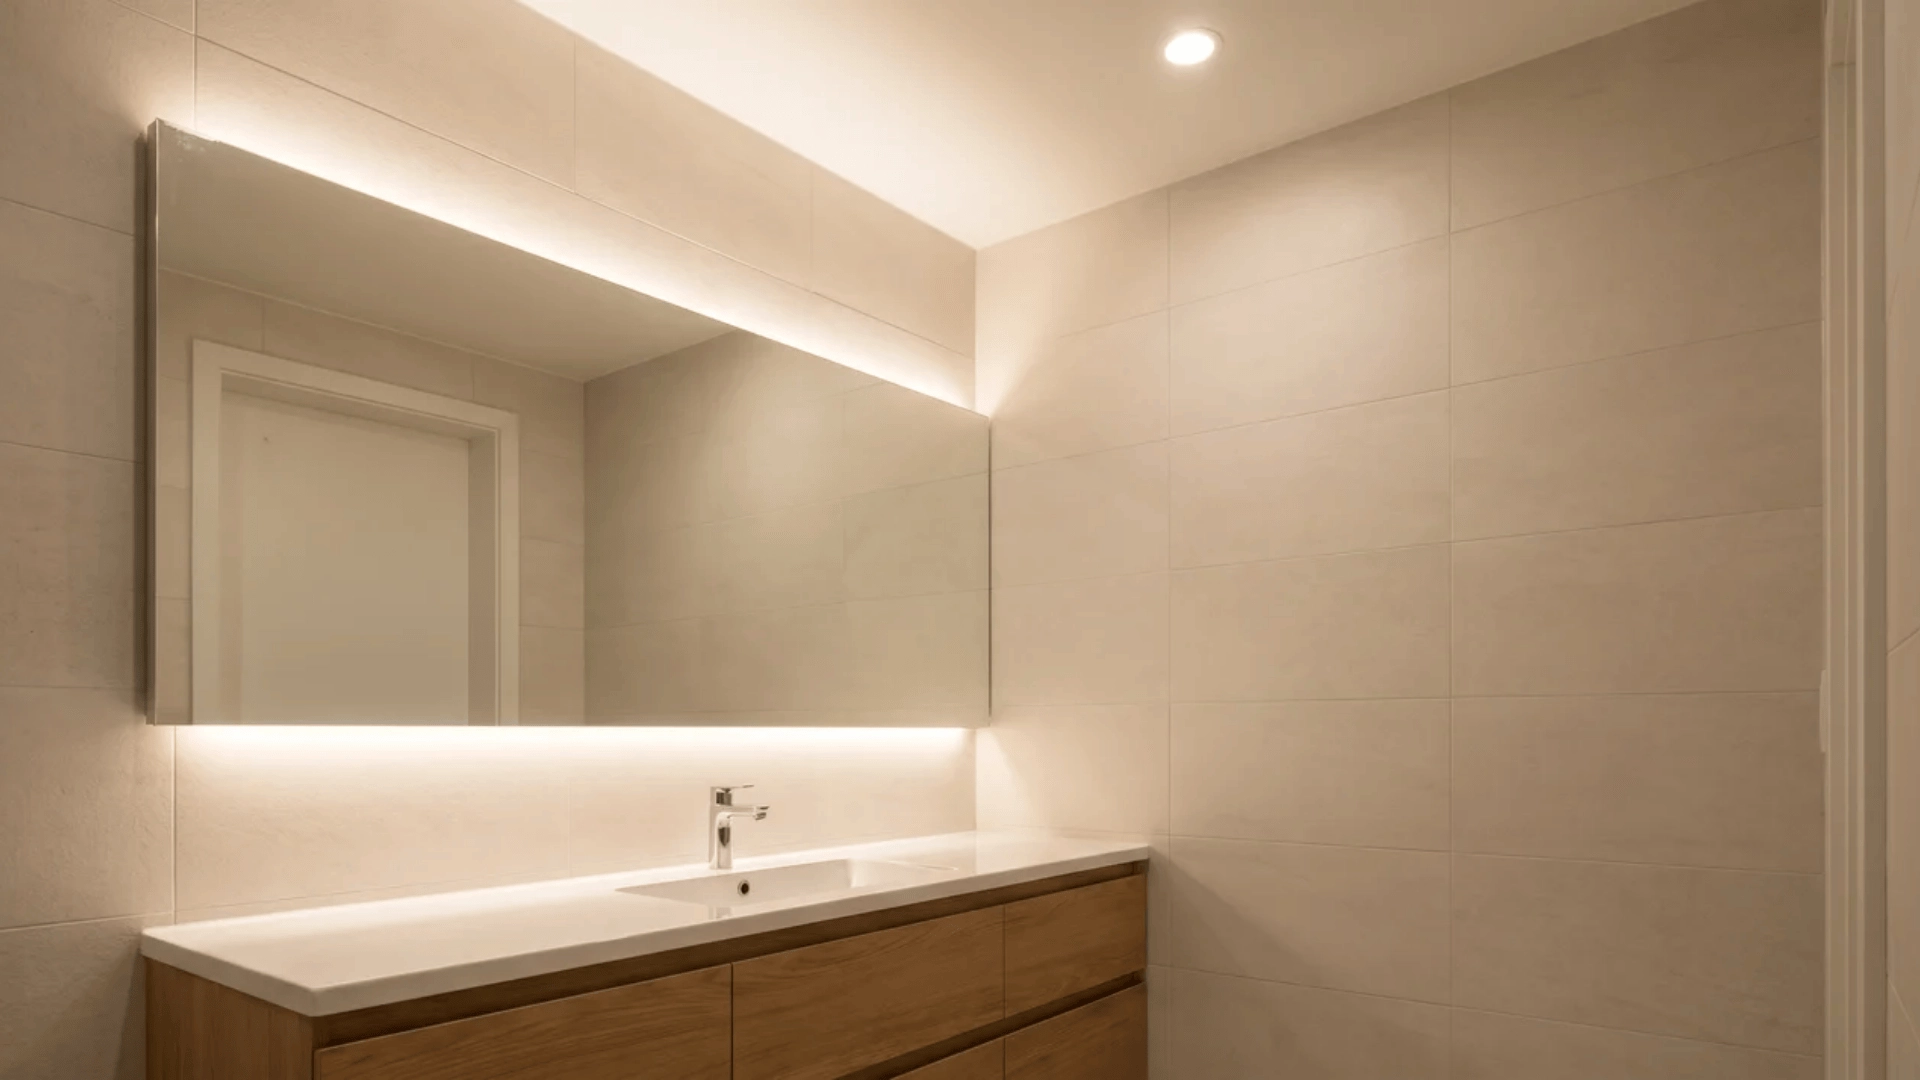
Lighting controls how every surface, color, and texture in the bathroom is actually seen. Even a well-designed space can fall flat under harsh or outdated fixtures, while the right setup can make ordinary finishes look polished.
- Overhead Lighting: Replace dated ceiling fixtures with brighter, energy-efficient ones to spread light evenly and clear out dark corners.
- Mirror Lighting: Add side or top mirror lights to soften facial shadows and improve visibility for grooming or makeup.
- Ambient Layers: Bring in soft secondary lighting like LED strips or wall sconces to cut harshness and create a warmer, more comfortable atmosphere overall.
Improve Storage to Fix Daily Friction
A bathroom can look spotless and still feel chaotic if items have nowhere proper to live. Smart storage solves the slow buildup of clutter that makes mornings harder than they need to be.
Here are two storage areas worth rethinking first:
4. Add Vertical and Hidden Storage
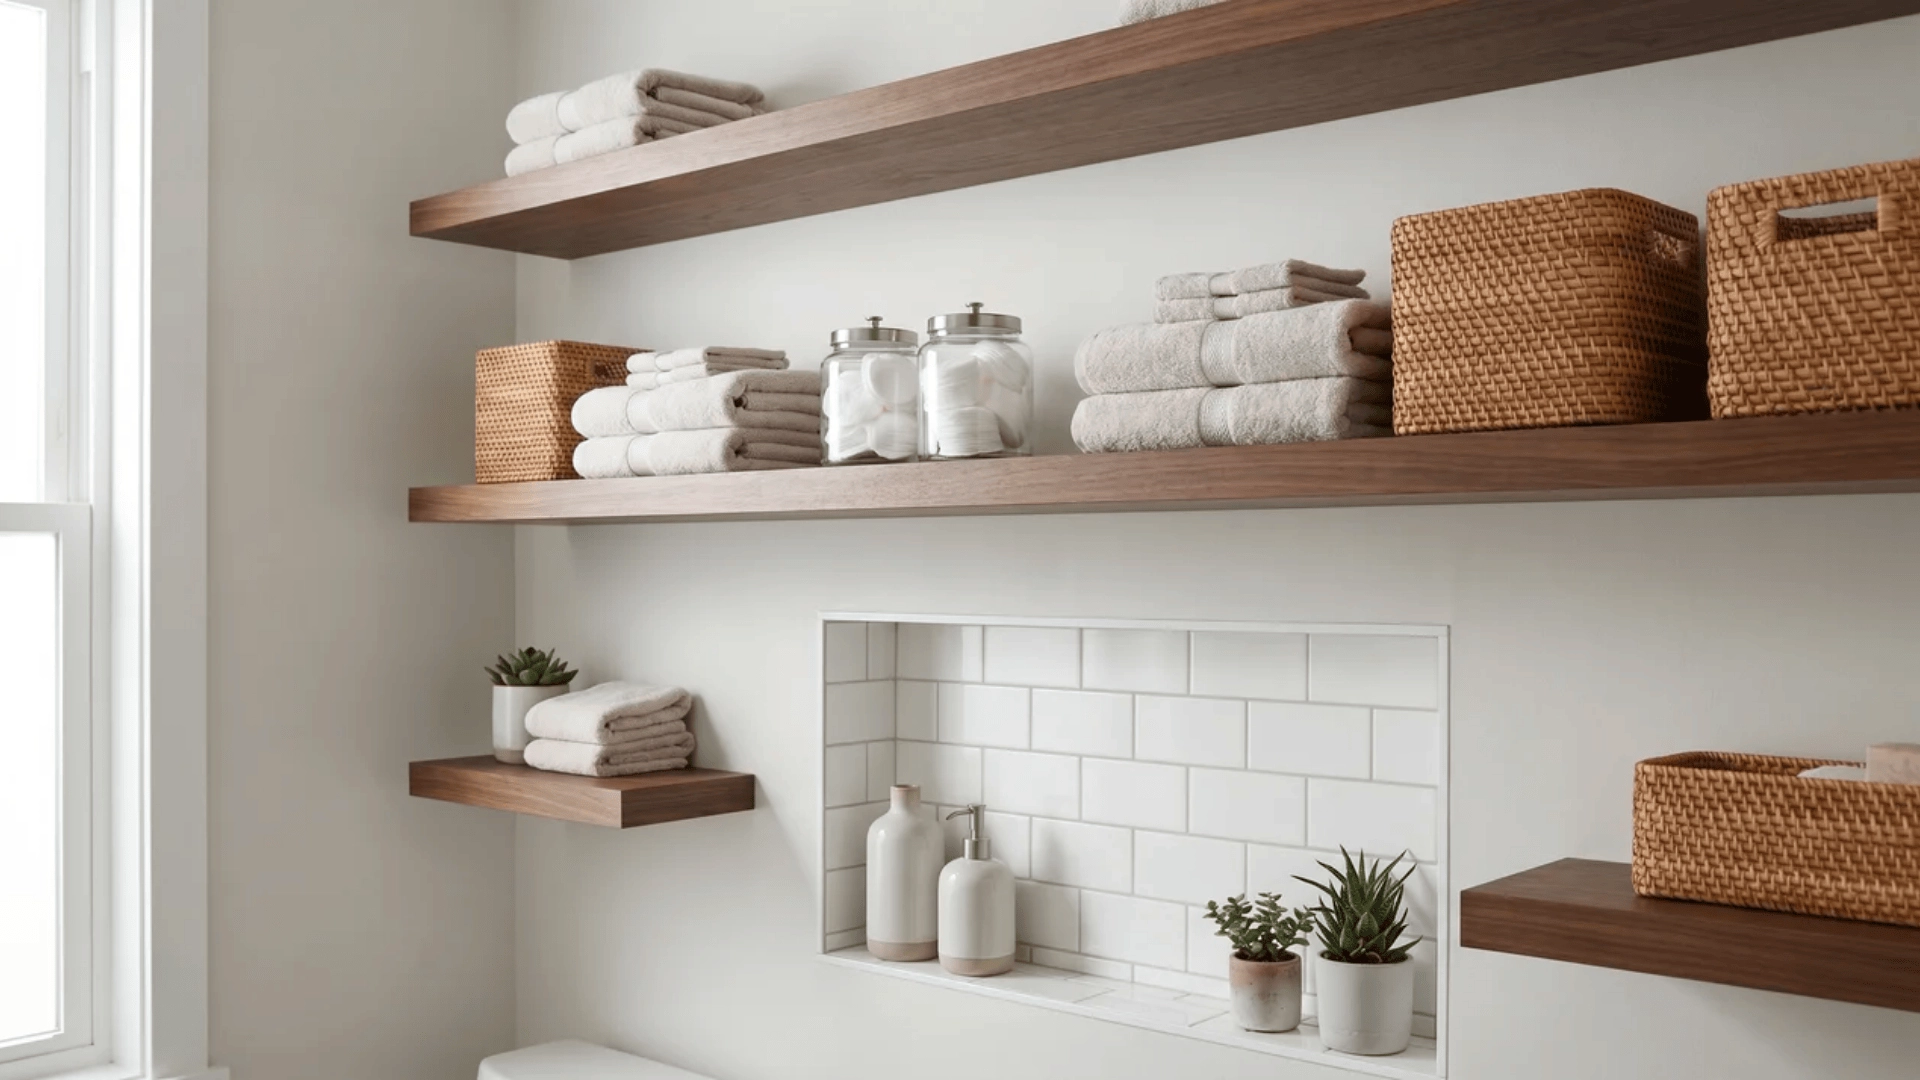
Walls are the most overlooked part of any bathroom. Moving storage upward or into the walls themselves keeps essentials within reach and pulls clutter out of sight.
- Wall Shelves: Mount floating shelves above the toilet to hold daily items without crowding the counter.
- Cabinets: Fix wall-mounted cabinets with doors to tuck away bulkier products.
- Recessed Niches: Build niches inside shower walls to hold bottles flat, saving precious inches in tighter setups.
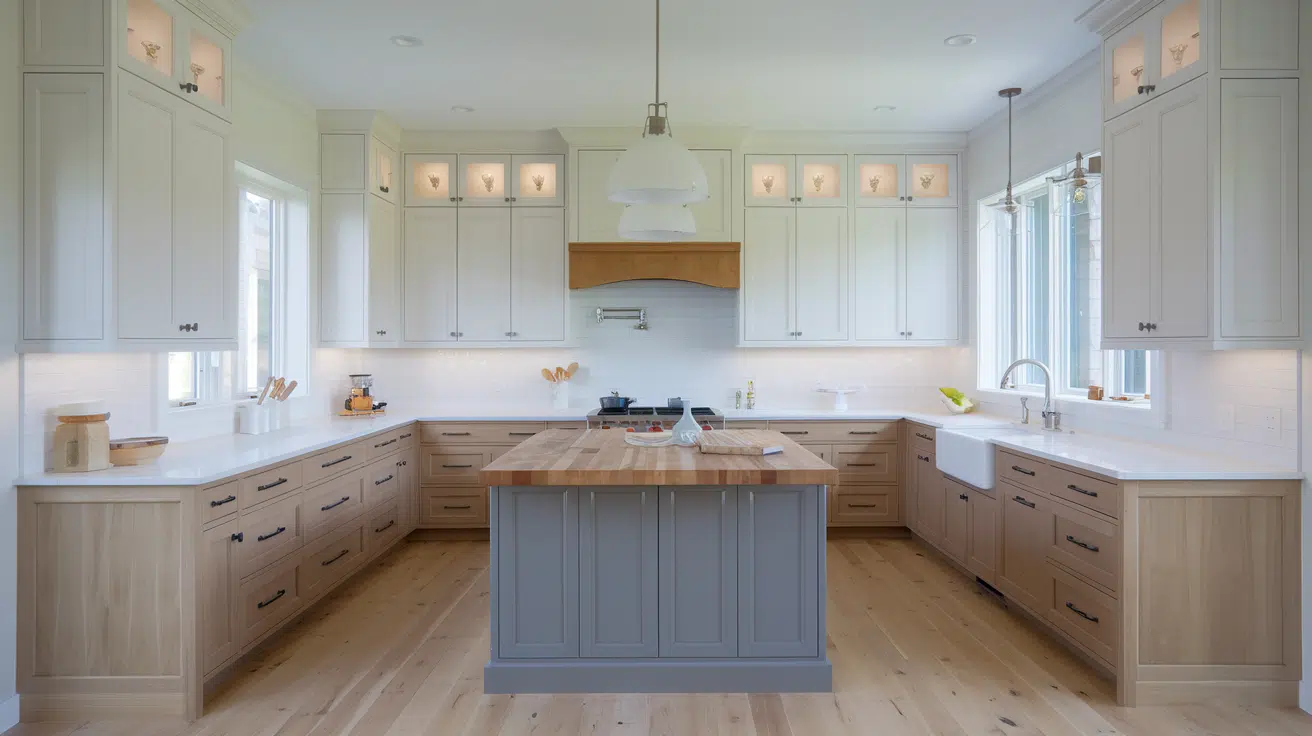
5. Upgrade Vanity Storage
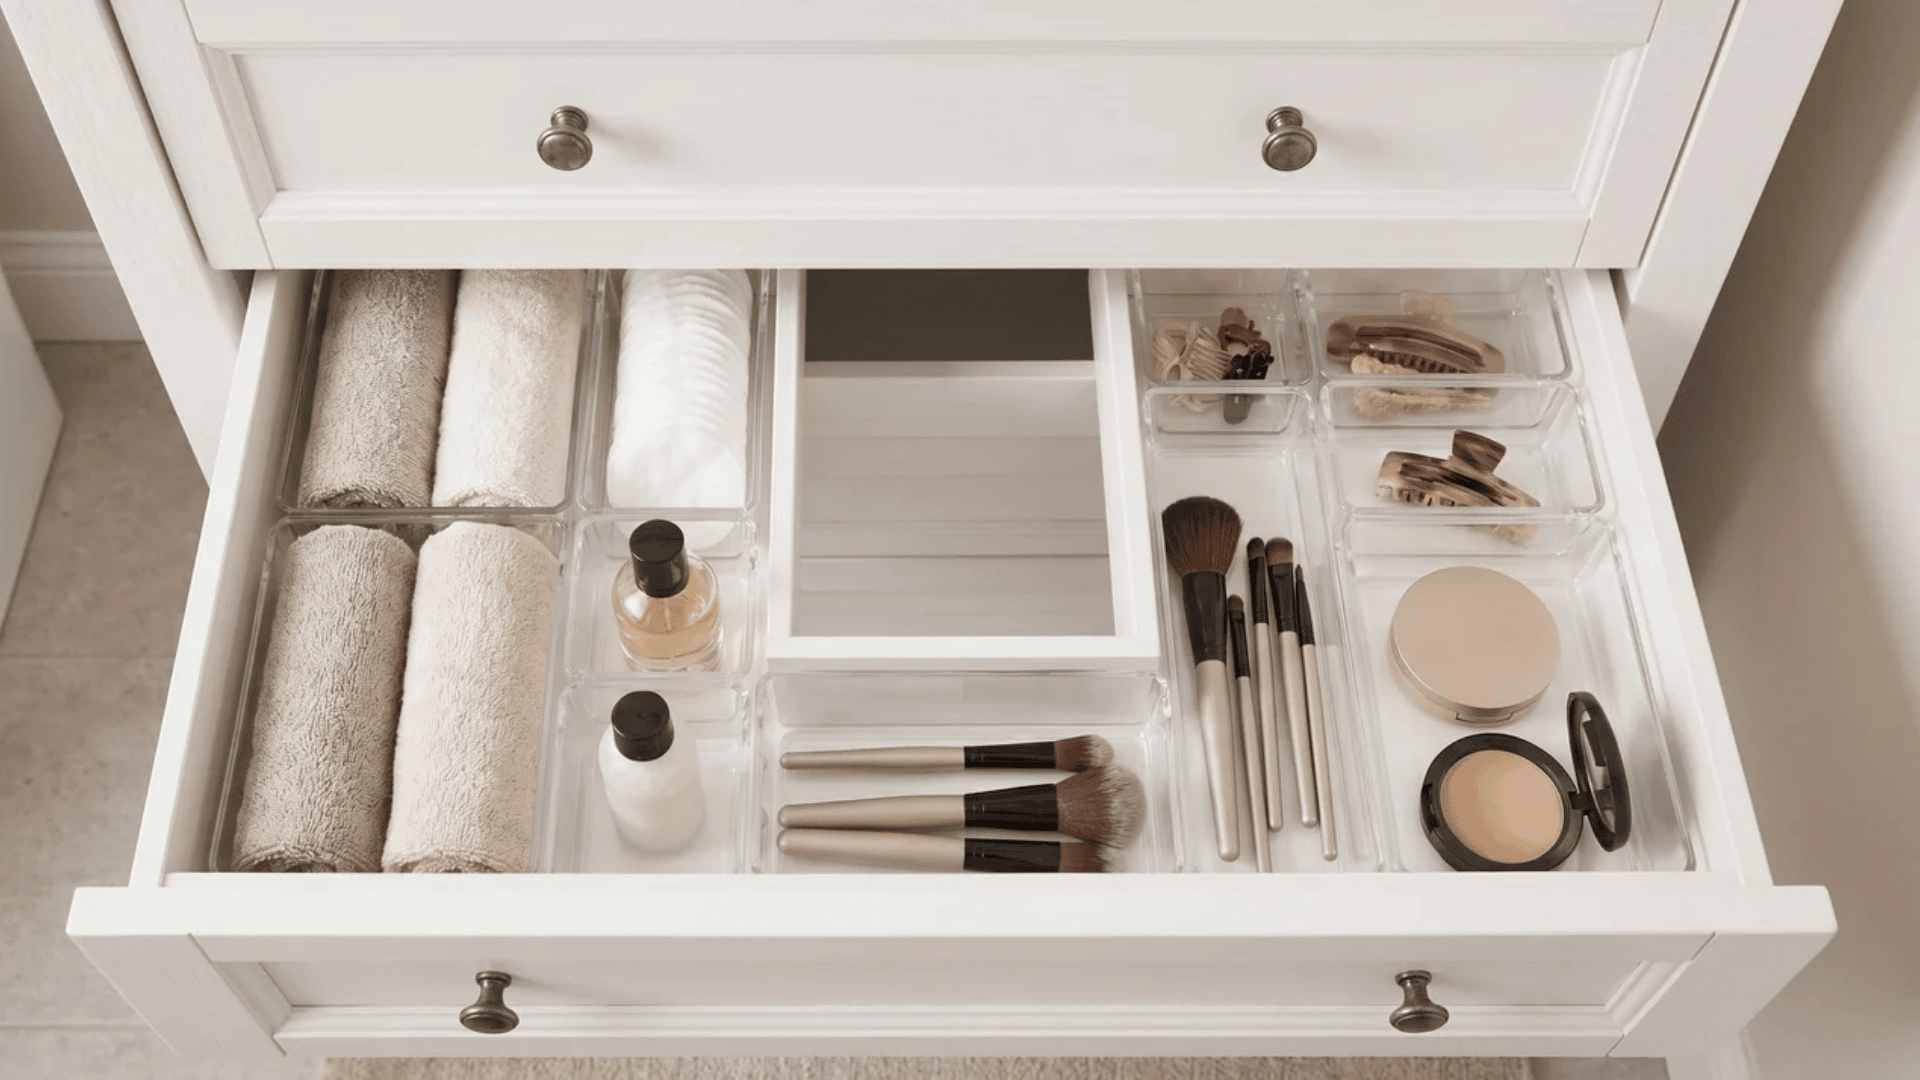
Most vanities turn into a dumping ground simply because nothing inside them has a fixed home.
Items get tossed in, stacked on top of each other, and forgotten until you’re digging through the back to find a bottle of lotion.
Adding internal structure alters how the space functions without altering the vanity itself.
Drop divided trays into drawers to assign fixed spots, install sliding pull-out trays for reachable deep storage, and use tiered or stackable organizers to maximize vertical space inside the cabinet.
Upgrade Key Functional Zones for Daily Use
Some parts of the bathroom get used dozens of times a day, and small flaws in those spots add up fast. Targeted upgrades in these zones make daily routines feel smoother without touching the rest of the space.
The following are two key zones worth fixing first:
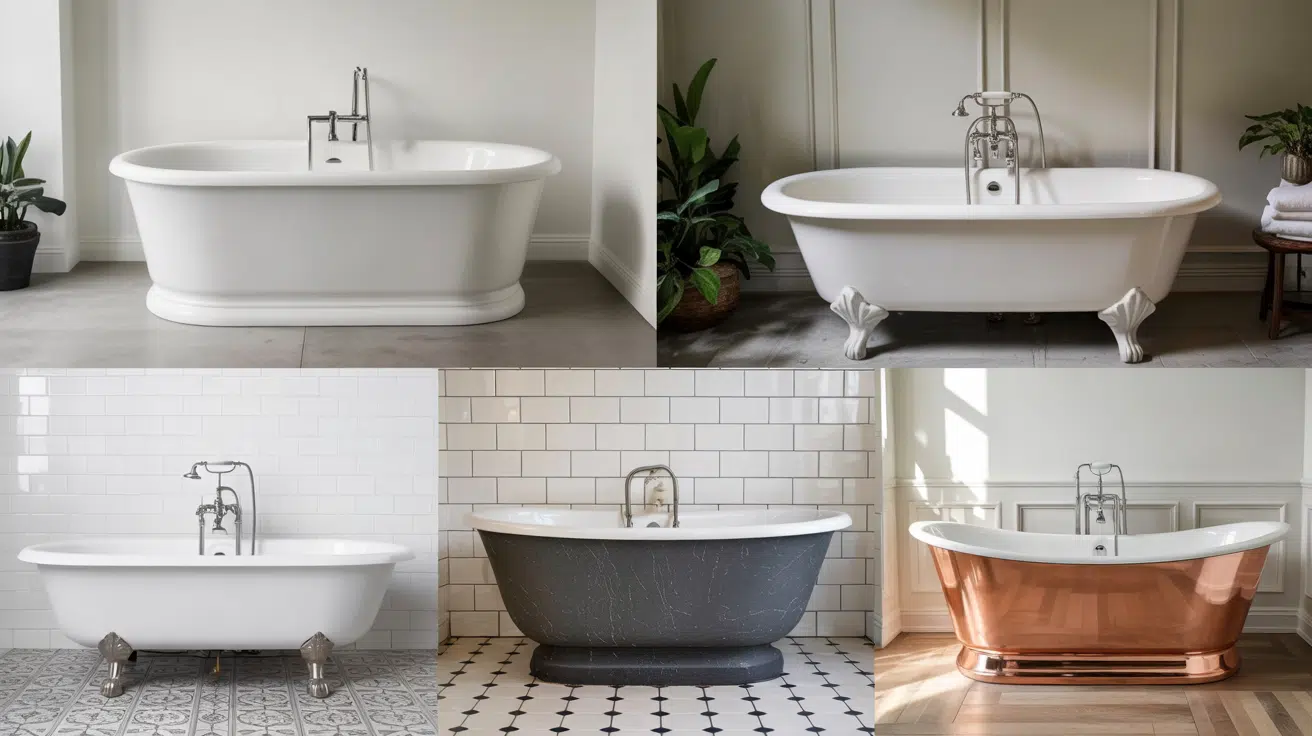
6. Shower and Bath Area Enhancements
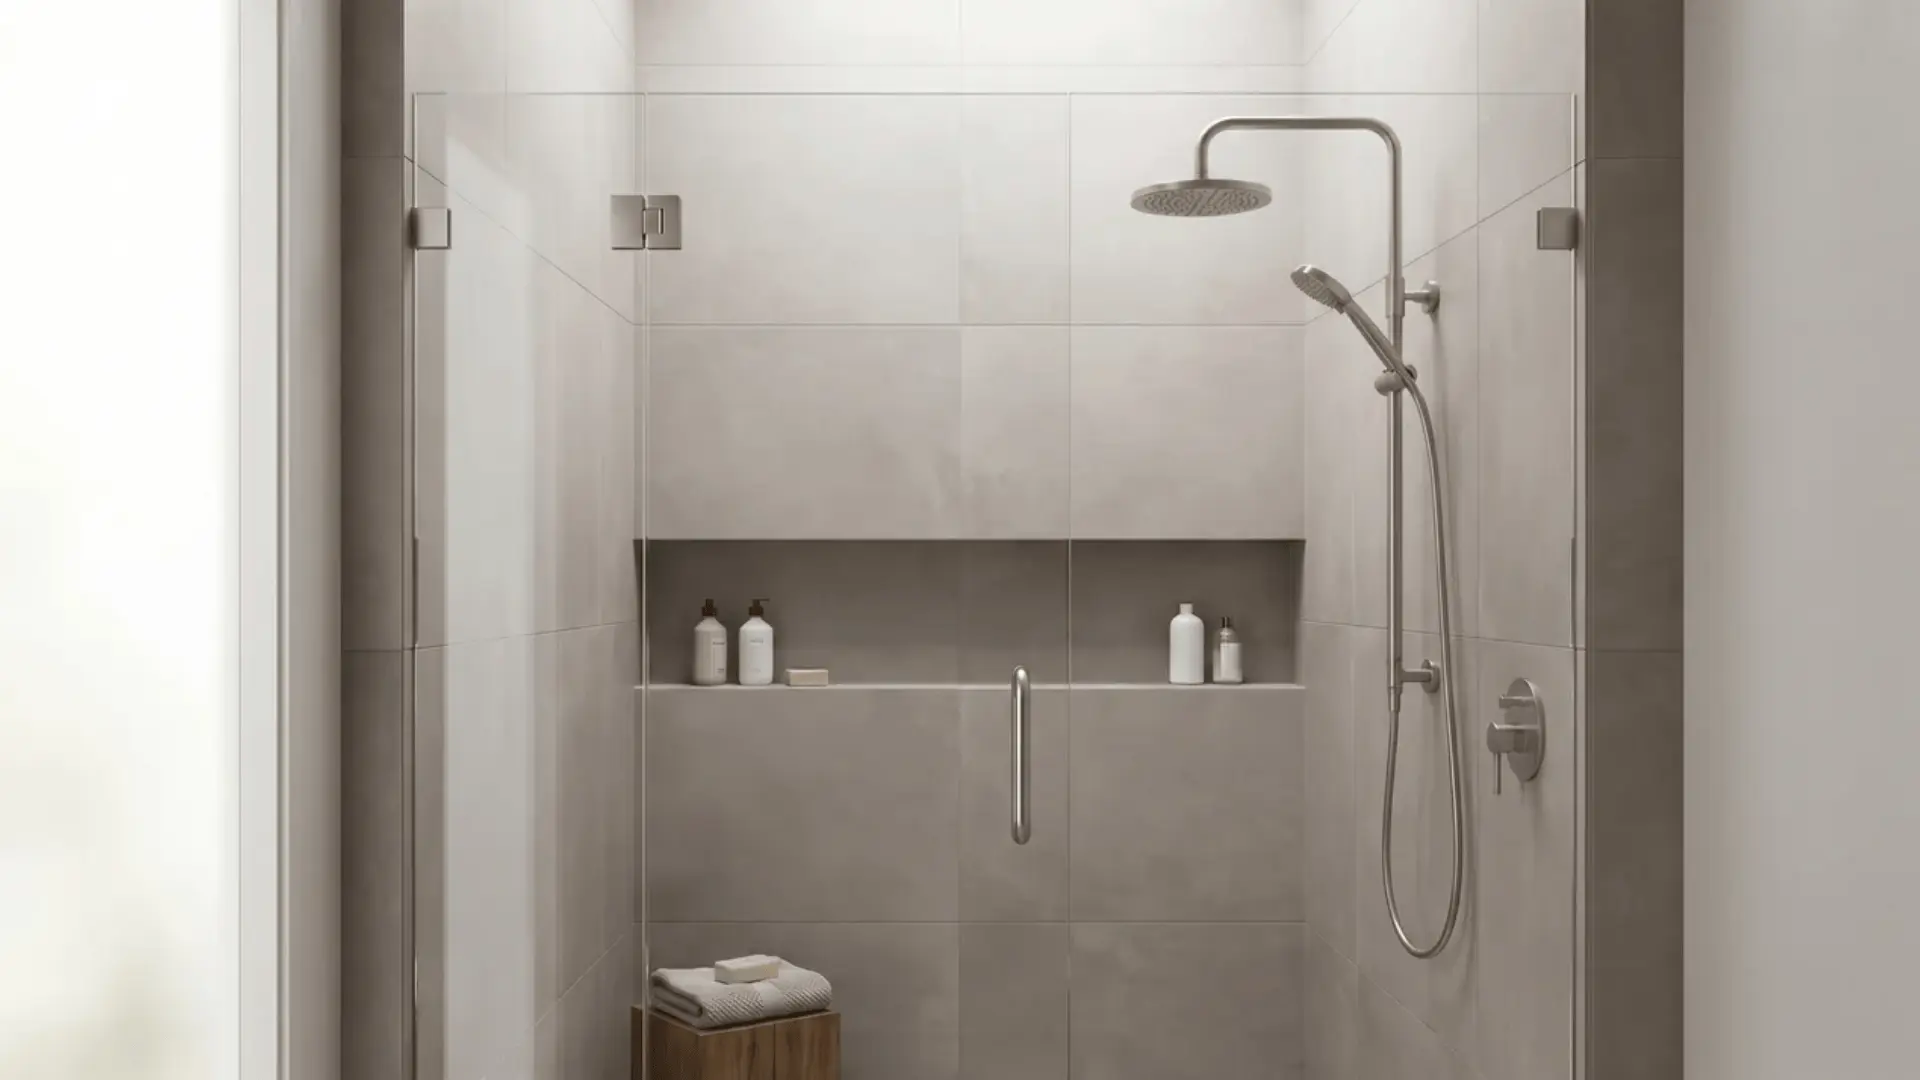
The shower shapes how comfortable the entire bathroom feels. When water pressure is weak, accessories sit out of reach, or the area feels boxed in, every use becomes a small inconvenience.
- Showerheads: Pick a model that matches your home’s water pressure for steady, comfortable flow without weak output or excess spray.
- Glass Panels or Curtains: Swap heavy shower curtains for clear glass panels to open up smaller bathrooms and let light through.
- Layout Adjustments: Reposition holders, shelves, or hooks so everything sits within easy reach during use.
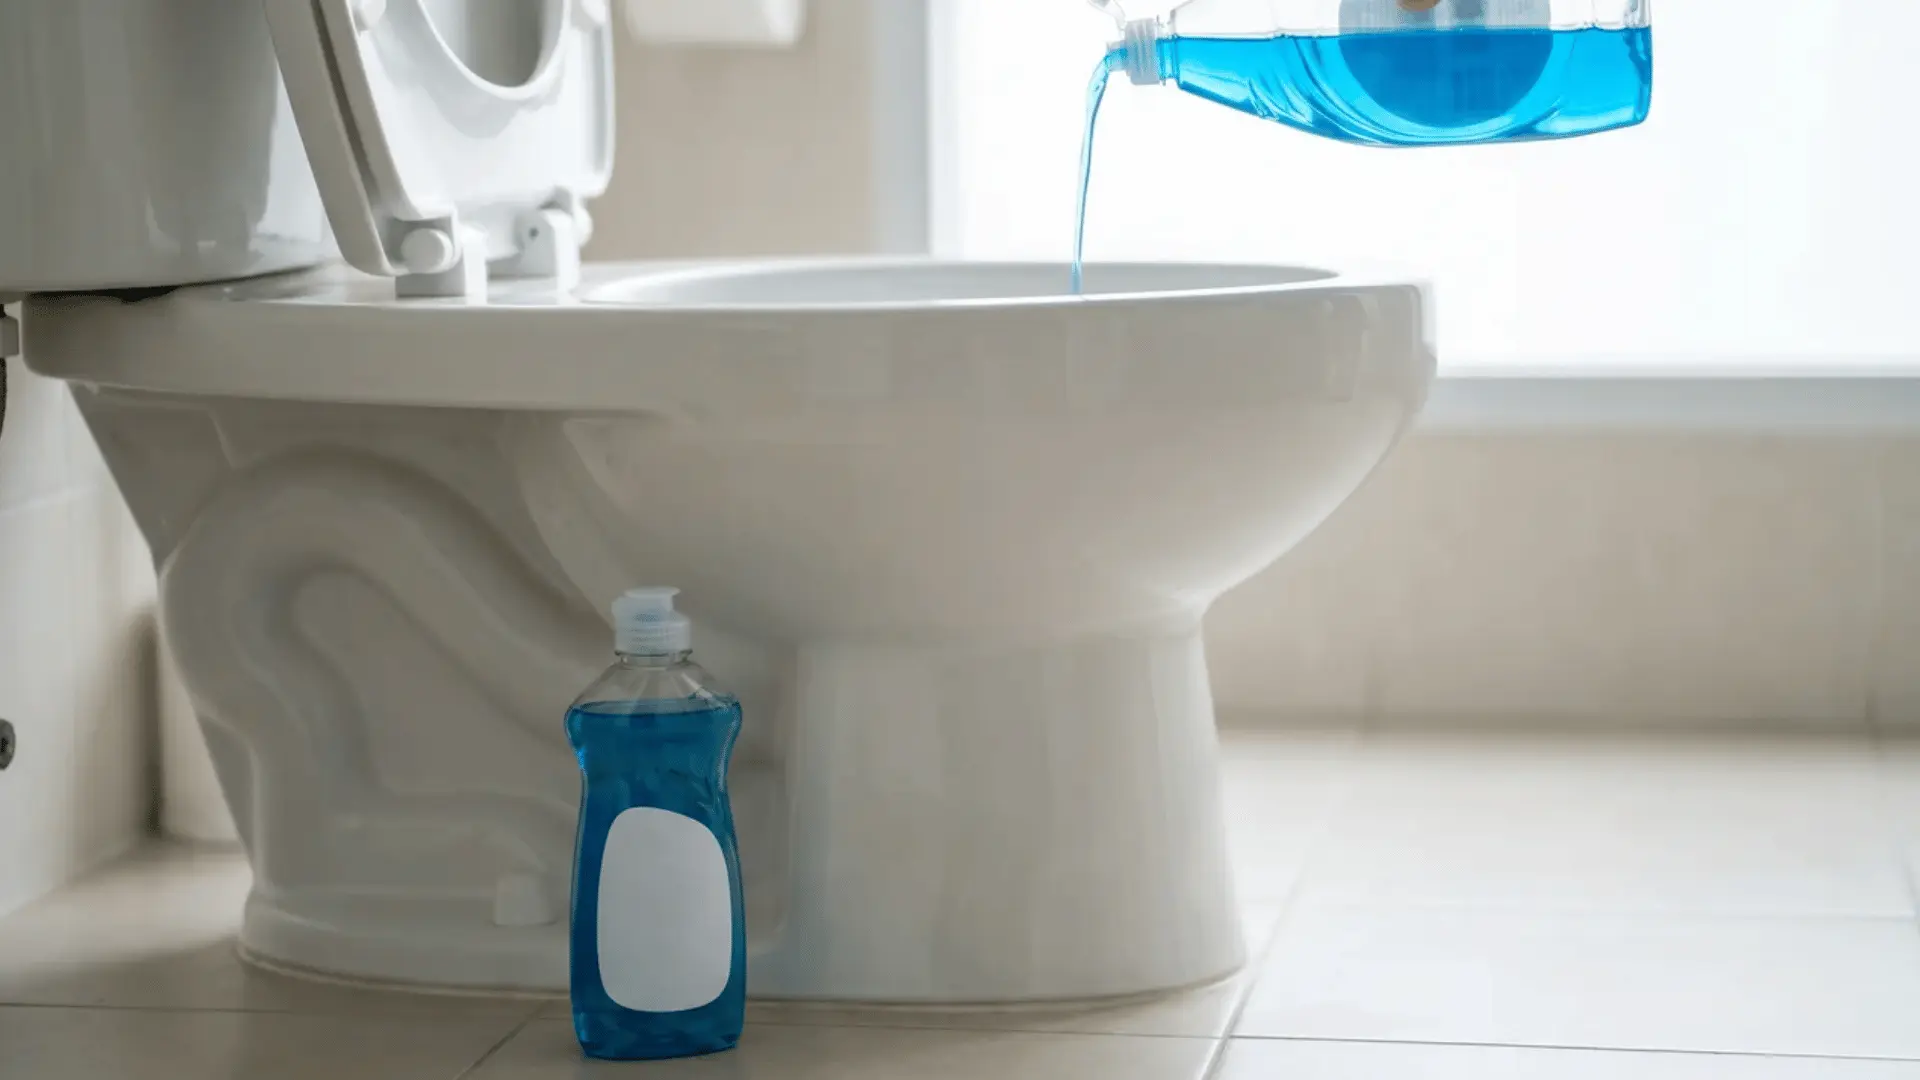
7. Toilet and Ventilation Improvements
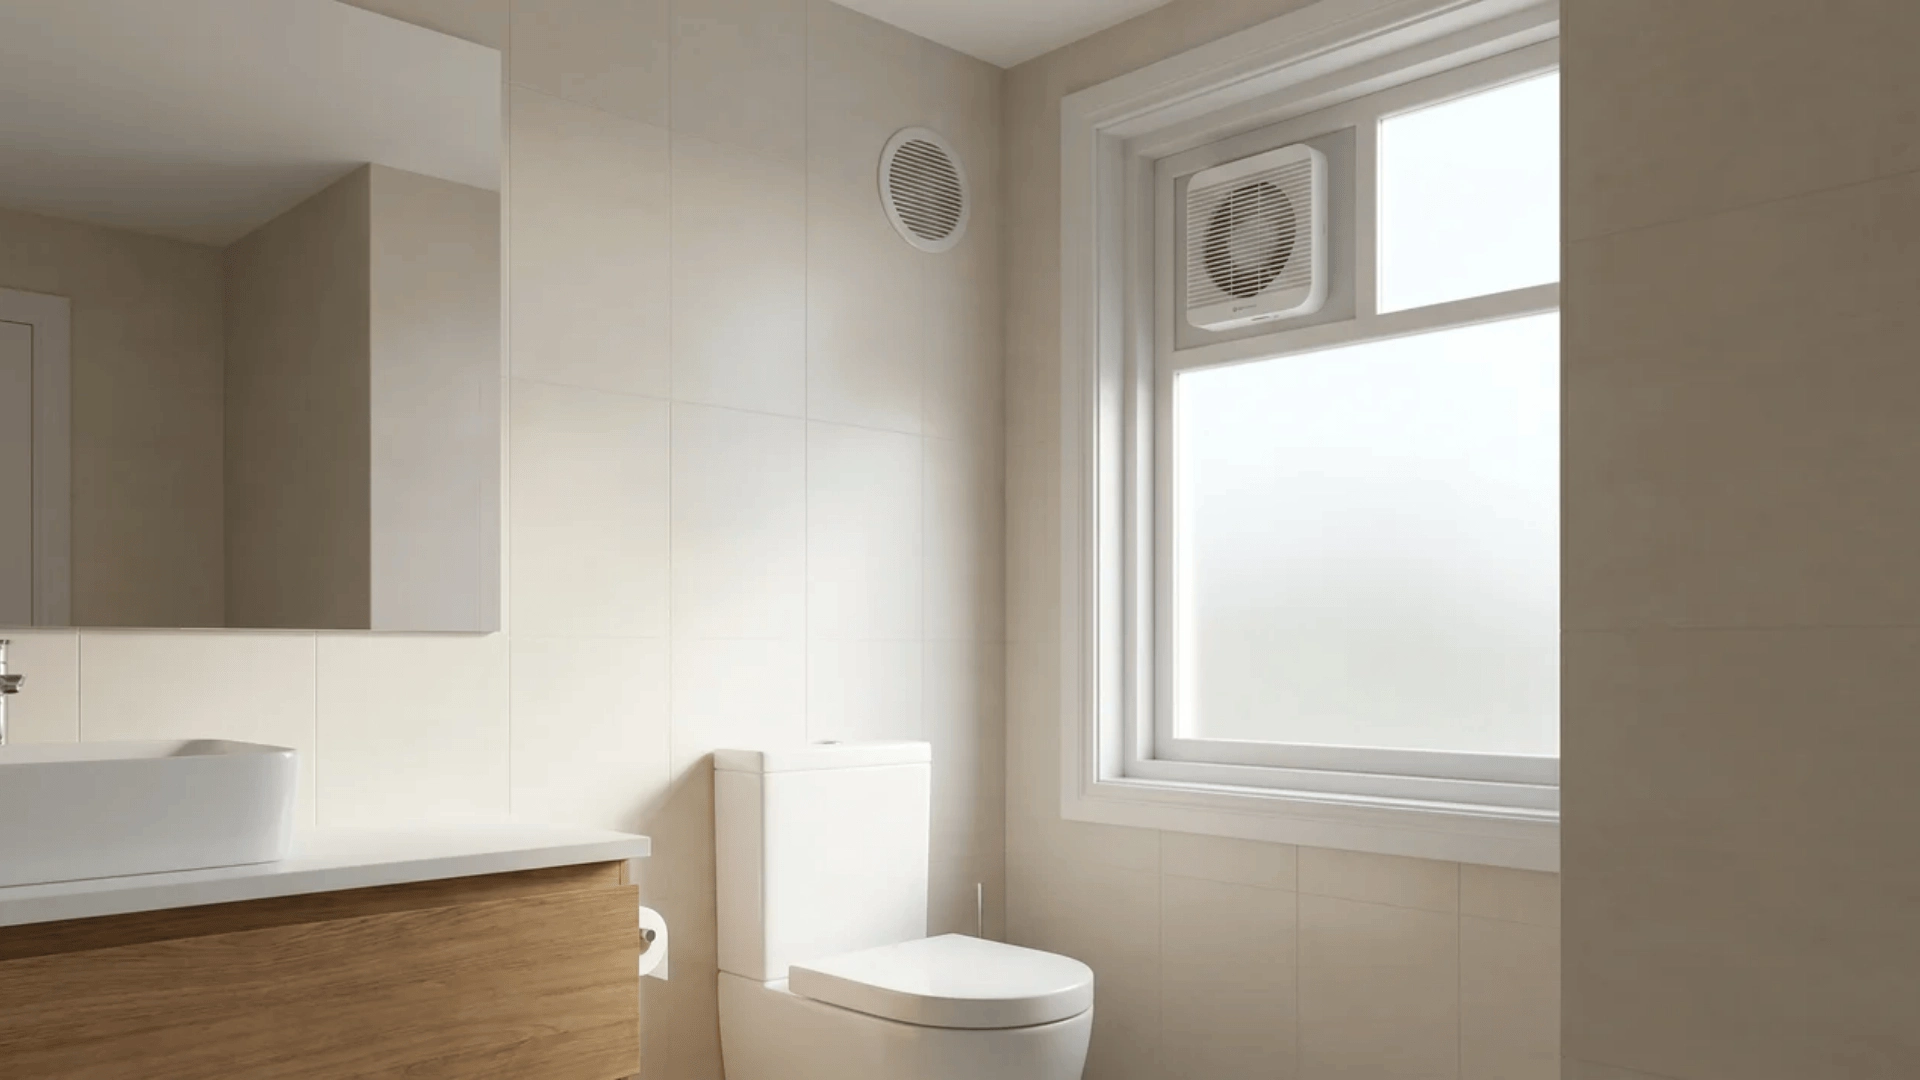
These zones rarely get attention until something goes wrong, from lingering odors to damp corners and peeling paint.
Switching to a compact or efficient toilet saves floor space and cuts water use, while a high-capacity exhaust fan clears humidity before it settles into walls.
Make sure vents sit near moisture sources like the shower so airflow reaches where it’s needed most.
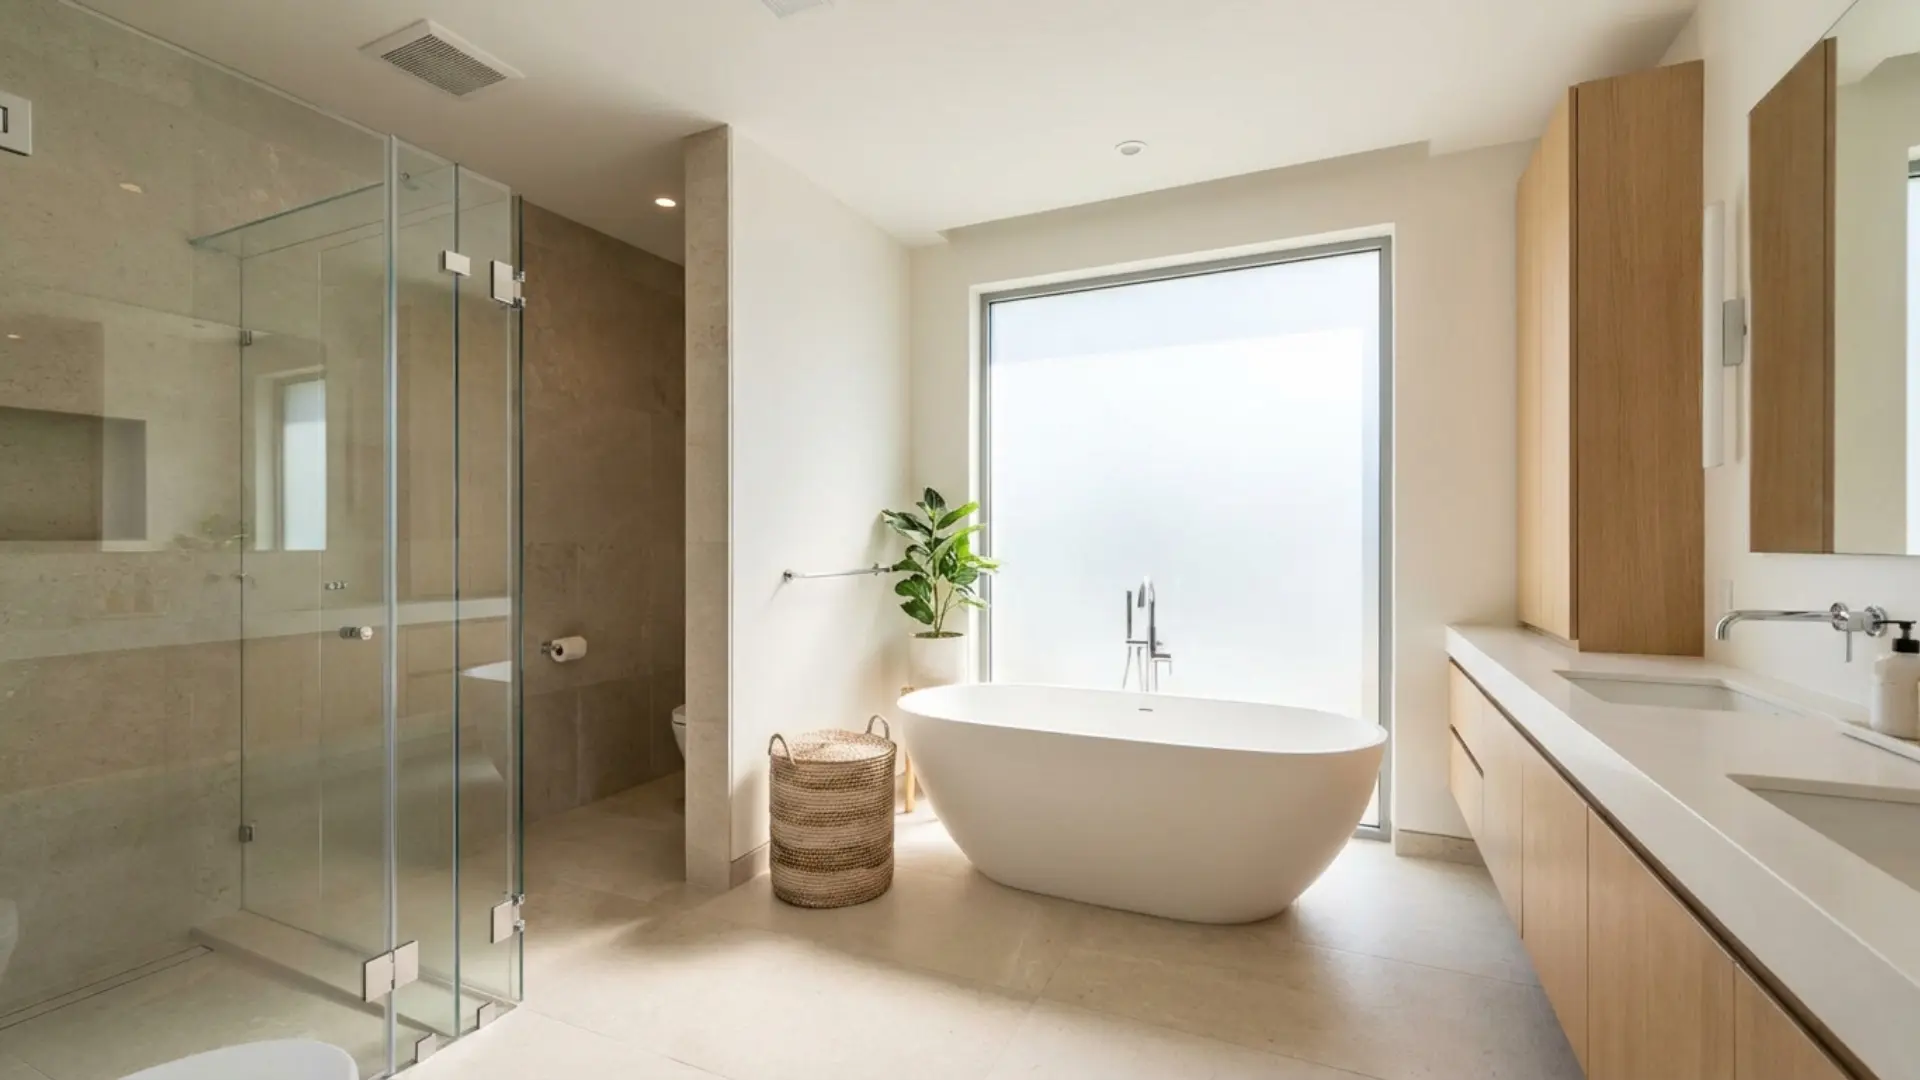
8. Add Comfort and Luxury Elements without Remodeling
You don’t need to tear anything out to make the bathroom feel more refined. A few small comfort upgrades can shift how the space feels to use day to day.
- Seating: Add a compact stool or bench in unused corners for grooming or dressing without crowding the room.
- Soft-Close Fixtures: Install soft-close lids and drawers to cut noise and create smoother daily interactions.
- Better Mirrors: Swap small mirrors for larger anti-fog versions to improve visibility and reflect more light around the space.
Use Budget-Based Upgrade Paths to Decide What to Do
The biggest hurdle isn’t a lack of ideas, but knowing where your money will actually pay off. Here’s a quick breakdown of what to focus on at each budget level:
| Budget Level | Estimated Cost | Focus On | Why It Works |
|---|---|---|---|
| Quick Fixes | $50 – $500 | Paint, lighting, accessories, hardware | Resets the visual base fast without any structural work |
| Functional Upgrades | $500 – $2,500 | Vanity updates, storage systems, fixtures | Improves daily usability and refreshes the look at the same time |
| Major Changes | $2,500 – $7,000 | Flooring, shower upgrades, partial layout tweaks | Targets high-use zones for both comfort and long-term durability |
Avoid Common Bathroom Upgrade Mistakes
Most bathroom upgrades fail not because of bad ideas, but because of poor planning. When design, function, and budget don’t align, the result feels incomplete despite spending.
- Ignoring Lighting Before Decor Upgrades: Upgrading paint or fixtures without fixing lighting first makes changes look dull, uneven, or less effective than expected.
- Mixing Too Many Styles Or Finishes: Combining different metals, colors, or styles without a plan creates visual clutter instead of a clean, cohesive look.
- Choosing Looks Over Durability: Selecting materials that look good but can’t withstand moisture or daily use leads to faster wear and more frequent repairs.
- Poor Ventilation Planning: Skipping proper ventilation leads to moisture buildup, mold, peeling paint, and long-term damage even after upgrades.
Each mistake disrupts either usability or visual consistency in the space. Avoiding them ensures your upgrades actually improve the bathroom instead of creating new problems.
Conclusion
Bathroom upgrades work best when they are planned with purpose, not just inspiration.
Focusing on the right areas helps you improve both function and appearance without unnecessary spending.
By following a structured approach, you can avoid common mistakes and make smarter decisions.
Each upgrade builds on the previous one, creating a bathroom that feels complete and easy to use.
Now it’s your turn to apply these bathroom upgrades step by step.
Start small, stay consistent, and turn your bathroom into a space that works better every day.
Frequently Asked Questions
How Long do Bathroom Upgrades Usually take?
Most small bathroom upgrades take a few hours to a couple of days. Larger changes, like fixtures or storage, may take several days to complete properly.
Can I Upgrade My Bathroom without Professional Help?
Many upgrades, like painting, hardware replacement, and storage improvements, can be done yourself. However, plumbing or electrical changes may require professional assistance.
How Often Should I Upgrade My Bathroom?
You don’t need frequent upgrades. Focus on updating when functionality declines, wear becomes visible, or when the space no longer meets your daily needs.