How to Deep Clean Your Kitchen: A Step-by-Step Guide
A regular wipe-down keeps things looking tidy, but it doesn’t remove the grease, bacteria, and buildup hiding in corners, behind appliances, and in cabinets.
Over time, that hidden dirt builds up, affecting more than just appearances. It impacts hygiene, odour, and even how long your appliances last.
Knowing how to properly deep-clean a kitchen makes a real difference.
It’s not just about scrubbing harder, it’s about working in the right order, using the right products, and giving them time to actually work.
Every step below is laid out in order, so nothing gets skipped, and the effort actually pays off.
Before You Start: Set Up for an Effective Deep Clean
Having everything ready means no stopping mid-clean to search for something. Break your kitchen into small zones before you begin.
Behind appliances and under racks are common trouble spots.
Once the space is clear, gather your supplies:
- microfibre cloths,
- scrubbing brushes,
- baking soda,
- dish soap,
- white vinegar, and
- a degreaser
How to Deep Clean Your Kitchen?

Getting the sequence right is what separates a proper deep clean from a surface-level wipe-down.
Follow these steps in order and nothing will get missed:
1. Clear and Reset All Surfaces
Remove everything from counters, stovetop, cabinet tops, and the sink before you begin.
Objects left in place trap grease and crumbs underneath, and cleaning around them instead of under them is one of the most common mistakes people make.
A bare surface gives you full access to every corner and edge.
2. Start From the Top, Dust and High Surfaces
Always clean from top to bottom. Use a dry cloth to wipe down cabinet tops, shelves, vents, and light fixtures. Wet wiping at this stage just smears dust around.
Skipping this step means debris will settle onto surfaces you’ve already cleaned.
3. Clean Cabinets and Hardwar
Cooking oils become airborne and settle on cabinet surfaces, oxidizing over time into a sticky layer. Apply warm, soapy water or a mild degreaser and let it sit before wiping.
Use a small brush for edges and corners, and soak handles separately if heavily coated.
4. Deep Clean Appliances, Inside and Outside
Appliances hide more dirt than any other part of the kitchen. Food residue and grease build up inside them over time, causing odor and harboring bacteria.
- Refrigerator: Remove all items and clean shelves separately. Wipe down walls, drawers, and door seals thoroughly.
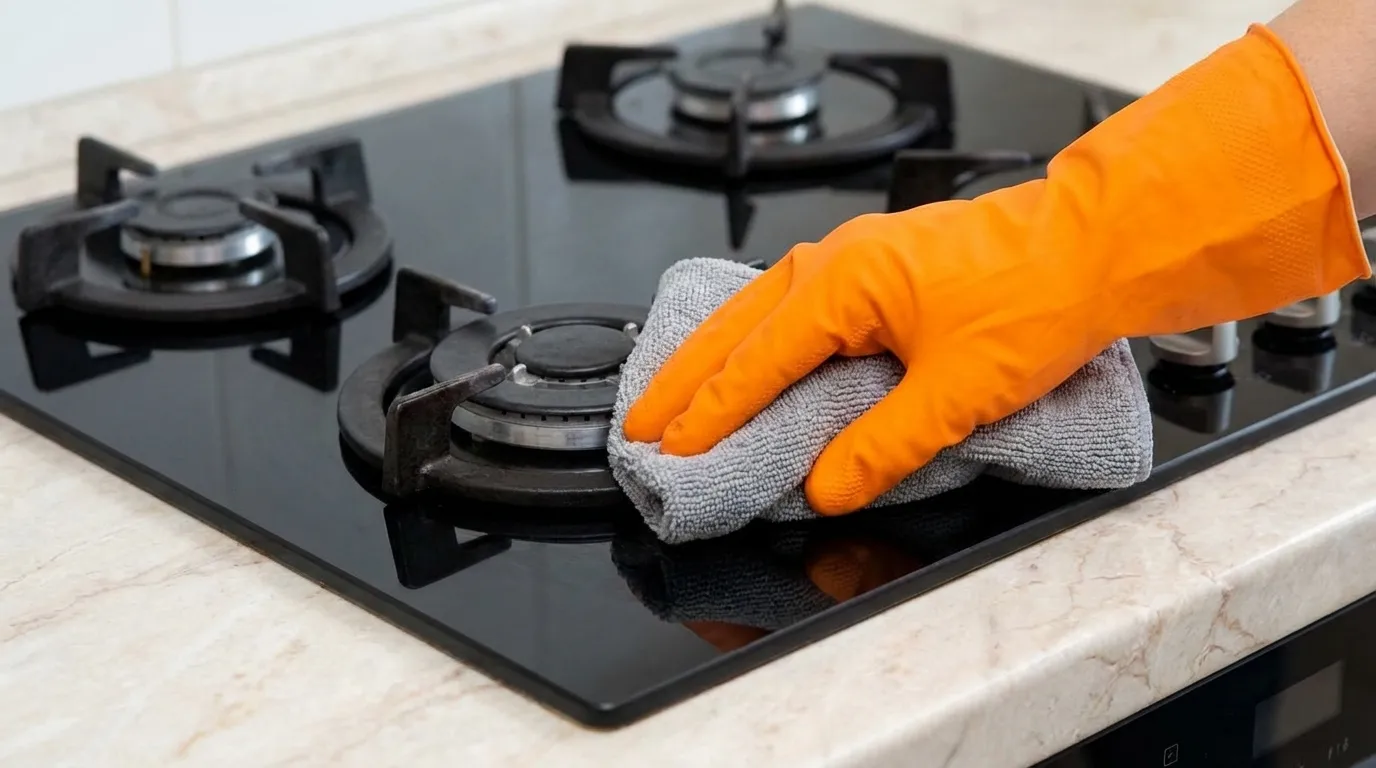
- Oven and Stovetop: Apply baking soda or a degreaser and let it dwell before scrubbing. Don’t forget the burner grates and the area around the knobs.
- Microwave: Place a bowl of hot water inside and run it for a few minutes. Steam loosens dried food, making it easy to wipe clean.
- Dishwasher: Remove and rinse the filter, then wipe down door seals. Run an empty hot cycle with white vinegar, followed by a baking soda cycle to deodorize.
5. Clean Backsplash, Counters, and Walls
Use a degreaser rather than a standard spray, regular cleaners leave a sticky film that attracts dust fast. Always work top to bottom, backsplash first, then walls, then counters.
Skipping proper grease removal means surfaces look dirty again within days.
6. Deep Clean and Sanitize the Sink Area
Scrub the basin with baking soda, it lifts grime without scratching. Sanitize after scrubbing, not before. Cover faucets, handles, the drain, and edges before moving on, as these spots collect the most buildup.
7. Finish With Floor: Final Debris Removal
Vacuum or sweep before mopping, loose dirt can turn into mud otherwise. Use a degreasing floor cleaner near the stove and counter areas where grease tends to settle.
Change mop water as needed to prevent residue from spreading.
Following this sequence ensures every part of the kitchen gets cleaned in the right order, with no area undoing another.
Done right, a deep clean like this makes day-to-day maintenance significantly easier.
Conclusion
A clean kitchen isn’t just about appearances, it’s about creating a space that’s genuinely safe and pleasant to cook in.
Now that you know how to deep clean a kitchen from top to bottom, the process doesn’t have to feel overwhelming.
Stick to the sequence, don’t skip the prep, and give your cleaning products the dwell time they need. Do it right once, and maintaining it becomes much easier going forward.