12×20 Shed Plans: Build, Customize, or Buy a Kit
You’ve been thinking about adding more space, right? Maybe your garage is packed, or you need a quiet place to work. I’ve been there too, and that’s where 12×20 shed plans come in handy.
In this blog, I’ll walk you through everything you need to know to build or buy the perfect shed. You’ll see simple steps, tool lists, layout ideas, and even ways to make it your own.
By the time you finish reading, you’ll feel ready to get started. So, are you prepared to turn that empty spot in your yard into something useful? Let’s get into it.
Choosing a 12×20 Shed Layout
A 12×20 shed offers a smart way to expand space without major construction. It fits nicely in most backyards and provides room for a wide range of needs.
This shed size fits well in most backyards and gives you flexible layout options. You can divide the space, add shelves, or leave it open. It’s large enough to hold equipment, bins, and even a small bench area, without feeling crowded.
This size shed accommodates lawn equipment, bicycles, shelving, and even large bins, while still providing ample space to move around.
If you’re clearing out the garage or creating a new workspace, this layout provides you with room to stay organized and flexible.
Popular 12×20 Shed Styles
When planning your 12×20 shed, the style you choose will impact both the appearance and how you utilize the space. Let’s go over your main options so you can decide what works best for you.
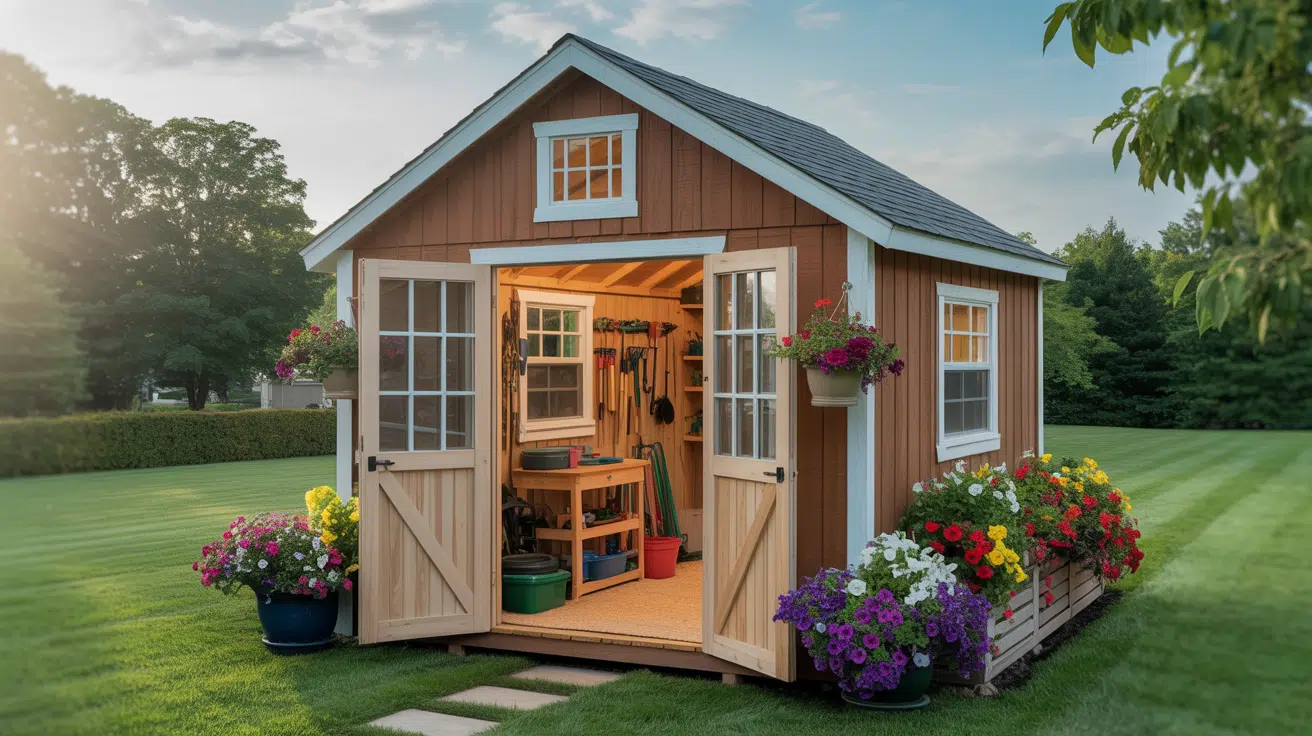
1. Gable Shed
If you’re looking for a classic look, the gable shed is a solid choice. It has a peaked roof with two slopes, which helps rain and snow slide off easily.
You get good overhead space inside, making it easy to store taller tools or even hang shelves. The shape also makes it simple to match your home’s roofline.
You’ll find this design in most neighborhoods, and it works well for both storage and workspace use.
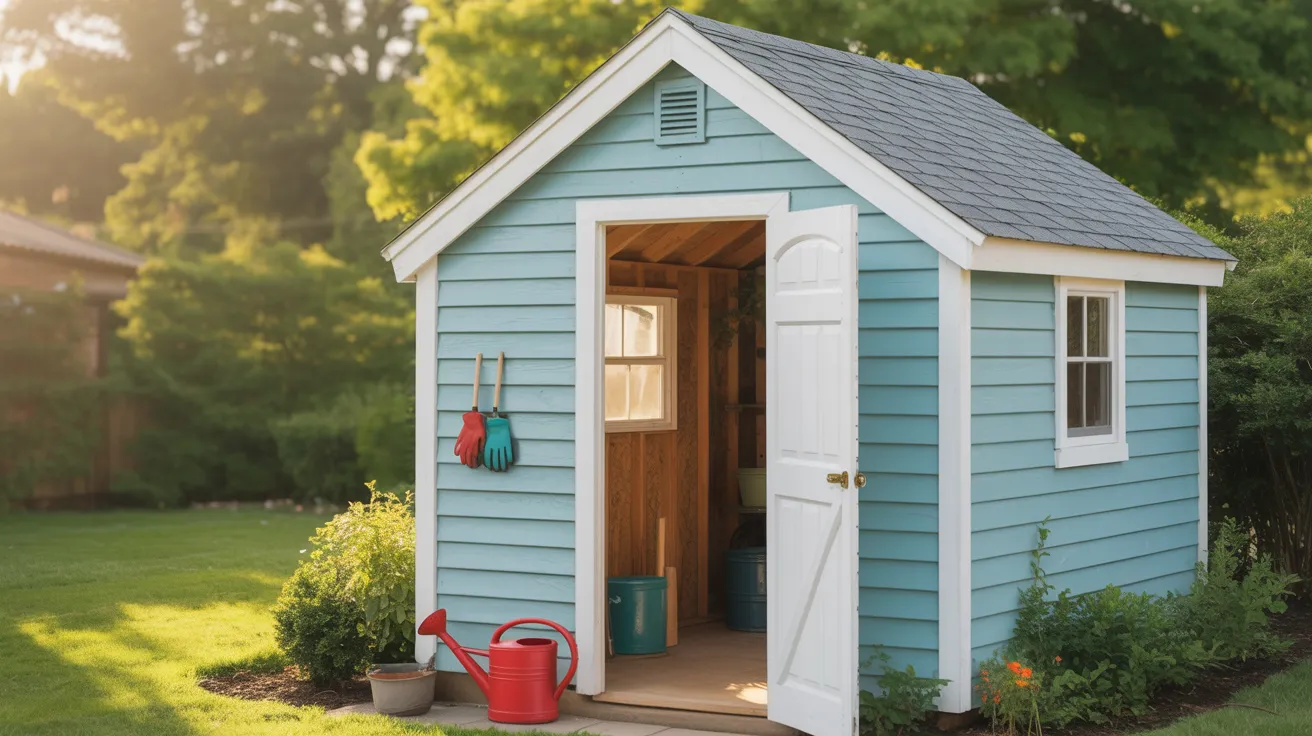
2. Lean-To Shed

A lean-to shed is a great option when you’re tight on space or want to build next to a fence or wall. The roof slopes in one direction, which makes water drainage simple.
It’s also one of the easiest styles to build, especially if this is your first shed project. This setup keeps things compact while still giving you enough room for tools, bikes, or garden gear.
If you want a basic layout with less cutting and framing, this could be right for you.
3. Barn-Style Shed
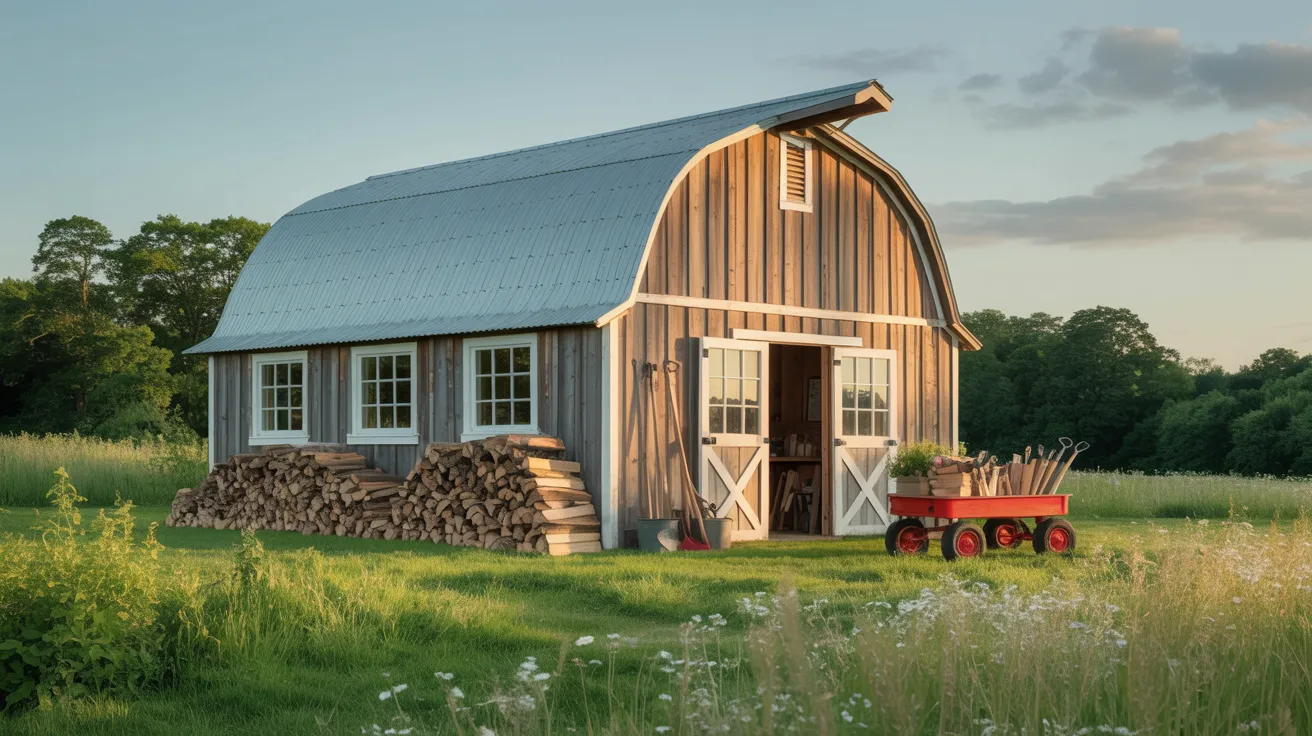
This shed has more height and a wider roof, which gives you extra space inside—perfect if you’re planning to add a loft.
The barn-style roof curves at the top, which not only looks good but also opens up vertical storage. You’ll have room for tall items, bins, or even a second level for extra gear.
If you’re after more headroom or want to build something that stands out, this design gives you that larger feel without needing more ground space.
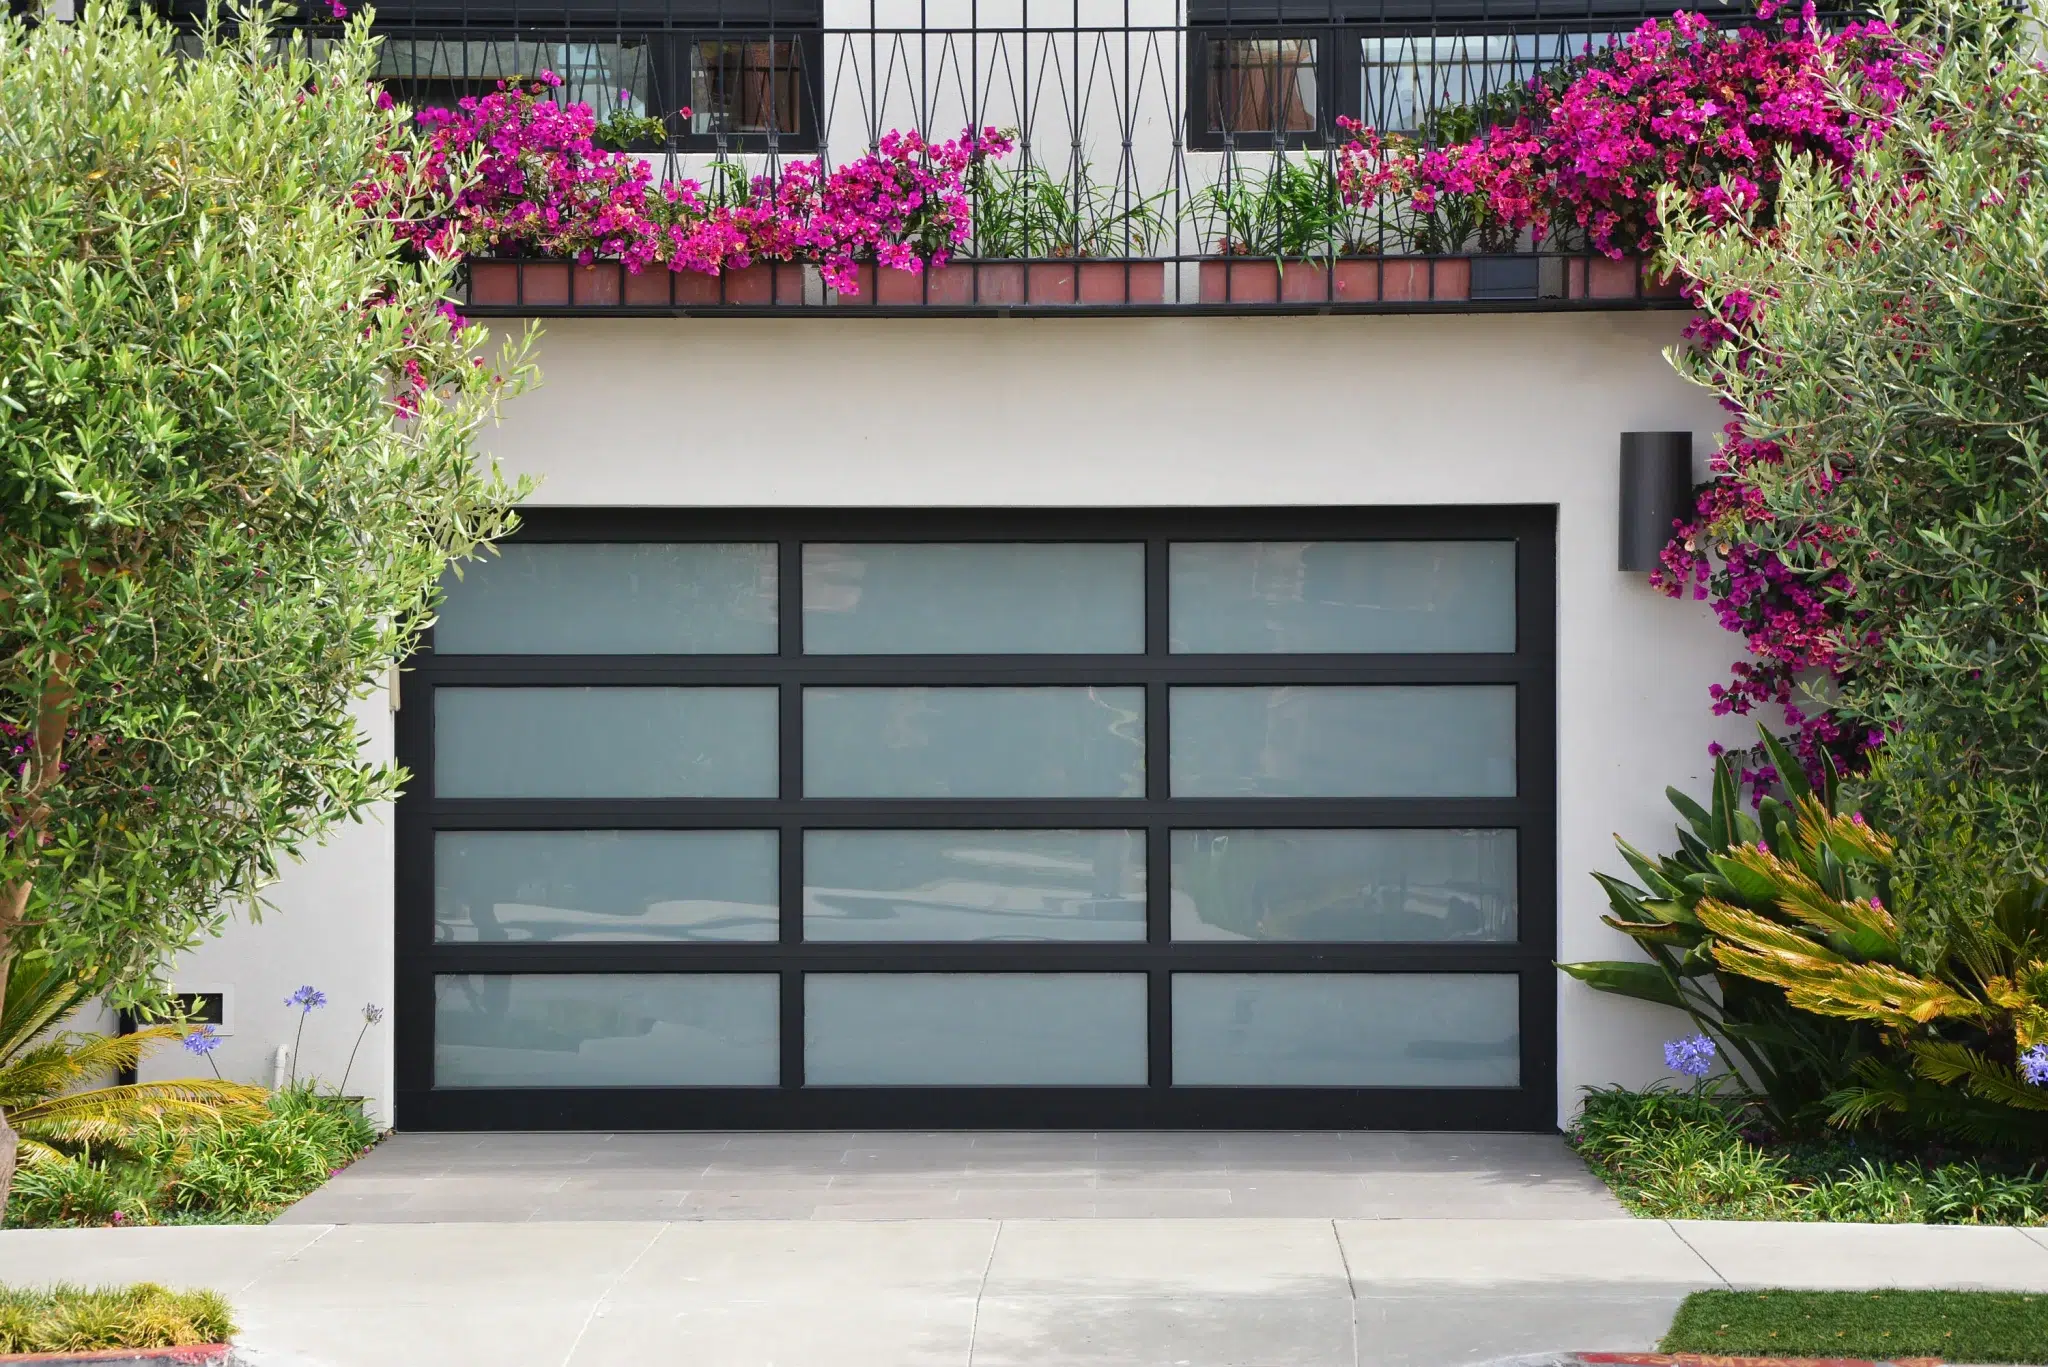
4. Modern/Flat Roof
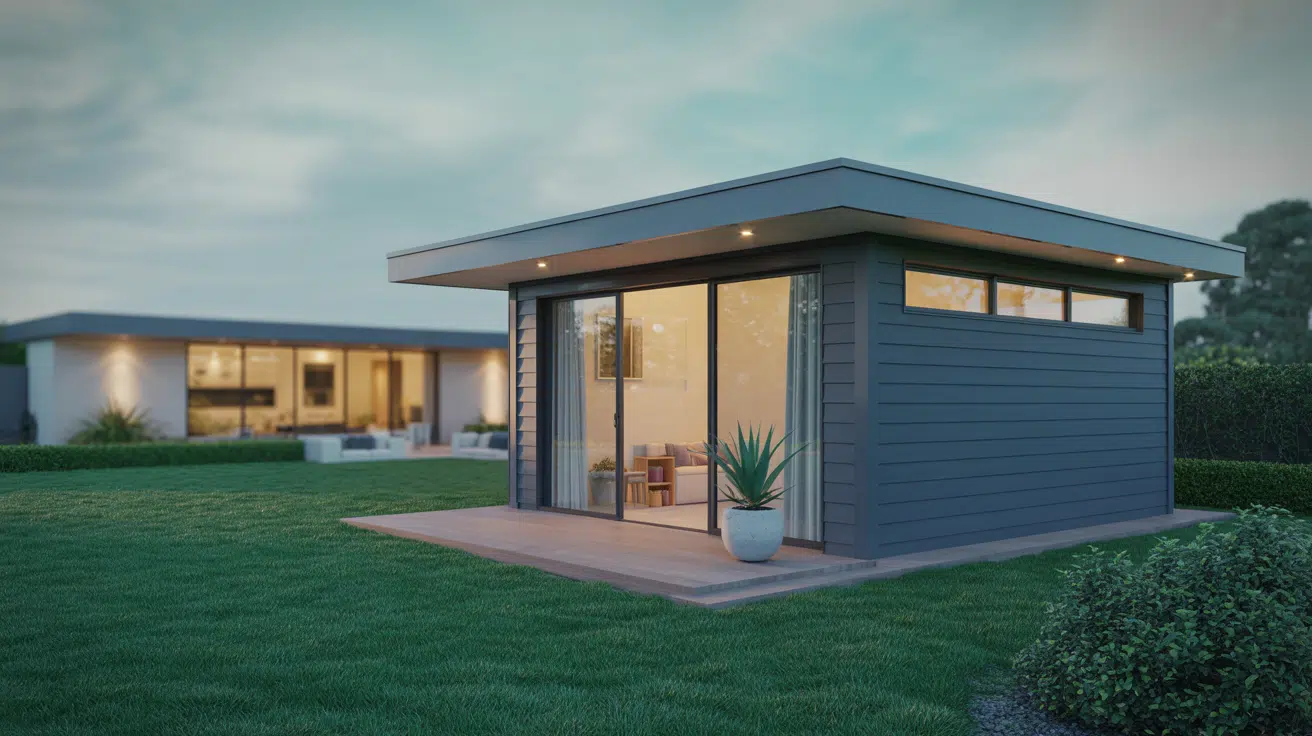
If you’re aiming for a cleaner, more updated look, the flat-roof shed fits well. It gives your yard a more finished and neat appearance, especially if you want to use the shed as a backyard office or studio.
Though the roof is flat, it usually has a slight tilt for water runoff. This type works great in tight spaces and pairs well with modern home designs. You can dress it up with large windows or a small deck for extra comfort.
How to Build a 12×20 Shed Step-by-Step
Follow these steps to build your 12×20 shed from the ground up. Each part plays a crucial role in making your shed sturdy, weather-resistant, and ready for use.
Tools & Materials Checklist
Before you start building your 12×20 shed, it’s a good idea to gather the tools and supplies you’ll need. Having everything ready helps you stay focused and avoid delays.
Below is a simple list of tools and a sample materials budget to help you plan:
- A tape measure for marking cuts
- Hammer for framing and hardware
- Cordless drill or driver for screws
- Circular saw for cutting plywood and lumber
- Level to keep the walls and floor straight
- Speed square for angle checks
- Ladder for the roof and upper framing
- Safety gear like gloves, glasses, and earplugs
- Chalk line for marking long, straight cuts
- Framing nailer (optional but time-saving)
- Miter saw (optional for faster cuts)
Step 1: Floor Framing
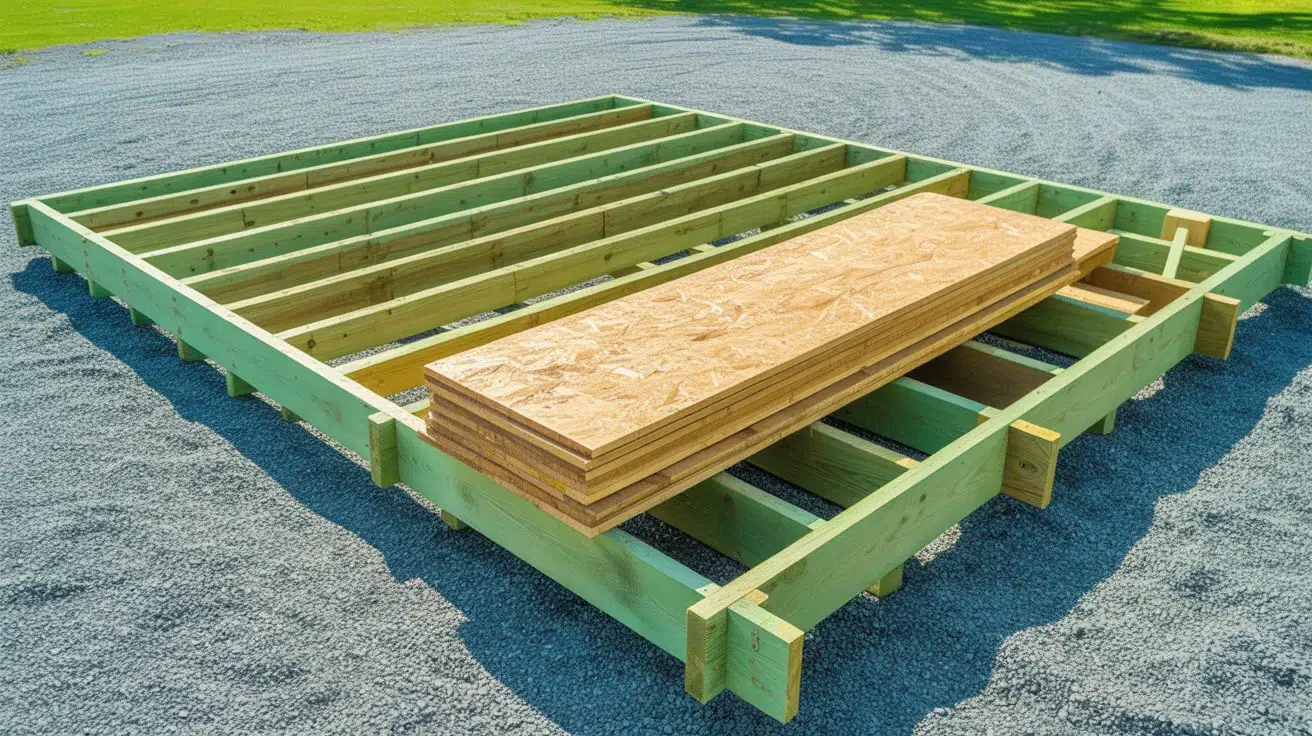
Start by cutting and assembling the outer frame using treated lumber. Use 2×6 or 2×8 boards, spaced 16 inches apart. Lay the joists across the frame and secure them in place with screws.
Ensure the frame is square and level before proceeding. Once the base is set, add plywood or OSB panels for the floor deck, fastening each sheet securely in place. This base provides your shed with a strong, stable foundation and helps support the rest of the build.
Step 2: Wall Framing

Cut your wall studs to size and build each wall flat on the ground. Use a top and bottom plate, and space studs 16 inches apart. Leave openings for doors and windows as needed.
Once a wall is framed, lift it into place and secure it to the floor with screws. Repeat this process for all sides. After standing all the walls, check that they are level and brace them if needed before moving on to the roof.
Step 3: Roof Assembly
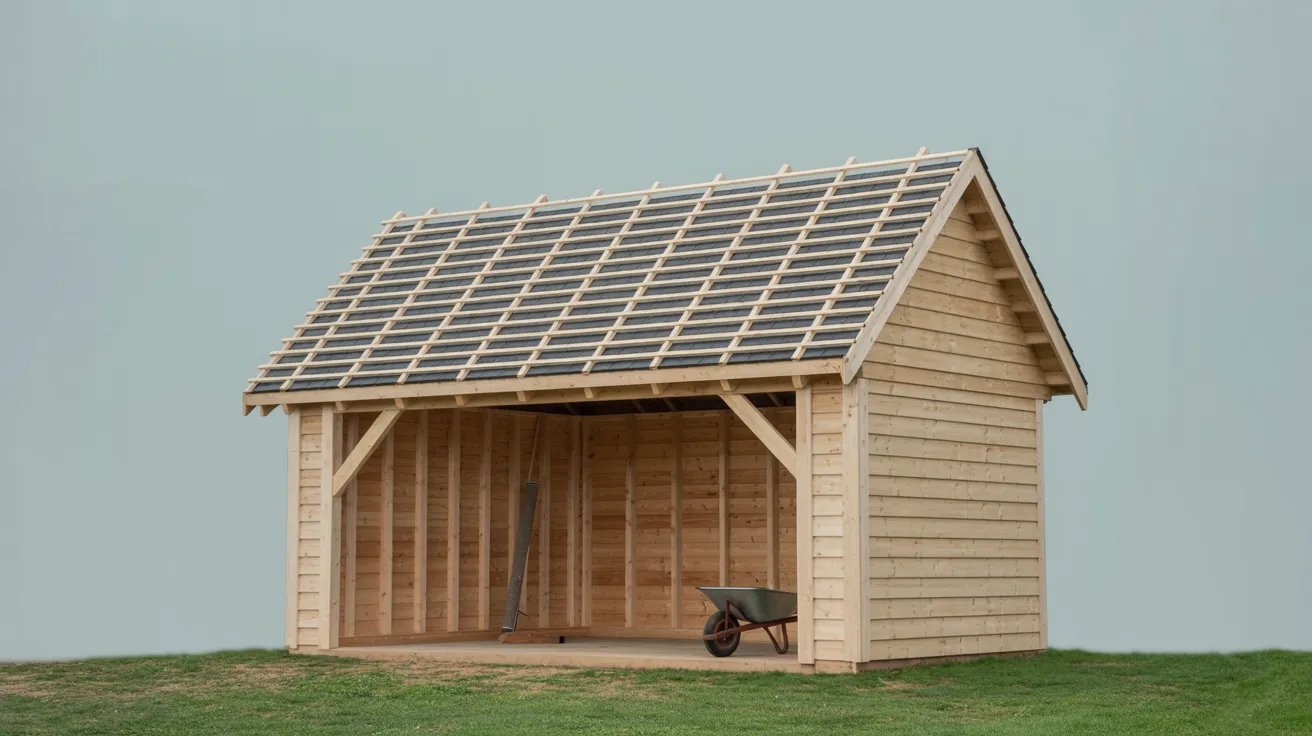
Choose a roof style that fits your needs (gable, lean-to, etc.). Build trusses or rafters and place them evenly across the top of the walls. Secure them using strong fasteners or metal brackets.
Once the roof frame is in place, cover it with plywood or sheathing boards. Add roofing felt and then finish with shingles or metal sheets. A solid roof keeps your shed protected from rain, wind, and snow.
Step 4: Doors, Windows & Trim
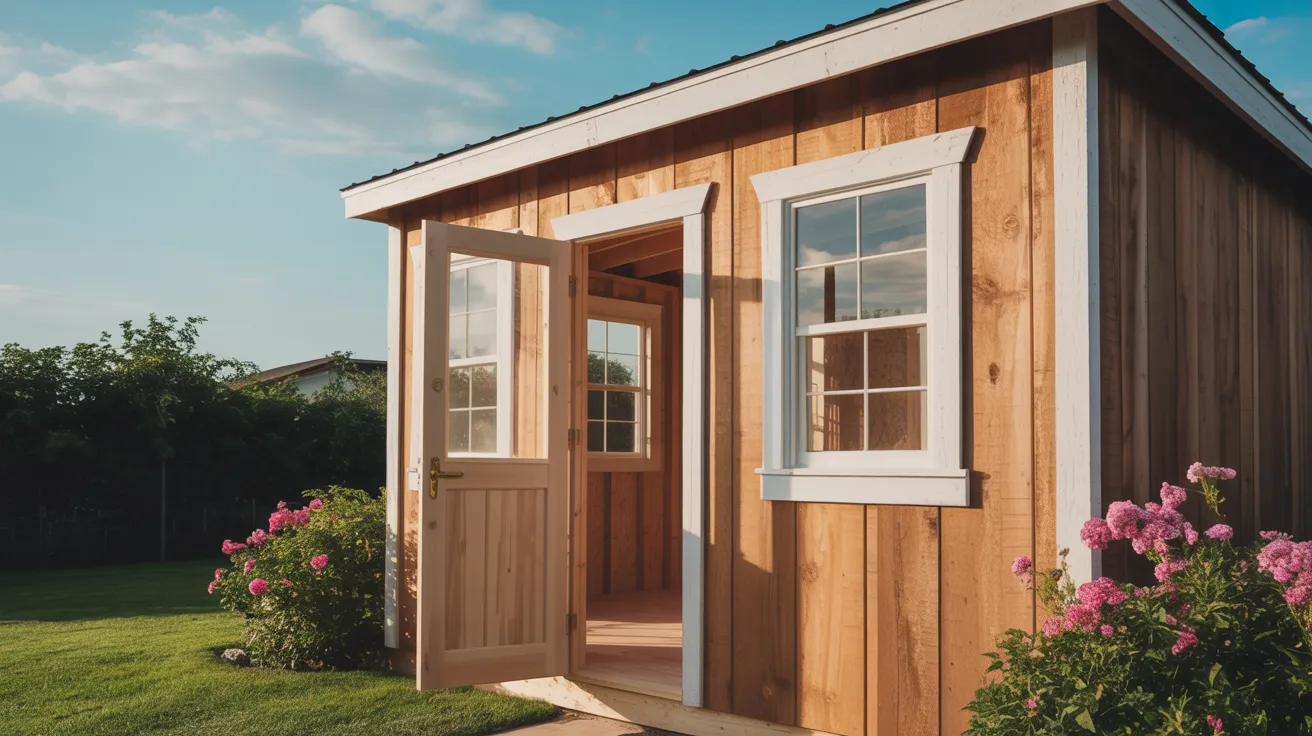
Install the door frame and hang the shed doors with sturdy hinges. If your design includes windows, fit them into the pre-framed openings and seal around the edges to keep out moisture.
After that, add trim boards around doors, windows, and corners. This step gives your shed a finished look and helps protect joints from weather damage. Caulk gaps and check that all parts open and close smoothly.
Step 5: Painting or Finishing

Once construction is done, it’s time to protect your shed. Paint or stain the outside using products made for outdoor use. This helps block moisture and sun damage.
Pick a color that blends with your yard or matches your house. Don’t forget to seal exposed edges and hardware. Inside, you can also add shelves or hooks if needed.
A good finish not only looks better, but it also helps your shed last longer.
What to Look for in Quality 12×20 Shed Plans
A well-made shed plan should guide you from start to finish. Before you begin building, ensure that your plan includes these essential components. They’ll save you time, prevent mistakes, and make your work easier.
Framing Diagrams
Good framing diagrams show you how to build each part of the shed structure. They outline where the studs, beams, and supports are placed, ensuring your frame remains strong and level.
These diagrams are like the bones of the shed; they give you the base to build on and help keep everything square.
Floor and Roof Trusses
Plans with truss diagrams help you place support pieces correctly, whether you’re building a flat or pitched roof. This step keeps your roof steady and your shed safe in all weather.
Floor layouts guide how to space joists so your base doesn’t shift, sag, or warp over time.
Materials Checklist
A good shed plan includes a full shopping list. Here’s what it should cover:
- Lumber – Boards for framing, flooring, walls, roof, and trim
- Roofing – Shingles or metal sheets, underlayment, and drip edges
- Siding – Plywood panels, lap siding, or other exterior wall coverings
- Fasteners – Nails, screws, brackets, joist hangers, and anchors
- Doors & Windows – Pre-hung or build-your-own, with hinges and latches
- Flooring Materials – Plywood, treated boards, or composite panels
- Paint or Stain – For weather protection and finish
- Hardware – Handles, locks, and other small parts
Some plans even group materials by build stage, so you can shop one step at a time instead of all at once.
Cut Lists and Hardware Callouts
Cut lists show the size and number of boards you’ll need. These help you waste less wood and save money.
Hardware callouts indicate which screws, nails, or hangers to use and where. Both are key for clear steps and fewer building delays, especially if you’re working alone or with limited tools.
Creative Add-Ons for Your 12×20 Shed
Once your 12×20 shed is built, you can turn it into more than just storage. A few simple upgrades can change how you use the space and help it fit your needs better.
Add a Loft for Storage
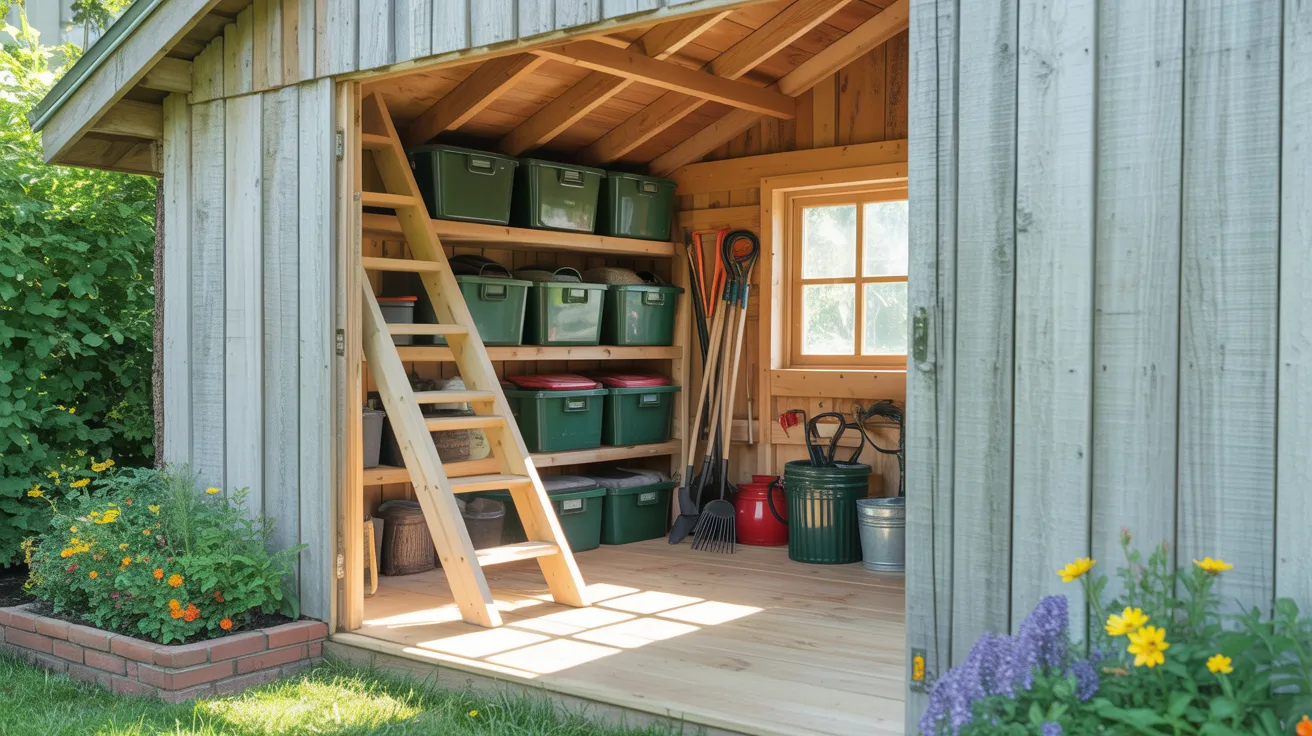
If you need extra space but want to keep the main floor open, adding a loft is a smart move. Use the upper section of the shed for seasonal items, bins, or tools you don’t use often.
A loft helps you stay organized without cluttering the lower space. Use strong joists and add a ladder or step access for easy use. It’s a simple way to stretch your storage without adding to the shed’s footprint.
Convert into a Workshop
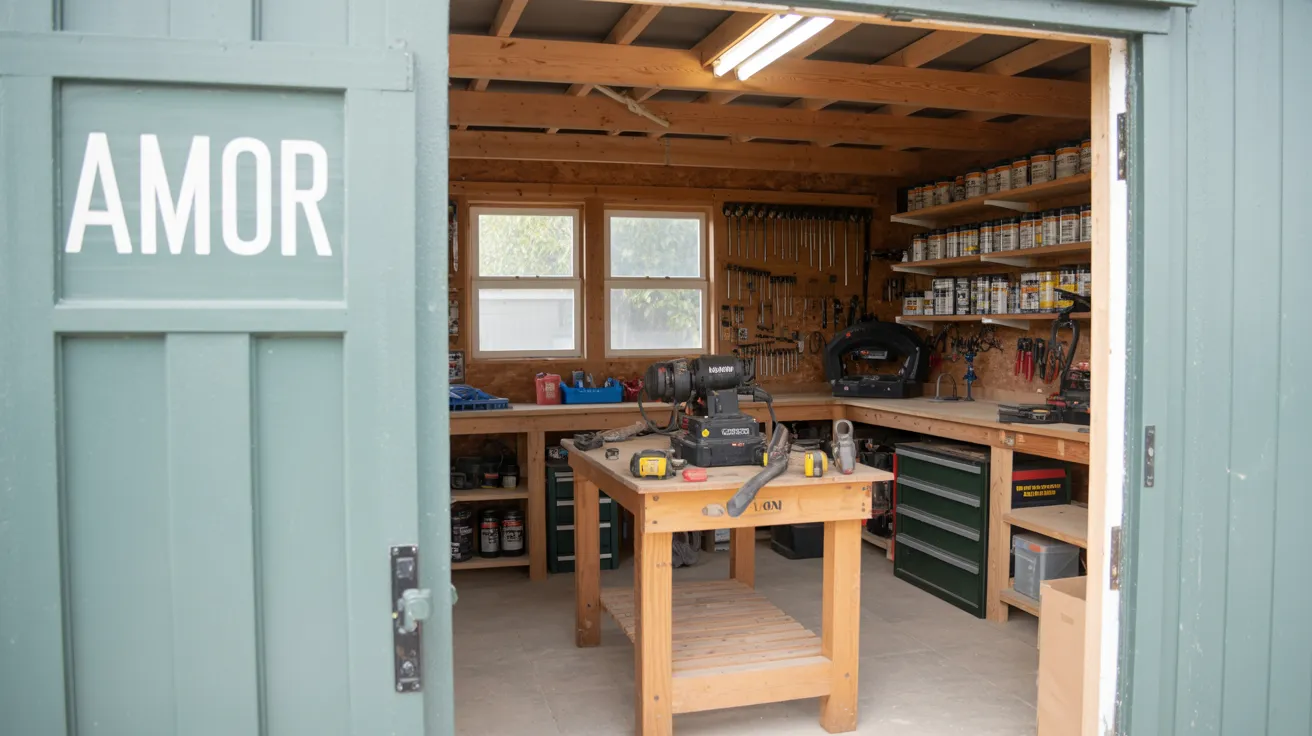
Change your shed into a space for building, fixing, or creating. Add a solid workbench, shelves for your tools, and a power source if needed. Good lighting makes tasks easier, so consider adding windows or battery-powered lights.
You can store paint, hardware, and machines in one place without crowding the garage. With ample space to move around, your shed becomes a functional area where you can focus on projects throughout the year.
Use as a Garden Office

If you need quiet time or a space away from the main house, your shed can work as a garden office or personal hangout. Add insulation, a small desk, and cozy seating.
Natural light from windows or a door with glass panels helps create a calm feel. You can decorate it to match your style and use it to read, work, or relax. It’s a simple way to enjoy more space without significant changes at home.
Add a Porch or Dormer
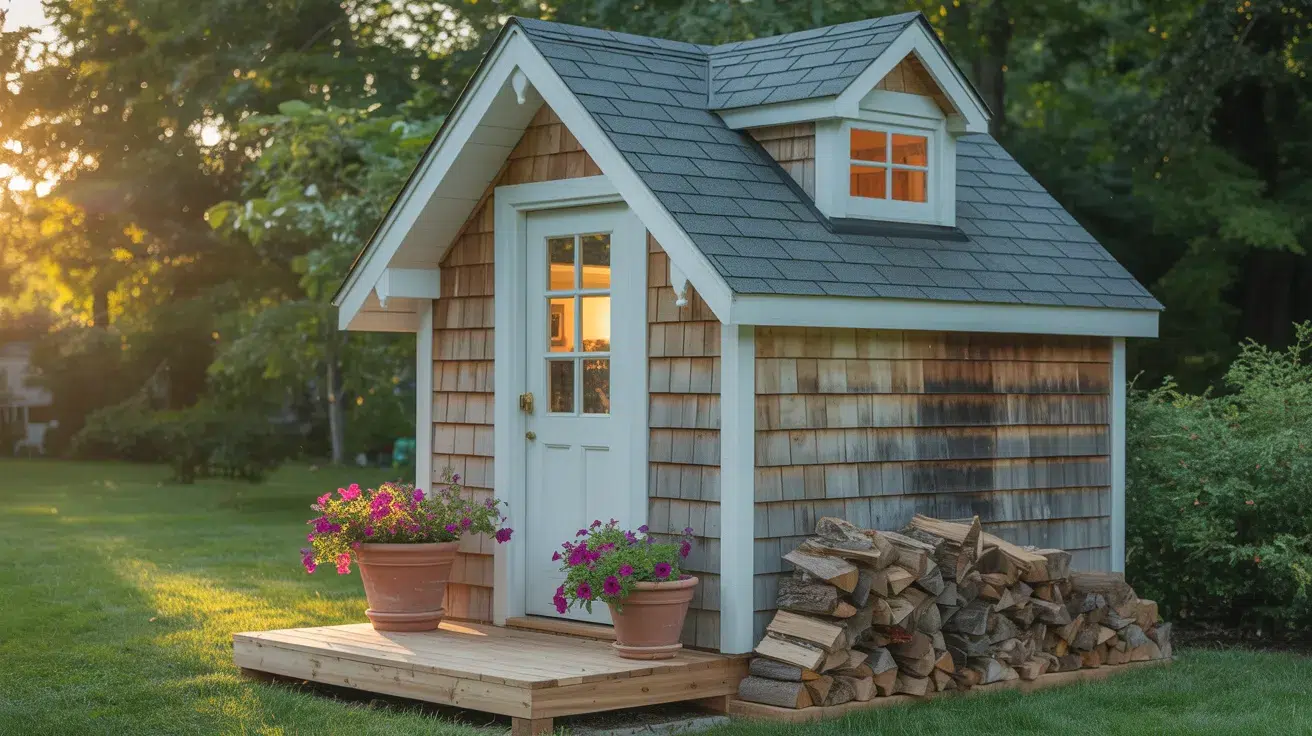
Adding a small porch gives you a spot to sit, pot plants, or store firewood. Even a simple overhang can help keep rain off the door.
A dormer, on the other hand, brings more headroom and light inside, excellent if you’re using the loft or want to brighten the shed. Both upgrades also make your shed feel more like a part of your yard, not just a storage box.
Foundation and Permits for a 12×20 Shed
Before you begin framing your 12×20 shed, it’s essential to consider the ground it will sit on and the local regulations in your area. Having the right foundation and permits in place will save you trouble later.
Most places have rules about building size and placement. A 12×20 shed may require a permit, especially if it’s permanent, wired for power, or located near property lines.
Some areas allow sheds under a specific size without a permit, but it’s better to ask first than deal with fines later.
Types of 12×20 Shed Plans to Consider
When you’re ready to build a 12×20 shed, you’ll face a choice: should you use free plans, buy detailed blueprints, or opt for a ready-to-build kit?
Each option works differently. Here’s how to pick what’s right for you.
Free Plans Online
You can find free 12×20 shed plans on DIY blogs, woodworking forums, and YouTube channels. They often include basic framing steps, some measurements, and rough material lists.
If you’re confident with tools and don’t mind doing some planning yourself, this can be a good place to start.
Just make sure you check for accuracy; some free plans skip important steps. Still, they give you a decent foundation to build from without spending money up front.
Paid Plans & What You Get
If you want clear directions, a paid shed plan may be worth it. These usually include professional layouts, material lists, cut sheets, and diagrams.
You’ll save time and avoid mistakes, especially if you’re not used to measuring and cutting. If you’re aiming for a smooth build and fewer surprises, this gives you peace of mind and a better end result.
Should You Buy a Pre-Cut Kit?
Buying a pre-cut shed kit can take out most of the guesswork. The wood is already measured and cut, and it’s delivered with instructions. This is great if you want to save time or skip the tool-heavy parts of the job.
Just know that it’ll cost more than building from scratch, and you may have less room to customize. If you’re short on time or new to building, this can make things easier and faster.
Conclusion
You made it through, and now you know exactly how to make the most of 12×20 shed plans. I hope this helped you feel more confident about building, buying, or customizing your shed.
You’ve got the steps, tools, and ideas; it’s just a matter of putting them to use. And if you’re still planning things out, take your time.
Before you go, here’s a tip: check out my other blogs on the website for more backyard projects and building ideas. I’ve got your back, and I’ll help you every step of the way.