DIY Rolling Workbench: A Step-by-Step Guide
A rolling workbench can completely change how you work in your garage or workshop.
Imagine moving your tools exactly where you need them instead of walking back and forth all day!
This guide will show you how you can make your diy rolling bench tough and movable that won’t break the bank.
We’ll cover everything: what materials to buy, tools you’ll need, and clear steps to put it all together.
Plus, you’ll learn ways to make it fit your needs and mistakes, too.
Let’s get started and build something that makes your work easier and more fun.
Planning Your Rolling Workbench

Before grabbing your tools, let’s think about what you really need. A good plan saves time, money, and those “I wish I had done it differently” moments.
Choosing the Right Size for Your Space
Measure your work area carefully!
Nothing’s worse than building a bench that’s too big for your garage.
Think about where you’ll store it and how much room you need to move around it comfortably.
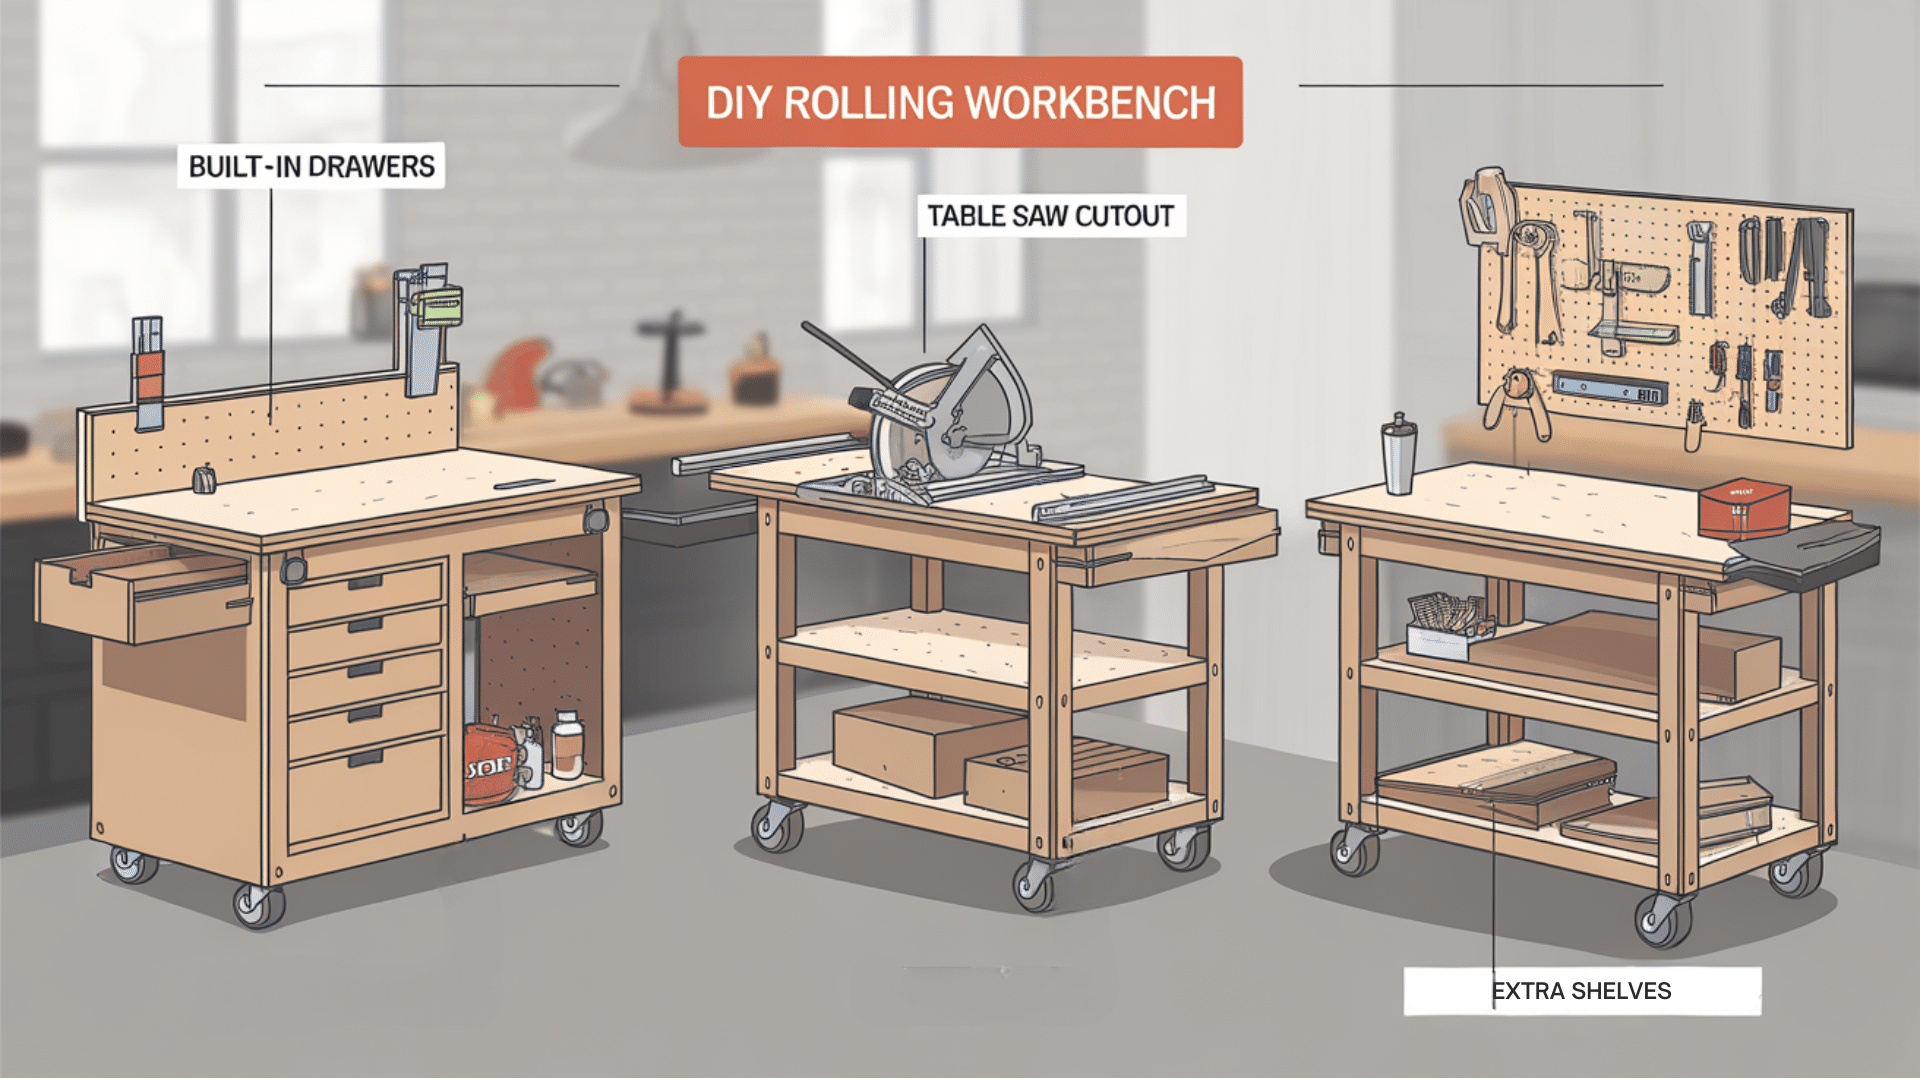
Features to Consider
Think about what would make your work easier.
Maybe storage shelves for those bulky tools? Drawers for smaller items? A cutout for your table saw?
Pick features that match how you work and what you build most often.
Materials & Tools Needed

- 4 pieces of 2×4 lumber (8 feet long) for the frame
- 1 sheet of 3/4″ plywood for the top and shelves
- 4 heavy-duty caster wheels (at least 3″ diameter)
- Box of 2.5″ wood screws
- Box of 1.5″ wood screws
- Wood glue
- 16 corner brackets
- Sandpaper (medium and fine grit)
- Primer and paint or wood stain (optional)
Essential Tools
- Power drill with drill bits
- Circular saw or table saw
- Measuring tape
- Carpenter’s square
- Clamps (at least 4)
- Pencil for marking
- Impact driver
- Kreg jig for pocket holes
- Level
- Workbench or sawhorses
- Sander
Step to DIY Rolling Workbench
Now comes the fun part!
Let’s break down this project into simple steps that anyone can follow. Take your time with each stage – rushing often leads to mistakes.
Step 1. Cutting the Wood Pieces

Start with your longest cuts first. This helps you make the most of your lumber and reduces waste.
For a standard 4′ x 2′ workbench:
- Cut four 48″ pieces (long sides)
- Cut eight 21″ pieces (short sides and supports)
- Cut your plywood to 48″ x 24″ for the top
Measure twice, cut once! Uneven cuts can make your bench wobble.
Step 2. Assembling the Frame
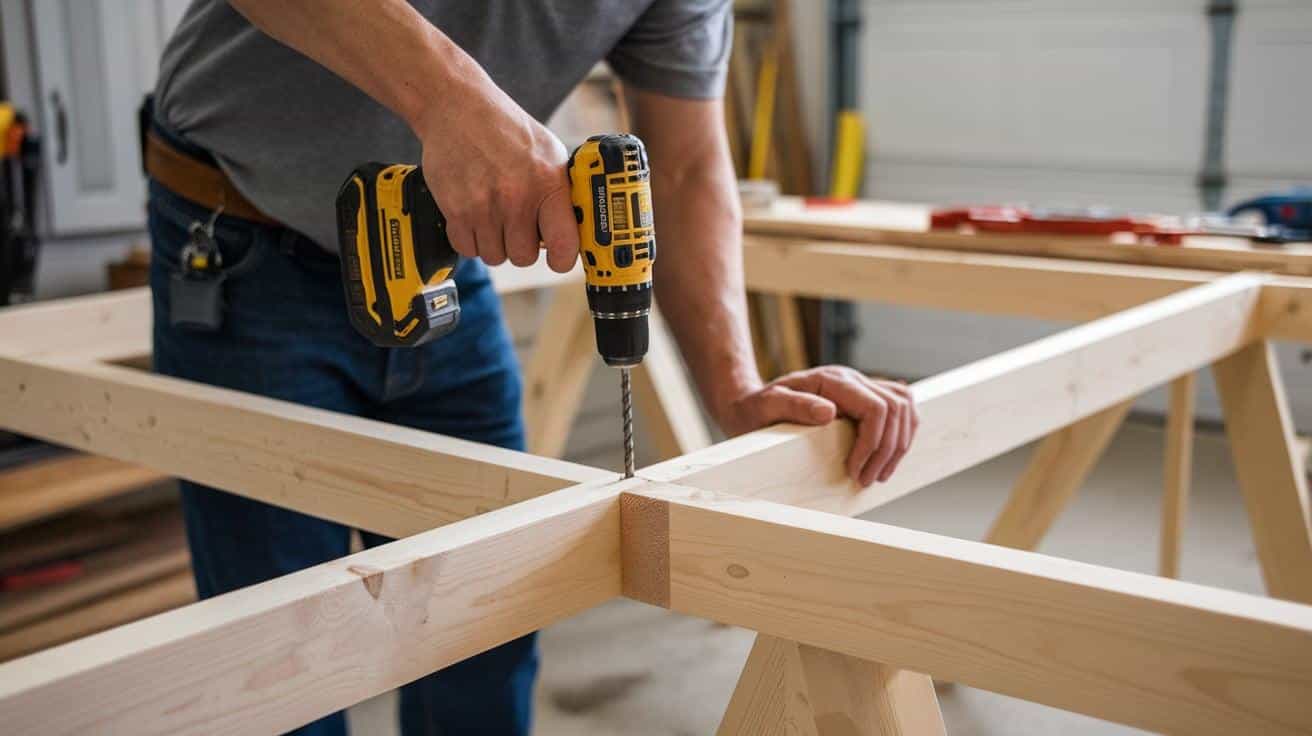
- Mix wood glue with screws for a rock-solid frame. The glue fills gaps while screws add strength.
- Build both side frames first.
- Connect them with support beams to form a box. Check for square corners!
- Add diagonal bracing at the back and sides. This stops your bench from swaying when you’re working hard.
Step 3.Adding the Workbench Top
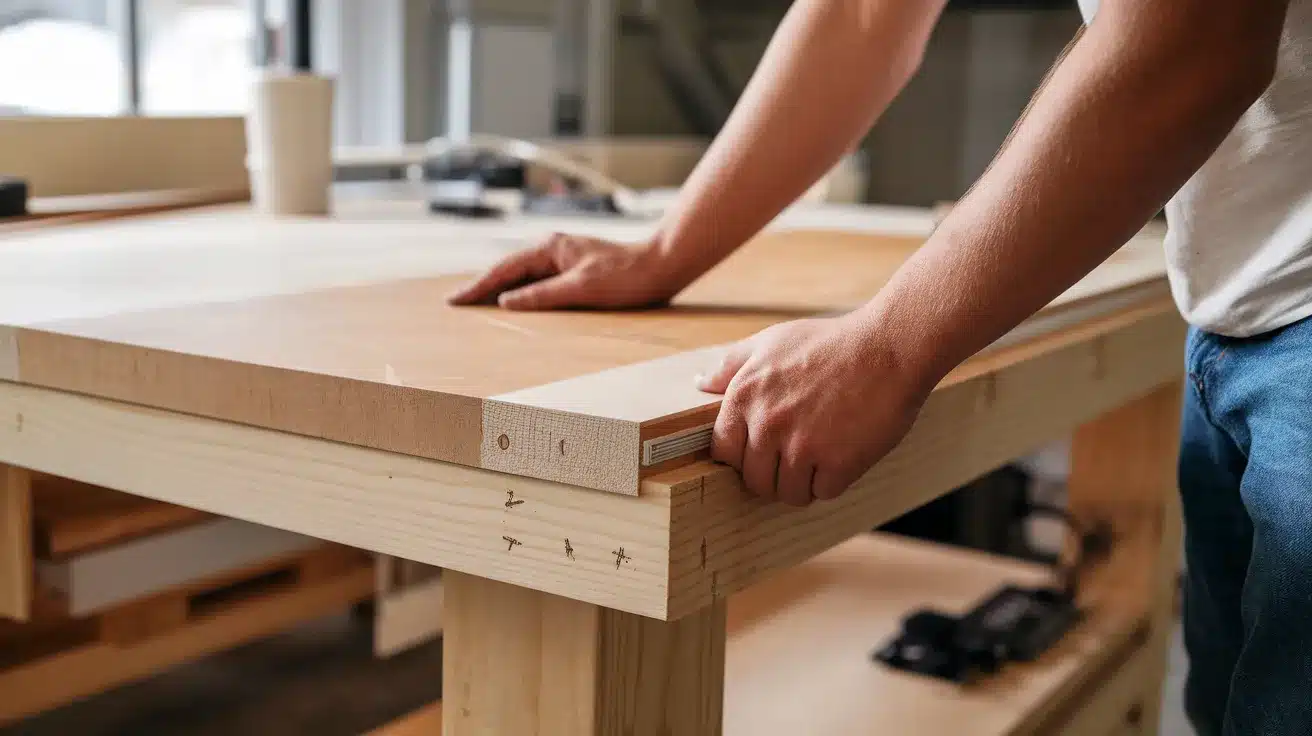
Your top material matters a lot.
Plywood is cheap and strong, MDF is smooth but hates water, and butcher block looks great but costs more.
- Attach your top with screws from underneath. This keeps your work surface clean and smooth.
- Leave about 1″ of overhang on all sides. This small detail lets you clamp things to your bench.
Step 4. Installing the Bottom Shelf
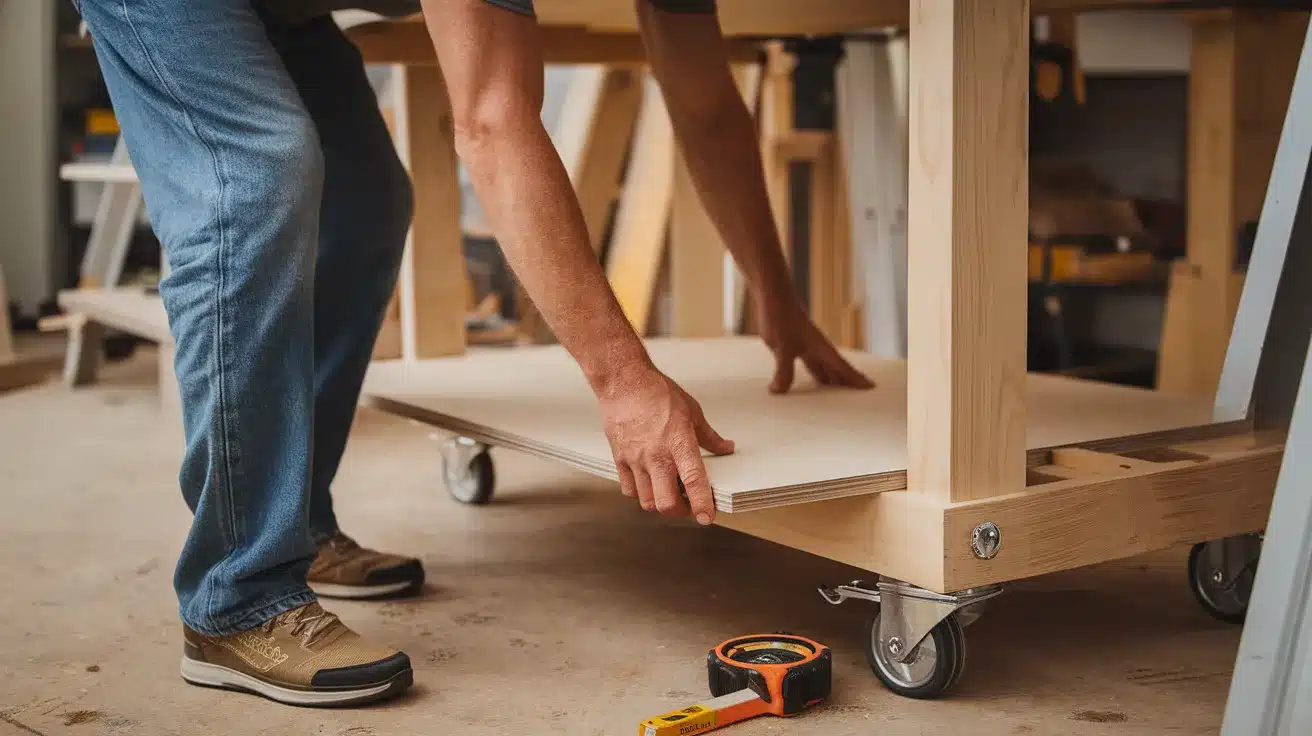
The bottom shelf turns wasted space into useful storage. It also makes your bench stronger.
- Measure the gap between legs carefully.
- Cut your shelf just right so it fits snug without forcing.
- Secure it with screws from underneath so the surface stays smooth for storing tools and materials.
Step 5. Attaching the Casters
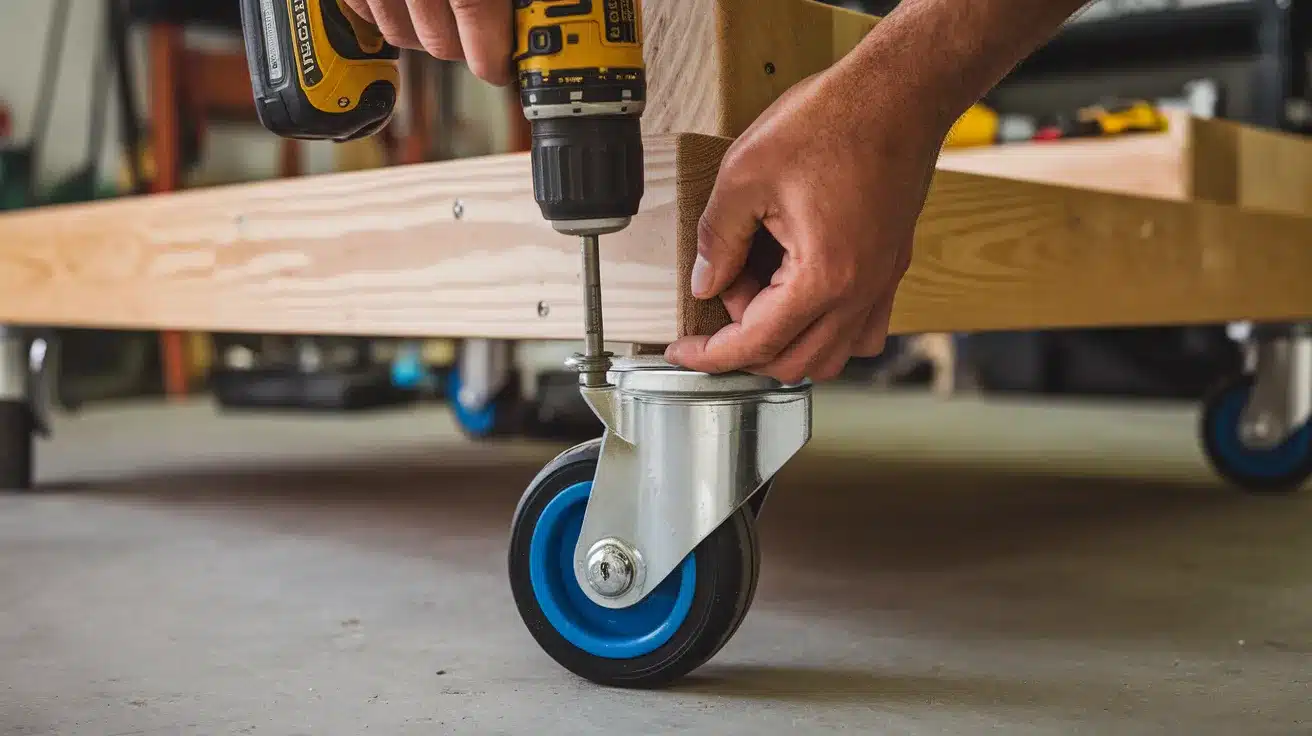
Swivel casters let you move in any direction. Fixed casters roll straighter.
- Get two of each for the best control.
- Make sure they lock! Nothing’s worse than your bench rolling away while you’re cutting.
Want it stationary sometimes?
Add adjustable feet or blocks that can lower below the wheel height when needed.
Customization Options for Rolling Workbench
Now that you’ve built your basic workbench, let’s make it truly yours!
These tweaks can turn a good bench into one that feels made just for you and your projects.
1. Adding a Table Saw Cutout
A saw cutout saves so much space.
- Measure your saw base carefully before cutting.
- Add support bars under the cutout edges to keep your top strong.
- Remember to make the opening just a bit bigger than your saw.
2. Integrating Storage Solutions
Hook up a pegboard on the back for tools you use often.
Simple wooden drawers hold small items like screws. Add shelves at different heights for tools of various sizes.
Your storage should match what you use most.
3. Adjusting Height for Different Uses
The perfect height is where your wrists stay straight while working.
Too high hurts your shoulders, too low hurts your back.
Test different heights before you set it. For seated work, go lower (30″); for standing, go higher (36-38″).
Common Mistakes and Troubleshooting
Even skilled builders hit snags sometimes!
Here are fixes for the most common problems you might face with your rolling workbench.
Wobbly Workbench: Fixes and Reinforcements
A shaky bench is scary when you’re cutting.Add corner braces at joints.
Check that all legs touch the ground.Tighten all screws. Diagonal bracing on the back works wonders!
Choosing the Wrong Wheels: What to Look for
Weak casters can ruin your bench. Pick wheels rated for at least 50% more than your bench weight.
Get rubber wheels for smooth floors and polyurethane for rough ones.
Strengthening Joints for Durability
Screws alone can loosen over time. Add wood glue to all joints. Use washers with your screws.
For extra strength, try metal corner brackets at stress points.
Final Touches
You’re almost done!
These last steps might seem small, but they make a huge difference in how your workbench looks, works, and lasts over time.
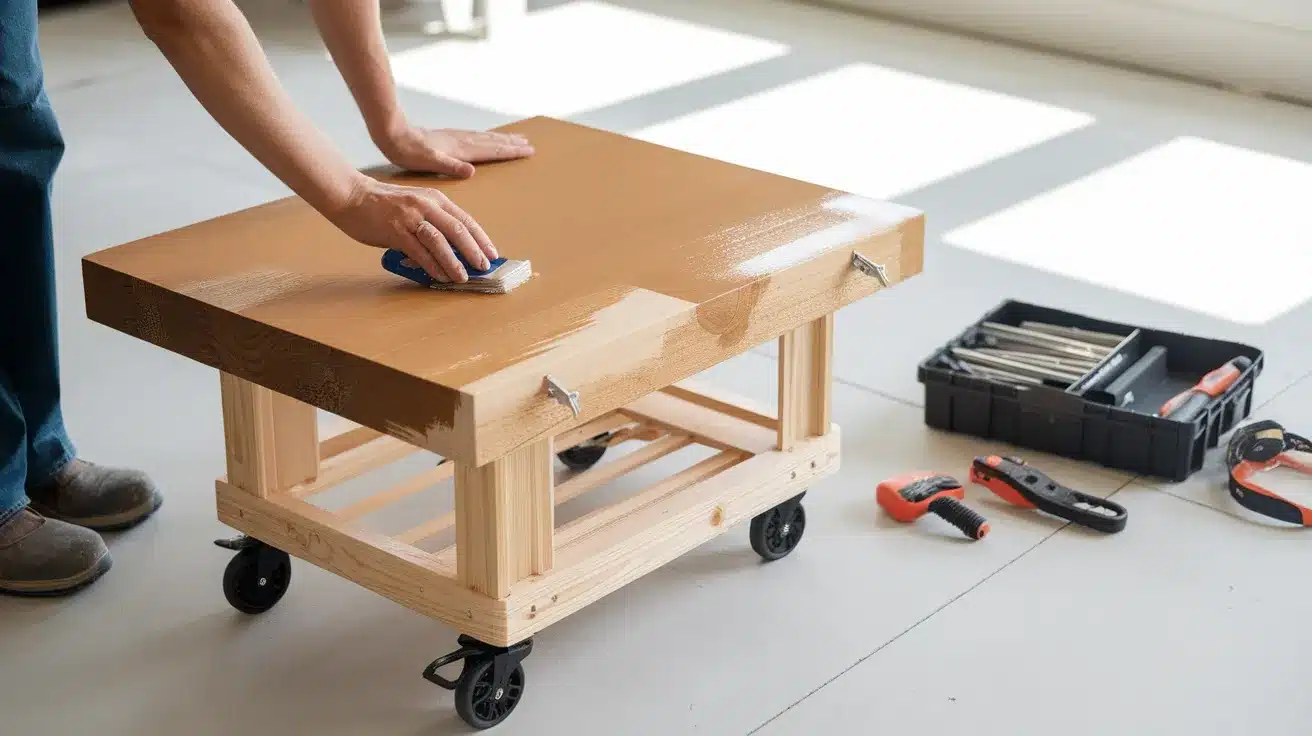
Sanding and Finishing
Don’t skip sanding – your hands will thank you!
- Start with rough sandpaper (80 grit) and work up to fine (220 grit).
- Round all edges to prevent splinters.
For finishing,
- Oil makes wood pop but won’t protect much.
- Paint hides flaws and protects against moisture.
- Polyurethane gives the best protection but takes longer to dry.
Apply at least two coats for best results.
Testing Mobility and Stability
Push your bench around the shop to check how it rolls. Try different floors and loaded weights.
Test the wheel locks – they should hold firm when engaged. Rock the bench side to side. If it moves too much, add more bracing.
Try working on it with regular tools to spot any issues before your first big project.
Maintenance Tips
- Tighten all screws and check wheel bearings every few months.
- Clean the surface regularly to prevent buildup.
- Touch up any worn finishes yearly.
- Keep heavy items on the bottom shelf for a lower center of gravity.
- Oil squeaky wheels to keep them rolling smoothly for years to come.
Conclusion
Well done!
You have all the know-how to build a rolling workbench that will improve your DIY life.
We’ve walked through everything, from picking the right size to adding those final coats of finish.
Your back and feet will thank you when you’re not running back and forth for tools anymore!
Remember, your first build doesn’t have to be perfect. Each project teaches you something new, and you can always make changes as you go.
The best workbench is the one that fits how you work.
We’d love to see what you create! Share photos of your finished bench, or tell us about the cool features you added.