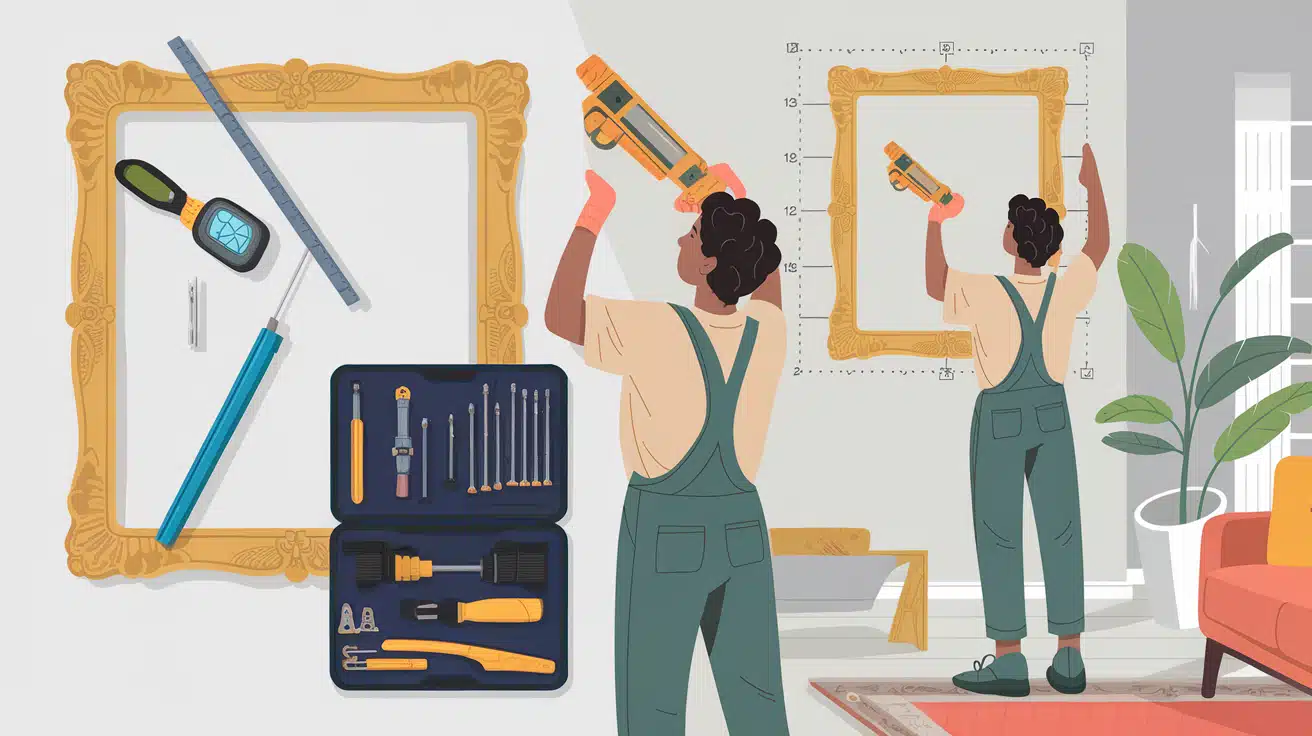
How to Hang a Heavy Picture: Complete Guide
Hanging heavy frames can be tough. Without the right methods, your valuable artwork might fall, damaging both the frame and your wall.
Getting it right matters whether you hang a large mirror, a big painting, or a family photo in a heavy frame.
This guide will show you how to hang heavy pictures safely.
We’ll cover picking the right hardware, measuring correctly, and using special methods for different types of walls.
Proper installation ensures your wall décor stays secure for years, protecting your art and home from damage.
Before we start, we’ll help you determine whether your frame is “heavy” and which hanging methods work best for your situation.
What Makes a Picture “Heavy”?
Before diving into hanging methods, it’s important to understand what constitutes a “heavy” picture:
- Light: Pictures weighing less than 10 pounds
- Medium: Pictures weighing between 10-25 pounds
- Heavy: Pictures weighing between 25-50 pounds
- Extra Heavy: Pictures weighing over 50 pounds
To determine your picture’s weight, use a bathroom scale. Weigh yourself holding the picture, then subtract your weight alone.
This will give you the precise weight and help you choose the appropriate hanging method.
Remember that frame material significantly impacts weight—ornate wooden frames and glass can add substantial weight compared to simple plastic frames.
Proper Measurement Techniques
Correct placement is crucial for visual appeal and safety:
- The standard rule is to hang pictures with their center point 57-60 inches from the floor (eye level for most people)
- When hanging above furniture, position the bottom of the frame 8-10 inches above the furniture
- For a gallery wall, plan the entire arrangement before making any holes
Measurement process
- Determine where you want the top of the frame to sit
- Measure the distance from the frame’s hanging hardware to the top of the frame
- Subtract this measurement from your desired top position
- Mark this spot for your nail or anchor
- Use a level to ensure your marks are straight
Taking time to measure correctly prevents unnecessary wall damage from repositioning.
Step-by-Step Hanging Methods
Essential Tools & Materials
Gathering the right tools before you start will make hanging heavy pictures much easier:
- Stud finder: For locating wall studs (the strongest hanging points)
- Level: To ensure your picture hangs straight
- Measuring tape: For precise placement measurements
- Pencil or painter’s tape: For marking the wall without causing damage
- Appropriate wall fasteners: Based on picture weight and wall type
- Drill with various bits: For creating pilot holes
- Hammer: For installing certain kinds of hangers
- Screwdriver: For installing screws and anchors
Having these tools ready will save you time and prevent frustration during the hanging process.
Method 1: Using Wall Studs
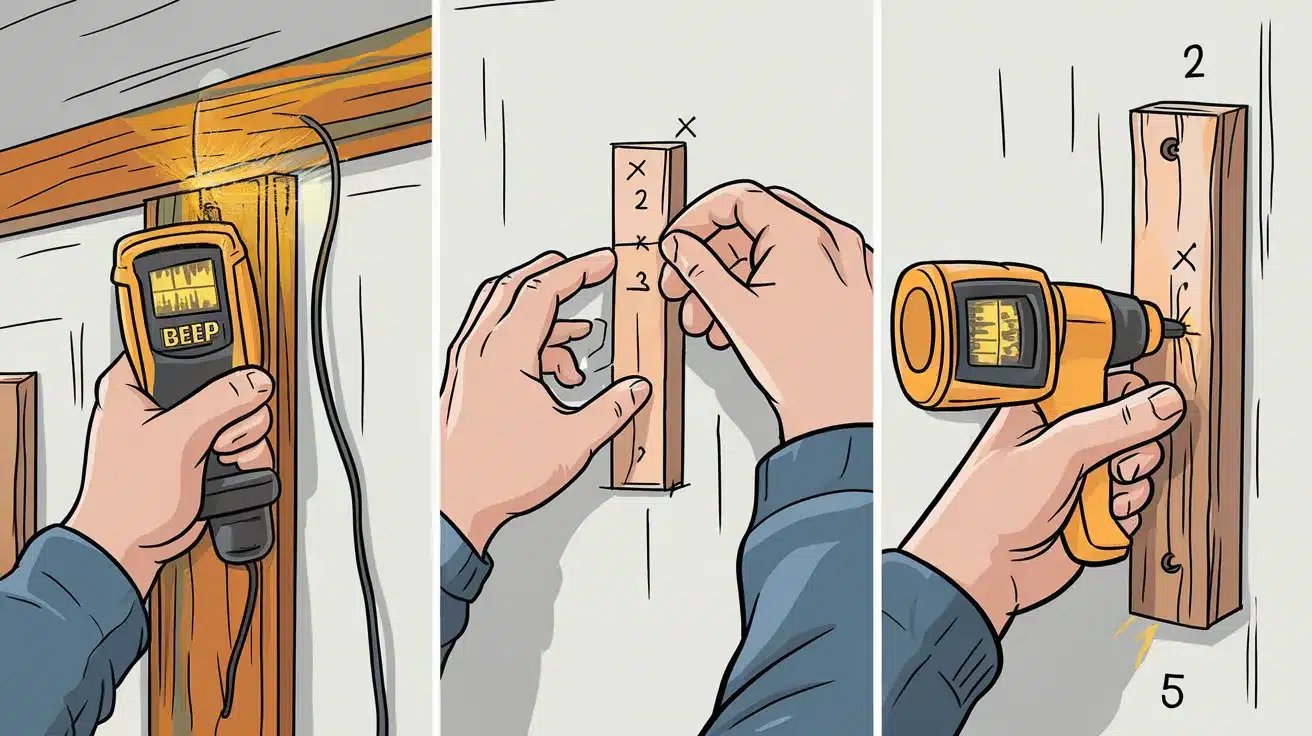
The most secure method for hanging heavy pictures is to attach them directly to wall studs, the vertical wooden framing behind your walls.
Steps:
- Use a stud finder to locate wall studs (typically spaced 16 inches apart)
- Mark the stud location at your desired hanging height
- For pictures up to 20 pounds, drive a nail at a slight downward angle into the stud
- For heavier pictures, pre-drill a pilot hole and use a screw instead
- Consider using special picture hanging hooks rated for heavy items
This method can support pictures weighing 50+ pounds when properly executed.
Method 2: Drywall Anchors
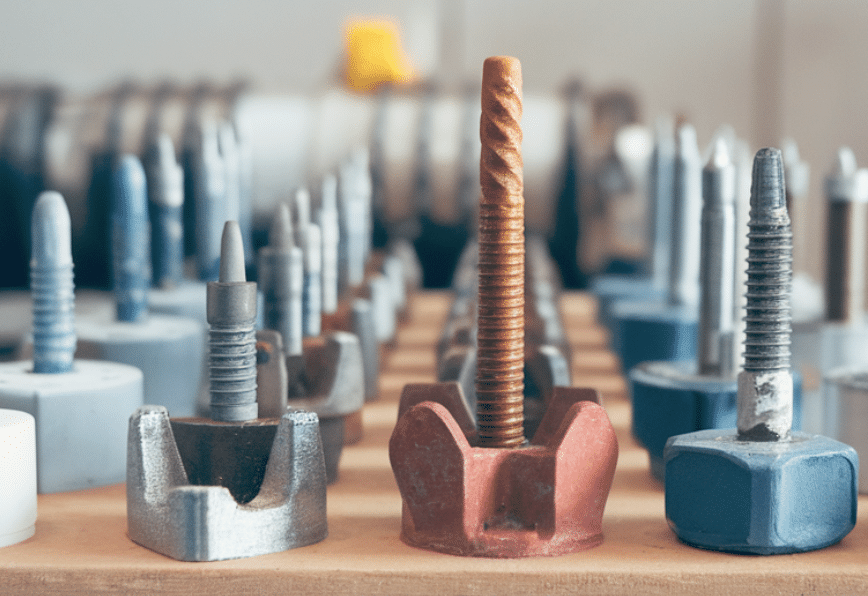
When studs aren’t available in your preferred location, drywall anchors provide additional support.
1. Plastic Wall Anchors: Suitable for pictures up to 20 pounds
- Drill a pilot hole
- Insert the plastic anchor
- Screw the hanger into the anchor
2. Molly Bolts: Good for medium-weight pictures (20-30 pounds)
- Drill a hole the diameter of the folded molly bolt
- Insert the bolt and tighten it with a screwdriver or drill
- The wings will expand behind the drywall for support
3. Toggle Bolts: Best for heavy pictures (30+ pounds)
- Drill a hole wide enough for the folded toggle
- Insert the toggle bolt through the hole
- The spring-loaded wings open behind the wall for maximum support
Choose the appropriate anchor based on your picture’s weight for optimal safety.
Method 3: Wall Hanging Hooks
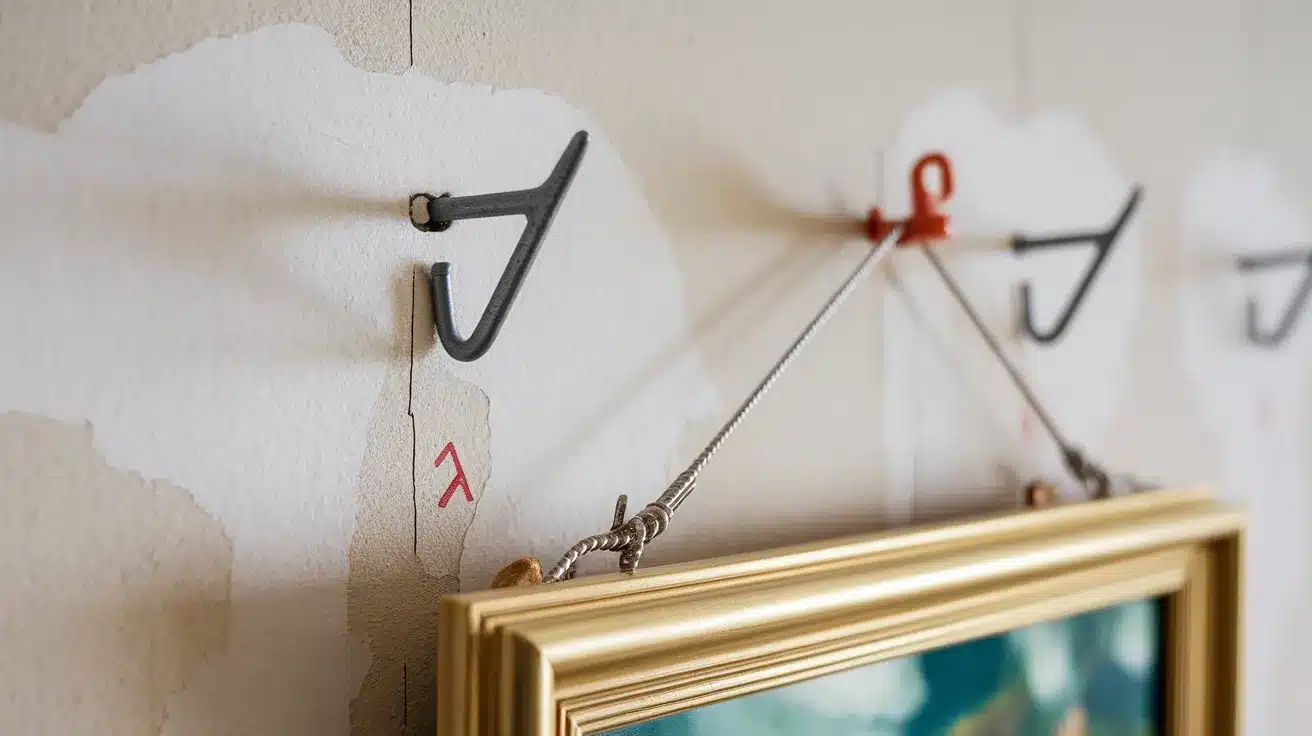
Traditional wall hanging hooks can support surprising weight:
- Single-nail wall hooks can hold up to 25 pounds
- Double-nail wall hooks can hold up to 50 pounds
These are easy to install with minimal wall damage, making them ideal for renters or those who often move their wall items around.
Installation is straightforward:
- Mark the desired location
- Hammer the hook into the wall at a slight downward angle
- Ensure the hook is secure before hanging your picture
Method 4: Rail-Cable Hanging Systems

For ultimate flexibility and strength, consider a rail-cable hanging system:
- Can support up to 300 pounds per track
- Works on any wall surface
- Allows easy adjustments without additional wall damage
- Perfect for galleries, schools, and homes with frequently changing artwork
Installation requires:
- Mounting a track along the wall (into studs when possible)
- Hanging cables or rods from the track
- Attaching adjustable hooks to the cables
- Hanging pictures at desired heights
While initially more involved in installing, these systems make future adjustments effortless.
Understanding Your Wall Type
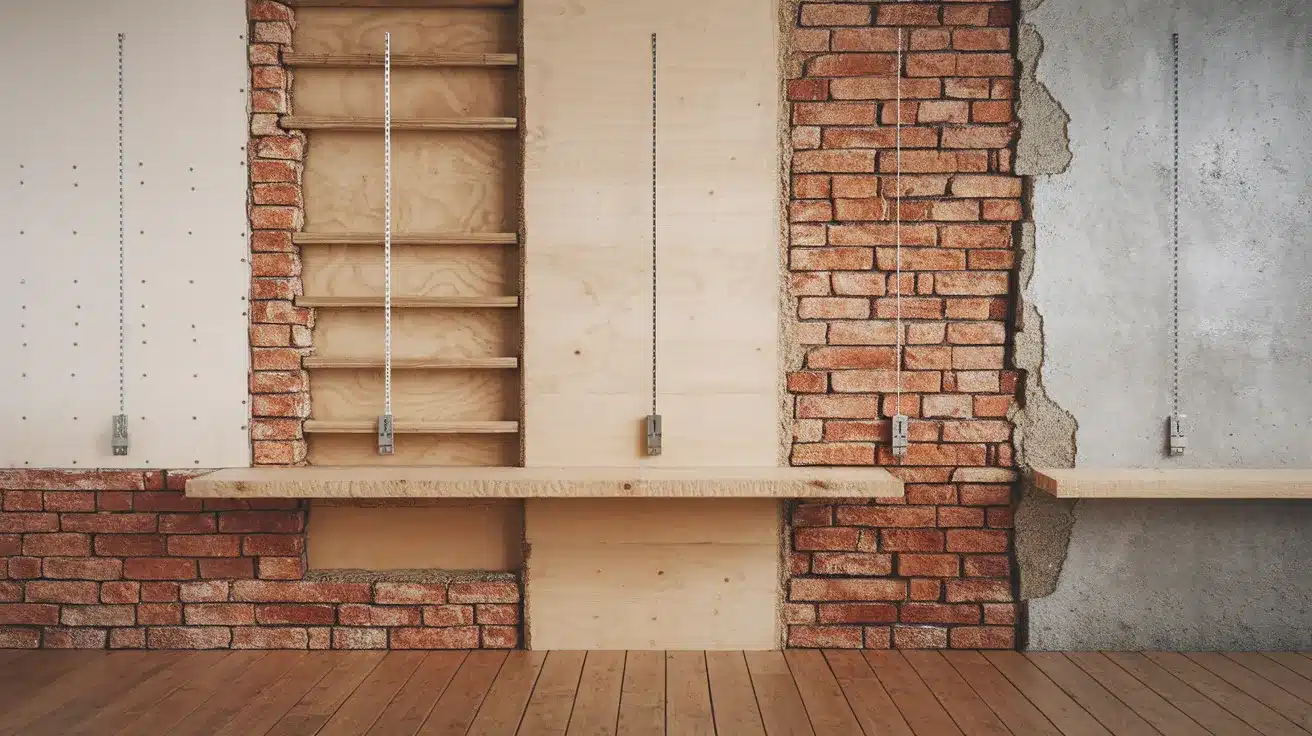
Drywall (Modern Homes)
Most homes built after 1940 use drywall construction. However, drywall alone isn’t strong enough to support heavy items without proper reinforcement.
The hollow space behind the drywall requires special anchors to distribute the weight. Look for small dimples or seams to identify drywall.
You can also tap on the wall – drywall sounds hollow compared to other materials. Using regular nails in drywall for heavy items is risky and often leads to wall damage and fallen artwork.
Plaster (Older Homes)
Homes built before 1940 often have plaster walls, which are more brittle than drywall. Special care must be taken to prevent cracking when drilling or hammering.
Pre-drilling is essential. First, use masking tape over the spot to reduce cracking, then drill slowly with light pressure.
Plaster typically feels harder and more solid when tapped.
When properly anchored, plaster walls can hold more weight than drywall, but the risk of cracking during installation is higher.
Brick/Concrete Walls
Solid walls require masonry-specific hardware and techniques. You’ll need special masonry drill bits and anchors for these hard surfaces.
While these walls can support the most weight, installation requires more time and specialized tools.
The good news is that masonry hangers are extremely stable once installed correctly.
Use a wall detector before drilling to avoid hidden electrical conduits in concrete walls.
Identifying your wall type is crucial as it determines which fasteners will work best and what installation methods to use.
When in doubt, make a tiny test hole in an inconspicuous area to check the material before proceeding with your main installation.
Maintenance Tips
Regular checks keep your heavy frames safe on your wall. Look at your hanging hardware every few months, especially for items weighing over 25 pounds.
This simple habit stops unexpected falls that could damage your art and walls.
When checking your hangers:
- Look for signs of the hardware pulling away from the wall, like small cracks or dust collection
- Make sure screws and nails haven’t loosened over time
- Check that wire hangers haven’t stretched or frayed
- Test that the frame still feels firmly attached by gently touching (not pulling) the bottom edge
The source article mentions that heavy pictures need more support.
If you notice any wobbling or your picture isn’t level anymore, add plastic bumpers to the bottom corners. These small additions keep the frame straight and protect your wall from scratches.
For extra-heavy items (over 50 pounds), consider checking more often, about every 1-2 months.
Changes in temperature and humidity can affect your wall material and hanging hardware over time.
If you spot any problems during your check, fix them right away.
A loose screw now could mean a fallen picture later. Sometimes, you might need to move the hanging point or add a second support point for better weight distribution.
Troubleshooting
Even with careful planning, issues may arise:
- Uneven walls: Use adjustable hanging hardware or add strategic bumpers
- Hitting pipe or electrical wire: If you encounter resistance while drilling, STOP and try a different location
- Picture tilting: Add additional hanging points or apply rubber bumpers
- Signs hardware isn’t secure: Cracking sounds, visible pulling from the wall, or sagging anchors require immediate attention.
Address problems promptly to prevent damage to your walls and artwork.
Conclusion
Taking care of wall-mounted heavy frames is simple but important. With the right tools and methods, you can safely hang even the largest items.
The key is picking the correct hardware for your wall type and the weight of your frame.
Studs offer the best support for heavy items, while different types of anchors work well when studs aren’t available. Rail systems give you the most long-term flexibility.
Remember to measure carefully before making holes and check your hanging hardware often to catch small issues before they become big problems.
This small amount of effort protects both your walls and your valued artwork.
Following these steps and tips will keep your heavy frames secure and looking good for many years.