
How to Clean Wood Before Painting?
Cleaning wood before painting is an essential step for a smooth and long-lasting finish.
If the wood is dirty, greasy, or rough, the paint won’t stick properly, and the finish may be uneven or patchy. Preparing the surface correctly ensures that the paint adheres well and looks great.
Removing old paint, dust, or grime is important, as it could cause the new paint to peel or bubble over time.
In this guide, we’ll cover simple, easy-to-follow steps to clean and prep wood for painting.
Taking the time to clean and prepare the wood properly will help create a smooth, clean surface ready for paint, resulting in a durable, professional-looking finish that lasts.
Why Cleaning Wood Before Painting Is Important?
Before we understand how to clean wood before painting, it’s helpful to know why it matters.
Wood surfaces collect dust, dirt, grease, and even oils from handling over time. If left on the surface, these particles can prevent paint from sticking properly.
A clean surface allows the paint to adhere more effectively, leading to a better finish.
Additionally, cleaning helps remove any old paint, stains, or mildew that might affect the final look.
The wood may absorb the paint unevenly without cleaning, leading to a blotchy appearance. Cleaning the wood properly is the first step in ensuring a smooth, durable, and professional-looking result.
What You’ll Need to Clean Wood Before Painting
Before starting the cleaning process, gather the following supplies:
- Soap and warm water
- A bucket or container
- Dish soap or an all-purpose cleaner
- A soft cloth or sponge
- A scrub brush or toothbrush
- Baking soda (for tough stains)
- Rags or paper towels
- Sandpaper or sanding block
- Mineral spirits or paint remover (optional for old paint)
- Rubber Gloves (optional)
How to Inspect Your Wood Before Painting
Before you begin cleaning or prepping your wood, it’s essential to inspect the surface for any issues that may affect the final paint job. Here’s what you should look for:
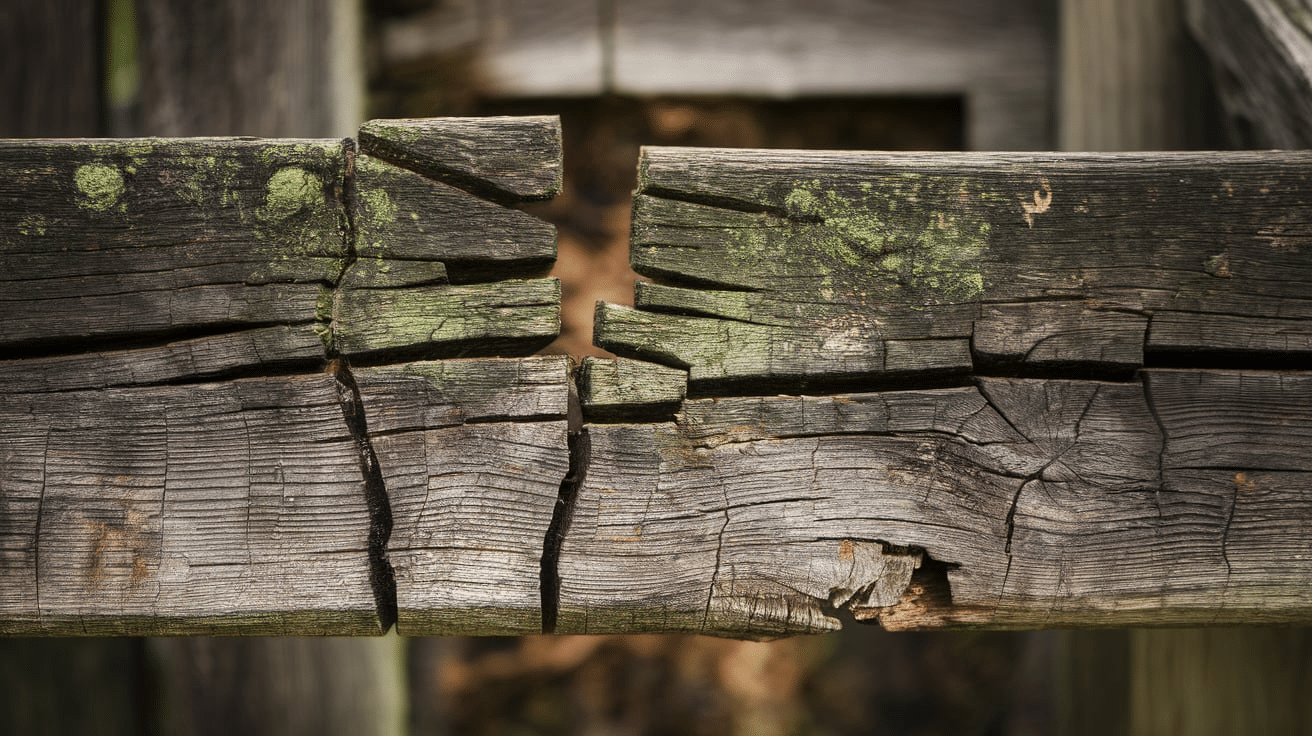
1. Cracks and Splits
Examine the wood for any cracks or splits. These can affect the smoothness of your paint job and may require filling.
Use wood filler to fill any small cracks or holes. Allow the filler to dry and sand it smooth before painting.
2. Old Paint or Varnish
Check if the wood has any old paint, varnish, or finish.
If the old finish is peeling or chipped, it will prevent the new paint from adhering properly. You’ll need to remove it before proceeding.
3. Surface Texture
Run your hand across the surface of the wood. If it feels rough, you’ll need to sand it to create a smooth surface for the paint to adhere to.
Any imperfections should be sanded down to ensure an even finish.
4. Dirt, Grime, or Grease
Look for areas with built-up grime, grease, or sticky residue, especially on furniture.
To ensure the paint bonds well, these areas need extra cleaning before applying paint.
5. Moisture or Mold
Check for any signs of moisture damage or mold for outdoor wood or wood exposed to high humidity.
If you find mold, it’s best to clean it with vinegar and water, then allow the surface to dry completely.
By thoroughly inspecting the wood before starting, you’ll ensure that your surface is in good condition for painting.
How to Prep the Surface Before Painting
Properly prepping the wood before painting is key to achieving a smooth and long-lasting finish. Here’s how to do it:
1. Remove Dust and Debris
Once the wood is cleaned, you’ll want to ensure no dust or debris is left behind.
Use a vacuum or a soft brush to sweep away dust, especially from the corners and edges.
This will help create a clean surface for the paint to adhere to.
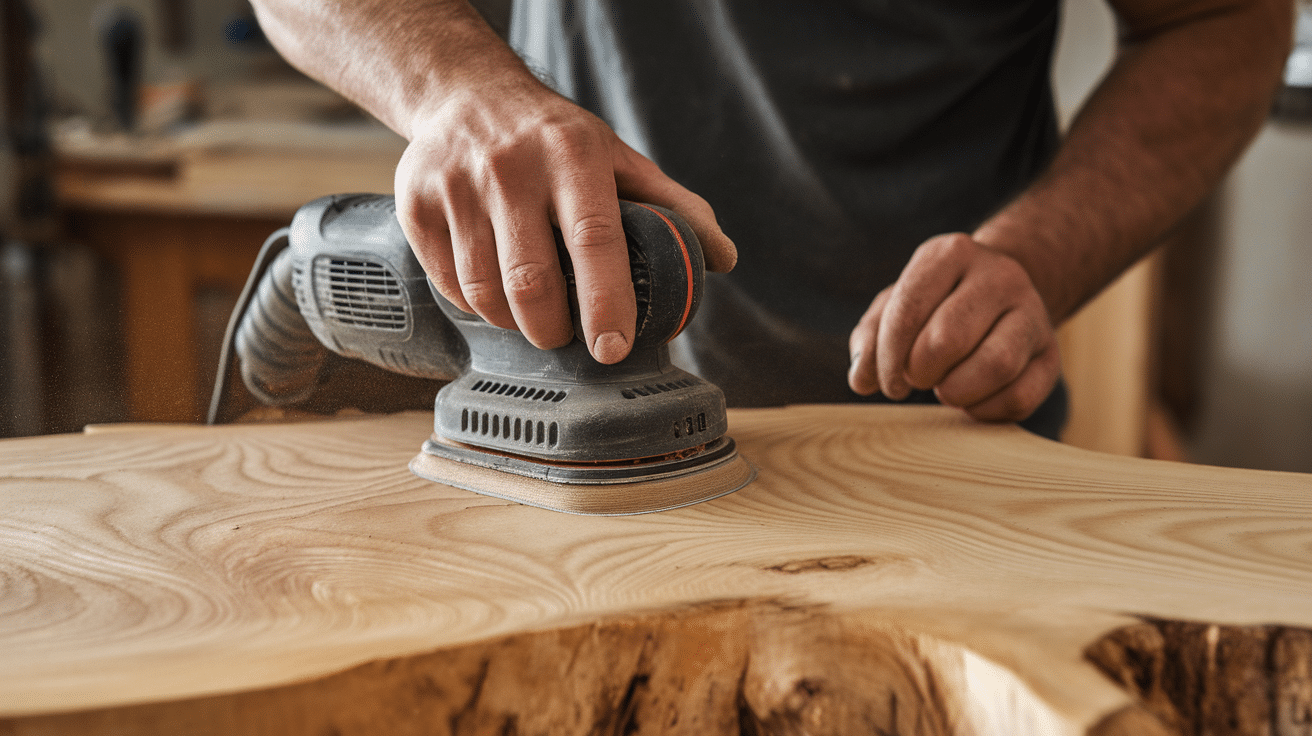
2. Sand the Surface
Sanding the surface is essential for good paint adhesion.
Sand the wood in the direction of the grain with fine-grit sandpaper (around 120-150 grit) to remove any rough spots and open up the wood’s pores.
If you’re working with a painted surface, use coarser sandpaper (80 grit) to remove the old paint before finishing with finer grit paper.
After sanding, wipe the surface with a damp cloth to remove any dust.
3. Fill Cracks or Holes
If you’ve noticed any cracks or holes during your inspection, now is the time to fill them with wood filler.
Apply the filler with a putty knife, smooth it out, and allow it to dry completely.
Once dry, sand the filled areas smooth to match the surrounding surface.
4. Prime the Surface
Priming is optional, but it’s often recommended, especially if you’re painting raw wood or changing the color significantly.
Apply a coat of primer to help the paint adhere better, cover stains, and prevent the wood from soaking up too much paint.
Choose a primer that is compatible with the type of paint you are using. Let the primer dry completely before applying the first coat of paint.
5. Clean Again
After sanding and priming, give the wood one last cleaning.
Wipe it down with a damp cloth to remove any dust, debris, or cleaning solution left behind. Allow the surface to dry thoroughly before you begin painting.
Step-by-Step Guide to Clean and Prep Wood Before Painting
Now that you’ve inspected and prepped the surface, we’ll see the complete step-by-step process to clean and prep the wood:
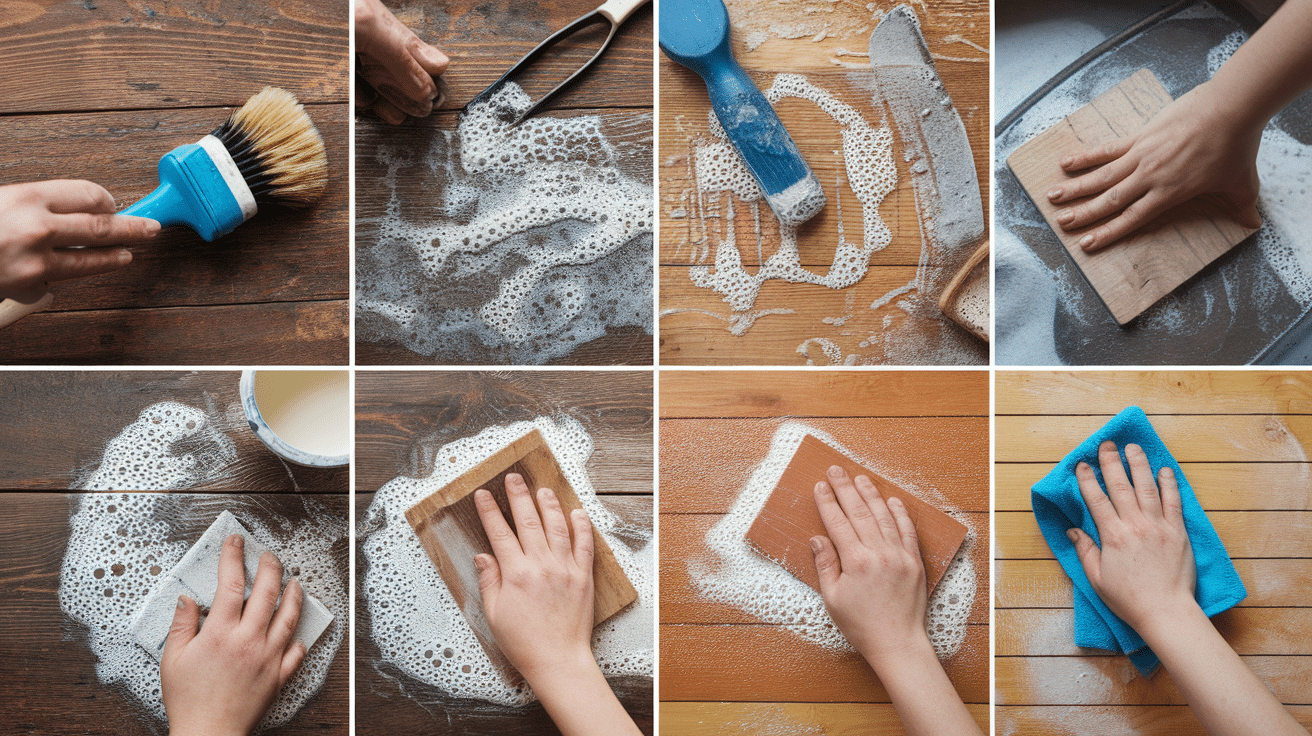
- Dust the Wood: Use a dry cloth or a microfiber duster to remove any loose dirt or dust from the wood surface.
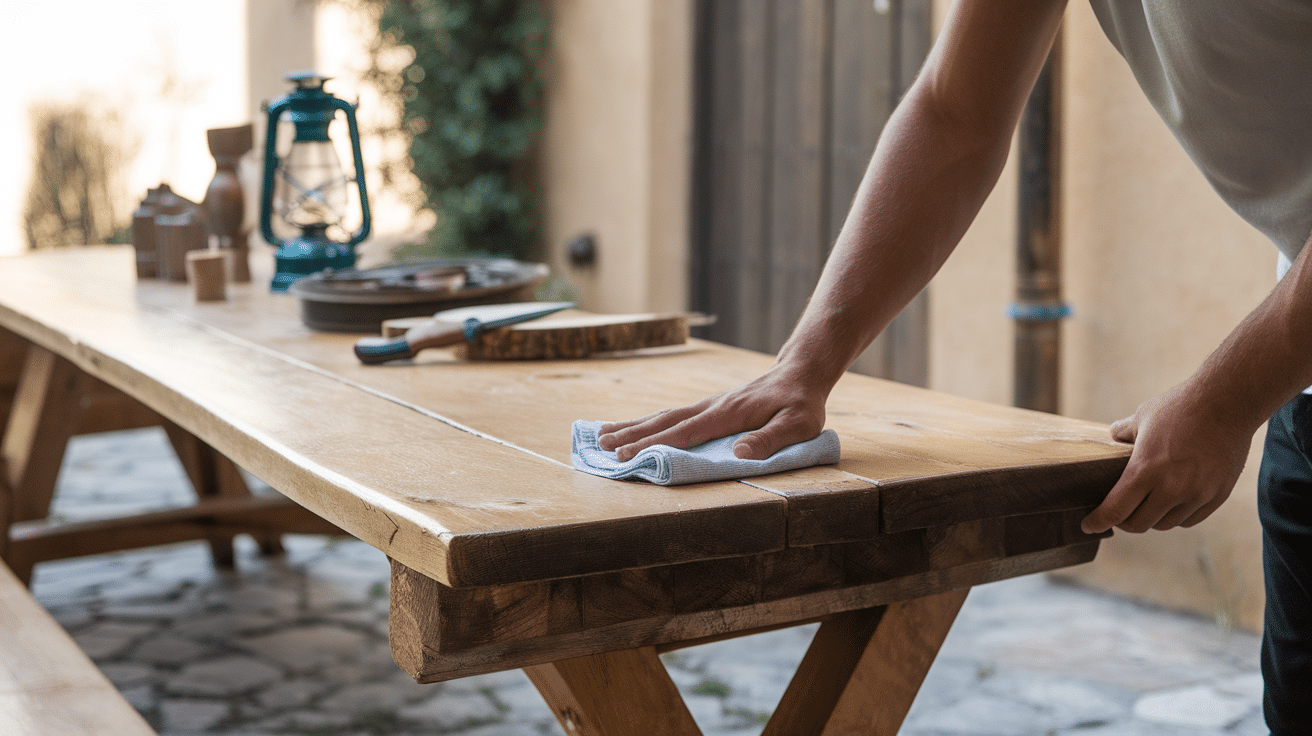
- Clean with Soap and Water: Mix warm water and dish soap in a bucket and use a soft cloth or sponge to clean the wood. Scrub away any dirt, grease, or sticky spots.
- Remove Stubborn Stains: If there are stains, use baking soda and a damp cloth to scrub the area. Use dish soap or an all-purpose cleaner directly on the grease for greasy spots.
- Sand the Surface: Lightly sand the wood to remove rough spots and create a smooth surface after cleaning. Sand in the direction of the grain to avoid scratches.
- Fill Cracks and Holes: Use wood filler to fill any cracks, holes, or imperfections in the wood. Let the filler dry, then sand smooth.
- Prime the Wood: Apply a coat of primer to help the paint adhere and to cover any stains or marks. Choose a primer that works with your paint type.
- Clean Again: Wipe the surface with a damp cloth to remove dust from sanding and priming.
Some Wood Pieces Need More Cleaning Than Others
Different types of wood may require slightly different cleaning methods, so here are some tips for cleaning specific wood surfaces:
- Softwoods (Pine, Cedar, etc.): Softwoods are more delicate, so avoid using harsh cleaners or excessive water. Use a gentle soap solution and a soft cloth to clean. Sand lightly to avoid damaging the surface.
- Hardwoods (Oak, Maple, Cherry, etc.): Hardwoods are more durable and can handle a little more cleaning. You can use a stronger cleaner if needed, but always make sure to test it first in a small area.
- Wood with Varnish or Shellac: Be cautious when using water for wood with varnish or shellac. Instead, use a cleaner made for finished wood surfaces. You can use a paint stripper to remove old varnish before sanding.
- Outdoor Wood: Outdoor wood surfaces like fences or decks may have more dirt or mildew buildup. Use a stronger cleaner like mildew remover or outdoor wood cleaner for these surfaces. Pressure washing can also help remove dirt and grime from large areas.
Conclusion
In conclusion, cleaning and prepping wood before painting is crucial to ensure a smooth, durable finish.
By inspecting the wood for damage, dirt, or old paint, you can address any issues that might affect the final result.
Cleaning with soap and water removes grease and grime, while sanding smooths out rough spots and opens up the wood’s pores for better paint adhesion.
These steps will not only help the paint go on smoothly but also ensure that it lasts longer without peeling or fading.
With proper preparation, you’ll achieve a professional-looking result that enhances the look of your wood and gives your project a fresh, polished look.
Taking these extra steps will make all the difference in the outcome.
Frequently Asked Questions
Why should I clean wood before painting?
Cleaning ensures the paint adheres well and creates a smooth finish.
How often should I inspect the wood before painting?
Inspect the wood every time you plan to paint, especially for cracks or old paint.
Can I paint wood without sanding it?
It’s best to sand wood to ensure the paint sticks and to create a smooth surface.
What type of soap should I use to clean wood?
Use mild dish soap or an all-purpose cleaner mixed with warm water.
Can I clean wood with just water?
It’s better to use water mixed with a little dish soap to clean effectively.


