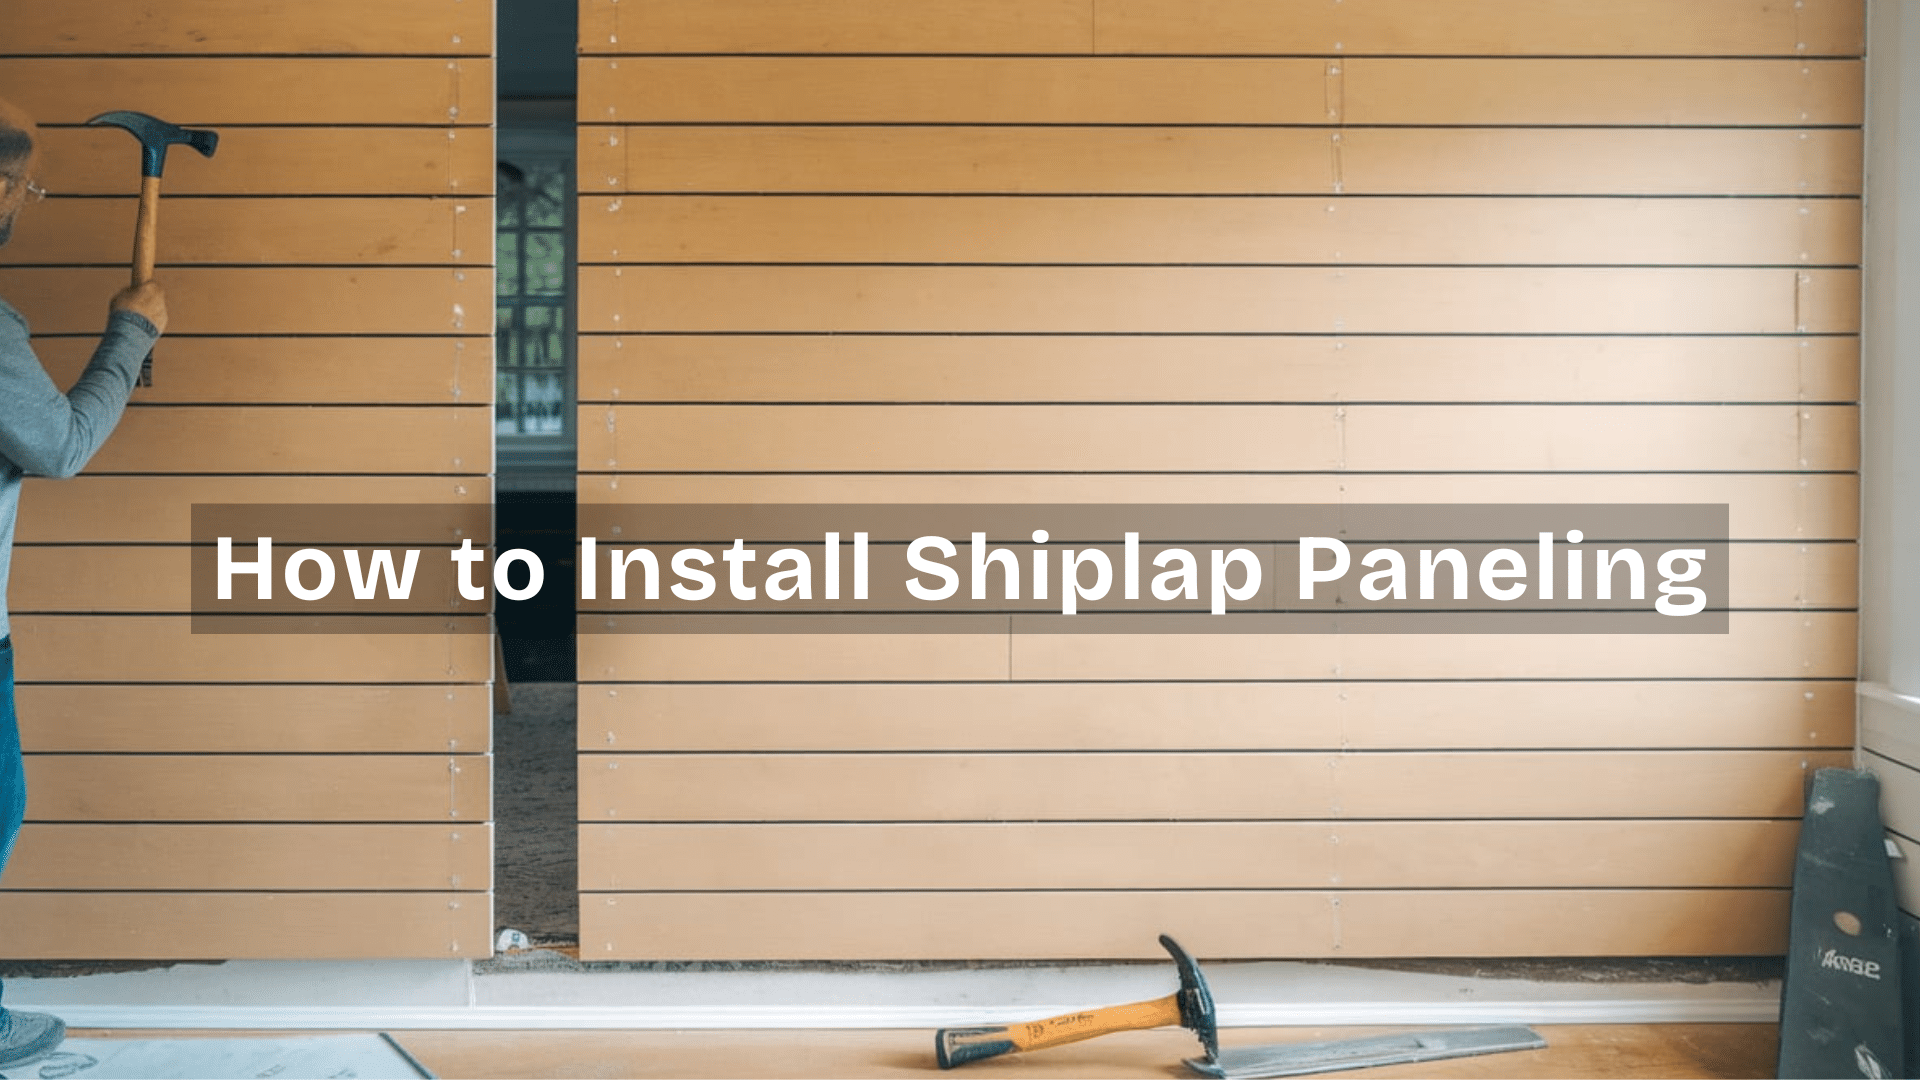
How to Install Shiplap Paneling?
Shiplap paneling is one of the easiest ways to add character to a room. No matter what look you’re going for from a modern farmhouse look or a cozy rustic vibe, shiplap can instantly make your space feel warm and stylish.
It’s a simple DIY project that you can do with just a few tools and materials. No need for expensive contractors, just a little time, patience, and the right guide.
In this blog, I’ll walk you through everything you need to know about installing shiplap paneling. From choosing the right materials to securing the panels.
By the end, you’ll have a beautiful shiplap wall that looks like a professional job. Let’s get started!
What is Shiplap Paneling?
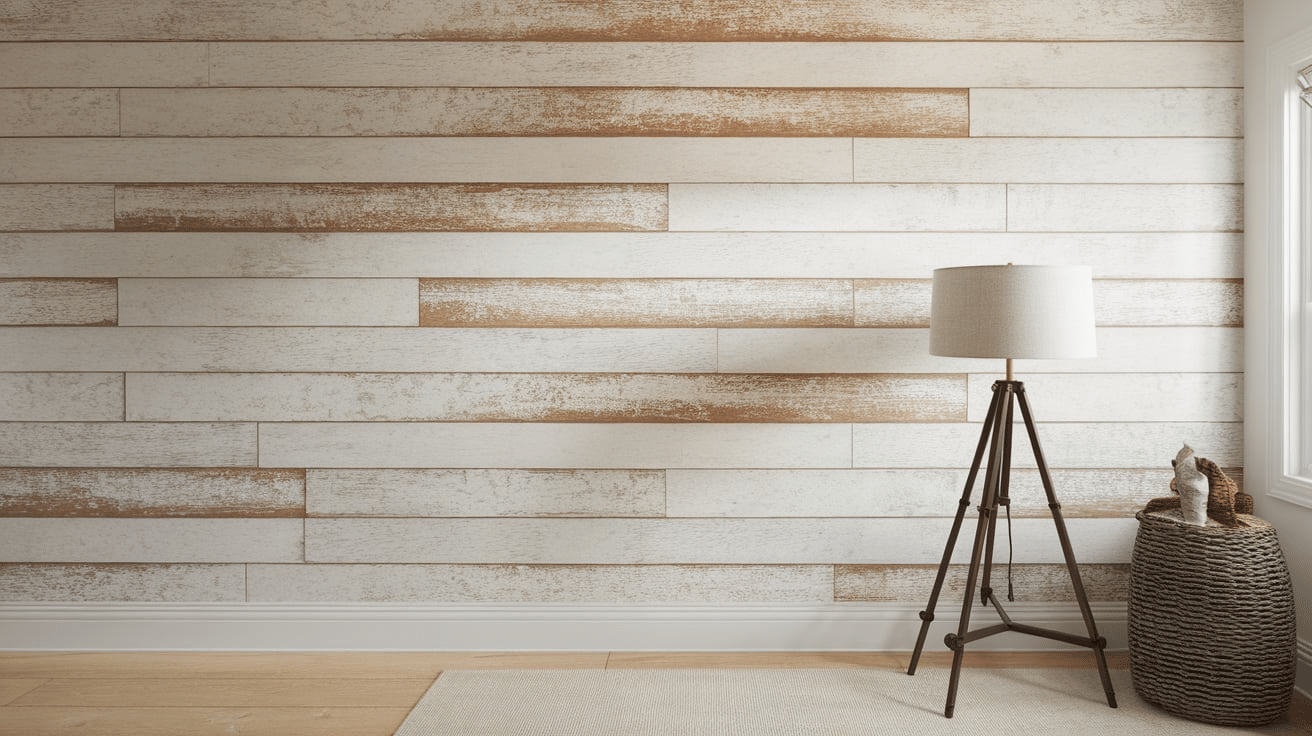
Shiplap paneling is a type of wooden wall covering that consists of long, horizontal (or vertical) boards with a small gap between them. Each board has a tongue-and-groove or overlapping edge that creates a distinct, lined look.
Originally, shiplap was used in barns and old houses to keep out the wind and cold. Today, it’s a popular home design trend that adds a clean and classic feel to walls, ceilings and even furniture.
Because of its simple design, shiplap is easy to install and works well in almost any room. Whether painted, stained, or left natural, it can create a beautiful accent wall or cover an entire space for a cozy feel.
Why Choose Shiplap for Your Home?
Shiplap isn’t just stylish—it’s also practical and versatile! Here are some great reasons to add shiplap to your home:
- Easy to Install: With the right tools, you can easily install it yourself in just a day or two.
- Budget-Friendly: Compared to other wall treatments, shiplap is an affordable way to upgrade a room.
- Adds Character: Whether painted white or stained for a rustic look, shiplap looks good in almost any design.
- Durable and Long-Lasting: If installed properly, it can last for many years with low maintenance.
- Hides Wall Imperfections: If you have uneven walls or small cracks, shiplap can cover them up.
Whether you want a modern, farmhouse, or coastal look, shiplap is a great choice for almost any style.
Common Uses of Shiplap in Interior Design
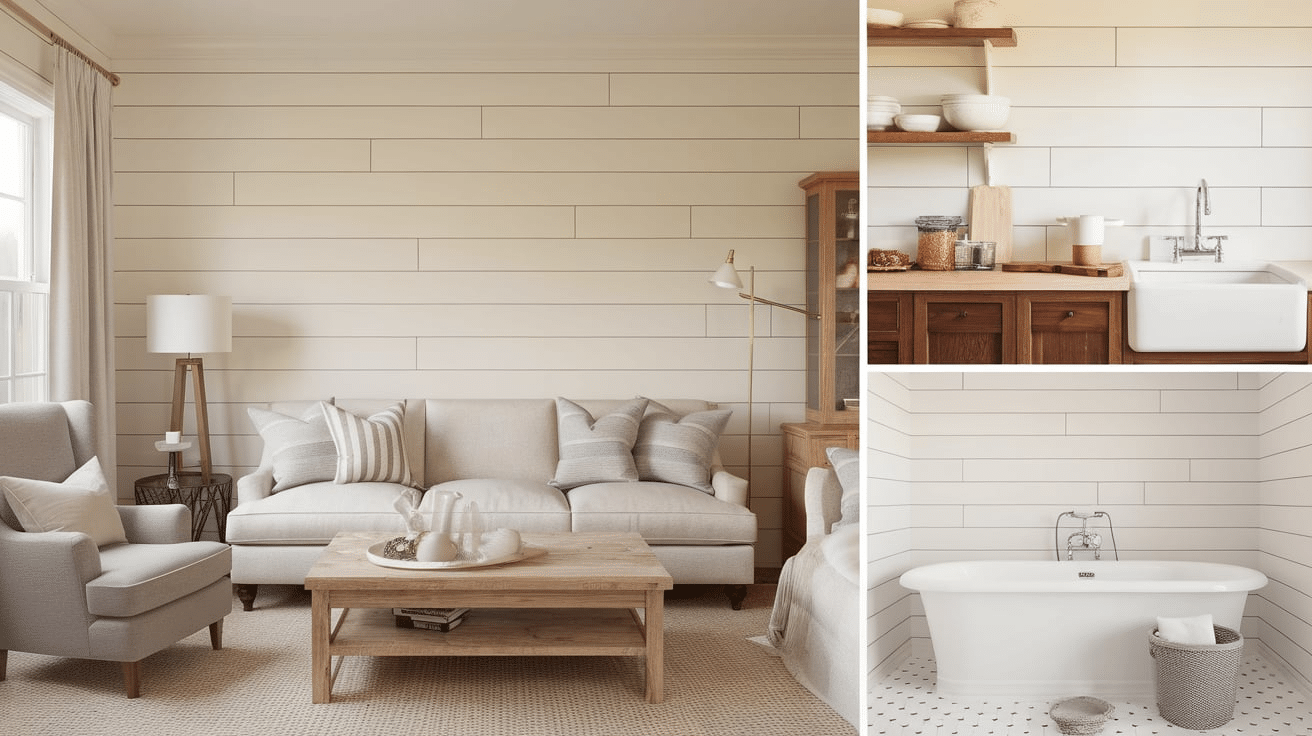
Shiplap is incredibly versatile, making it a favorite for DIYers and interior designers alike. Here are some of the most common ways people use it in their homes:
- Accent Walls – A single shiplap wall can be a unique addition in bedrooms, living rooms, or entryways.
- Ceilings – Adding shiplap to the ceiling gives a cozy, finished look that makes a room feel warm and inviting.
- Kitchen Backsplashes – Instead of tile, some homeowners use shiplap as a unique kitchen backsplash (just be sure to seal it properly).
- Bathroom Walls – Moisture-resistant shiplap can add a spa-like feel to a bathroom.
- Fireplace Surrounds – Framing a fireplace with shiplap creates a charming, cottage-like look.
Shiplap works in almost any room, giving it a timeless and stylish appeal!
Materials and Tools You’ll Need for Installing Shiplap
Before starting your shiplap project, it’s important to gather everything you need. Having the right materials and tools ready will make the installation process much smoother.
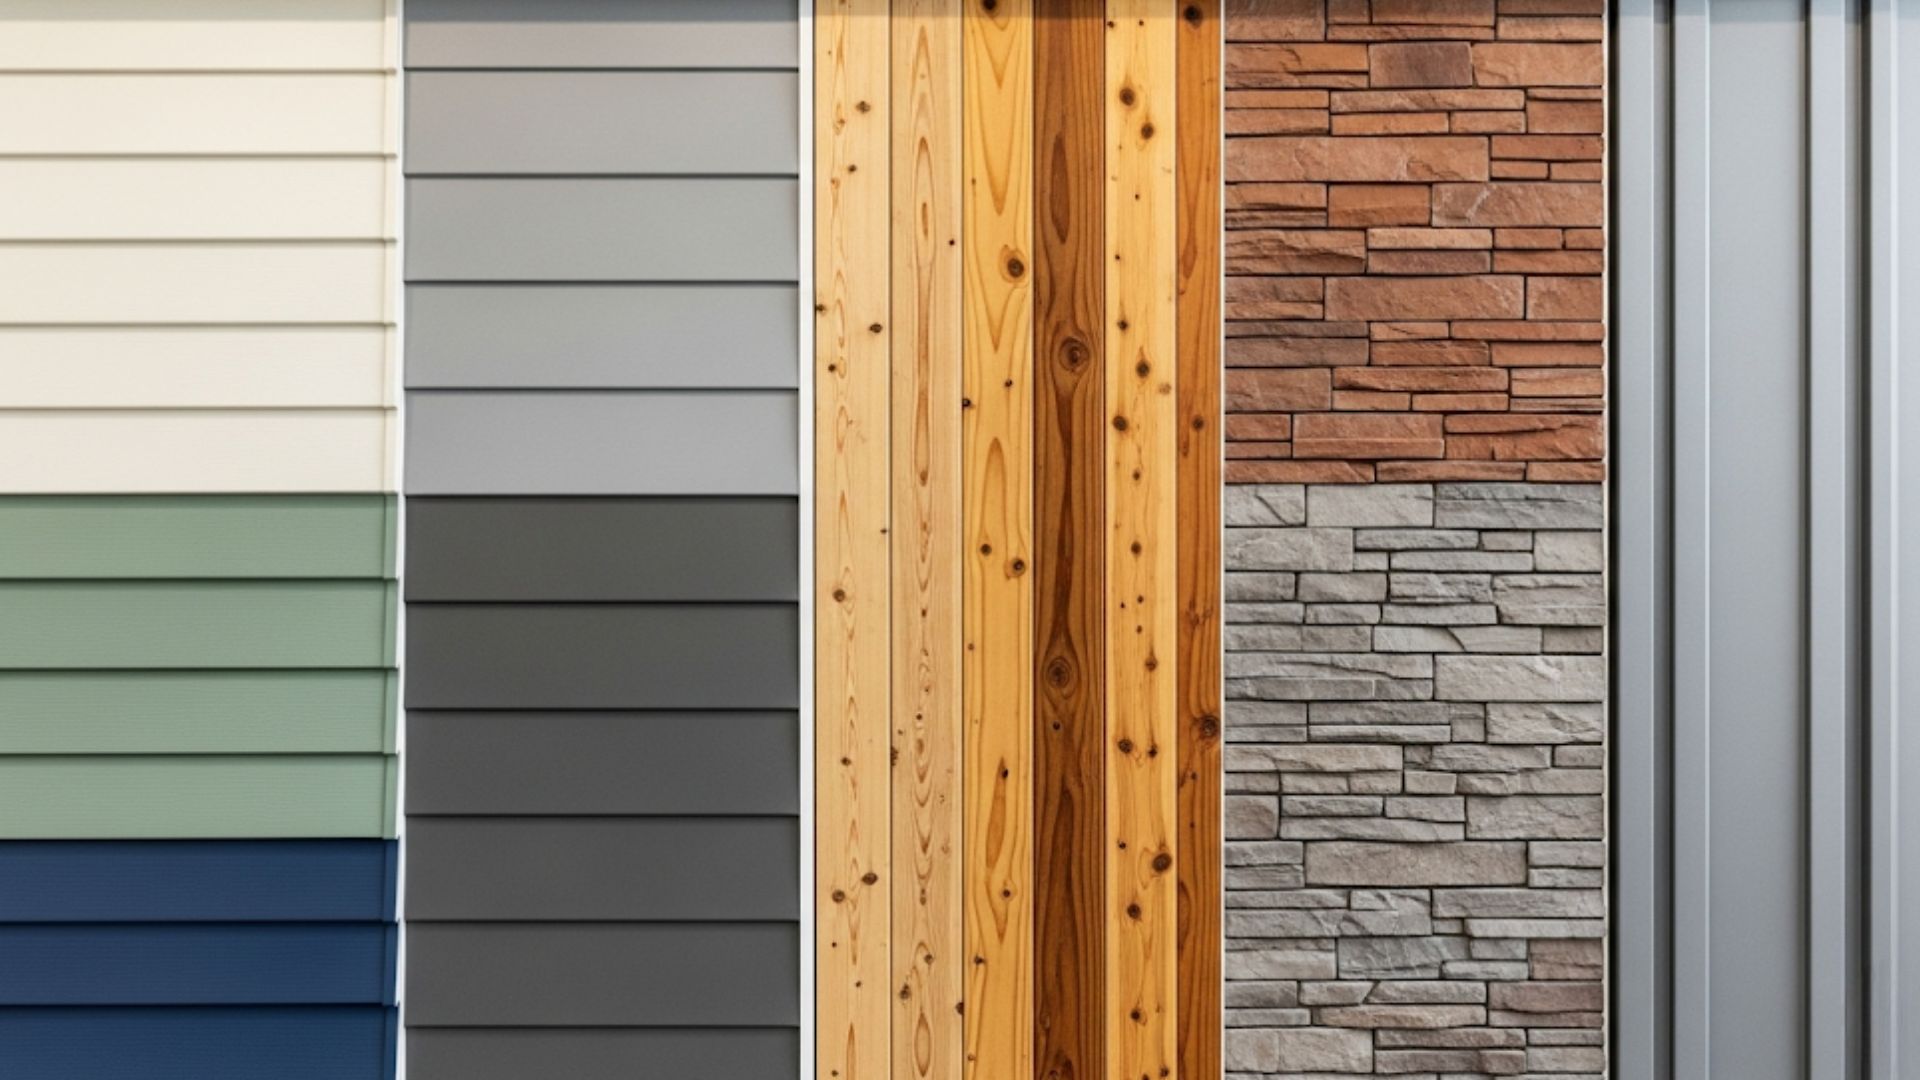
1. Choosing the Right Type of Shiplap (Wood, MDF, etc.)
Shiplap comes in different materials, so you’ll want to pick the best one for your space:
- Real Wood Shiplap: Made from pine, cedar, or other natural woods. Durable and gives a rustic, authentic look.
- MDF (Medium-Density Fiberboard): A smooth, budget-friendly option that’s great for painting. Works best indoors.
- Plywood Shiplap: A DIY-friendly alternative that can be cut into panels. Cheaper than solid wood but still looks great.
- PVC or Vinyl Shiplap: Best for bathrooms or kitchens since it resists moisture and won’t warp.
2. Essential Tools for Installation (Nail Gun, Saw, Level, etc.)
To make your shiplap installation quick and easy, here are the basic tools you’ll need:
- Measuring Tape: To measure the walls and cut panels to the right size.
- Pencil & Level: Helps keep your panels straight and even.
- Stud Finder: Locates wall studs so you can secure shiplap properly.
- Nail Gun or Hammer: A nail gun makes installation much faster, but a hammer works too.
- Saw (Circular or Miter Saw): Used to cut shiplap panels to the correct length.
- Spacers (Nickels or Tile Spacers): Keeps even gaps between boards for a professional look.
Step-by-Step Guide to Installing Shiplap Paneling
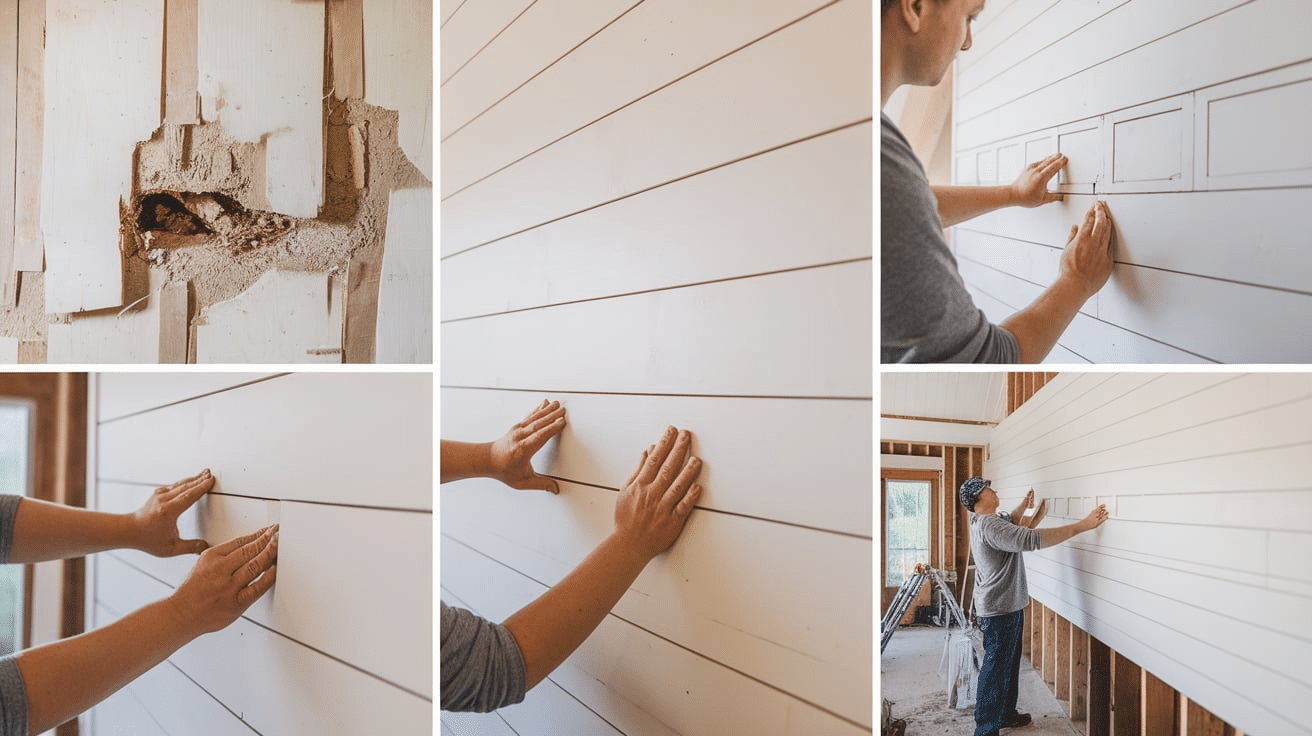
Now that you have your tools and materials ready, it’s time to install your shiplap! Follow these simple steps to get a clean, professional-looking finish.
Step 1: Prepare the Wall and Measure the Area
Before you start attaching panels, you need to prep the wall:
- Remove any existing trim, outlet covers, or nails from the wall.
- Use a stud finder to locate the wall studs and mark them with a pencil. This is where you’ll nail your shiplap for the best hold.
- Measure the wall and write down the width and height. This helps you plan how many shiplap boards you need.
- If painting, prime your shiplap boards before installing for easier coverage.
Step 2: Cut the Shiplap Panels to Fit
- Measure your first panel and mark the cutting line with a pencil.
- Use a miter saw or circular saw to cut the board to size.
- If your wall has outlets or light switches, use a jigsaw to cut small openings in the panel where needed.
- Sand the edges of the cuts for a smooth finish.
Step 3: Apply Adhesive (If Necessary) and Start Placing Panels
- If attaching directly to drywall without nails, apply construction adhesive to the back of each panel.
- If nailing, skip the adhesive and go straight to securing the boards.
- Start from the bottom of the wall and work your way up. This ensures a clean look with no awkward gaps at the top.
Step 4: Secure Panels with Nails or Screws
- Hold the first board level and straight at the bottom of the wall.
- Use a nail gun or hammer to attach it to the wall studs.
- Place two nails per stud, one at the top and one at the bottom of the board.
- Repeat with the next board, using spacers (like nickels or tile spacers) to keep even gaps between panels.
Step 5: Install the Remaining Panels and Ensure Proper Alignment
- Continue adding boards row by row, checking with a level to keep everything straight.
- If the last row doesn’t fit perfectly, measure and cut the final boards to size.
- Double-check for any small gaps and fill them with caulk for a seamless look.
That’s it! You’ve successfully installed your shiplap paneling. Now, it’s time to fill nail holes and apply finishing touches.
How to Fill Nail Holes After Installing Shiplap Paneling
Once your shiplap is up, you’ll likely notice small nail holes from installation. Filling them properly will give your wall a smooth, professional look. Here’s how to do it!
1. Choosing the Right Filler for Nail Holes
Different fillers work for different materials. Here’s what to use:
- Wood filler – Best for natural wood shiplap, especially if staining instead of painting.
- Spackle or joint compound – Works well for painted MDF or plywood shiplap.
- Caulk – Good for small gaps but not ideal for large nail holes.
2. Smooth and Finish the Nail Holes
- Apply a small amount of filler to each nail hole using a putty knife or your fingertip.
- Let it dry according to the product instructions (usually 20-30 minutes).
- Lightly sand over the filled holes with fine-grit sandpaper (120-150 grit) to smooth the surface.
- Wipe away dust with a dry cloth before painting or staining.
3. Painting Over the Filled Holes to Match the Shiplap
- If your shiplap is painted, use the same paint color to cover the filled holes.
- If staining, test a small area first to make sure the wood filler blends well.
- Apply one or two coats for an even finish.
Tips for a Professional Finish When Installing Shiplap
Now that your shiplap is installed and the nail holes are filled, here are some extra tips to make sure your wall looks flawless.
1. Maintain Even Spacing Between Panels: Use spacers between boards to keep consistent gaps. Check spacing every few rows to make sure the boards stay evenly aligned.
2. Ensuring Panels Are Level and Straight: Always start from the bottom row and work upward. Use a level or laser guide to check each row before nailing.
3. How to Handle Corners and Ceilings: For inside corners, use caulk or corner trim to hide small gaps. For outside corners, use corner molding for a clean finish. For ceilings, attach a small crown molding or caulk along the top edge to blend the shiplap with the ceiling.
These small details will make your shiplap look professionally installed.
Shiplap Design Options
Once your shiplap is installed, you can customize it to match your home’s style. From installation direction to finishing touches, here are some design ideas to consider.
1. Horizontal vs. Vertical Shiplap
- Horizontal Shiplap – The most common style. Makes rooms look wider and gives a classic farmhouse feel.
- Vertical Shiplap – Creates the illusion of higher ceilings and works well in modern or coastal designs.
- Diagonal or Chevron Shiplap – A bold, stylish option for accent walls. Harder to install but makes a statement.
2. Painted vs. Natural Wood Finish
- Painted Shiplap – White is a classic choice, but moody tones like navy, gray, or black can add a modern touch.
- Stained Wood Shiplap – Keeps a natural, rustic look that highlights the wood grain. Best for a cabin or farmhouse feel.
- Whitewashed Shiplap – A soft, coastal look that adds texture without being too bold.
3. Adding Accent Features (Trim, Molding, etc.)
- Baseboards & Crown Molding – Helps blend shiplap with the rest of the room for a seamless transition.
- Board and Batten Combination – Adds even more texture by pairing shiplap with batten strips.
- Framed Accent Walls – Shiplap can be placed within wood or metal frames for a unique, decorative look.
These small details can elevate your shiplap design and make it feel custom!
Common Mistakes to Avoid When Installing Shiplap
1. Incorrect Measurements & Misalignment: Use a level on every row—walls aren’t always straight. Double-check outlet/switch cutouts before cutting.
2. Overusing Adhesive or Incorrect Nailing: Nail into studs for better support—glue isn’t always necessary. Avoid nailing in the middle of boards unless needed.
Conclusion
Shiplap paneling is a simple yet stylish way to transform any space. Whether you’re adding a cozy farmhouse touch or a modern, clean look, shiplap offers versatility and charm.
With the right materials, tools, and a little patience, you can achieve a professional-looking installation on your own.
By following the right steps—measuring carefully, securing the boards properly, and finishing with paint or stain—your shiplap will look polished and last for years.
If you’re looking for an affordable, DIY-friendly upgrade, shiplap is a fantastic choice. Now that you know how to, it’s time to start your project and enjoy.
Frequently Asked Questions
Can I install shiplap over drywall?
Yes, shiplap can be installed directly over drywall using nails, screws, or adhesive.
Do I need to leave a gap between shiplap boards?
Yes, a small gap (about a nickel’s width) allows for natural expansion and prevents warping.
Can I install shiplap in a bathroom?
Yes, but use moisture-resistant shiplap and a good sealant to prevent warping.
Should I paint shiplap before or after installing?
Painting before installation is easier, but you can also touch up after it’s installed.
How do I attach shiplap if I can’t find the wall studs?
Use construction adhesive along with brad nails for extra support.
How do I clean shiplap paneling?
Dust regularly and wipe with a damp cloth and mild soap for stains.

