How to Compliment Your White House with White Shutter
As a designer who recently moved into a new home, I know firsthand how choosing the right shutter color can make all the difference.
With a crisp white house as your canvas, shutters aren’t just functional. They’re a chance to express your personal style and boost your limitless appeal.
Modern shutter colors offer endless possibilities, from bold contrasts to subtle harmonies that can transform a plain exterior into a showstopper.
As someone who just moved into a beautiful white house, I’ve been obsessing over finding the perfect shutter colors! I wanted to share my journey and thoughts as both a homeowner and designer to help others in the same boat.
Factors to Consider When Choosing Shutter Colors
1. Architectural Style of Your Home
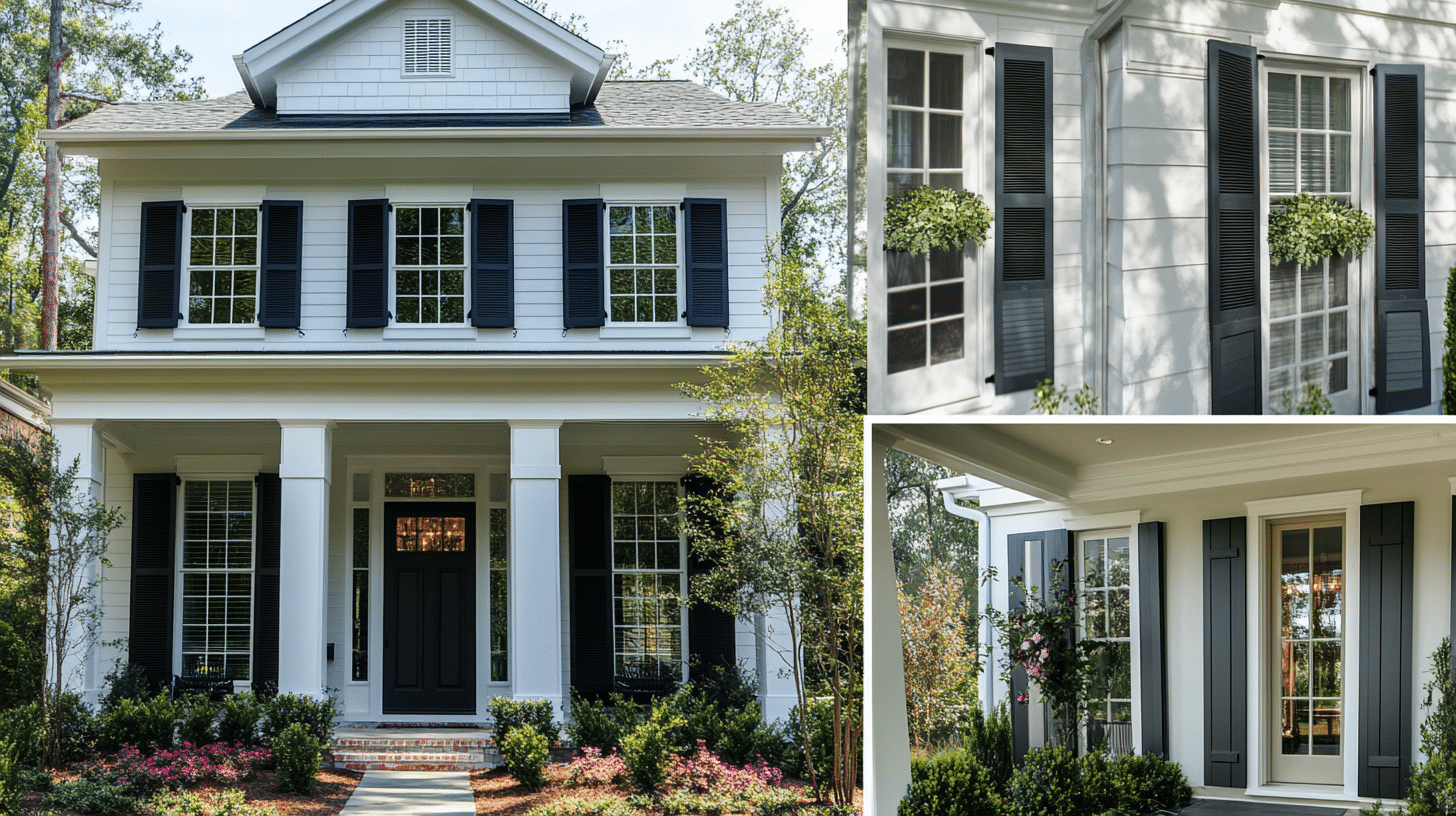
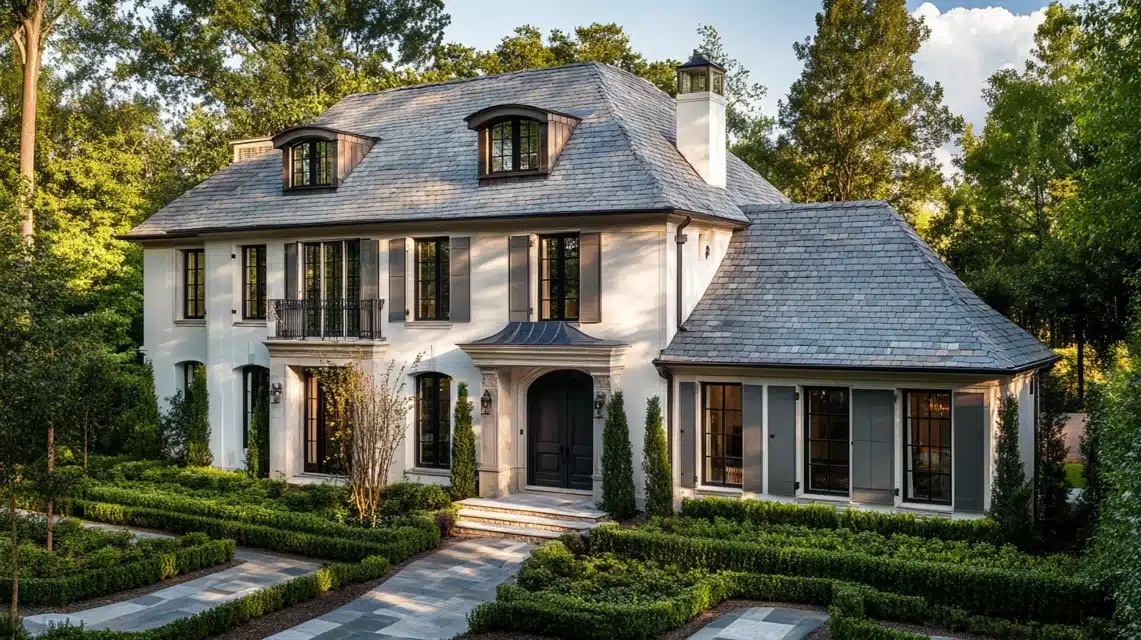
I’ve learned that my home’s style plays a huge role in choosing shutter colors. With my modern white house, I found that crisp black shutters create that timeless, sophisticated look I was after.
But here’s what I discovered works best for different styles: traditional homes shine with deep navy or forest green shutters, while my friend’s farmhouse looks absolutely charming with soft sage shutters.
It’s all about complementing the home’s character!
2. Roof Color and Material
You know what I realized? My gray roof actually guided my shutter color choice! I went with charcoal shutters to create this gorgeous flow from top to bottom.
If you’ve got brown shingles, I’d really recommend trying deep bronze or chocolate shutters – they create this beautiful harmony that just works.
3. Door and Trim Colors
This was such a fun part of my design process! I decided to match my shutters with my front door for a cohesive look.
Trust me, it makes such a difference! In my case, I chose black for both, but I seriously considered navy blue – it would’ve looked amazing, too.
Remember, your trim color is like the supporting actor here – it should complement, not compete.
4. Surrounding Landscape and Environment
Living in a wooded area, I wanted my shutter colors to vibe with the natural surroundings.
I noticed my neighbors mostly stuck to earth tones, which really inspired me.
If you’re by the beach, soft blues and greens could be perfect, while urban homes can rock bolder, more contemporary colors.
5. Surrounding Landscape and Environment
what I love most about choosing shutter colors is that it’s a chance to show your personality.
While I went classic with black (it just felt right for me), don’t be afraid to go bold if that’s your style.
I’ve seen gorgeous white houses with rich burgundy shutters that absolutely pop.
From my recent experience, I’d say black, charcoal, navy blue, and deep green are my top recommendations for white houses.
They’re timeless yet modern, and they’re pretty much guaranteed to look fantastic.
Just remember – it’s your home, and you should love what you see every time you pull into your driveway.
Popular Modern Shutter Colors for White Houses
1. Charcoal Gray
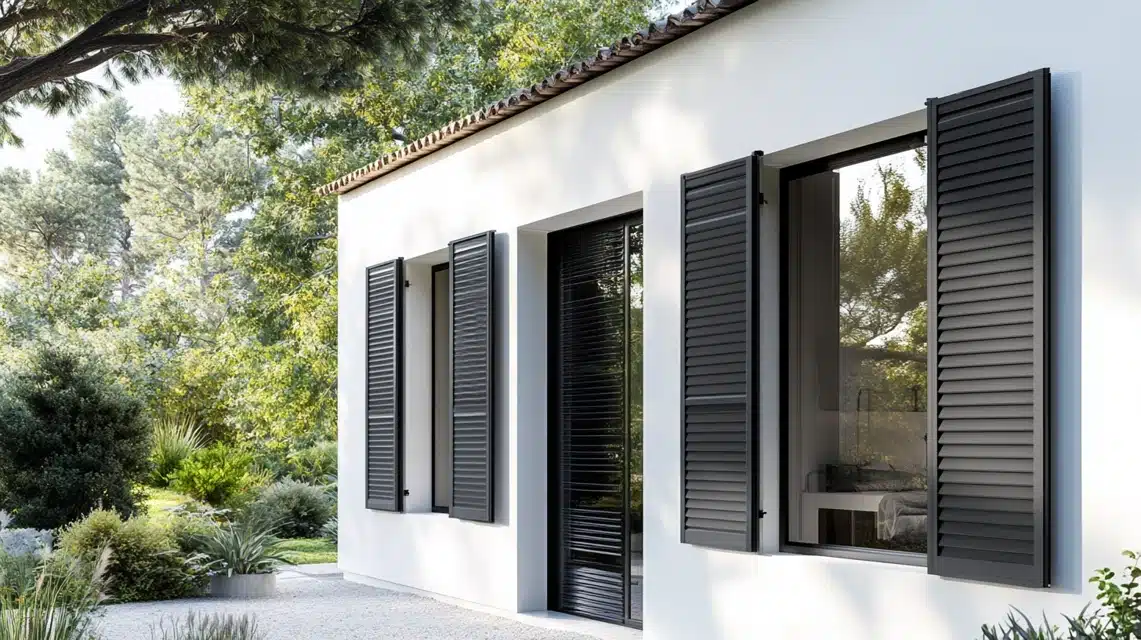
I absolutely love how charcoal gray shutters bring this sophisticated edge to white houses.
In my design work, I’ve seen it transform even the simplest homes into modern masterpieces.
The deep, rich tone creates this amazing contrast that isn’t as harsh as pure black.
I recently helped a client with this choice, and the way it complemented their modern windows was just stunning.
2. Greige
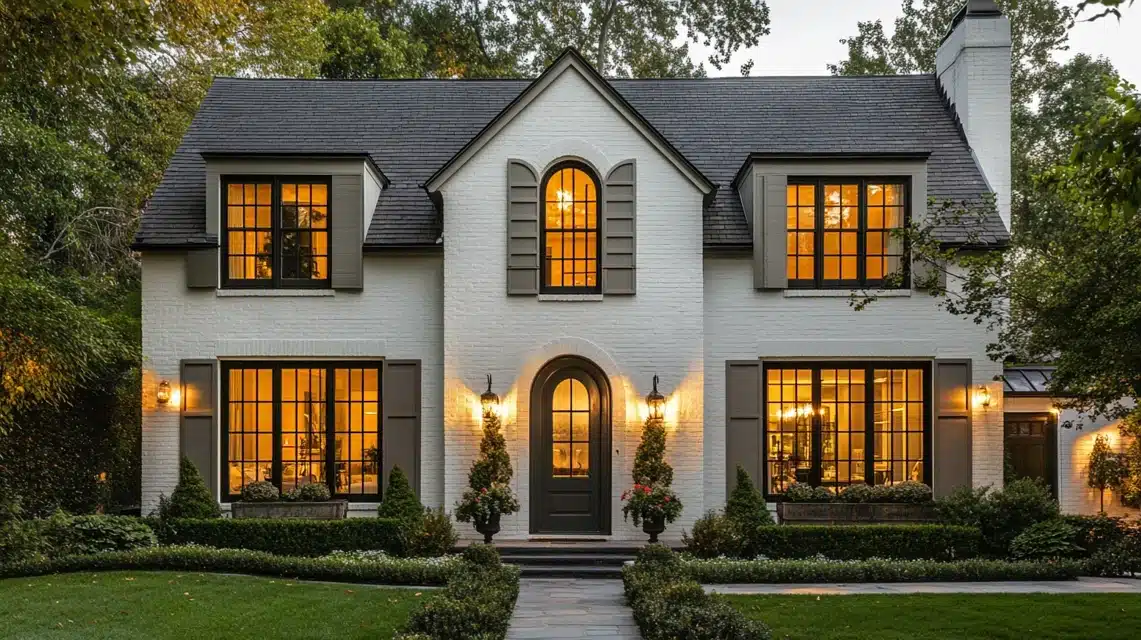
This perfect blend of gray and beige is like having the best of both worlds. When I first discovered it, I was skeptical, but now I’m totally convinced.
It adds this incredible warmth to white houses without being too bold. I used it in my sister’s house, and it looks different throughout the day, always beautiful.
3. Slate Blue
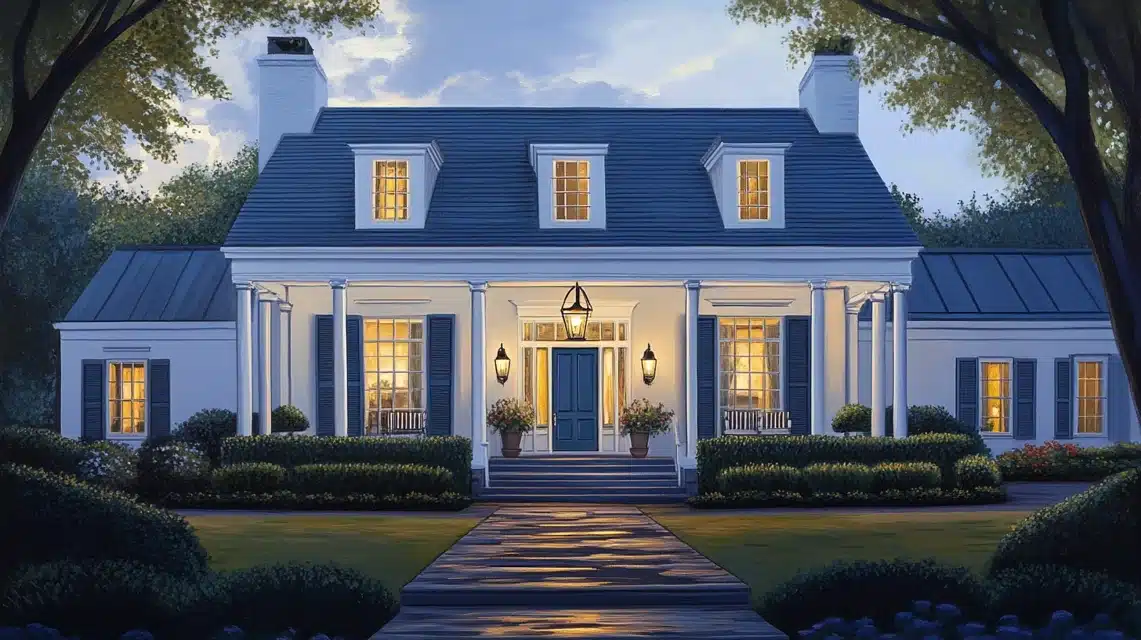
There’s something so calming about slate blue shutters. I recently installed these in my own house, and I can’t stop admiring how the color shifts with the changing light.
It’s like having a piece of the sky in your home! The grayish undertones keep it sophisticated, while the blue adds this gorgeous depth.
4. Sage Green
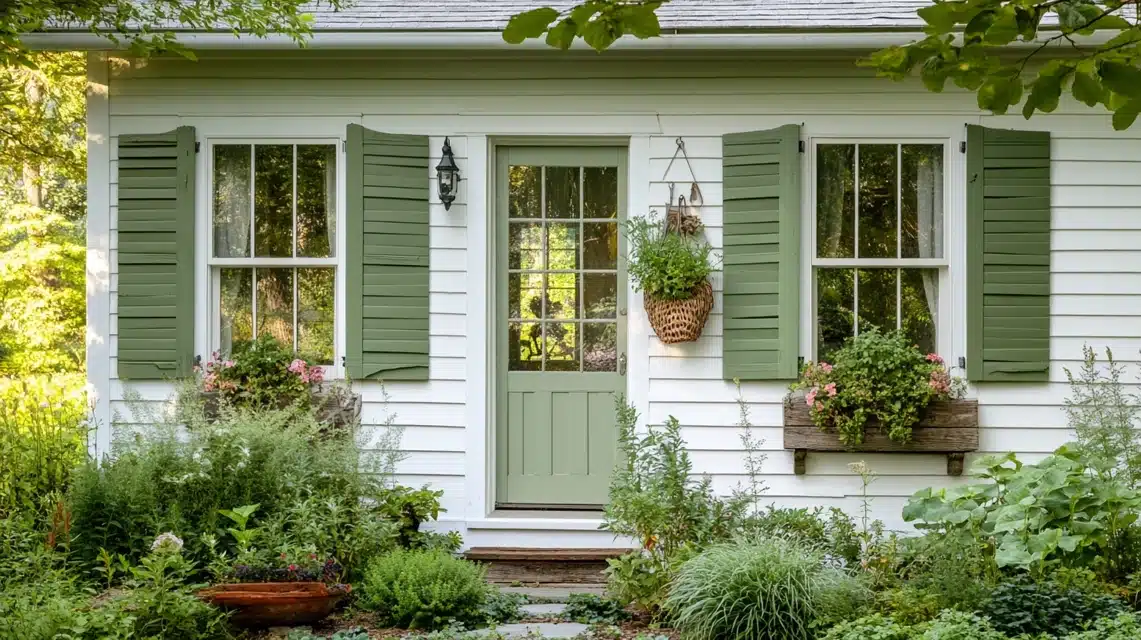
Walking through my neighborhood, I’ve fallen in love with sage green shutters. They’re especially magical if you’ve got any kind of garden or greenery around your house.
I recommended this to a client with a beautiful white farmhouse, and it looks like the house was meant to be there all along, perfectly nestled in its surroundings.
5. Black
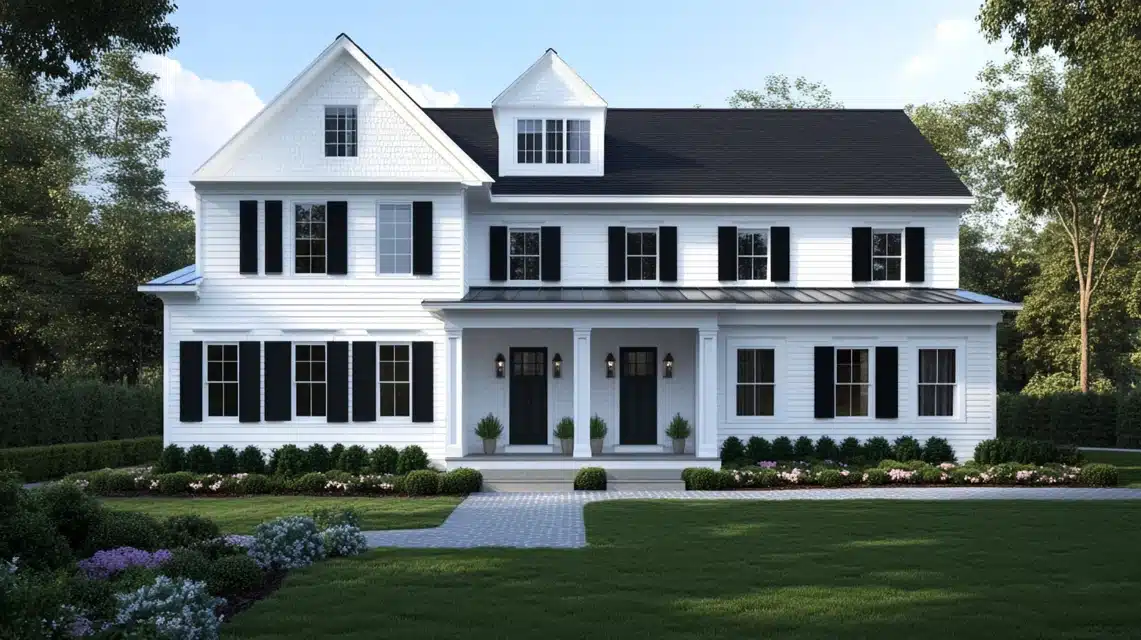
I have to include black because it’s just so timeless! In my previous home, I went with black shutters, and they looked fantastic year after year.
The contrast is bold but never goes out of style. It’s like the little black dress of exterior design – you just can’t go wrong with it.
6. Navy Blue
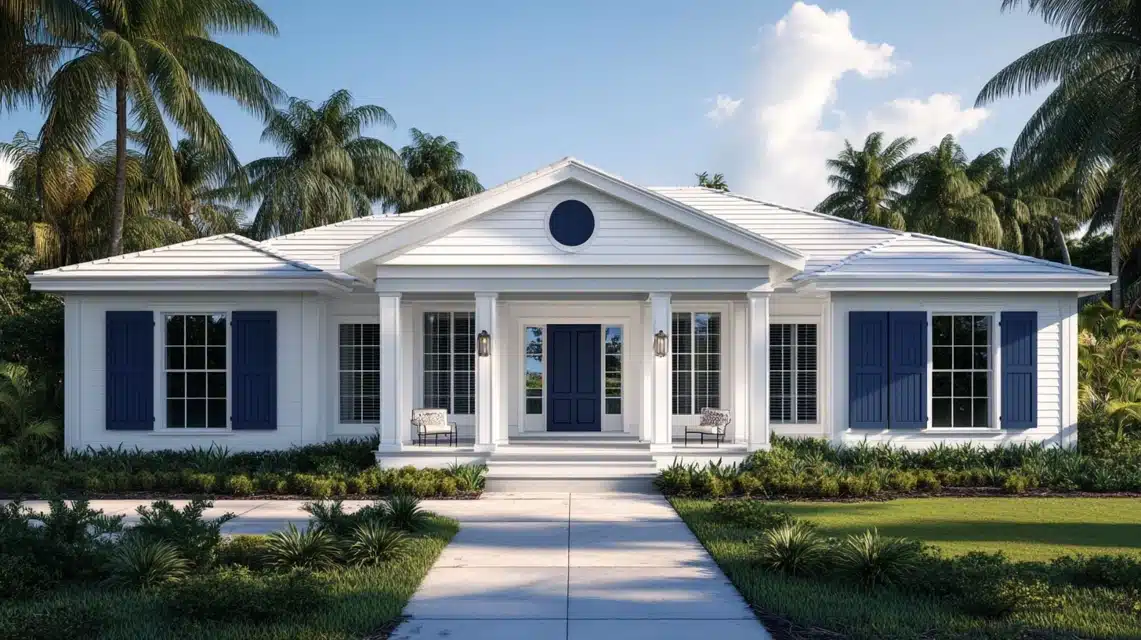
Recently, I’ve been obsessed with navy blue shutters! They bring this incredible depth and richness to white houses.
In my latest project, we used navy shutters on a client’s beach house, and the result was absolutely breathtaking.
It’s traditional enough to be timeless but still feels fresh and current.
From my experience, these colors aren’t just trends – they’re modern classics that make white houses shine.
I personally lean toward slate blue or charcoal gray for a contemporary look, but honestly, you can’t go wrong with any of these choices. Just pick what makes you smile when you come home!
Benefits of Installing Shutters on a White House
1. The Impact on Aesthetics and Versatility
I can’t get over how shutters have completely transformed my home’s curb appeal. They’re like the perfect accessory, it’s add this incredible dimension and character that I never expected.
Having moved from a shutterless house, I was amazed at how these simple additions could make such a dramatic difference.
I love how I can switch up the entire look of my house just by changing the shutter color.
Last month, I went from classic black to modern charcoal, and it felt like getting a whole new house!
What I really love is how shutters frame my windows perfectly. They create these beautiful lines that draw the eye upward, making my house appear taller and more elegant.
It’s like they tell a story about my home’s personality, and as a designer, I appreciate how they tie everything together – from the front door to the landscaping.
2. Durability Ensures Longevity
Let’s talk about durability because this really surprised me! I invested in high-quality composite shutters, and they’ve been absolutely worth every penny.
Through rain, intense sun, and even that crazy storm we had last month, they’ve held up beautifully.
Unlike my neighbor’s older wooden shutters that need regular maintenance, mine just need an occasional wipe-down to look brand new.
I particularly love how the color stays true – no fading or peeling like I feared. Coming from a design background, I was worried about long-term maintenance, but these modern materials have really impressed me.
They’re practically indestructible, which means I can focus on enjoying their beauty rather than maintaining them.
3. Promoting Energy Efficiency
Since installing functional shutters (yes, mine actually close!), I’ve noticed a significant difference in my home’s temperature regulation.
During summer afternoons, I close the shutters on the west-facing windows, and it’s remarkable how much cooler those rooms stay.
In winter, they provide an extra layer of insulation that helps keep the warm air in.
I’ve actually calculated that my energy bills have decreased by about 15% since installation. As someone who works from home, I find this to be a game-changer for both comfort and cost savings.
Plus, I love having the option to control natural light throughout the day – it helps me create the perfect ambiance for both work and relaxation.
From my personal experience, shutters are more than just decorative elements. They’re a smart investment in your home’s beauty, durability, and efficiency.
Whether you’re going for a classic look or something more modern, I can’t recommend them enough.
They’ve completely changed how I think about home design, and I’m excited to experiment with different styles and colors in the future.
DIY vs. Professional Services
1. Pros and Cons of DIY Painting
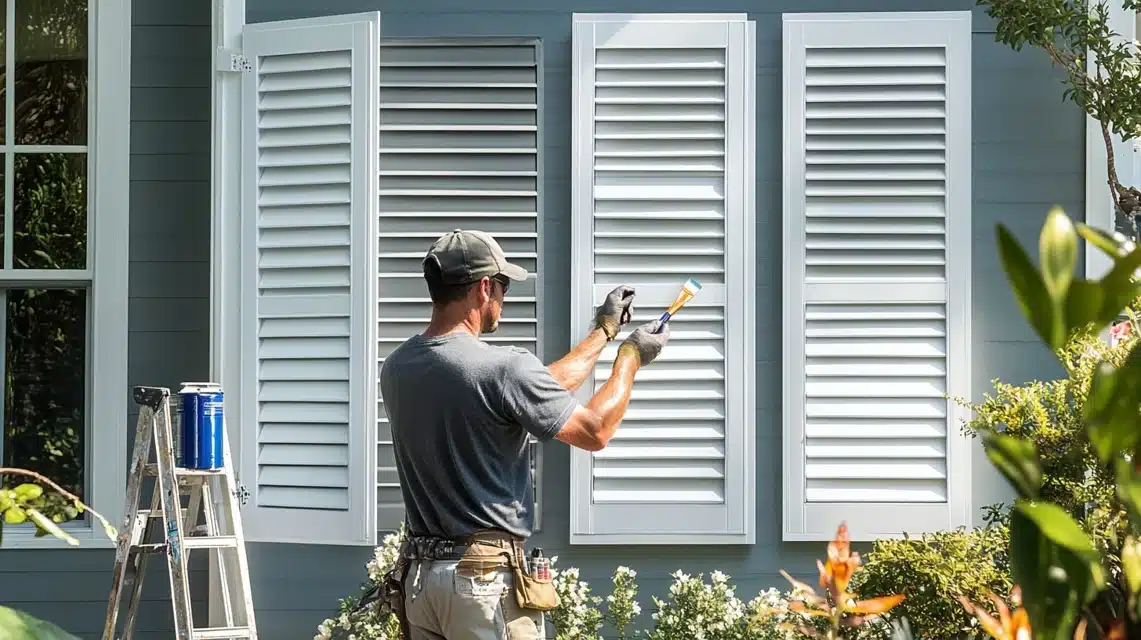
When I first considered painting my shutters, I was excited about the potential cost savings. Let me tell you – the money I saved was great, but there were definitely some unexpected challenges.
I spent about $200 on supplies (premium paint, brushes, and prep materials) compared to the $800 quote I got from professionals.
I learned that prepping the shutters took way longer than I expected. I spent an entire weekend just cleaning, sanding, and priming them.
And while I’m pretty handy, getting that perfectly smooth finish was trickier than I thought. Those little grooves and details really test your patience. Plus, working on a ladder all day isn’t exactly my idea of a fun weekend.
2. Hiring Professionals
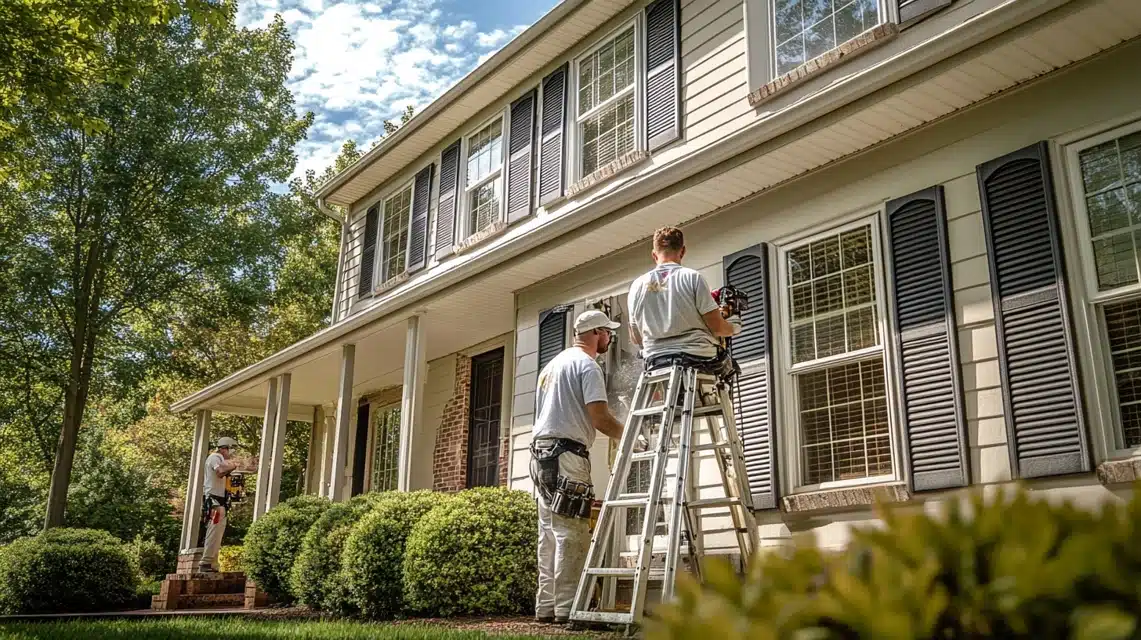
After my DIY attempt on the front shutters, I actually ended up hiring professionals for the rest of the house, and what a difference.
The team came in with their expertise and proper equipment, and I was amazed at how quickly and precisely they worked.
They had this special spray technique that gave the shutters this incredibly smooth, factory-like finish that I just couldn’t achieve with my brush work.
The professionals also noticed some issues with the shutter hardware that I had completely missed. They fixed the mounting brackets and made some adjustments that made the shutters hang better.
Sure, I paid more ($1,200 for the remaining shutters), but the quality of the work was absolutely worth it.
From my experience, I’d recommend DIY if you:
- Have painting experience and attention to detail
- Own the right tools and are comfortable on ladders
- Have plenty of free time (it took me three full days for just the front)
- Are you working with easy-to-reach shutters
Consider professionals if you:
- Want a guaranteed professional finish
- Have multiple stories or hard-to-reach areas
- Value your time (they finished in one day what took me three)
- Need guidance on color selection and materials
Looking back, while I’m proud of my DIY attempt, for my next project I’ll definitely go straight to the professionals. The time saved and the superior finish is worth the extra cost of my book.
Maintenance and Longevity
1. Protecting Color Vibrancy
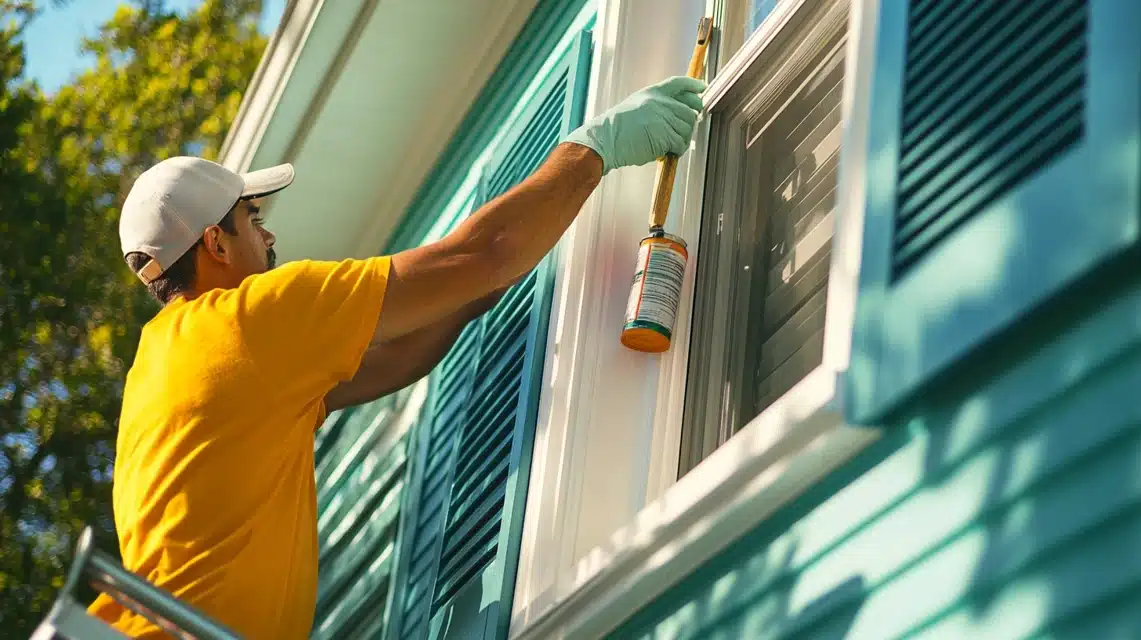
When I first installed my shutters, I was determined to keep that fresh-painted look as long as possible. After some trial and error, I’ve found what really works.
First, I applied a high-quality UV-resistant clear coat sealant – it’s like sunscreen for your shutters.
I reapply this every two years, and I’m amazed at how it’s kept the color from fading, especially on my south-facing shutters that get the most sun.
I’ve discovered that timing is everything with sealing. I learned this after rushing the process on one set of shutters during a humid day (big mistake).
Now, I always check the weather forecast and pick a dry, mild day for any sealing work.
Tip: I apply the sealant early in the morning before the sun hits the shutters directly. This gives it perfect drying conditions.
2. Cleaning and Care
Every month, I do a quick inspection of all my shutters – it only takes about 15 minutes, but it helps me catch any issues early.
Here’s my routine:
During spring and fall, I give them a thorough cleaning with a soft brush and mild soap solution (I use a mix of gentle dish soap and water).
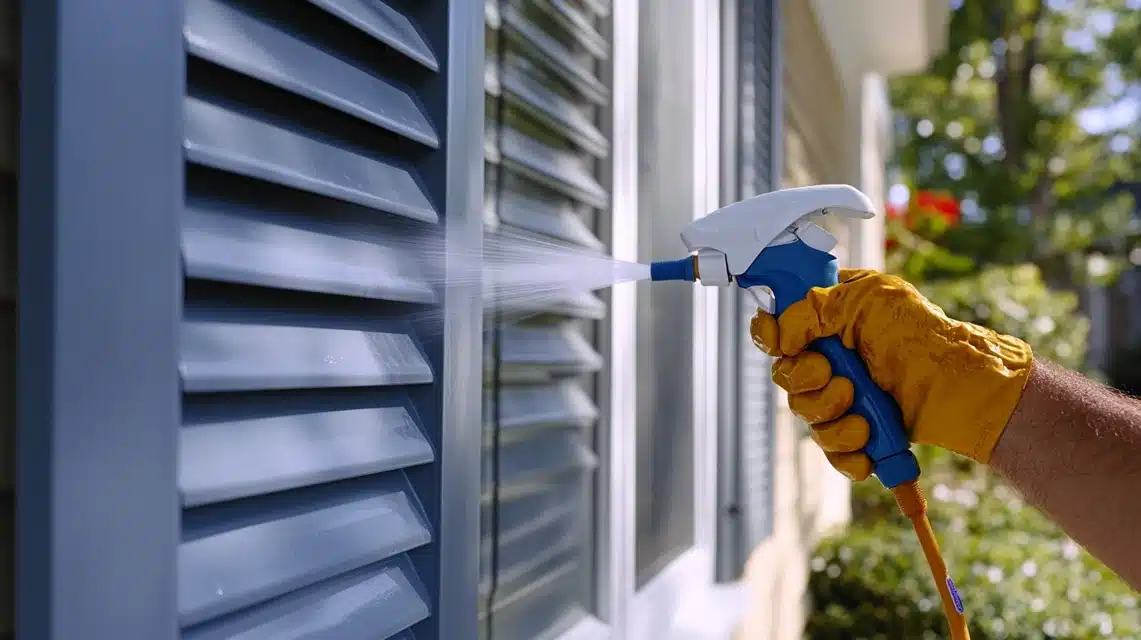
I’ve found that using a pressure washer, which I tried once, was too harsh and actually damaged the finish – lesson learned. Instead, I use a garden hose with a gentle spray attachment.
For stubborn dirt and grime, I discovered this amazing trick: mixing equal parts white vinegar and water in a spray bottle.
It works like magic on tough spots without damaging the finish. I always make sure to rinse thoroughly afterward to prevent any residue.
What I’ve learned about hardware care is that a little WD-40 on the hinges and moving parts every six months keeps them working smoothly.
This was a tip from my neighbor, and it’s made such a difference in preventing that annoying squeaking and sticking.
During winter, I pay extra attention to moisture build-up. After heavy snow or ice storms, I gently brush off any accumulation to prevent water damage.
I learned this the hard way after finding some water stains on my first set of shutters!
Maintenance tip: Don’t skip the little things! I keep a small tube of color-matched paint handy for touching up any chips or scratches as soon as I spot them.
This quick fix has prevented bigger issues from developing and keeps my shutters looking fresh year-round.
Taking care of shutters isn’t difficult, but it does require consistency. Trust me, these small efforts really pay off in the long run – my shutters still look almost as good as the day they were installed.
Plus, there’s something satisfying about maintaining your home’s curb appeal. Every time I pull into my driveway, I feel proud of how well they’ve held up.
Conlusion
Moving into my new home has been an exciting journey, especially as a designer exploring the endless possibilities of Modern Shutter Colors for the White House.
From timeless black and gray to unique hues like teal and olive green, the right shutter color can completely transform a white house, enhancing its architecture and reflecting your personal style.
As I’ve discovered, the key lies in considering your home’s design, surrounding elements, and even the play of natural light.
It’s not just about choosing a trendy color—it’s about finding one that feels like an extension of your personality and complements your home beautifully.
What colors are you drawn to? Have you found the perfect pairing for your white house?
I’d love to hear your thoughts or answer any questions in the comments. Let’s keep the inspiration flowing and make your home a true standout!
Frequently Asked Questions
How Long do Exterior Shutters Typically Last?
With my background in design, I can tell you that it really depends on the material. My composite shutters are going strong after two years with minimal maintenance. From what I’ve seen with clients:
- Vinyl: 20-25 years
- Wood: 15-20 years with proper maintenance
- Composite: 20-30 years
- Aluminum: 25-30 years
Can I Change Shutter Colors Frequently?
This is something I wondered about too! I’ve actually changed my shutter color once already. It’s totally doable, but here’s what I learned: proper prep work is crucial. I spent more time prepping (cleaning, sanding, priming) than actual painting. Make sure to use exterior-grade paint specific to your shutter material.
Do I Need to Remove the Shutters to Paint Them?
Based on my experience, while you can paint them in place, I strongly recommend removal. When I painted mine, removing them gave me better access to all the corners and helped avoid any paint getting on my siding. Plus, it’s much safer than painting on a ladder!
How do I Prevent Fading?
After dealing with some fading on my first set, I’ve learned to:
- Use high-quality exterior paint with UV protection
- Apply a clear UV-resistant sealant
- Clean them regularly to prevent dirt buildup that can cause uneven fading
- Consider installing awnings or landscaping for natural shade in intense sun areas
What Maintenance is Required in Extreme Weather?
Living through all four seasons, I’ve developed a routine:
- Winter: Check for ice buildup and remove it gently
- Spring: Deep clean and inspect for winter damage
- Summer: Regular cleaning and UV protection check
- Fall: Clear debris and check hardware before winter

