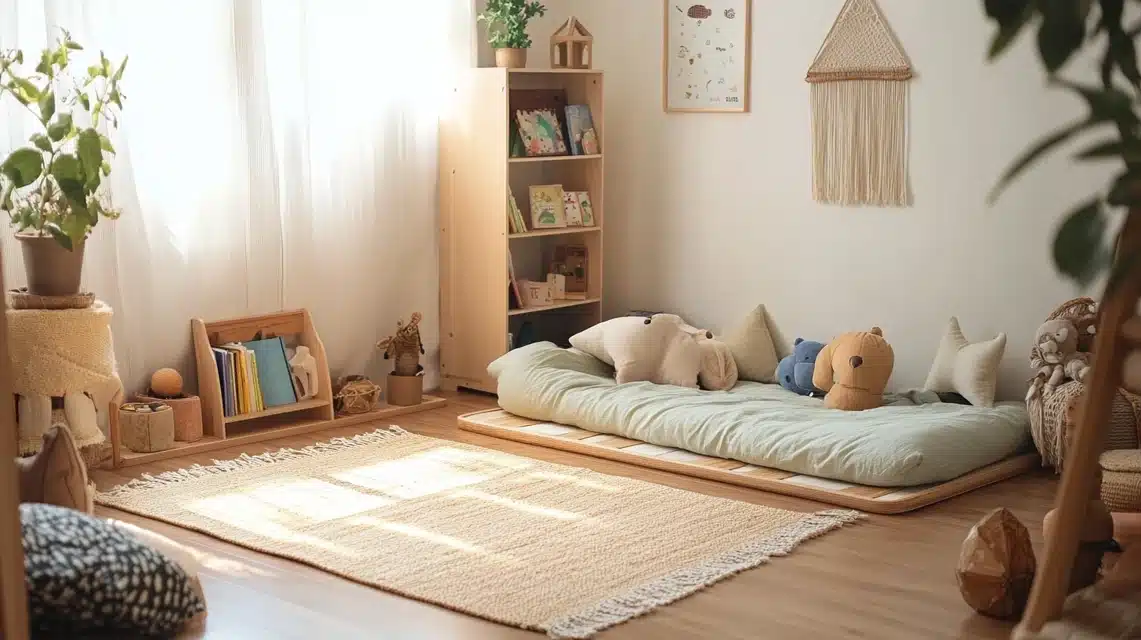
Step-by-Step Guide to DIY Floor Bed
As a dad who recently built a Montessori floor bed for my toddler, I want to share this guide to help other parents.
Building a floor bed isn’t just about saving money—it’s about creating a safe, child-friendly space that helps your child grow more confident and independent.
I’ll walk you through every step in this guide, from picking the right materials to putting it all together.
Whether you’re handy with tools or just starting with DIY projects, I’ve broken down the process to make it simple and clear.
Stepwise Guide to DIY Floor Bed
Materials Required
- Lumber – larger size for rails, roof pieces, corner posts, and crossbeam supports.
- Dowel Rods – long rods for cutting into connector pins.
- Threaded Inserts – for knockdown joinery.
- Connector Bolts – with Allen key heads for easy assembly/disassembly.
- Sandpaper – various grits, especially 240-grit, for final edge finishing.
- Wood Glue – for securing dowels and joints.
- Clear Coat Finish – for protecting the final assembly.
- Balusters – rectangular or other shapes as needed.
Tools Required
- Table Saw – for ripping and crosscutting lumber.
- Chop Saw – for cutting lumber to length.
- Hollow Chisel Mortising Machine – for rectangular mortises.
- Combination Square – for precise measurements and markings.
- Drill – for drilling dowel holes, inserting threaded inserts, etc.
- Drill Press – for drilling straight, uniform holes.
- Doweling Jig – for accurate dowel placement and alignment.
- Self-Centering Doweling Jig – for ensuring precise placement.
- Clamps – for holding parts together during gluing and assembly.
- Sanding Discs – for pre-assembly sanding.
- Dust Collection System – for managing sawdust during mortising and sanding.
- Allen Key – for tightening connector bolts.
- Forstner Bit (½ inch) – for creating flush holes for threaded inserts.
- 38-inch Brad Point Bit – for drilling holes for dowels.
- Sanding Block (240-grit) – for rounding off sharp edges.
- Flat Tooth Blade or Dado Stack – for creating half-lap joints and dados.
Step 1: Prepare and Cut Lumber
- Use larger lumber to save on material costs.
- Rip the lumber to the required width on a table saw.
- Cut pieces to length using a chop saw.
- Arrange lumber by purpose (rail pieces, roof pieces, corner posts).
Step 2: Prepare Balusters and Rails
- Use a hollow chisel mortising machine to cut rectangular mortises into the rail pieces where balusters will be inserted.
- Mark the mortise dimensions on the rails.
- Set up dust collection for easier cleanup.
- Cut mortises in all rail pieces.
Step 3: Sand All Pieces
- Sand all components before assembly for efficiency.
- Group similar-sized pieces to simplify sanding.
- Use multiple sanding discs as needed to complete the task.
Step 4: Assemble Rails and Balusters
- Apply glue to the mortises and insert balusters into the rail pieces.
- Ensure edges are aligned and square during clamping.
Step 5: Create Entry and Strengthen Rails
- Cut half-lap joints or dados to attach the top, middle, and bottom rails.
- Align and glue each rail, ensuring everything stays square.
Step 6: Attach Vertical Posts
- Cut dowel rods into sections and chamfer edges and use them as connectors.
- Use a doweling jig to drill holes in the rails for alignment.
- Drill corresponding holes in the vertical posts.
- Insert dowels with glue and assemble.
Step 7: Attach Roof Pieces
- Use dowels to connect the roof pieces to the frame.
- Mark, drill, and align each roof dowel with corresponding holes.
- Dry fit the assembly to check alignment.
Step 8: Prepare Crossbeam Supports
- Measure and mark crossbeam support with a combination square.
- Cut half-lap joints on the table saw for a flush, crisscross alignment.
Step 9: Dry Fit and Adjust
- Dry fit the assembly and check for any misalignments.
- Use shims to adjust any areas that may be slightly warped or uneven.
Step 10: Install Knockdown Joinery for Portability
- Mark and drill three holes at the ends of connecting pieces: two for alignment dowels and one for a connector bolt.
- Install threaded inserts for bolts in the middle holes of the connecting pieces.
- Label corresponding parts (e.g., “A” and “B”) to ensure proper reassembly.
- Attach alignment dowels with glue on one side only.
Step 11: Finish and Assemble Final Structure
- Sand edges to remove sharpness, preventing injury.
- Apply a clear coat to protect the wood and enhance its appearance.
Montessori Principles and Floor Beds
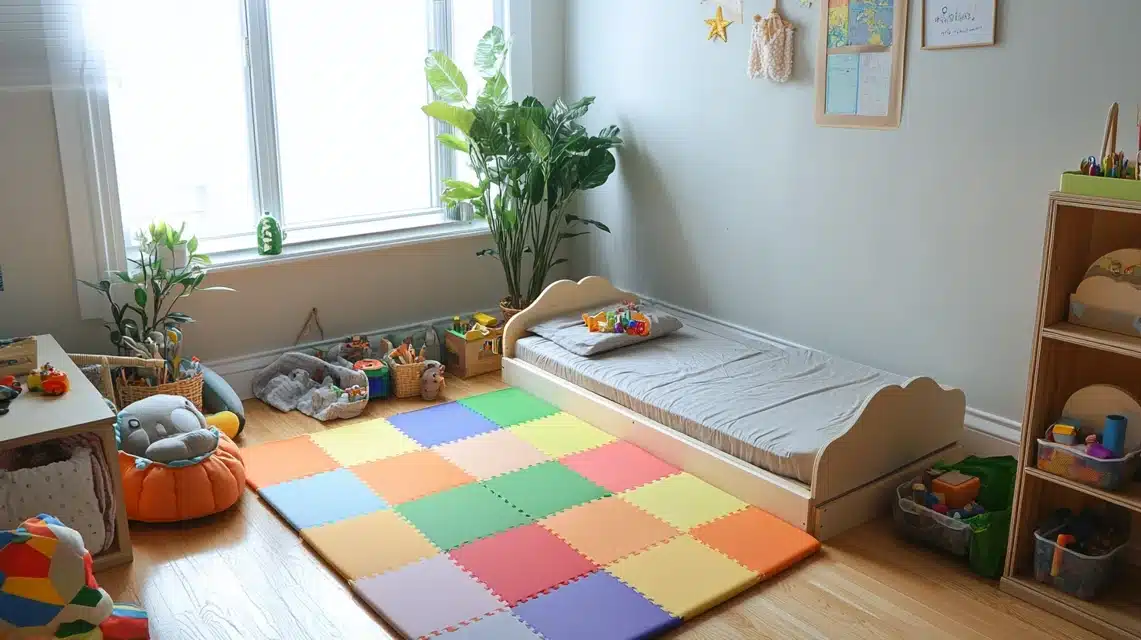
Montessori education is a child-centered approach developed by Dr. Maria Montessori.
It emphasizes independence, freedom within limits, and respect for a child’s natural psychological, physical, and social development.
This method encourages hands-on learning and self-paced exploration, respecting each child’s individuality.
Floor beds align seamlessly with Montessori principles by empowering children to make choices about sleep.
They support the Montessori focus on autonomy, allowing children to navigate their space and make decisions in a secure, accessible environment.
This setup fosters self-reliance and confidence, which are core goals of the Montessori approach.
Benefits of Floor Beds
Promotes Independence
Floor beds allow children to enter and exit their beds freely without assistance.
This fosters a sense of independence as they can decide when to get in or out of bed, aligning with their natural need for autonomy and self-exploration.
Enhances Mobility
Without the barriers of a traditional raised bed, floor beds enable unrestricted movement, encouraging children to explore their surroundings and develop motor skills.
This open access supports physical development and provides a safer environment for early stages of mobility.
Encourages Self-Regulation in Sleep
Floor beds allow children to adjust their sleep patterns naturally, helping them learn self-regulation.
This approach aligns with their intrinsic need to understand their bodies, leading to a healthier relationship with sleep.
Safety Tips and Best Practices for DIY Floor Beds
1. Bed Frame Checks
Look at the bed frame and parts weekly for signs of wear or loose pieces. Check corners, joints, and often-used areas carefully. Fix any problems right away.
2. Keep Parts Secure
Check and tighten screws and bolts often. Make sure all pieces stay firmly connected. Replace any worn-out parts quickly.
3. Size and Type of Mattress
Pick a mattress that fits your bed frame well. Make sure it’s easy to get in and out of bed. Choose one that gives good support and feels nice.
4. Getting the Right Fit
Your mattress should sit well in the frame. There are no spaces between the mattress and the frame. Check that it stays in place when used.
5. Clear the Space
Keep the area around the bed clear. Remove any hard items or strings. Make sure nothing can hurt a child who might roll or move.
6. Keep the Mattress Still
Use grip pads under floor mattresses. Extra helpful on wood or tile floors. It helps keep kids safe while they sleep or play.
Summing Up
When my daughter first crawled out of her bed and proudly walked to our room one morning, I knew all those hours in the garage were worth it.
The key is nailing those safety checks—I still do my weekly frame inspection and test those joints.
In this guide, I’ve shared every mistake and lesson I learned, from picking the wrong drill bit to almost forgetting those crucial grip pads on our hardwood floors.
Take it from a dad who’s been there—don’t skip the small details. They’re what turn a simple wood frame into a launchpad for your kid’s independence.
Frequently Asked Questions
Is a Floor Bed Suitable for Infants?
Yes, floor beds can be suitable for infants, provided the surrounding area is childproofed and safe, as they allow freedom of movement and exploration.
How Does a Floor Bed Promote Independence?
A floor bed enables children to get in and out independently, fostering autonomy and supporting self-regulated sleep habits.
What if My Child Rolls Out Of Bed?
Rolling out is generally safe as floor beds are low to the ground. Consider adding soft mats nearby for additional cushioning.
Do I Need Advanced Woodworking Skills?
No, a floor bed can be a simple project. Assembly of a sturdy, safe frame requires only basic woodworking skills.

