DIY Pinecone Gnomes: A Complete Guide to Making Festive Decorations
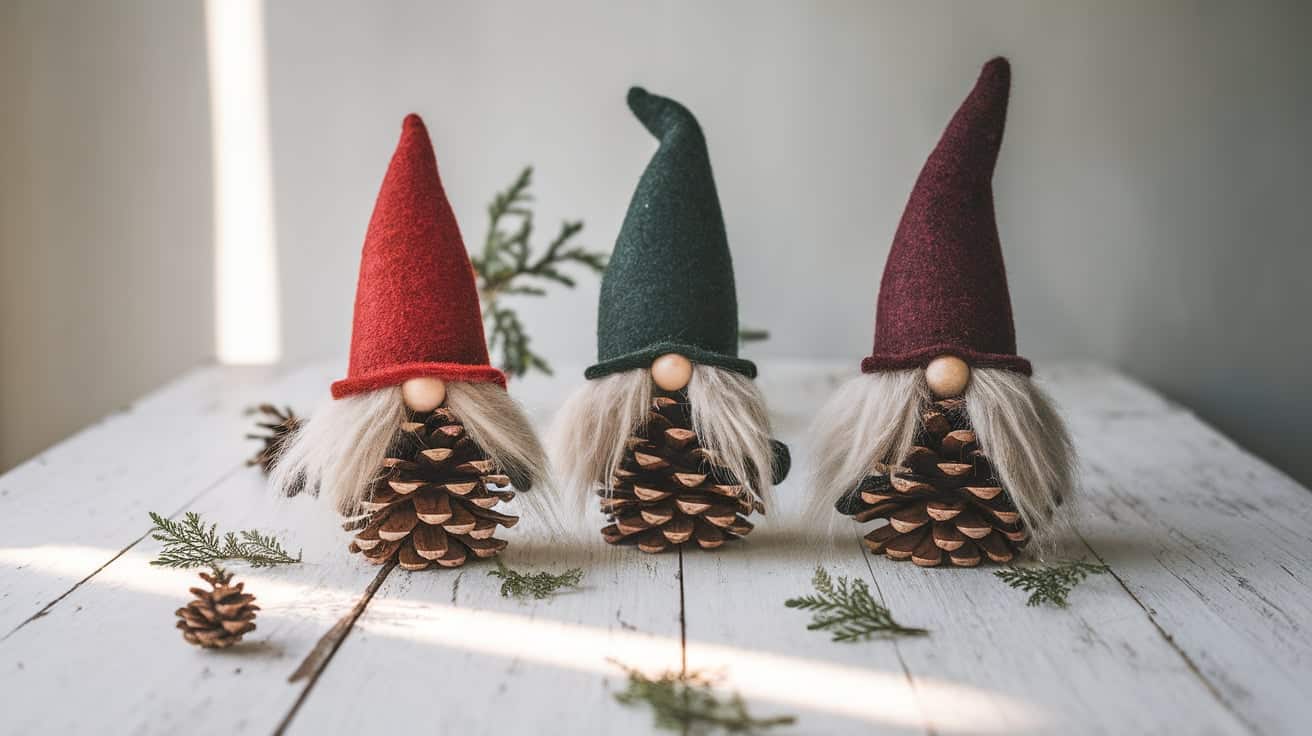
Pinecone gnomes bring a touch of forest magic to holiday decorating. These small figures combine natural pinecones with simple craft supplies to create charming decorations that fit any winter setting.
The tradition of making pinecone crafts dates back generations, with families gathering to turn nature’s bounty into holiday treasures. Today, these little woodland friends have found a special place in modern holiday decor.
This guide will teach you everything you need to know about making pinecone gnomes. We’ll cover material selection, step-by-step instructions, and helpful tips to ensure success.
Plus, you’ll learn where to find supplies and how to manage costs while creating these delightful decorations.
Let’s start crafting these endearing holiday companions to bring smiles to everyone who sees them.
Materials Needed
1. Essential Supplies
Finding the right materials makes all the difference in creating perfect pinecone gnomes. Your basic supply list starts with pinecones and felt sheets, which form the base of these charming decorations.
White craft paint and foam brushes help create the signature beard that brings these gnomes to life. You’ll also need wooden beads about 1 inch for the noses, adding character to each gnome’s face.
2. Tools Required
A hot glue gun is the main tool for this project, making assembly quick and secure. Regular scissors work well for cutting felt, but fabric scissors might give cleaner edges if you use thicker materials.
Some crafters prefer low-temperature glue guns when working with children. This option offers better safety while maintaining good adhesion between materials.
3. Alternative Materials
Natural wool felt offers a higher quality option than craft store felt sheets. While regular craft felt costs about $1 per sheet, wool felt might cost $3-5 but provides better durability and a more finished look.
If you can’t gather natural pinecones, consider using pine-scented ones from craft stores. These come pre-cleaned and often have a pleasant holiday smell that adds to their charm.
Preparing Your Pinecones
Selecting Quality Pinecones
Look for pinecones that stand upright when placed on their base. The best ones measure between 3-4 inches tall and have well-defined scales that create texture for the gnome’s beard.
Fresh pinecones should feel solid and have minimal damage to their scales. Avoid ones with signs of decay or insect damage, as these might fall apart during crafting.
Cleaning Methods
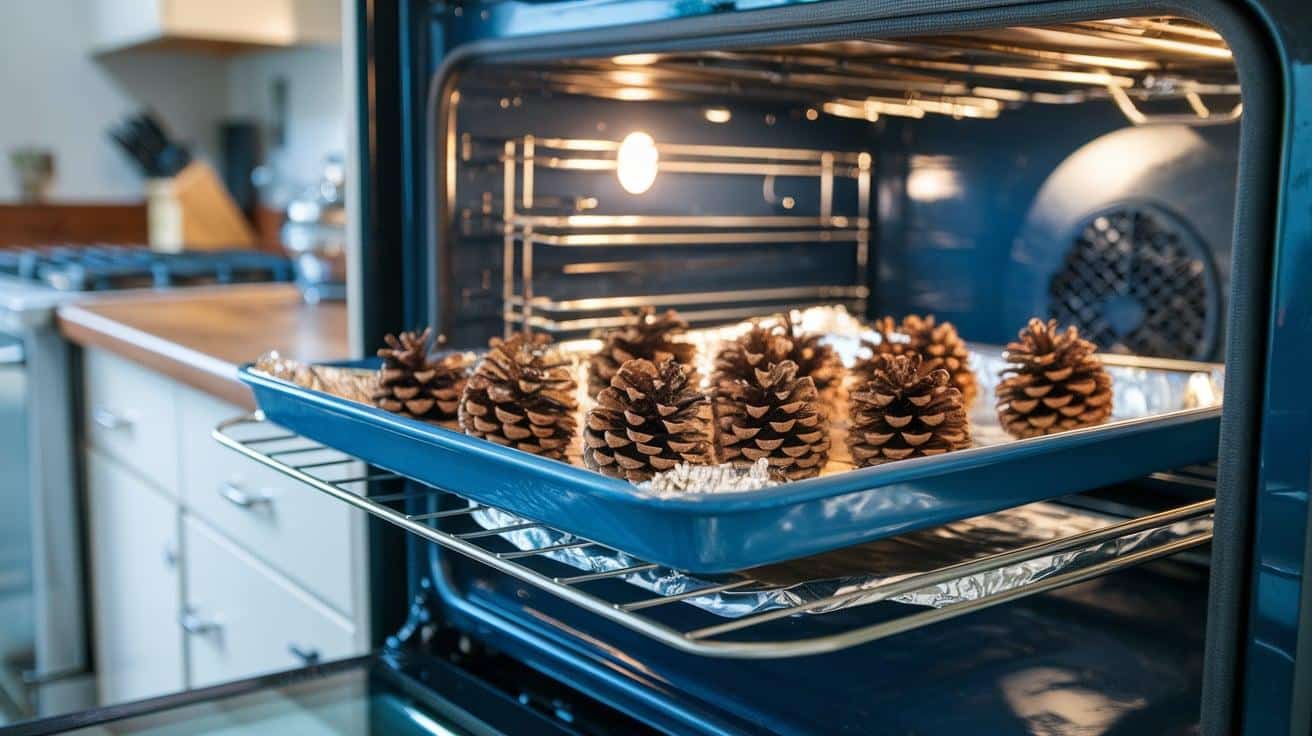
Bake collected pinecones at 200 degrees Fahrenheit for 30 minutes to remove bugs and sap. Place them on a foil-lined baking sheet to catch any drips during heating.
Let the pinecones cool completely before handling them. This cooling period allows any remaining sap to harden, making the pinecones easier to paint and decorate.
Storage Solutions
Store cleaned pinecones in a cardboard box with good air circulation. Please keep them dry from direct sunlight to prevent warping or color changes.
Label your storage containers with the date of collection and cleaning. This practice helps track how long you’ve had them and ensures you use the oldest ones first.
A DIY Step-By-Step Guide to Crafting Pinecone Gnomes
These steps transform simple pinecones into charming gnome decorations perfect for the holiday season!
Step 1: Create the Hat Pattern
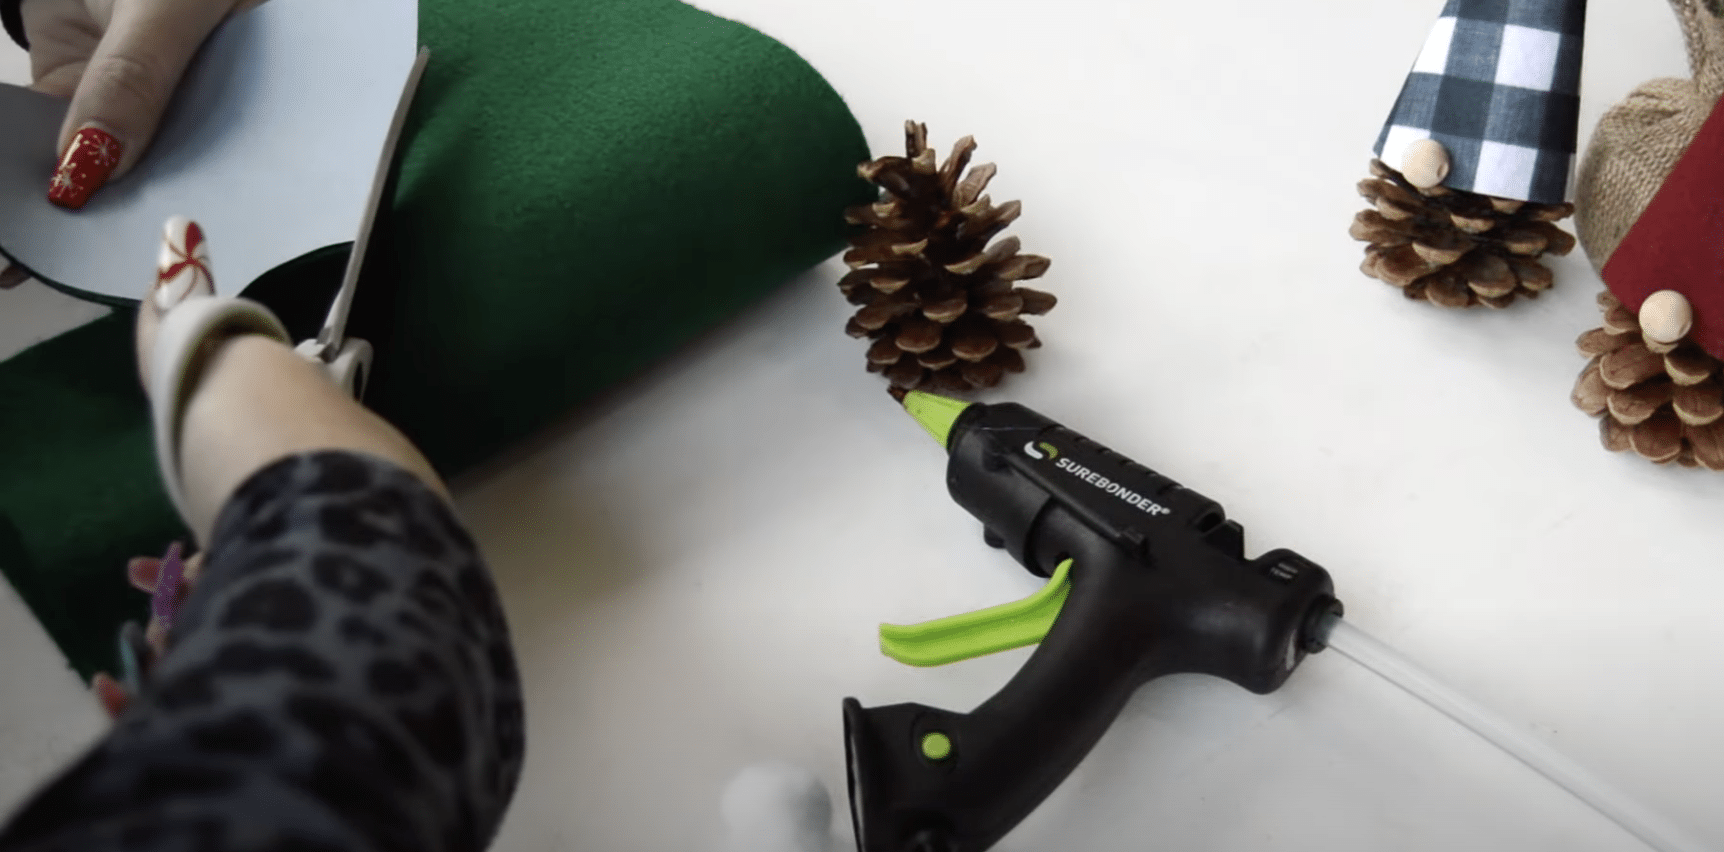
Download and print the free hat template, then cut it out. Use the template to trace and cut a piece of craft felt. Adjust the size of the template before printing for mini pinecone gnomes.
Alternatively, roll a piece of felt into a cone, ensuring it covers the pinecone’s width plus half an inch. Trim to the desired height, unroll, clean the edges, and glue the seam.
Step 2: Shape the Gnome Hat
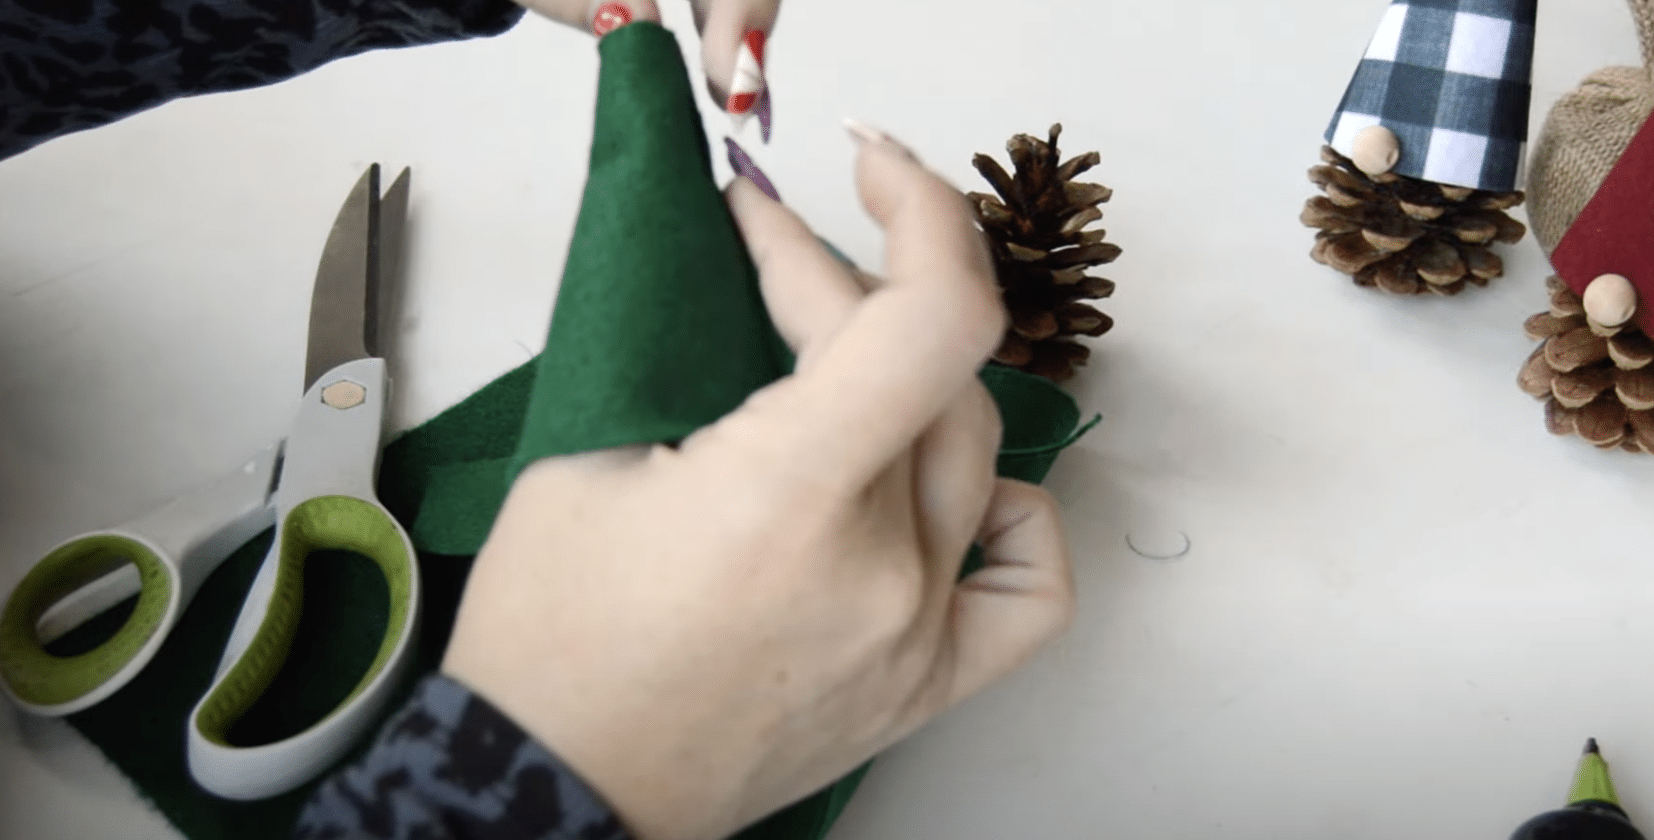
Roll the felt into a cone and glue along one of the long edges to secure it. If you want a closed top, overlap the edges more before gluing. This step forms the basic gnome hat.
Step 3: Decorate the Hat
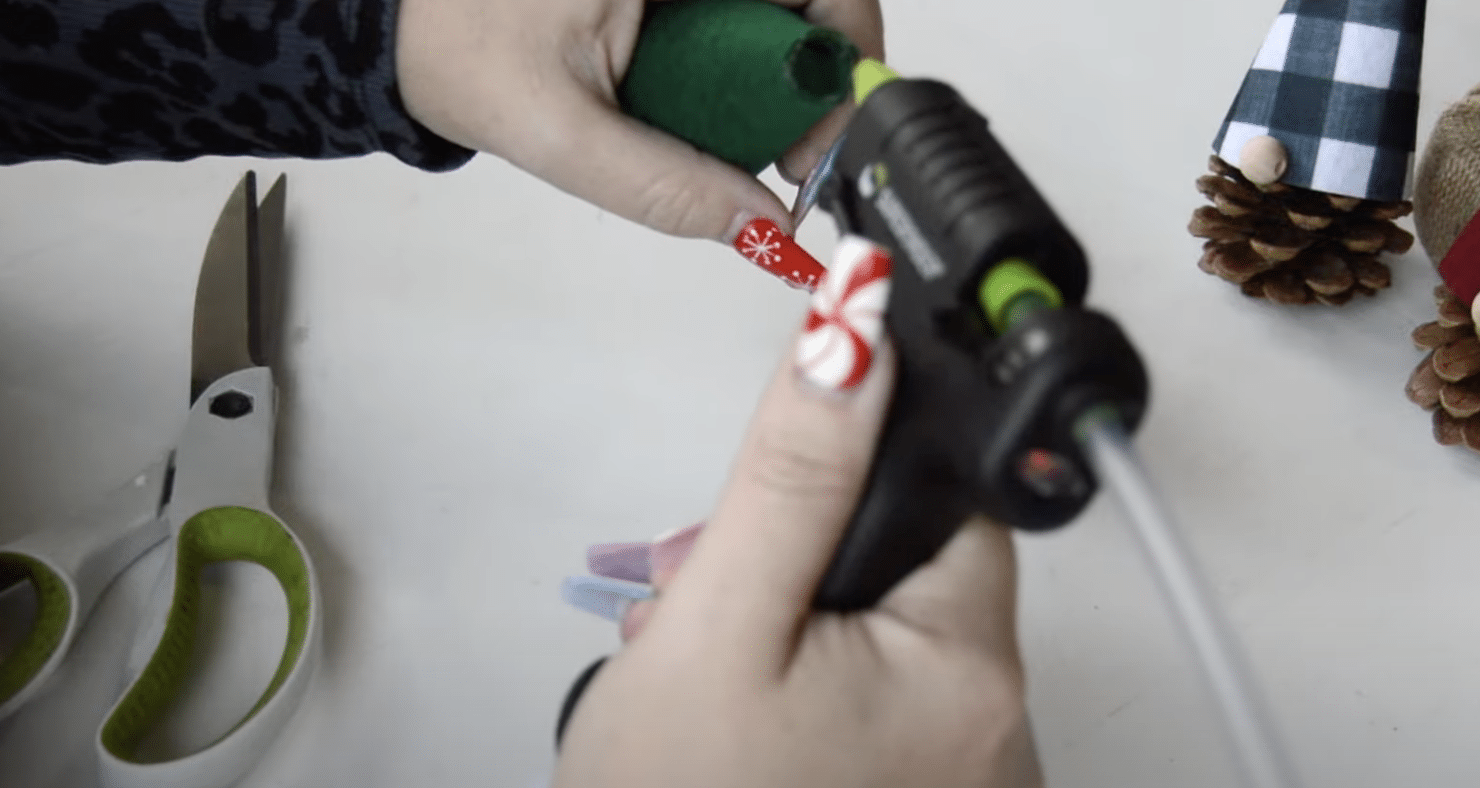
Add fun details to the hat, such as a pom-pom, bell, or faux fur brim. Use your creativity to make each hat unique and festive.
Step 4: Attach the Hat to the Pinecone
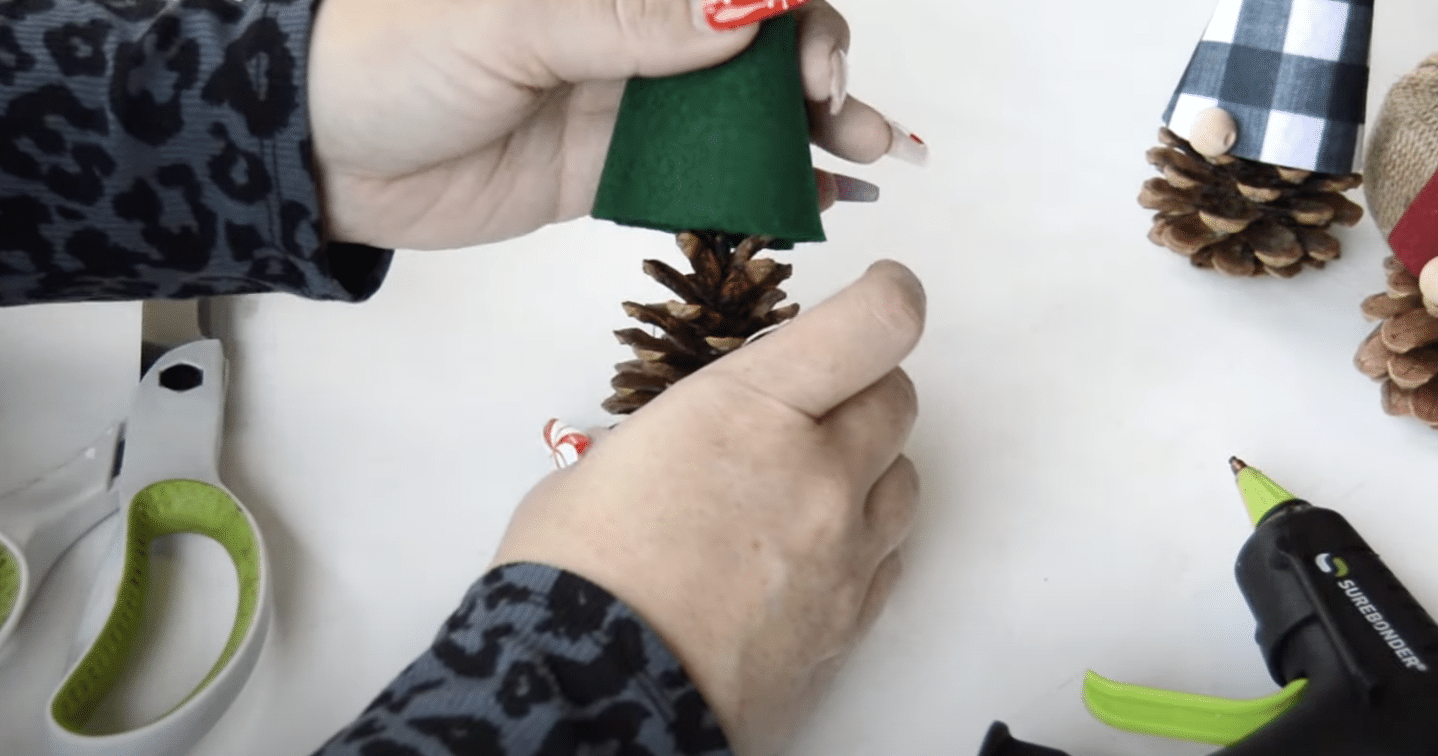
Glue the hat onto the narrow end of the pinecone, ensuring the wide end faces downward. Secure the hat in several spots for better hold and stability.
Step 5: Add the Gnome Nose
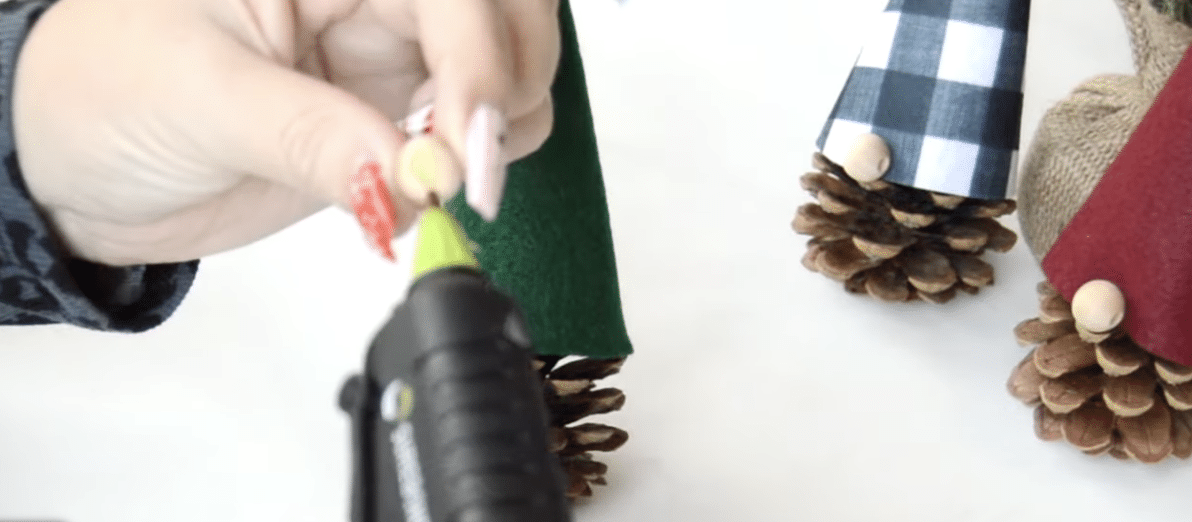
Attach a wooden bead directly to the front of the hat to serve as the gnome’s nose. The felt surface provides a better grip than the pinecone plates.
Video Tutorial
For more details, check out this visual aid by Sarah Nenni-Daher.
Troubleshooting Common Issues
Paint Application Problems
White paint might not stick well to waxy pinecone surfaces. Apply a thin base coat first, let it dry completely, then add a second coat for better coverage.
Some scales might resist paint entirely. To create a more natural-looking beard effect, focus on painting the visible edges rather than trying to coat every surface.
Assembly Challenges
Hot glue may not hold well on smooth pinecone surfaces. Rough up these areas gently with sandpaper before applying glue to improve adhesion.
If your gnome wobbles, check the base alignment. Adding a small felt pad underneath can help stabilize uneven surfaces.
Where to Buy Pinecone Gnomes and Materials?
Online Marketplaces
Major craft supply websites offer complete kits for making pinecone gnomes. Local craft stores often stock seasonal supplies during holiday months.
Small business owners on handmade marketplaces create custom pinecone gnomes. Supporting these artisans helps sustain the crafting community.
Local Sources
Visit nearby craft stores for immediate access to supplies. Many stores offer seasonal discounts on holiday crafting materials.
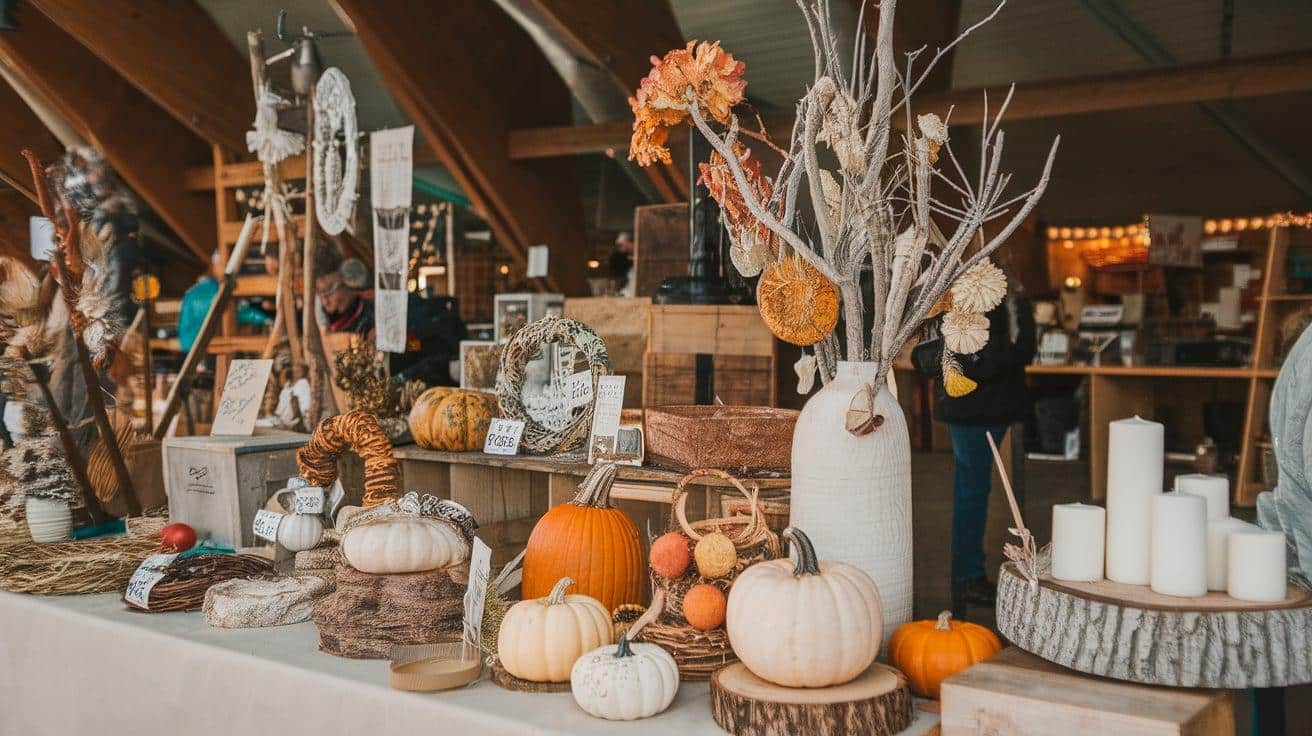
Check local farmer’s markets and craft fairs for unique supplies. These venues often have vendors selling natural materials at reasonable prices.
Expenses and Cost Considerations

Material Costs
Basic supplies for one pinecone gnome typically cost between $3 and $5. Buying materials in bulk significantly reduces the per-unit cost.
Quality upgrades like wool felt or specialty beads might increase costs to $7-10 per gnome. Consider these premium materials for gifts or selling purposes.
Cost-Saving Tips
Purchase basic supplies during after-season sales. Many stores offer significant discounts on holiday craft materials in January.
Share supplies with other crafters to reduce individual costs. Organizing craft groups allows everyone to benefit from bulk purchasing power.
Final Words
Making pinecone gnomes brings a personal touch to your holiday decorations. These small friends charm any space and make thoughtful gifts for family and friends.
We’d love to see your handmade gnome creations! Share photos on social media or join our crafting community to inspire others. Every gnome has its personality, and yours will be special, too.
Want more craft ideas? Sign up for our weekly newsletter with seasonal projects, tips, and creative inspiration. You’ll get exclusive access to our craft tutorials and early notice about upcoming holiday projects.
Remember, crafting is about enjoying the process as much as the result. Start with one gnome; soon, you might find yourself with a family of these festive friends decorating your home.
Frequently Asked Questions (FAQs)
How to Make a Pinecone Gnome Hat?
Craft a pinecone gnome hat by shaping felt into a cone, gluing it onto its tip, and decorating it with small details like pom-poms or beads.
Are There Vintage Pinecone Gnome Designs?
Vintage pinecone gnome designs often feature natural tones, simple felt hats, and hand-painted wooden faces, evoking a nostalgic and rustic holiday charm.
How Do I Preserve Pinecones for Crafting?
Bake pinecones 200°F for 20-30 minutes to kill pests, then clean with a brush. Seal with clear spray or varnish for longevity and shine.

