DIY Thrifted Ghost Painting Under Budget
Have you ever wanted to create spooky art but felt limited by your budget? I felt the same way until I found a smart solution: turning thrift store paintings into haunted masterpieces.
Regular art supplies can get pricey, but I’ve learned to make ghost paintings for less than $20.
I’ll show you my simple method to turn old landscape paintings into haunted scenes. You don’t need fancy art skills or expensive materials – just a few basic supplies and some creativity.
In this guide, I’ll walk you through each step of making your own ghost painting, from picking the right thrift store art to adding the final ghostly touches.
Origin of Thrifted Ghost Painting & It’s Cultural Impact
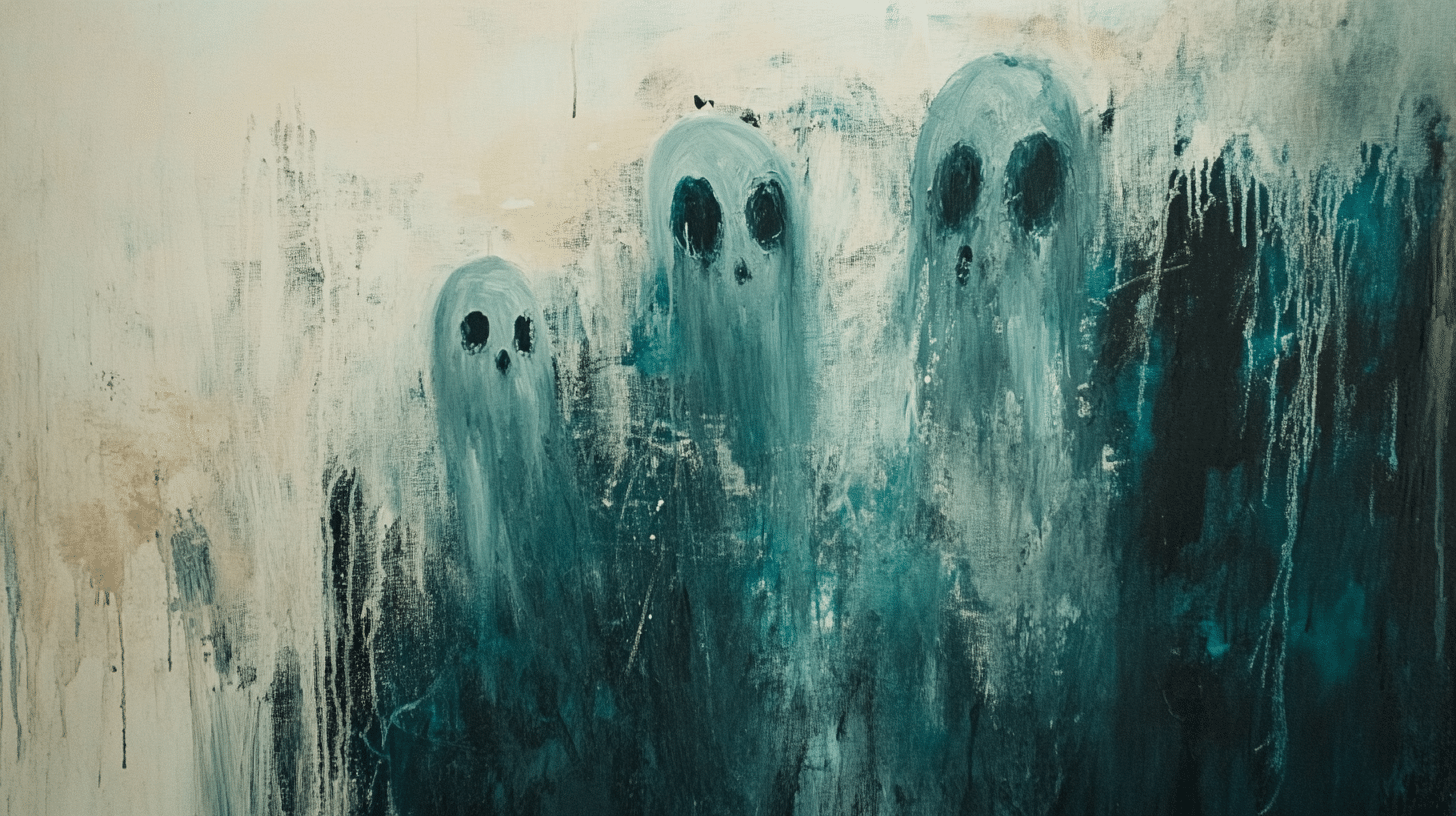
Thrifted ghost painting is a fun art form where people buy old paintings from second-hand stores and add ghosts or spirits to them.
I started seeing these on social media a few years back. Artists would take forgotten landscape art and turn it into playful, haunted scenes.
The trend caught on quickly because it mixed two things people love – bargain hunting and spooky creativity.
What I find neat is how it gives new life to abandoned artwork. Those mountains, forests, and seaside scenes that nobody wanted suddenly become talking pieces.
I’ve noticed how this style has spread across craft fairs and online shops. People really connect with these pieces because they’re both quirky and affordable.
It’s not just about the final art – it’s about taking something old and making it fresh and fun.
The best part? This art form welcomes everyone. You don’t need years of training or fancy tools. That’s why I see more people trying it out in their homes.
How to Prepare Yourself Before Starting the Painting
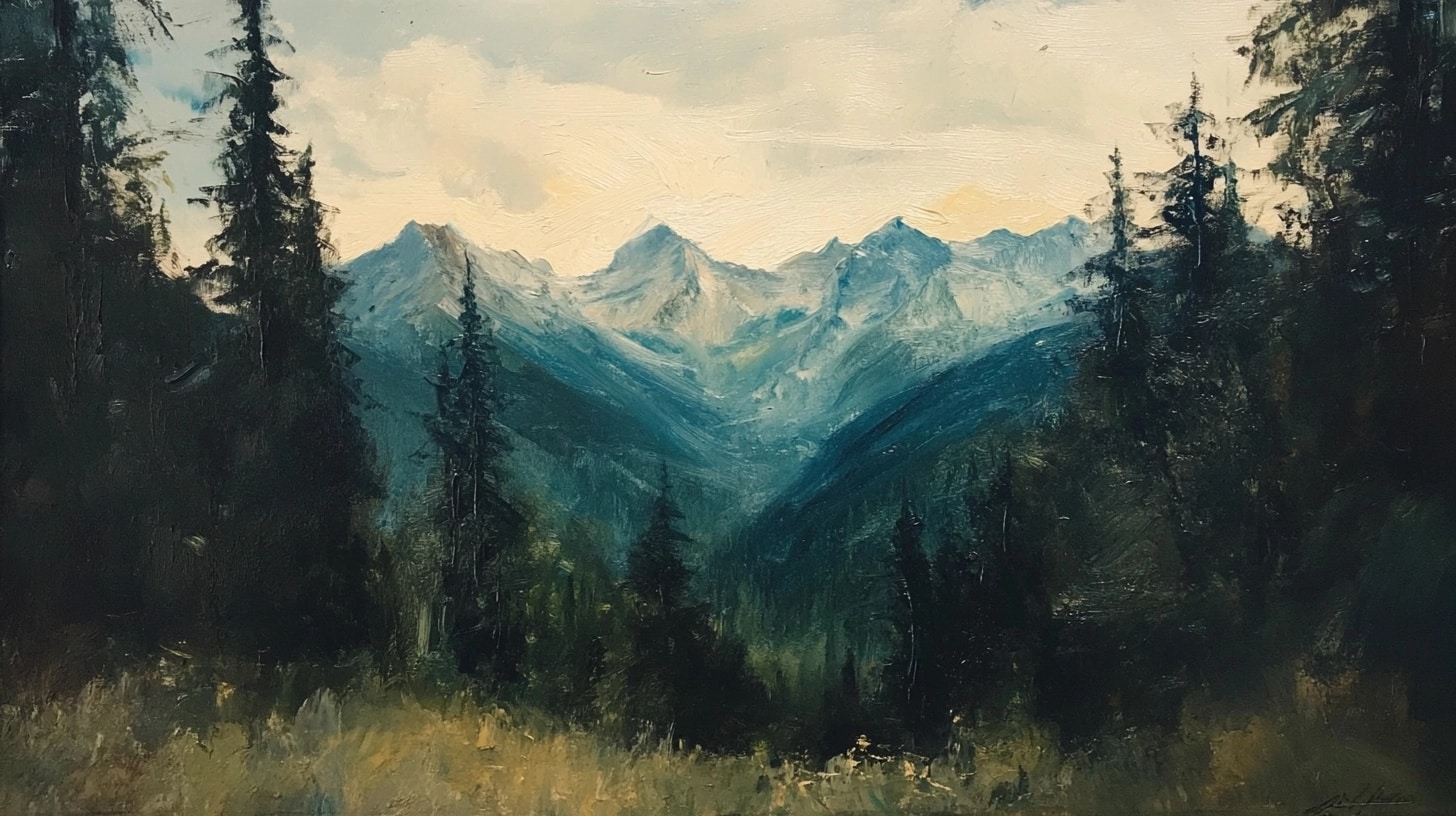
Before you start turning that old painting into a haunted scene, let’s get ready.
I’ve found that good prep makes the whole process smoother.
Here’s what you’ll need:
- A thrifted painting (landscapes work best)
- White acrylic paint
- Small paint brushes
- Paper towels
- Water cup
- Clear sealant
- Pencil for sketching
Make sure your workspace has good lighting. I like to spread newspaper on my table to catch any paint drips. Clean your thrifted painting with a dry cloth to remove dust.
Take a few minutes to plan where you’ll place your ghost. I usually sketch lightly with a pencil first, which helps me avoid mistakes when using paint.
Step-by-Step Guide for Painting
Tools & Materials Required
- Thrifted paintings (Victorian or landscape styles work well)
- Acrylic paints (white and dark shades)
- Different sized paintbrushes
- Glow-in-the-dark paint (optional for stars or ghost effects)
- Reference images (optional, for inspiration)
- Water and mixing palette
- Paper towels for clean-up
Stepwise Process of Painting
1. Start with Base Elements
- Clean your thrifted painting
- Plan which parts of the original painting to keep
- Sketch your design lightly if needed
2. Add Initial Ghost Elements
- Use white paint to create basic ghost shapes
- Place ghosts between existing elements
- Keep initial ghost forms simple and light
3. Build Background
- Decide if you want to darken the sky
- Add layers gradually to maintain control
- Keep some original elements visible for contrast
4. Add Details
- Create cobwebs using fine brushstrokes
- Add fun elements (like tiaras or props for ghosts)
- Include small touches (like bats or stars)
5. Final Touches
- Add glow-in-the-dark elements if desired
- Check the balance of light and dark areas
- Let each layer dry completely
Tips for Final Touch to Your Painting
Balance Light and Shadow
- I like to step back and check if my ghosts stand out enough
- If they blend too much, I add an extra layer of white paint
- Sometimes, I soften harsh edges with a slightly damp brush
Add Character to Your Ghosts
- Each ghost can have its personality
- I sometimes paint tiny details like bowties or hats
- Keep these details small and simple to maintain the spooky feel
Check Your Background
- Make sure dark areas aren’t too heavy
- Leave some of the original painting visible
- Fix any spots where the paint might look patchy
Special Effects
- Try dabbing tiny white dots for a misty effect
- Add small cobwebs in the corners
- Use glow-in-the-dark paint for stars or ghost outlines
Protect Your Work
- Let all layers dry fully
- Apply a clear sealant to protect the paint
- Wait 24 hours before hanging
Final Check
- Look at your painting in different lights
- Fix any spots that need touching up
- Make sure all edges are neat and clean
Remember, the goal is to create something fun and spooky while keeping some charm from the original painting.
Approximate Investment Required for Painting
| Item | Price Range |
|---|---|
| Main Materials | |
| Thrifted painting | $3 – $8 |
| White acrylic paint | $4 – $6 |
| Basic brush set | $5 – $7 |
| Optional Items | |
| Glow-in-the-dark paint | $6 |
| Clear sealant | $5 |
| Extra brushes | $3 – $4 |
| Total Costs | |
| Basic Setup | $12 – $21 |
| With Optional Items | $26 – $36 |
Money-Saving Tips
- Look for sales at craft stores
- Buy multi-packs of brushes
- Check dollar stores for basic supplies
- Share supplies with friends
- Save leftover paint for future projects
I spent about $15 on my first ghost painting. The thrift store painting was the best deal at $4! You don’t need fancy supplies to make something fun.
Certain Advanced Techniques I Have Tried
1. Layering Effects
- Build up ghost shapes with thin paint layers
- Start light, then add darker shades
- Let each layer dry between coats
- This creates depth and a see-through look
2. Texture Methods
- Use the dry brush technique for misty effects
- Dab with a paper towel while the paint is wet
- Create wispy trails with a fan brush
- Mix white paint with water for different effects
3. Ghost Glow Effects
- Paint a soft white circle around your ghost
- Fade the edges outward gently
- Add tiny white dots near the ghost
- Mix white and light blue for extra glow
4. Background Blending
- Soften edges where the ghost meets the background
- Use small circular motions with a dry brush
- Keep original painting visible through ghost
- Create smooth transitions between colors
5. Detail Work
- Add tiny shadows under floating ghosts
- Create movement with flowing shapes
- Paint small features with a fine brush
- Use stippling for texture in dark areas
6. Making Elements Work Together
- Connect ghosts to scenery with wisps
- Add small floating objects near ghosts
- Create depth by varying ghost sizes
- Link elements with subtle cobweb details
Best Creative Variations & Ideas to Try Out
| Category | Idea | Price Range |
|---|---|---|
| Seasonal Ghost Themes | Spring ghosts with flower crowns | $10 – $15 |
| Summer ghosts near beach scenes | $12 – $18 | |
| Fall ghosts among leaves | $8 – $12 | |
| Winter ghosts in snowy landscapes | $10 – $20 | |
| Different Painting Settings | Mountain Vista ghost scenes | $15 – $25 |
| Lighthouse hauntings | $12 – $22 | |
| Forest spirit paintings | $10 – $18 | |
| City Park Phantom scenes | $8 – $14 | |
| Farm field floating spirits | $10 – $16 | |
| Fun Ghost Personalities | Reading ghosts with tiny books | $8 – $12 |
| Tea party ghost gatherings | $12 – $18 | |
| Ghost pets with their owners | $10 – $15 | |
| Musical ghosts with instruments | $15 – $20 | |
| Sleeping ghosts in gardens | $10 – $14 | |
| Time Period Themes | Victorian-era ghost scenes | $18 – $25 |
| 1950s ghost diners | $12 – $18 | |
| Medieval castle spirits | $15 – $22 | |
| Old West ghost towns | $12 – $20 | |
| Ancient ruins with spirits | $15 – $25 | |
| Color Variations | Soft blue-tinted ghosts | $8 – $14 |
| Pale purple spirit forms | $10 – $16 | |
| Green garden ghosts | $8 – $12 | |
| Pink sunset phantoms | $10 – $18 | |
| Silver moonlit spirits | $12 – $20 | |
| Size Play | Tiny ghost families | $8 – $12 |
| One large central ghost | $10 – $18 | |
| Mixed-size ghost groups | $12 – $20 | |
| Far away ghost shapes | $8 – $14 | |
| Close-up ghost faces | $10 – $16 |
Purchasing or Painting – Which One Should Prefer
Cost Comparison Buying Ready-Made
- Professional ghost paintings: $50-$200
- Online marketplace pieces: $30-$100
- Print copies: $20-$40
Making Your Own
- Total supplies: $15-$25
- One-time tools cost
- Multiple paintings possible
Time Investment Buying
- Quick purchase
- Immediate display option
- No waiting for the paint to dry
Making
- 2-3 hours per painting
- Time to find thrift art
- Drying time needed
Personal Value Buying:
- Professional finish
- Perfect for busy people
- Less creative control
Making
- Personal satisfaction
- Custom design choices
- Fun learning process
Long-term Benefits Buying:
- Save time and effort
- Guaranteed results
- Professional look
Making
- New creative skill
- More affordable
- Can make gifts
My Take: I prefer making them because
- It’s more fun
- Costs less
- Each piece feels special
- Can fix mistakes easily
- Learn new techniques
Conclusion
Creating ghost paintings from thrift store finds is a simple way to make unique art. After making several of these pieces myself, I can tell you it’s both fun and budget-friendly.
Don’t worry if your first ghost painting isn’t perfect – mine wasn’t either! What matters is putting your own spin on it and enjoying the process. Each piece gets better as you practice.
Ready to start? Head to your local thrift store, grab a painting that speaks to you and try the steps I’ve shared. You might find yourself hooked on this creative hobby.
Share your finished ghost paintings in the comments below. I’d love to see how yours turns out!
And remember – every old painting has the potential to become a spooky masterpiece.
Frequently Asked Questions
How Do I Protect and Preserve My Finished Artwork?
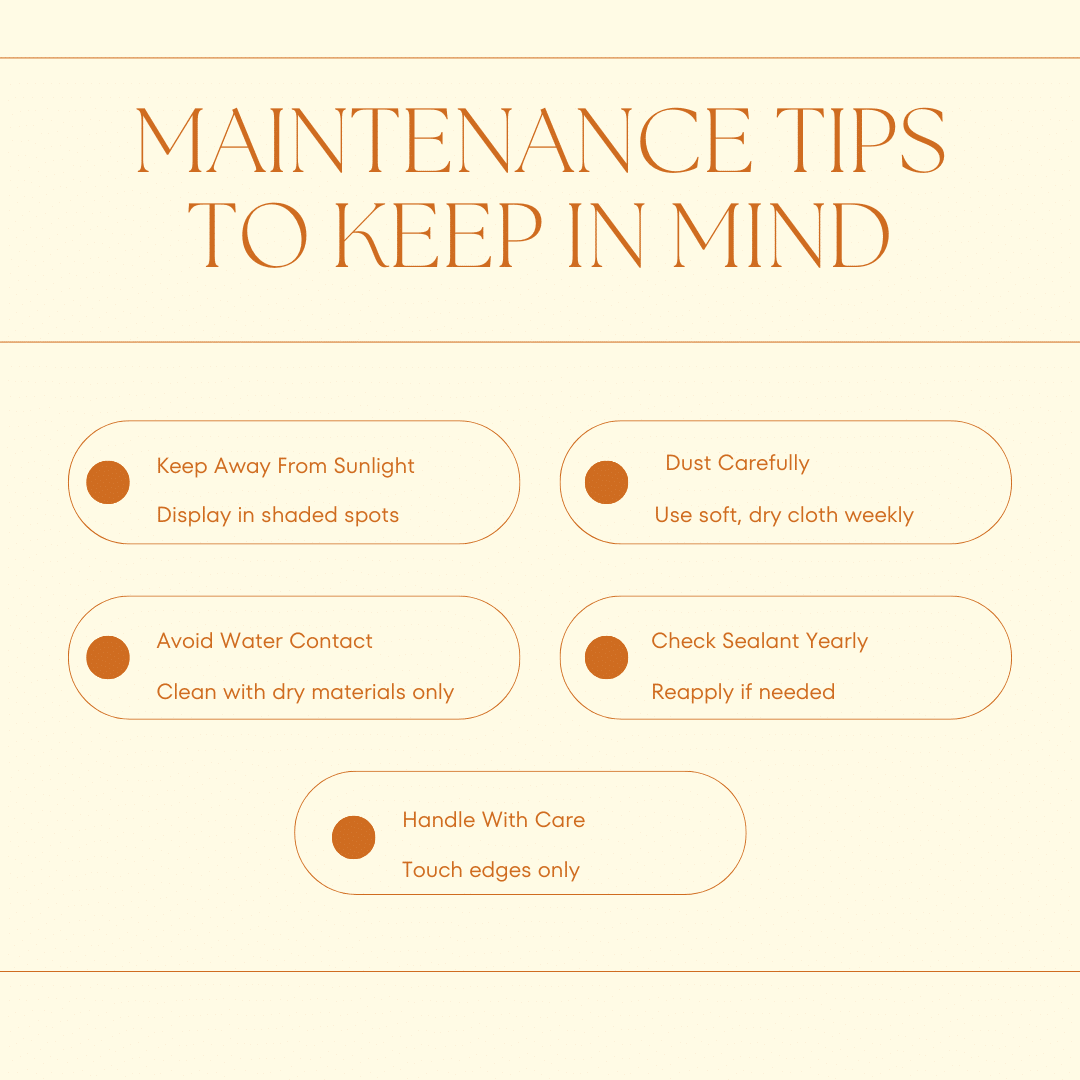
I protect my ghost paintings with a clear sealant spray. Store them in a dry place away from direct sun. Always handle by the frame or edges. Clean with a soft, dry cloth only.
Can I Remove the Ghost Paint if I Make a Mistake?
Yes! While the paint is wet, wipe it off with a damp cloth. For dry paint, use a cotton swab with rubbing alcohol. Test a small spot first to protect the original painting.
What Are Some Ghost Painting Ideas for Beginners?
Start with simple ghost shapes in open spaces. Try a single ghost in a field or sky. Add small details like eyes or a smile. Pick paintings with clear areas for your ghost.

