DIY Napkin Holder Guide: Make Your Own Table Accessory
Napkin holders add style and order to any table setting. They keep napkins tidy, within reach, and protected from spills or kitchen messes.
Making your napkin holder is more valuable than buying one from a store. You can control the design, size, and style while spending less on materials.
This guide shows you how to create napkin holders that match your style. You’ll find options for every skill level, from simple wooden designs to decorative party pieces.
We’ll walk through material choices, safety tips, and ways to fix common problems. You’ll also learn to make seasonal versions for holidays and special events.
Ready to start your napkin holder project? Let’s begin with why making your holder makes sense.
Why Make Your Napkin Holder?
Personalization and Creativity
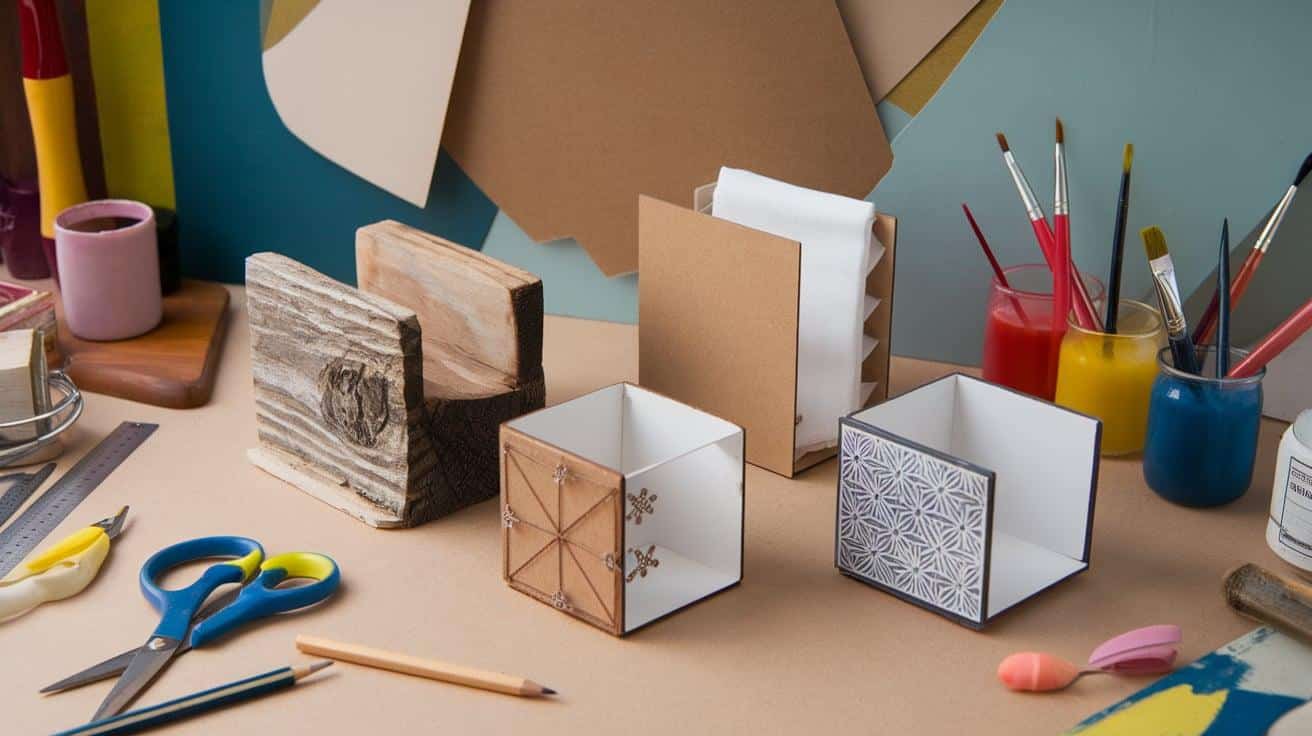
Store-bought napkin holders often lack personal touches that match your home’s style. Making your napkin holder lets you control every detail of the design. You can select the materials, colors, and styles that fit your space.
Your handmade napkin holder can become a statement piece on your dining table. The satisfaction of creating something useful adds value beyond its basic function.
Cost-Effectiveness
Making a napkin holder at home saves money compared to buying one from a store. Most DIY napkin holders cost under $10 to make, using basic materials from your local craft store.
You can use items you already have at home, like scrap wood or cardboard. This makes the project even more budget-friendly while creating something useful for your home.
Eco-Friendly Benefits
Creating your napkin holder helps reduce waste using materials you might otherwise throw away. Old wooden boards, empty paper rolls, and spare craft supplies find new life in your creation.
This approach to crafting supports a sustainable lifestyle. You’ll feel good knowing your table decoration helps the environment while serving a practical purpose in your home.
Materials and Tools Required For Crafting
1. Common Materials Used
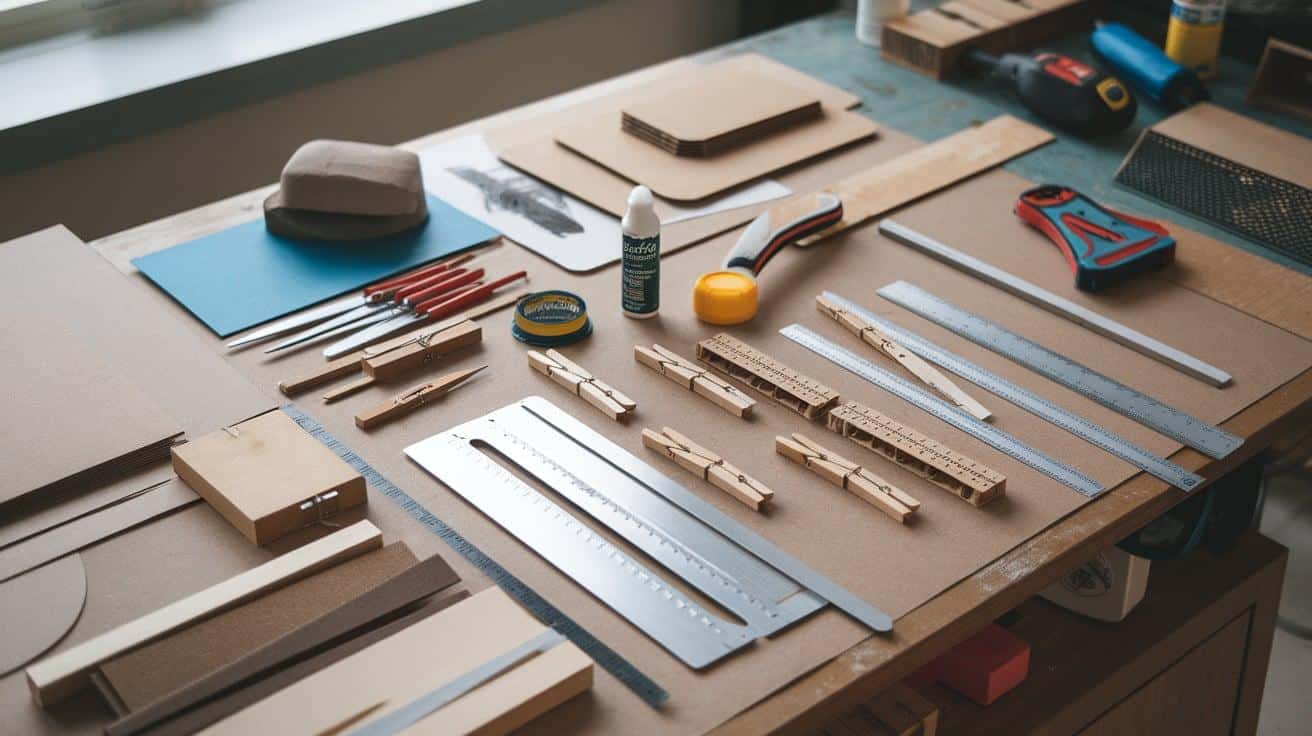
Pinewood and plywood work well as basic materials for napkin holders. Both options provide good strength and last for years with proper care. Cardboard from shipping boxes makes a free alternative for simple designs.
Using wooden clothespins offers another creative option. They form sturdy bases and sides when combined with wood glue.
2. Essential Tools Needed
A basic tool set includes sandpaper, wood glue, and a measuring tape. For wooden holders, you’ll need a saw to cut pieces to size and clamps to hold parts while glue dries.
Scissors and craft glue suit cardboard projects better. A small ruler helps mark straight lines for precise cuts.
3. Tips for Sourcing Affordable Materials
Check local hardware stores for their scrap wood sections. These areas often have smaller pieces perfect for napkin holders at reduced prices.
First, look through your home for unused items. Old picture frames, craft leftovers, and shipping materials work well.
Thrift stores sometimes sell wooden items you can take apart. These pieces provide good quality wood at low costs.
Safety Guidelines To Follow While Crafting
1. General DIY Safety Tips
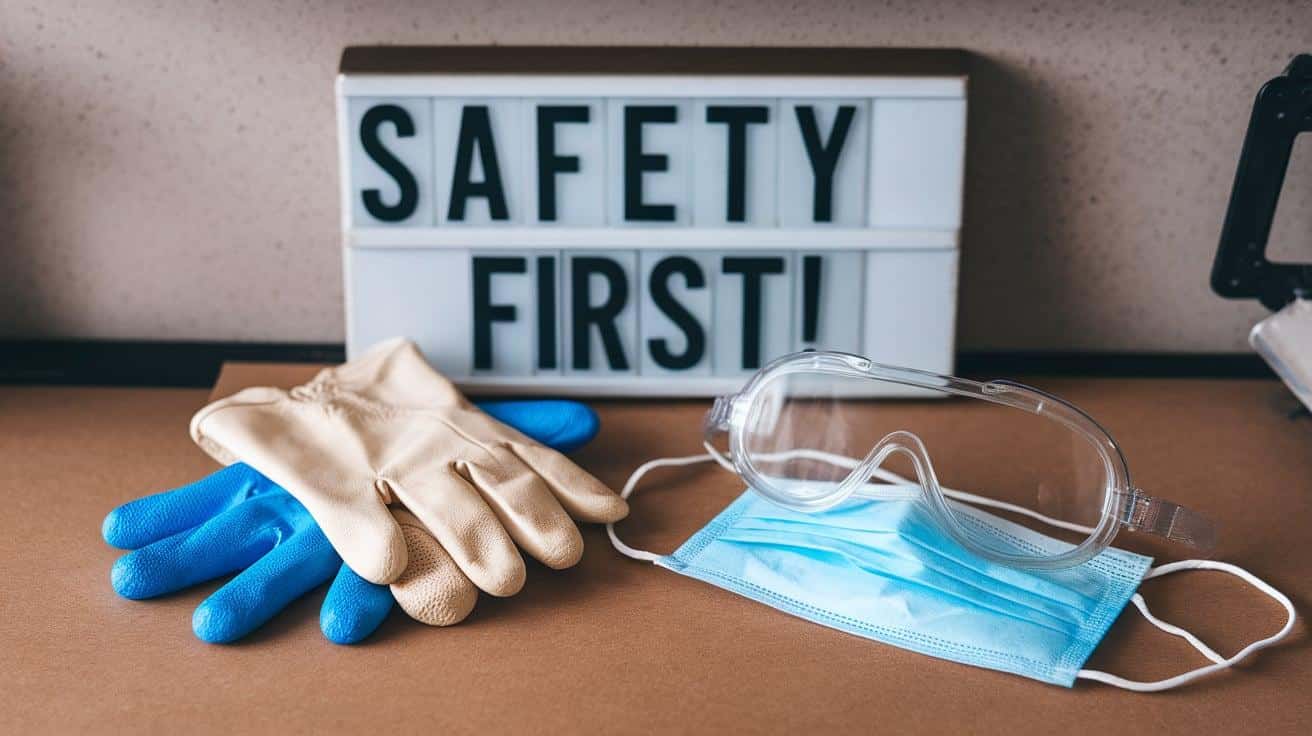
Keep your work area clean and well-lit at all times. A tidy space prevents accidents and helps you see what you’re doing.
Wear safety glasses when cutting materials or using tools. Wear loose clothing and tie long hair back while working.
2. Tool-Specific Precautions
Read instructions for any new tools before starting. Handle sharp tools with care and keep them pointed away from yourself.
Store tools properly after use. Place sharp edges down and keep dangerous items out of reach of children.
3. Child-Friendly Practices
If crafting together, choose projects that match your child’s skill level. Young helpers can sand wood or mark measurement lines.
Supervise all tools used when working with children. Create a clear set of safety rules before starting any project.
A DIY Step-By-Step Guide on Crafting a Napkin Holder
STEP 1: Measure and Plan the Dimensions
Start by taking a standard napkin and measuring its size. Add an eighth of an inch on each side for wiggle room and account for the thickness of the uprights.
Mark dimensions for the base (8.5″ x 6.75″) and uprights (4.25″ high). Adjust the height according to your preference.
STEP 2: Cut and Shape the Base and Uprights
Use hand tools to cut the base and upright pieces to the marked dimensions. Round the base edges with a plane or sandpaper for a polished look.
Add gentle arcs to the top of the uprights for a decorative touch. Smooth the curves using sandpaper or a hand plane.
STEP 3: Mark and Cut Tenons and Mortises
Mark the locations for mortises on the base and tenons on the uprights. Carefully chisel out mortises and shape the tenons, ensuring a snug fit.
Test the joints, shaving off small amounts if needed, but keep them slightly tight to ensure stability during assembly.
STEP 4: Assemble and Test the Fit
Fit the tenons into the mortises and check for alignment. Adjust any uneven edges with a plane or sandpaper.
Ensure the structure is sturdy and well-balanced. Before final assembly, make any necessary modifications to ensure a smooth fit.
STEP 5: Final Sanding and Finishing
Sand all edges and surfaces to remove tool marks and splinters. Pay special attention to rounded edges and curves for a smooth finish.
For detailed areas, use sandpaper wrapped around dowels or sticks. Ensure all parts fit securely before applying any finish.
STEP 6: Add the Final Touches
Assemble the napkin holder completely and make final adjustments. Apply your desired finish, such as paint, stain, or varnish, to protect the wood and enhance its appearance.
Let it dry completely before using your handcrafted napkin holder.
Video Tutorial
For more details, check out this visual aid by Kinderhook Woodcraft.
Themed and Seasonal Napkin Holders
1. Holiday-Themed Holders
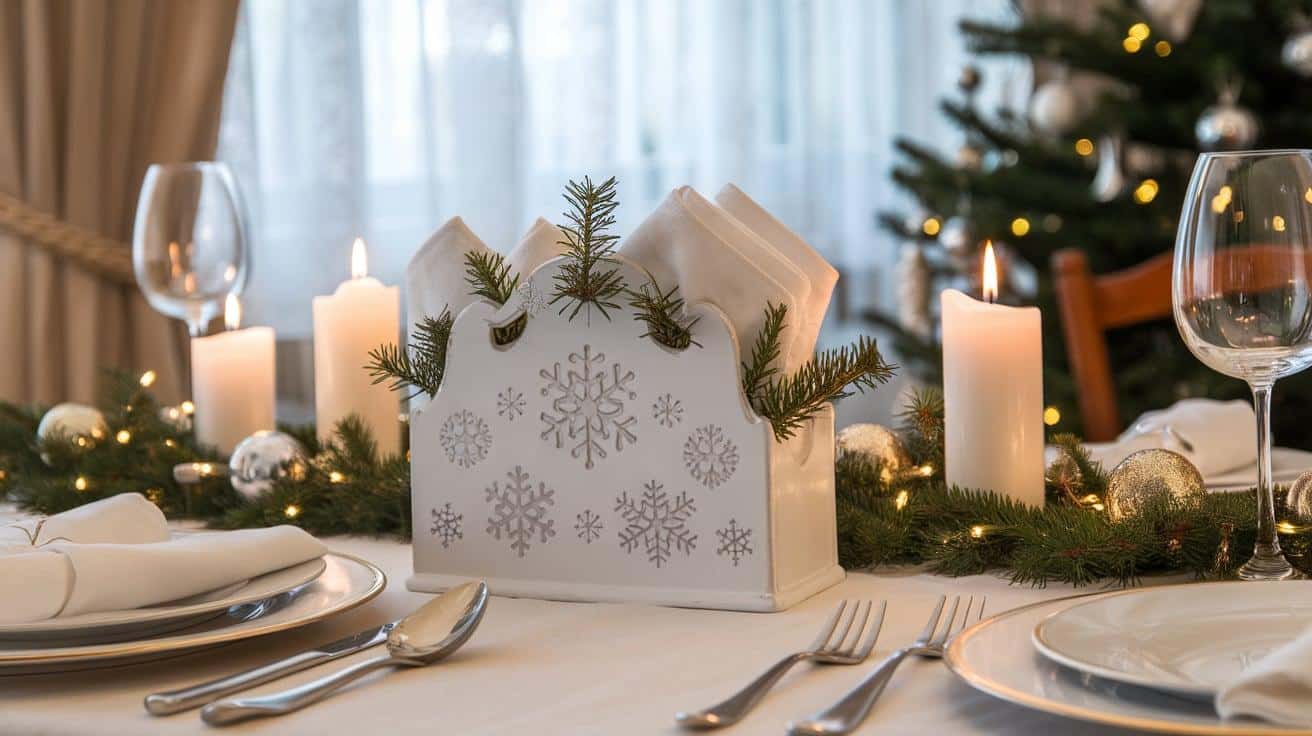
Winter holidays call for special table decorations that warm your dining space. Paint your napkin holder white and add small pine sprigs for a Christmas touch.
Fall season holders work well with orange and brown tones. Add small artificial leaves or acorns to the base for a Thanksgiving feel.
Halloween designs can feature black paint with orange accents. Small paper bats or spiders make perfect seasonal additions to the holder’s sides.
2. Event-Themed Holders
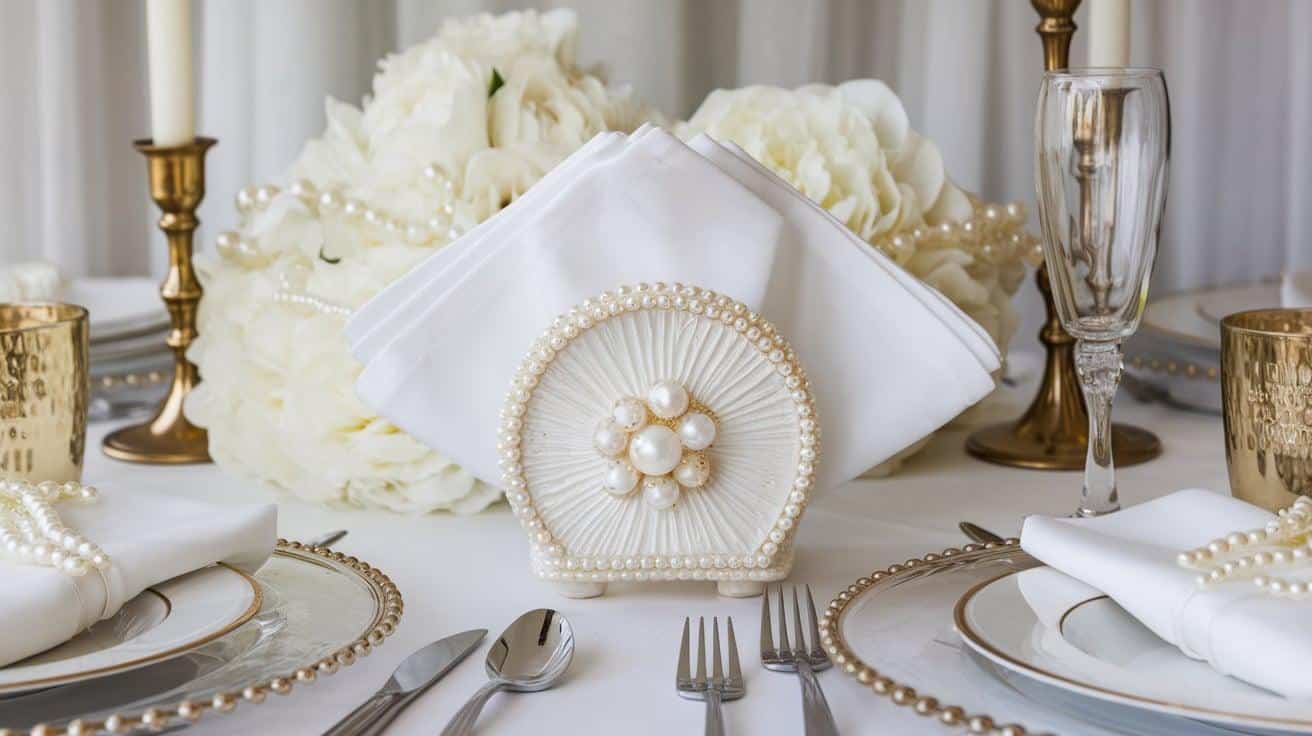
Wedding table settings need soft, subtle touches. White or cream-colored holders with pearl accents are ideal for this occasion.
Birthday celebrations allow for bright colors and fun designs. Paint the holder in the party’s main colors and add small party-themed cutouts.
Baby shower holders look sweet in soft pink or blue. Small wooden shapes, such as stars or hearts, add charm to the basic design.
3. How to Customize Designs for Themes
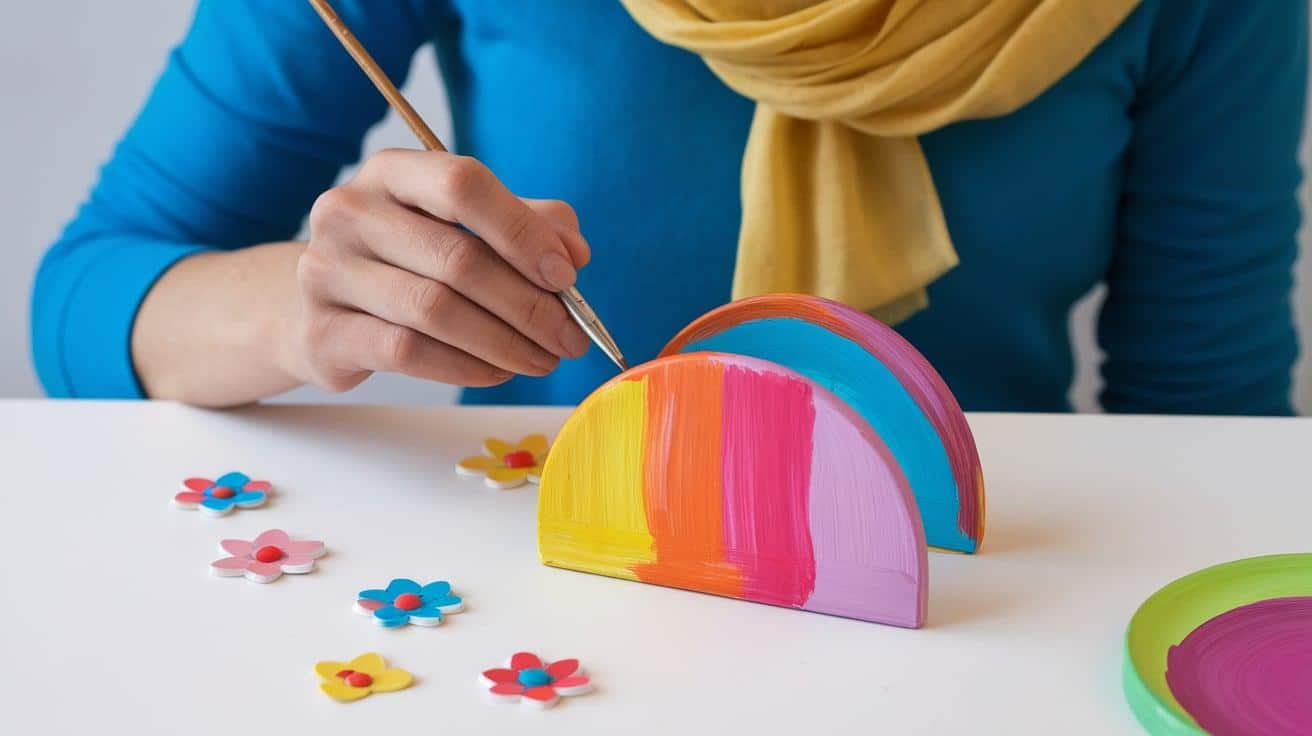
Start with a simple base design that fits standard napkin sizes. Choose paint colors that match your theme’s main shades.
Keep decorations simple and secure them well for the holder. Small items work better than large ones for most designs.
DIY Napkin Rings
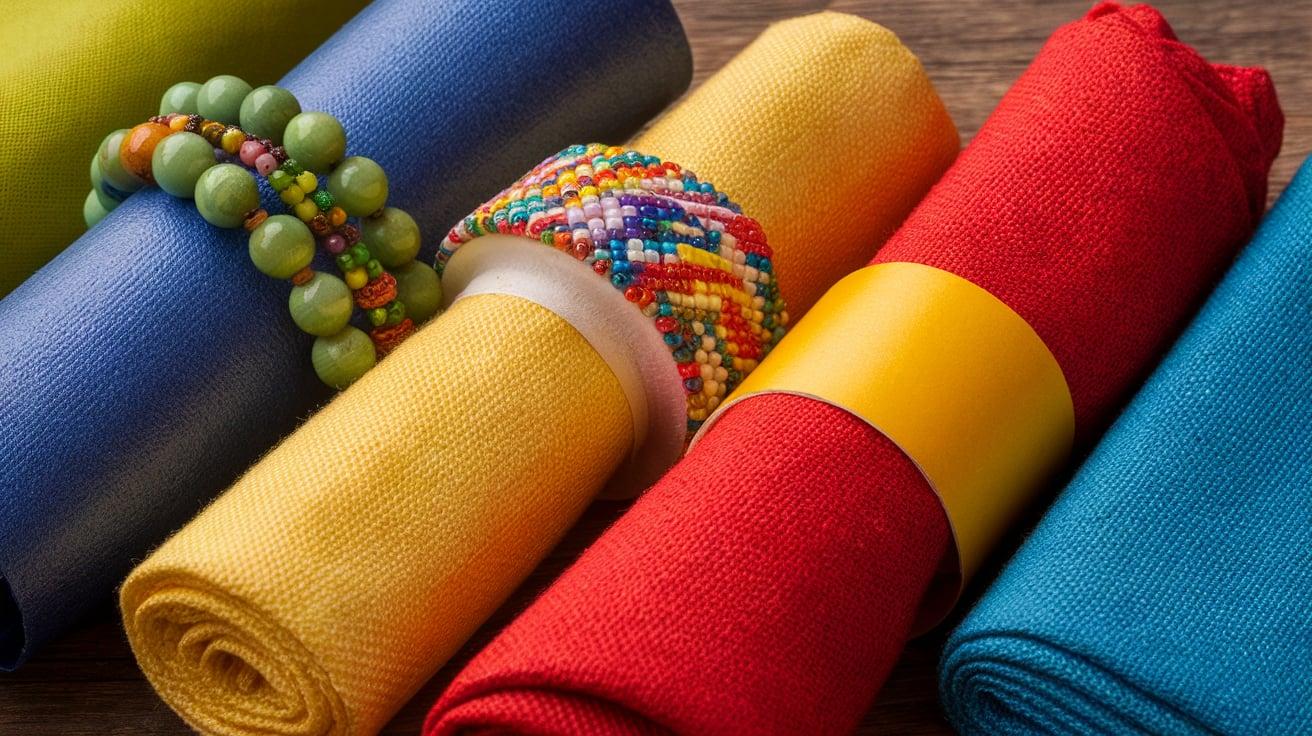
Difference Between Napkin Holders and Rings
Napkin holders sit on tables and store multiple napkins. They work well for daily use and casual settings.
Napkin rings wrap around single napkins for more formal settings. They add style to each place setting at your table.
Easy Projects for Napkin Rings
Empty paper rolls cut into small sections make basic ring shapes. Cover them with fabric or decorative paper to give them a finished look.
Wooden beads strung on elastic create flexible rings. This design works well for different napkin thicknesses.
Decorating Ideas
Paint creates the base for most ring designs. Two thin coats give better results than one thick layer.
Small buttons or beads add sparkle to plain rings. Attach them with strong glue and let them dry completely before use.
Tips for Customizing and Personalizing
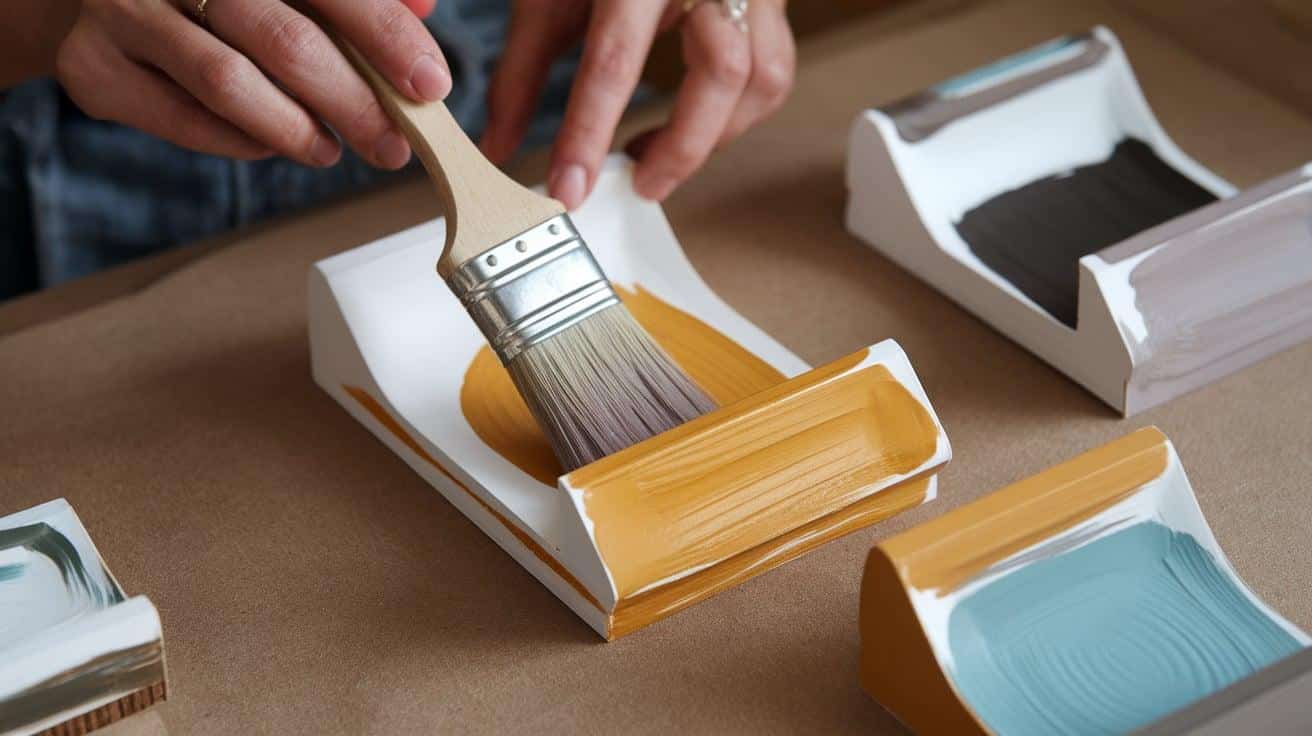
1. Painting and Staining Techniques
Start with clean, smooth surfaces before adding any paint or stain. Sand wooden pieces until they feel soft to the touch.
Water-based paints work best for beginners. They dry faster and clean up easily with soap and water.
Choose stains that match the wood tones of your table or cabinet. Apply thin coats and wipe off excess with a clean cloth.
2. Adding Decorations
Small wooden shapes glue well to most holder surfaces. Test the glue on a hidden spot first to check for good adhesion.
Buttons create simple but effective decorative patterns. Line them up along edges or group them in corners for visual interest.
Natural items like small shells or stones add texture. Seal these items with a clear coat to keep them secured and protected.
3. Engraving and Etching
Simple patterns work best for hand etching on wood. Draw your design first with a pencil as a guide.
Letters and numbers should be sized properly for your holder. Keep text short and clear for the best results.
Resolving Common Issues
1. Fixing Unstable Holders
If your holder wobbles on flat surfaces, check all joints. To create balance, add small wood pieces under uneven areas.
Loose parts need fresh glue application. Clean off old glue first for better adhesion.
2. Adjusting Sizes for Different Napkin Types
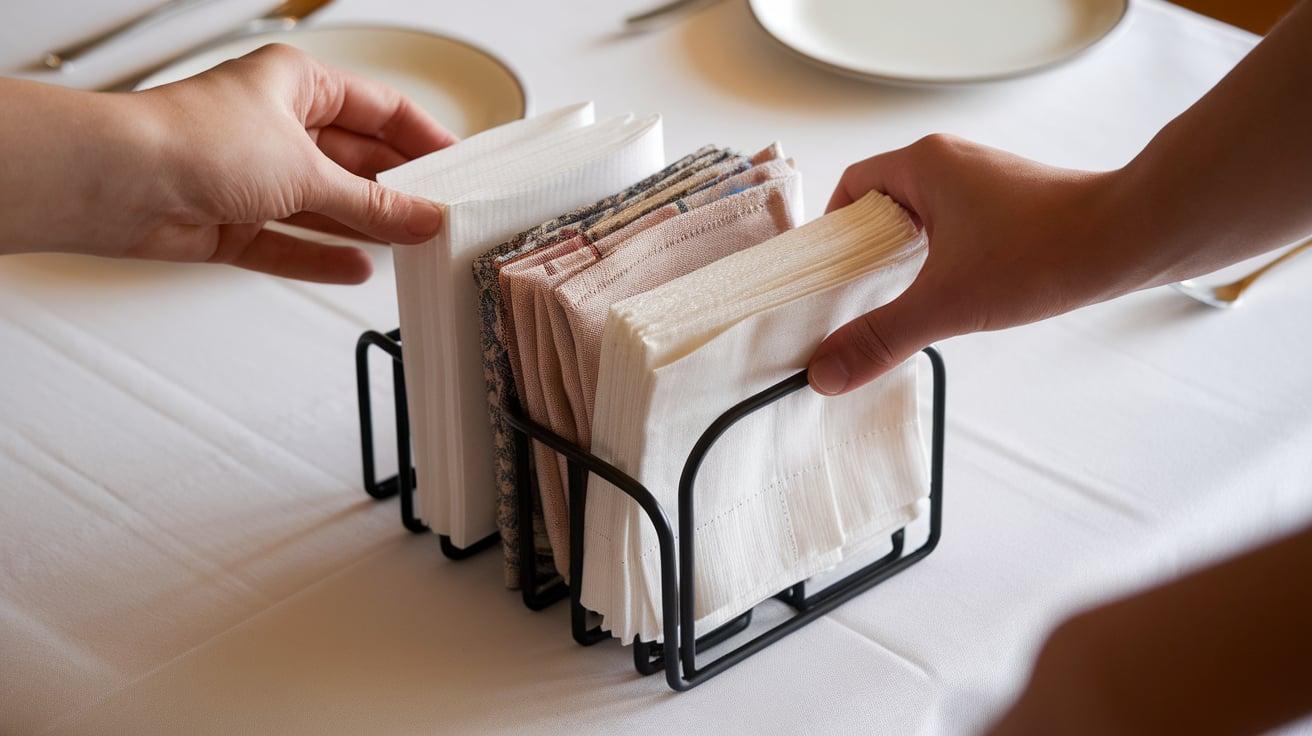
Paper napkins need less space than cloth ones. Make the holder opening slightly wider than your napkin stack.
Test your holder with both napkin types before final assembly. Allow extra room for easy removal of napkins.
3. Maintenance and Care Tips
Clean your holder regularly with a dry cloth. Avoid using wet cleaners on wooden surfaces.
Store holders away from direct sunlight when not in use. This prevents color fading and wood warping.
Keep napkin holders in dry areas of your home. Moisture can damage wood and cause metal parts to rust.
Final Thoughts
Making your napkin holder opens up many creative options for your table setting. Start with basic designs and try new ideas as you build confidence.
Your first project might be simple, but each new attempt brings better results. Keep notes about what works best for you and the methods you prefer.
We’d love to see your finished napkin holders! Share photos of your creations in the comments below. Tell us about the materials you used and any tips you learned.
Do you have questions about making your holder? Ask us in the comments. Our community loves helping fellow DIY fans succeed with their projects.
Now, grab your supplies and start creating your perfect napkin holder. Your table setting awaits its new handmade addition!
Frequently Asked Questions (FAQs)
How Can I Keep Napkins From Blowing Away?
Use weighted napkin holders, clips, or decorative stones to secure napkins. Alternatively, opt for heavier napkins less prone to being displaced by wind.
How To Make A Napkin Holder Without Power Tools?
Create a simple napkin holder using cardboard, glue, and decorative paper. Fold and assemble the materials securely to form a sturdy and functional holder.
Can Kids Make DIY Napkin Holders Safely?
Yes, with supervision and child-friendly materials like cardboard, glue, and paint. Avoid sharp objects and encourage creativity in crafting their unique designs.

