Ultimate Guide: How to Safely Get Paint Off Your Hardwood Floors
I spilled paint on my hardwood floor last month, and I know how it feels – that sudden panic when you spot those stubborn paint marks ruining your beautiful floors.
Trust me, I’ve been there. After testing several methods (and making a few mistakes along the way), I found safe and effective ways to remove paint without harming the wood underneath.
In this guide, I’ll walk you through proven techniques that really work.
We’ll look at different approaches based on the type of paint you’re dealing with, the tools you’ll need, and step-by-step instructions to get your floors looking clean again.
Let’s get started with getting those paint spots off your floor while keeping your hardwood in perfect shape.
How to Safely Clean Paint Off Hardwood Surfaces
Materials and Tools list

| Method | Materials | Tools |
|---|---|---|
| Dishwashing Liquid |
|
|
| Isopropyl Alcohol & Lemon Juice |
|
|
| Heat |
|
|
| Paint Thinner |
|
|
Quick Note: Store these items safely away from children and pets. When using paint thinner or alcohol-based products, make sure your work area has good airflow.
Essential Preparation Steps
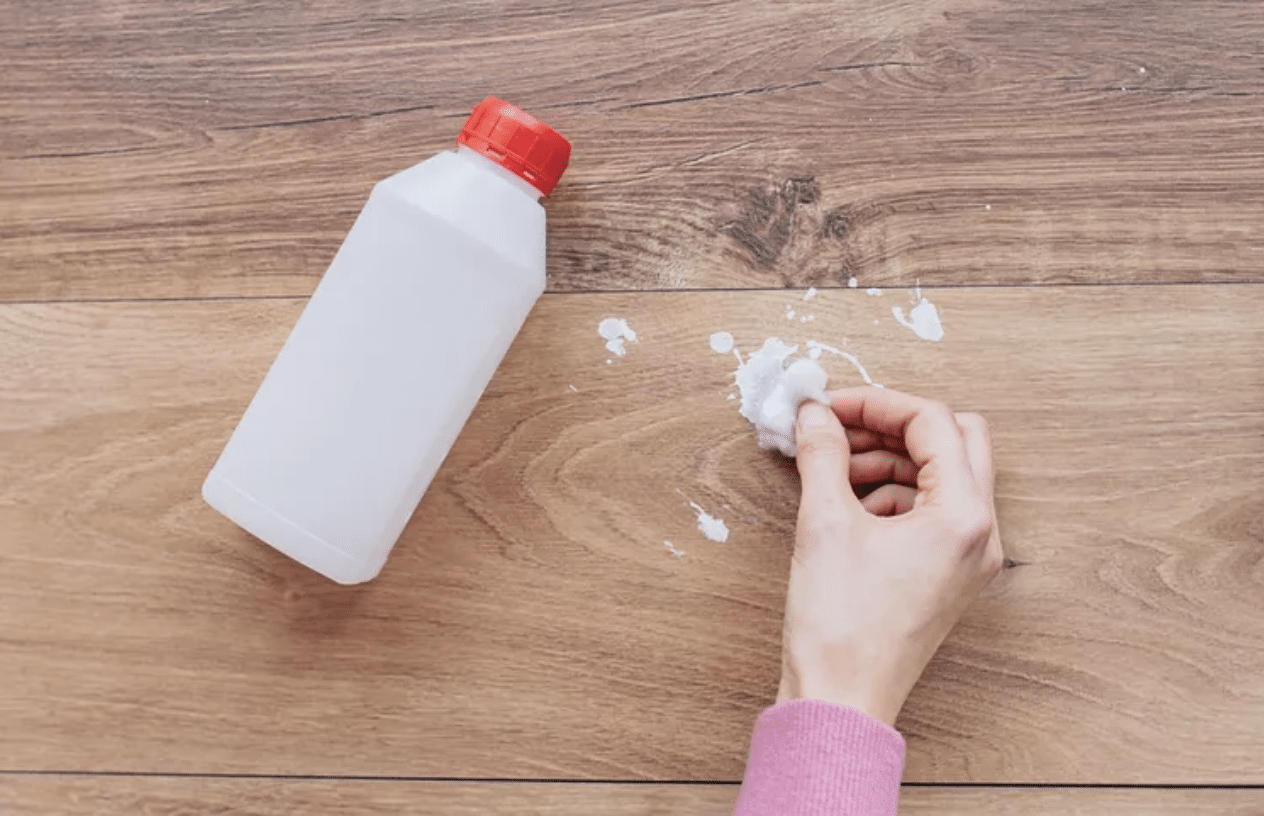
- Test the paint type using a cotton ball soaked in isopropyl alcohol. Watch for paint transfer—if it comes off, it’s water-based; if it stays put, it’s oil-based. This will help you pick the right cleaning method.
- For homes built before 1978, use a lead paint test kit from your local store. This quick test keeps you and your family safe from harmful old paint.
- If your test shows lead paint, stop and call a professional. They’ll safely remove it using the proper tools and methods.
The Gentle Method: Dishwashing Liquid
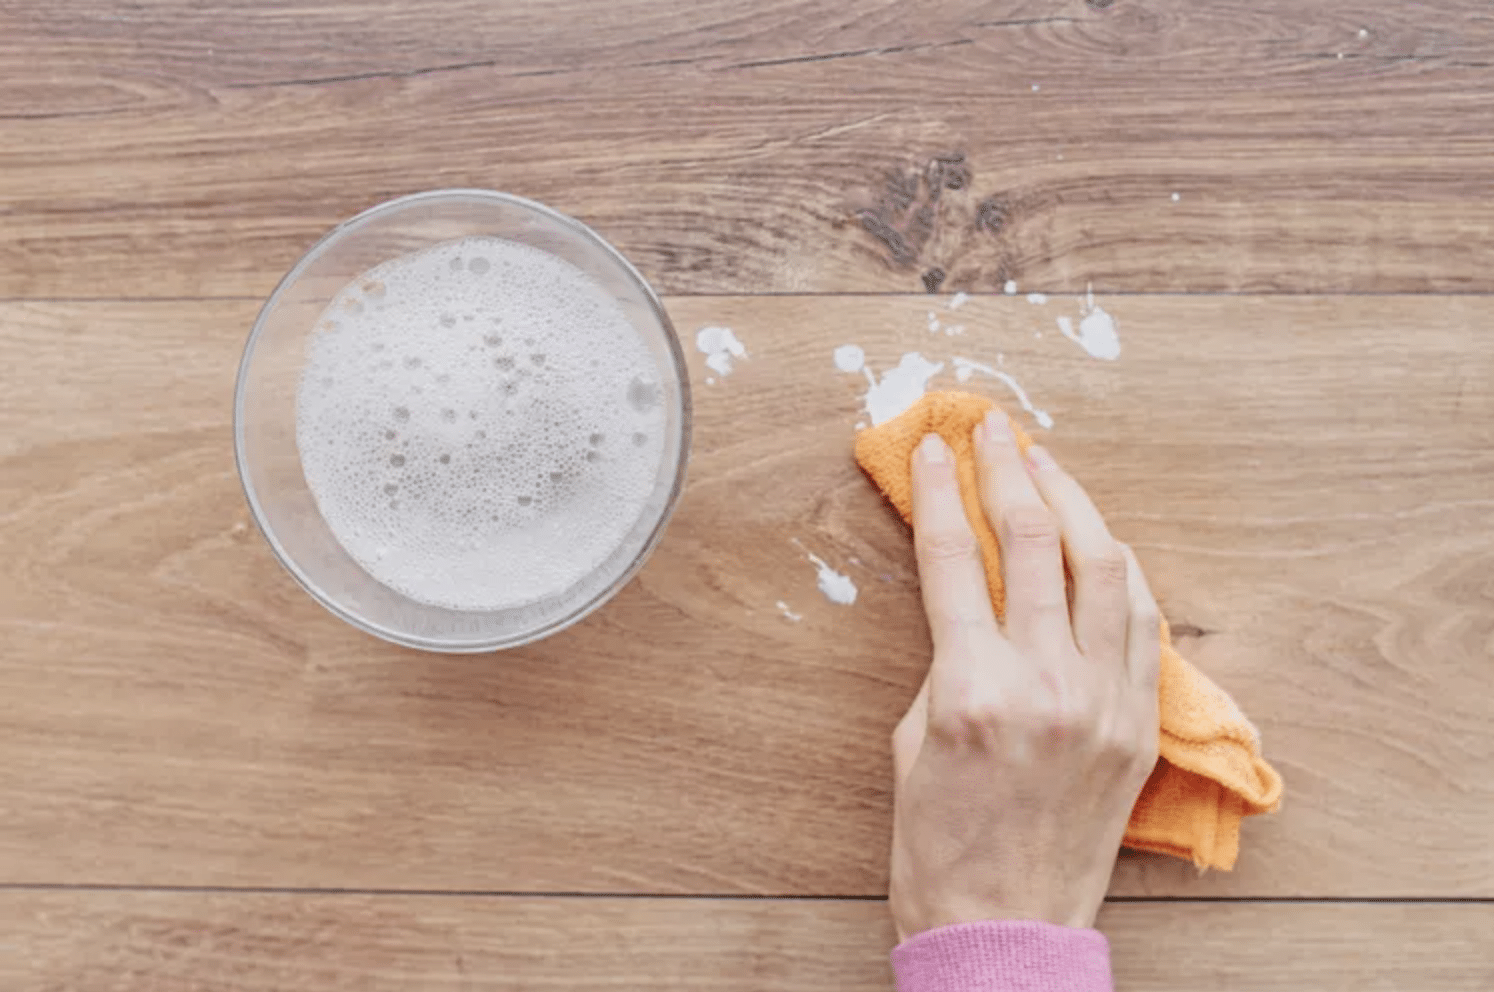
- Create a simple cleaning mix by mixing 2 cups warm water plus 3-4 drops of dishwashing liquid in a bowl until bubbly.
- Dip a microfiber cloth in the mix, squeeze out extra water, and wipe along the wood grain. Use firm but gentle pressure to protect your floor.
- For stubborn spots, use a plastic putty knife at a 45-degree angle to lift paint carefully. Afterward, clean the area with a damp cloth.
The Middle Ground: Alcohol and Lemon Mix

- Prepare your solution by mixing 3 parts isopropyl alcohol with 1 part lemon juice in a bowl. This creates a stronger but still floor-safe cleaning mix.
- Soak a clean rag in the solution and put it on the paint spot. Let it work for 5 minutes, but keep an eye on it to make sure it’s not affecting your floor’s finish.
- Use a nylon brush or old toothbrush to work on the paint in small circles, applying gentle pressure. Finish by wiping the area with a damp rag and drying it with a microfiber cloth to remove any residue.
The Heat Method for Tough Paint
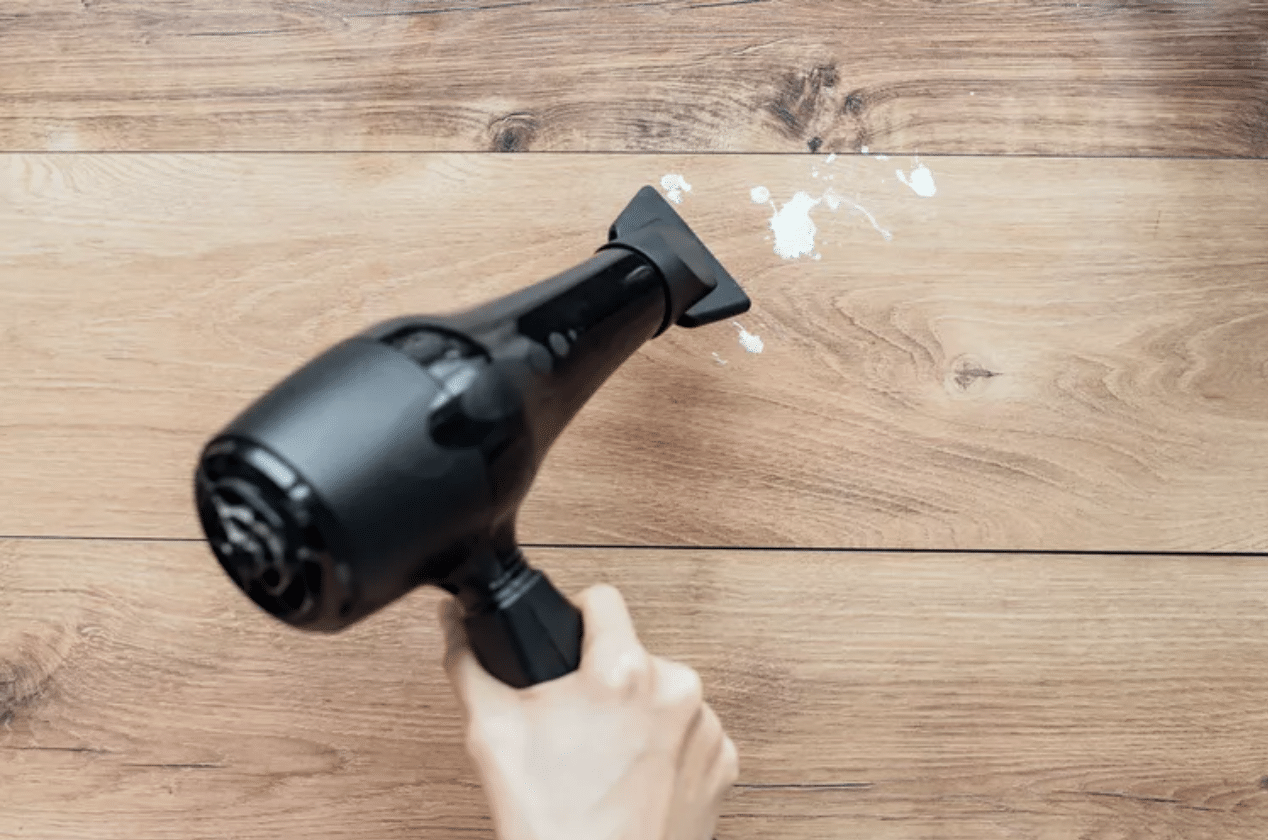
- Set up safely: Clear your space, use a drop cloth, and keep your tools within reach. A good setup prevents accidents and makes cleanup easier.
- Keep your heat source 6 inches from the paint, moving in circles until the paint softens. Never hold heat in one spot—this could harm your floor.
- Once the paint softens, scrape gently with a plastic putty knife. Clean with a damp cloth and dry well. Let the floor cool before use.
Paint Thinner Method (For Oil-Based Paint)

- Safety is crucial: Open windows, use fans, put on gloves and a mask. Remove everyone from the area and check for fire hazards.
- Do a quick test in a hidden spot. Put a small amount of thinner on the floor, wait 10 minutes, and check for any damage. Only continue if your floor shows no bad reaction.
- Apply thinner carefully—dampen a rag (never soak it) and press on the paint for 30 seconds. Wipe along the grain gently. Afterward, clean with a damp cloth and dry well. Let the room air out completely.
Essential Tips for Paint Removal Success
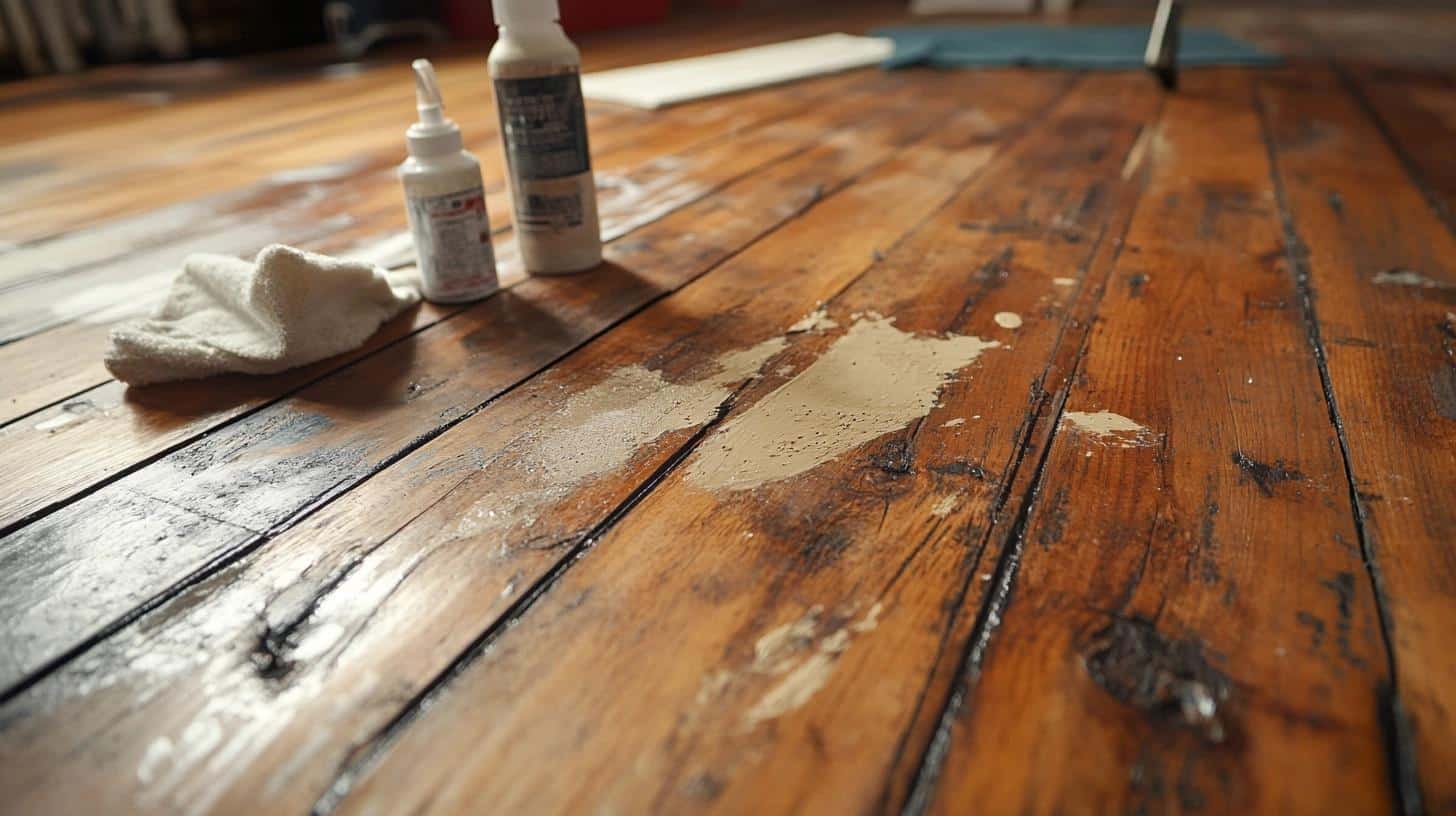
- Always work in small sections at a time. Rushing the job might damage your floors. Test each method on a hidden spot first.
- Never use metal scrapers – plastic putty knives protect your wood better. Keep tools clean and replace them if they get ragged edges.
- Stop immediately if your floor’s finish starts looking dull or damaged. Switch to a gentler method or ask a pro for help.
- Keep rags, clothes, and tools clean. Dirty tools can spread paint and scratch your floor. Use a fresh cleaning solution when it gets murky.
- Work in good lighting to spot any paint residue or floor damage quickly. Natural daylight works best for seeing true colors and shine.
- Start with the gentlest method first – dishwashing liquid solution. Only move to stronger solutions if needed. This helps protect your floor’s finish.
- Clean your tools between sections and dispose of used materials properly. Paint thinners and alcohol need special disposal – check your local guidelines.
How to Tak Care of Your Floor After Paint Removal
- Inspect your floor thoroughly—scan for dull patches, paint specks, or damage. Use extra-fine steel wool to smooth rough spots, always moving with the wood grain.
- Wipe the entire area with a slightly damp cloth and a gentle wood floor cleaner. To prevent future damage, remove all traces of cleaning solutions, paint thinner, or alcohol mixtures.
- Test the floor’s pH with wood testing strips. If it’s too acidic from cleaning products, use a pH-neutral wood cleaner to restore balance.
- If the cleaned area looks duller than the surrounding wood, apply a thin coat of wood floor polish to match your existing finish—matte, satin, or glossy.
- Keep the area well-ventilated and give your floor a full 24 hours to dry. Block off cleaned sections from pets, furniture, and foot traffic.
- Consider using floor protectors on furniture legs and placing mats in high-traffic spots to prevent future scratches and stains.
- Schedule a regular cleaning routine – dust daily, clean weekly with proper wood cleaners, and check periodically for any signs of wear or damage.
- Keep cleaning supplies handy for quick response to future spills – the faster you act, the easier cleanup will be.
Conclusion
I know from experience that finding paint on your hardwood floors feels overwhelming at first. But with the right method and a bit of patience, you can fix this.
Remember to start with the gentlest cleaning option first – sometimes dish soap and warm water are all you need.
If that doesn’t work, move step by step through stronger methods while always protecting your beautiful floors.
Have you tried removing paint from your hardwood floors? I’d love to hear what worked for you.
Drop a comment below to share your tips or ask questions. Your experience might help someone else facing the same problem.
Stay patient, work carefully, and your floors will look clean and fresh again soon.
Frequently Asked Questions
Will Vinegar Damage My Hardwood Floors?
While vinegar can clean floors, use it sparingly mixed with water (1:4 ratio). Too much vinegar can dull your floor’s finish over time. Use only when needed.
Can I Use a Steam Cleaner to Remove Paint?
No. Steam cleaners can push moisture into wood, causing warping and damage. Stick to recommended methods that control moisture better.
What if The Paint Has Been on the Floor for Years?
Old paint requires patience. Start with gentle methods, then move to stronger options. If the paint won’t budge after trying the heat method, contact a floor specialist.
How Do I Remove Paint from Cracks Between Floorboards?
Use a plastic putty knife to loosen the paint, then clean with a soft brush dipped in your cleaning solution. Avoid pushing liquids into the cracks.

