How to Make Your Own DIY Puzzle Table
Building puzzle tables can cost hundreds of dollars. For someone who loves doing puzzles, that’s a lot of money. I faced this same problem last year, so I came up with a simple fix – I built my own puzzle table!
I’ll show you how to make a puzzle table at home using basic tools and materials. This guide will save you money and give you a custom table that fits your needs.
In this step-by-step guide, I’ll share:
- The tools and materials you’ll need
- Clear steps to build the table
- Tips to add useful features like edges and storage
- Ways to finish your table for long-term use
Let’s start making your perfect puzzle workspace!
Understanding Puzzle Table Basics
Before we start building, I want to share what makes a puzzle table work well. From my experience working with puzzles, having the right table setup makes a big difference.
Size Matters
The standard sizes you’ll want to think about are:
- 500 pieces: You’ll need at least 24×24 inches
- 1000 pieces: Plan for 36×30 inches minimum
- 2000+ pieces: Consider 40×40 inches or larger
Surface Quality
Your puzzle table needs a flat, smooth surface. I’ve learned that bumps or rough spots can make pieces sit unevenly. Think about a pool table – that’s the kind of flatness we’re aiming for.
Essential Features
Let me break down what makes a good puzzle table:
- Raised edges: These keep pieces from falling off
- Non-slip surface: This stops pieces from sliding around
- Stable base: The table shouldn’t wobble when you lean on it
- Comfortable height: You should be able to work without hunching over
Extra Helpful Elements
These aren’t must-haves, but they make puzzling more fun:
- Storage drawer: Keeps loose pieces safe
- Cover: Protects your work-in-progress
- Portable design: Helps you move your puzzle easily
- Good lighting setup: Makes color matching easier
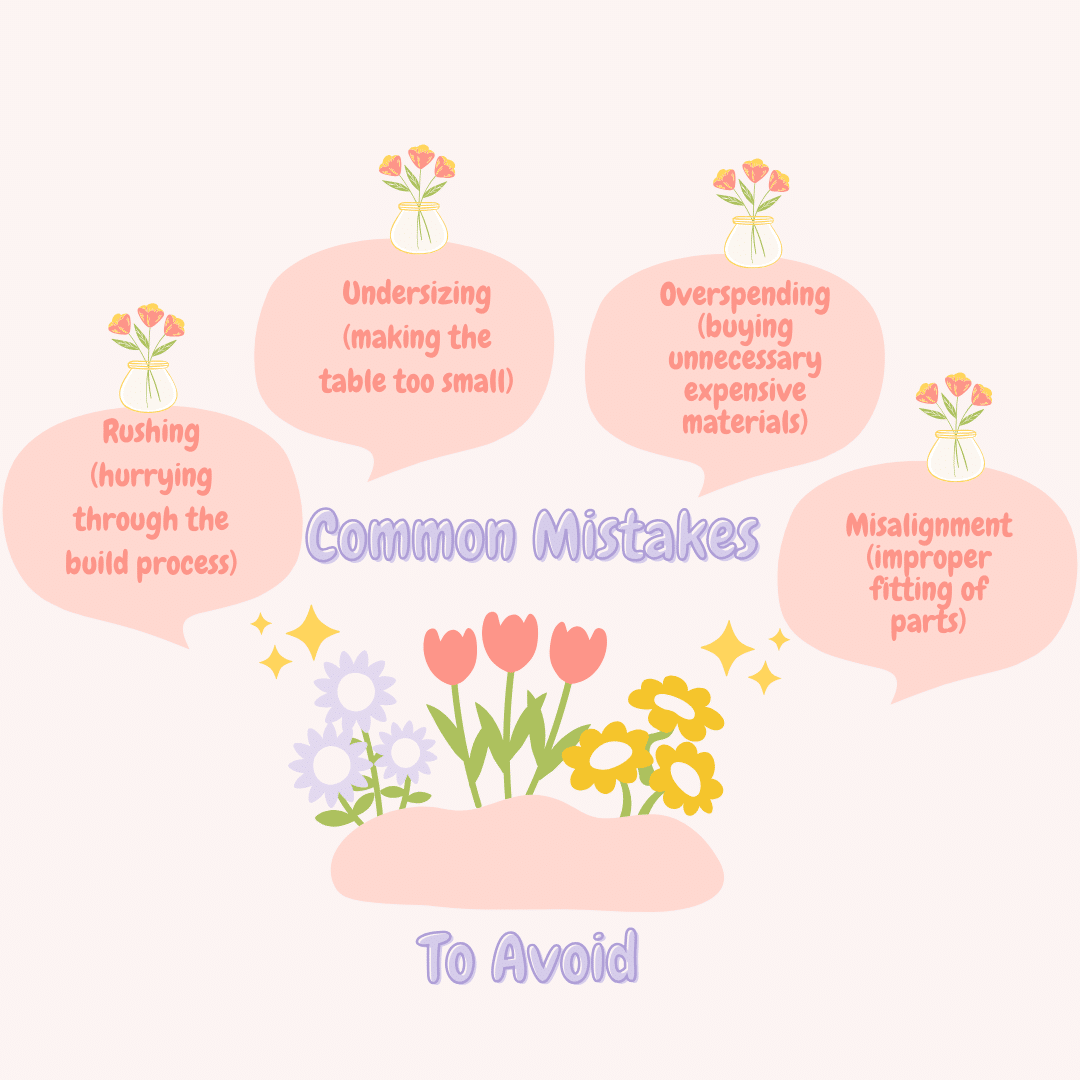
Common Problems to Avoid
I’ve made some mistakes in my early builds that you can learn from:
- Gaps between boards: Pieces get stuck in them
- Weak supports: Leads to sagging in the middle
- Too glossy finish: Creates glare and makes pieces hard to see
- Unstable legs: Cause the whole table to shake
Getting Started Tips
Before you begin:
- Measure your space twice
- Plan for some extra working room
- Think about where you’ll store the table
- Consider if you’ll need to move it often
How to Make Your Puzzle Table
Tools & Materials Required
- Plywood (9×6 standard size)
- Piano hinge
- Hairline hinges
- PVA glue
- Felt material
- Door/window seal (self-adhesive)
- Leather straps
- Clear coat finish
- Wood for frames
- Ruler
- Sharp blade
- Sandpaper
- Screwdriver
- Small blocks (for angle support)
- Basic measuring tools
Step-by-Step Process for Making
1. Base Construction
- Cut plywood to size (9×6)
- Add perimeter edging
- Sand the surface smooth
2. Puzzle Panel Creation
- Create thin straps for the perimeter frame
- Sand the assembly
- Apply clear coat finish
- Add felt covering using PVA glue
- Trim excess felt carefully with a sharp blade
3. Assembly Steps
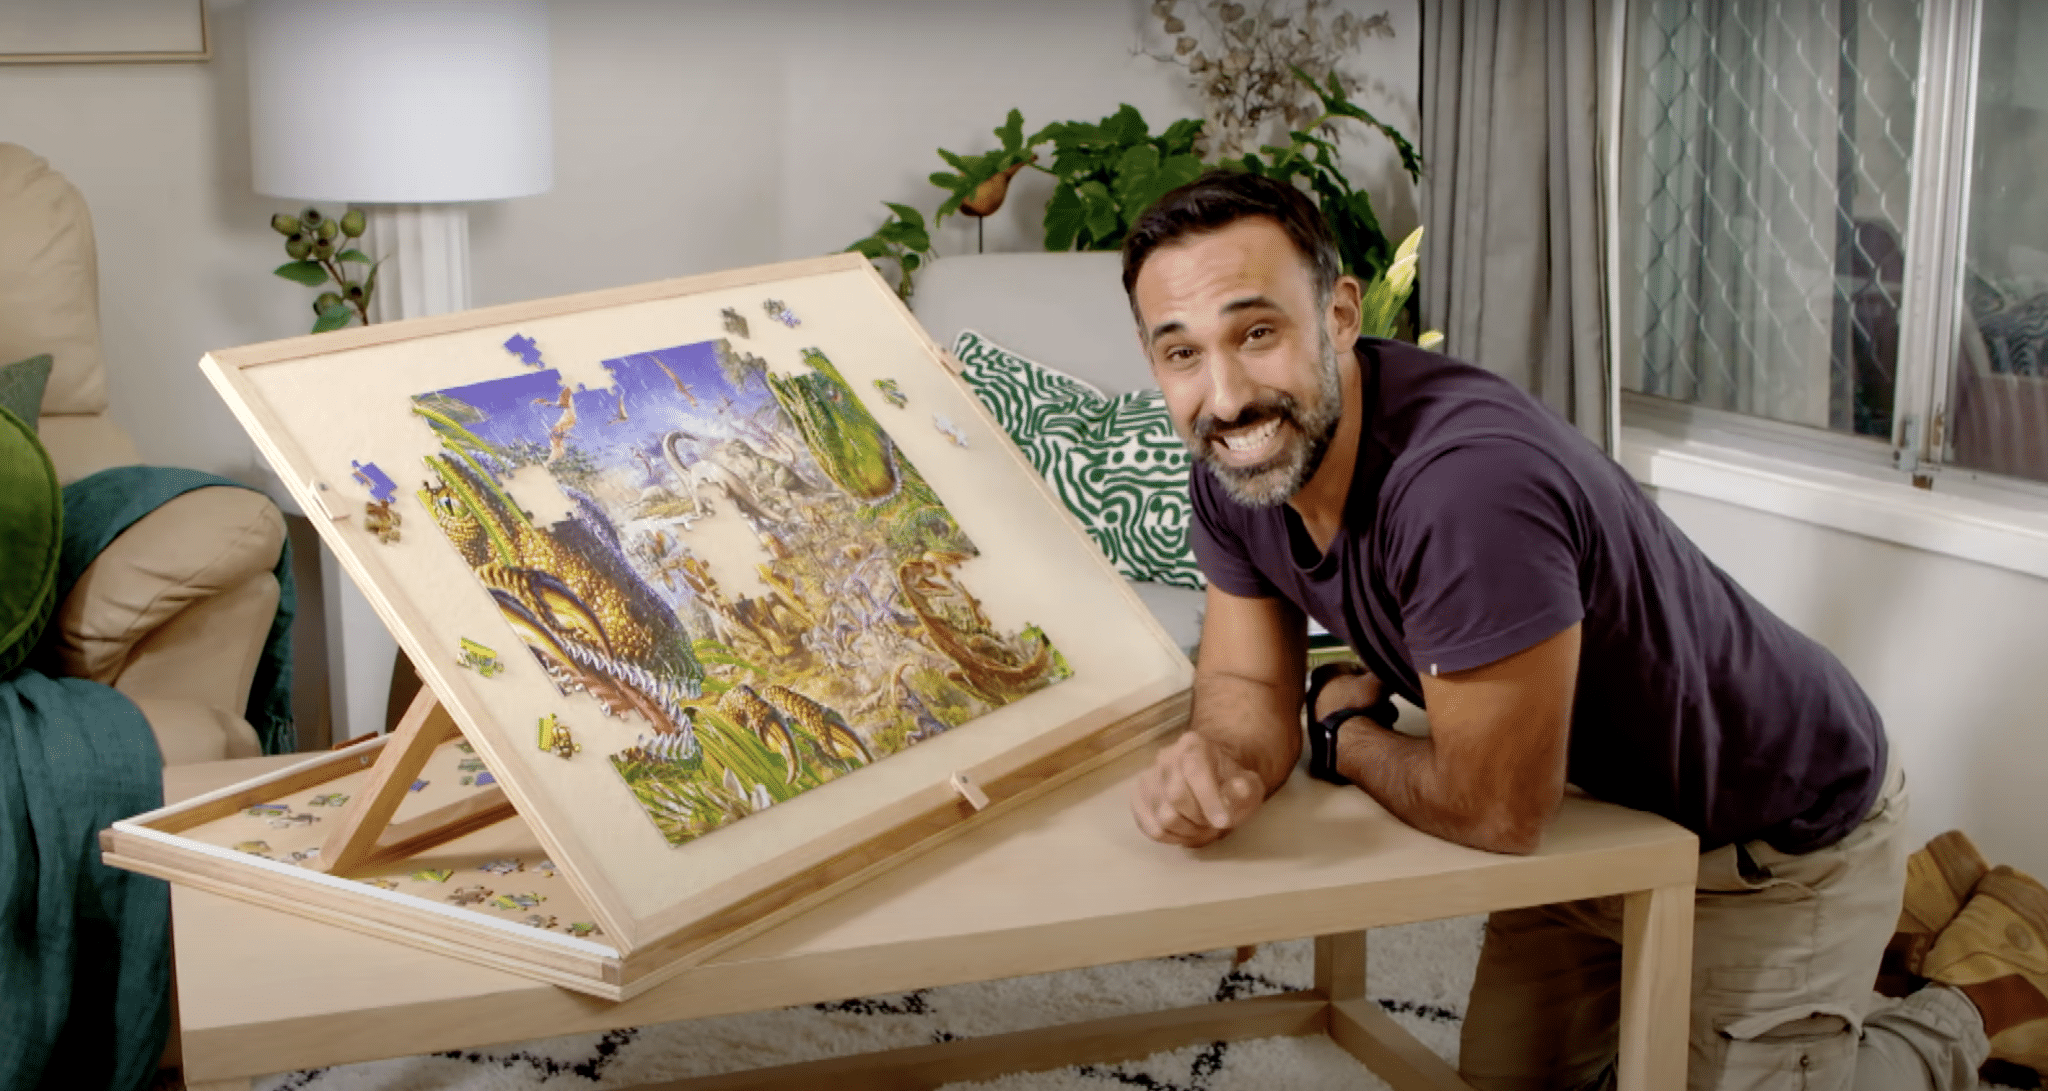
- Attach the puzzle panel to the base using a piano hinge
- Line up hinge with panel edge first
- Connect to the base second
- Create an inner frame to fit inside the box
4. Support System
- Install hairline hinges to connect the inner frame
- Add blocks to maintain a 45° angle
- Place self-adhesive door/window seal to fill gaps
5. Finishing Touches
- Create a lid to fit the top
- Add spacers and twist locks (3 on top)
- Install leather straps on the sides
- Attach carrying handle
- Add closure straps
How to Plan Your Puzzle Table
Before cutting any wood, I want to help you plan your perfect puzzle table. From my time making these tables, good planning saves both time and money.
1. Space Planning
First, think about where you’ll use your table:
- Pick a spot with good natural light
- Make sure you have room to walk around it
- Check that doors can still open fully
- Consider if you need to store it between uses
2. Size Calculations
Let’s talk about the right size for you:
- Measure your favorite puzzles
- Add 6 inches all around for working space
- Include space for a piece sorting area
- Plan extra room if you like bigger puzzles
- Think about storage space when not in use
3. Height Planning
Getting the height right matters a lot:
- Measure your favorite chair’s height
- Add 10-12 inches above the seat
- Test this height with a temporary setup
- Consider if you’ll sit or stand while puzzling
4. Material Selection
Here’s what works best for each part:
- Top surface: Smooth plywood or MDF
- Edges: Solid wood strips
- Base: Sturdy legs or cabinet design
- Cover: Lightweight but solid material
5. Feature Planning
Think about which extras you want:
- Built-in storage drawers
- Fold-down sides
- Rolling wheels
- Adjustable height options
- Lighting attachments
- Cover system
6. Budget Planning
Let’s break down costs:
- List all materials needed
- Include tools you might need to buy
- Add extra for unexpected needs
- Compare material options for the best value
- Plan for finishing materials
7. Time Planning
Set realistic timeframes:
- One day for gathering materials
- One day for cutting pieces
- One day for assembly
- One day for finishing
- Extra time if adding special features
8. Practical Tips
These help avoid common issues:
- Draw your design on paper first
- List measurements for all pieces
- Check tool availability
- Plan your work area
- Think about moving the finished table
Approximate Cost Required for Making DIY Puzzle Table
| Item | Quantity/Description | Cost Range ($) |
|---|---|---|
| Basic Materials | ||
| Plywood (9×6) | 1 sheet | 25-35 |
| Piano hinge | 1 | 8-12 |
| Hairline hinges | Set of 4 | 10-15 |
| Felt covering | 1 roll | 10-15 |
| Wood for frames | As needed | 15-20 |
| Door/window seal | 1 roll | 5-8 |
| Leather straps | 1 set | 12-18 |
| Clear coat finish | 1 can | 10-15 |
| PVA glue | 1 bottle | 5-8 |
| Screws and small hardware | As needed | 8-12 |
| Optional Add-ons | ||
| Wheels | Set of 4 | 15-20 |
| LED light strip | 1 roll | 12-18 |
| Storage drawer materials | As needed | 20-25 |
| Better quality felt | 1 roll | 15-25 |
| Decorative handles | Set of 2 | 8-15 |
| Cost Ranges | ||
| Basic build | 100-140 | |
| Mid-range with some extras | 150-180 | |
| Deluxe version with all features | 200-250 |
Money-Saving Tips
- Check local hardware stores for sales
- Buy materials in bulk if making multiple tables
- Use leftover materials from other projects
- Look for discontinued items at stores
- Ask about damaged wood sections at reduced prices
- Share tool costs with friends
- Buy basic versions of items that work just as well
Best Customization & Personalization Tips
1. Surface Design Options
I’ve tried several surface treatments that worked well:
- Add a thin layer of cork for better grip
- Paint the edges in your favorite colors
- Create borders with decorative wood trim
- Put in magnetic sheets under felt for metal puzzles
- Make patterns with different wood stains
- Install a non-slip mat that you can remove
2. Storage Solutions
Here’s how you can add smart storage:
- Build small boxes along the sides for pieces
- Make pull-out trays beneath the main surface
- Create divided sections for sorting
- Install thin drawers for puzzle tools
- Add hooks on the sides for hanging tools
- Build a fold-down shelf for extra workspace
3. Comfort Features
These additions make puzzling more fun:
- Put in armrests along the edges
- Create a cushioned edge for leaning
- Make the height changeable with adjustable legs
- Add a slide-out drink holder
- Install a small book stand for pattern reference
- Build in a phone/tablet holder
4. Lighting Elements
Good lighting helps a lot:
- Install USB-powered light strips
- Make a movable lamp attachment
- Put in battery-operated spotlights
- Create a clear cover with built-in lights
- Add clip-on reading lights
- Make spots for extra lamps
5. Mobility Features
These help you move your table:
- Install good-quality wheels with locks
- Make the table fold flat
- Create carrying handles that fold down
- Build it in sections that come apart
- Add sliding panels for size changes
- Make legs that fold up
6. Special Additions
Some fun extras to think about:
- Build in a timer for speed puzzling
- Make ruler marks along the edges
- Create special spots for drinks
- Install a power strip for charging
- Add a built-in magnifying glass holder
- Make a special cover that doubles as storage
7. Kid-Friendly Options
If children use the table too:
- Paint surfaces with erasable paint
- Make edges extra smooth and round
- Add child-height adjustments
- Create special storage for kid puzzles
- Install safety locks on moving parts
- Use bright, fun colors
8. Protection Features
Keep your puzzles safe with these:
- Build a dust cover that fits well
- Make sliding panels to close work areas
- Create corner protectors
- Install rubber edges for bump protection
- Add water-resistant coating
- Make a top that locks in place
Conclusion
Building your own puzzle table opens up a new way to enjoy your hobby. I built mine last year, and it’s completely changed how I do puzzles. No more taking over the dining table or rushing to finish before dinner!
With basic tools and around $100-250, you can create a custom workspace that perfectly fits your needs.
The best part? You’ll have a table that works just how you want it to.
Ready to start your build? I’d love to hear how your puzzle table turns out! Share your progress in the comments below, or if you have questions about any steps, drop them here.
Let’s make puzzle-building better together!
Frequently Asked Questions
Is It Cheaper to Build or Buy a Puzzle Table?
Building costs $100-250, while store-bought tables run $300-600. Making your own saves money and lets you pick exactly what features you want and need.
What Are Easy Puzzle Table Designs for Beginners?
Start with a flat-top design using plywood, simple edges, and felt covering. Add basic hinges for a lid. This setup needs a few tools and basic skills.
Are Puzzle Tables Worth It?
Yes! A puzzle table keeps your work safe, saves space, and makes the hobby more fun. You’ll finish more puzzles and protect your back from bending over tables.

