How to Build a DIY Closet System from Scratch
Are you tired of your messy closet space? I know the feeling. After dealing with a disorganized closet for years, I finally built a storage system that fits my needs perfectly.
Building a closet system might sound hard, but I promise it’s not. With some basic tools and materials, you can create a custom closet that works just right for you.
Plus, you’ll save money compared to buying pre-made systems.
In this guide, I’ll show you my step-by-step process for making a DIY closet system. I’ve made the steps simple so you can build your dream closet this weekend.
How to Plan Your DIY Closet System
Through my projects, I learned that good planning makes the actual building much easier.
| Step | Details |
|---|---|
| Measure Your Space | • Total width of the wall • Height from floor to ceiling • Depth from wall to door • Odd corners or angles • Closet door opening width |
| List Your Storage Needs | • Count hanging clothes (long and short items) • Shoes and boots • Folded clothes for shelves • Small items for drawers • Bags and accessories |
| Draw Your Layout | • Mark hanging rod placements • Indicate shelf locations and sizes • Show drawer placement • Leave walking space • Include measurements |
| Choose Your Materials | • Wood or laminate for shelves • Closet rods and brackets • Screws and wall anchors • Shelf supports • Paint or finish (if using raw wood) |
| Set Your Budget | • Materials (wood, hardware, etc.) • Tools you might need to buy • Extra supplies like sandpaper or paint • Add 10% for unexpected needs |
| Make a Timeline | • One day for buying materials • One day for cutting materials • Two to three days for building • One day for finishing touches |
Step-by-Step Process to Build DIY Closet System
Tools & Materials Required
| Category | Item |
|---|---|
| Basic Tools | Nail gun |
| Paint roller (small foam) | |
| Angle paint brush | |
| Pocket hole jig | |
| Measuring tape | |
| Painter’s tape | |
| Saw for cutting boards | |
| Materials | MDF boards (12-inch wide, 8-feet long) |
| 1×2 pine or poplar boards for trim | |
| 1×1 boards for shoe cubby trim | |
| Closet rods and brackets | |
| Pocket screws | |
| Wood filler | |
| Caulk | |
| White paint | |
| Wall anchors/screws |
Step-by-Step Process for Building
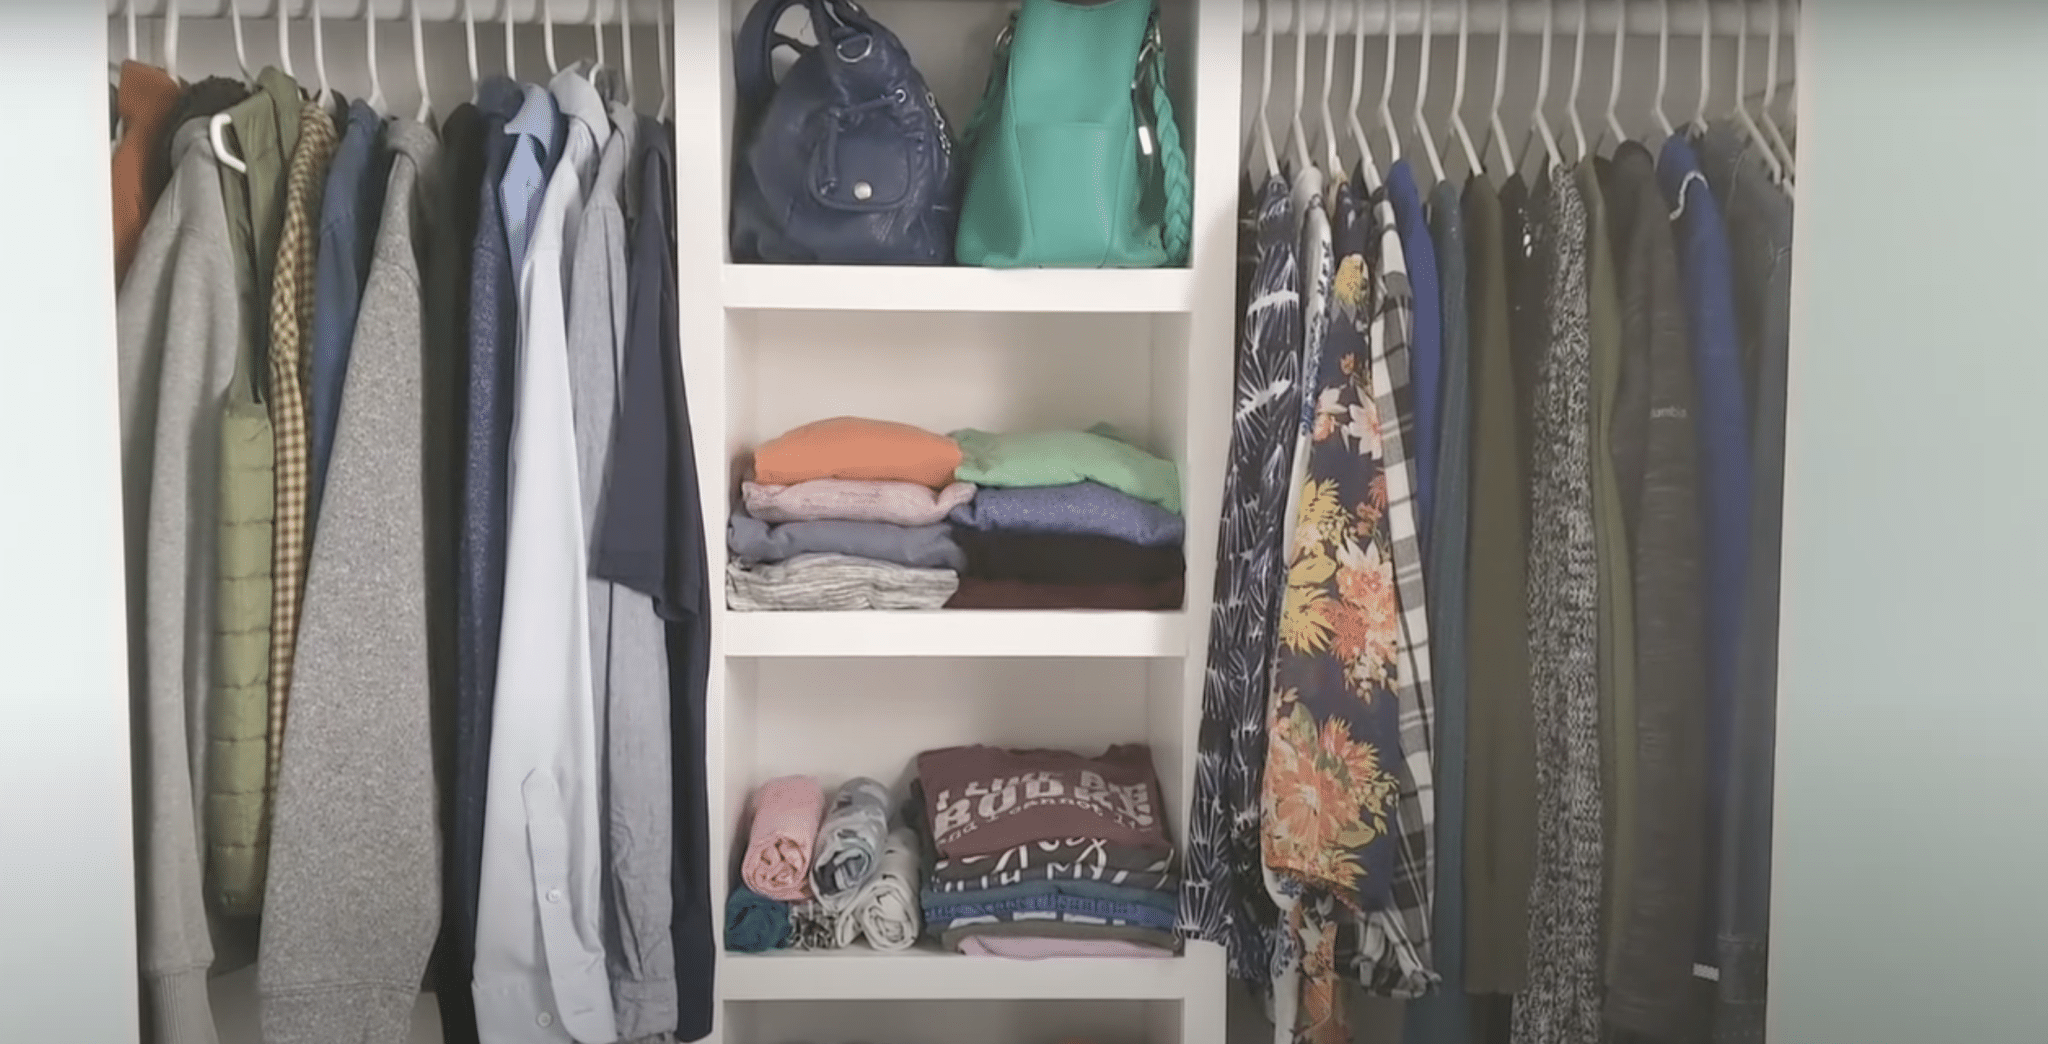
1. Preparation
- Remove old shelves and closet bars
- Paint walls white
- Use painter’s tape to mark the design layout
- Measure and cut MDF boards to size
2. Middle Section Assembly
- Cut vertical sideboards
- Cut middle shelves
- Add pocket holes to shelf bottoms
- Attach shelves to the first side board using pocket screws
- Attach the second sideboard
- Place the assembled unit in the closet center
3. Bottom Shoe Storage
- Mount support board to the wall (accounting for baseboards)
- Cut shelf supports from MDF
- Place shelf boards
- Secure with a nail gun
- Add dividers for shoe cubbies
- Nail shelves to dividers
4. Top Section
- Install top shelf
- Add support boards on end walls
5. Finishing Touches
- Paint inside of shelves
- Add 1×2 trim boards to shelf fronts
- Use 1×1 trim for shoe cubbies
- Fill holes with wood filler
- Apply caulk where needed
- Paint entire unit
- Install closet rods
Approximate Cost Required for Building
| Category | Item | Quantity | Cost per Item ($) | Total Cost ($) |
|---|---|---|---|---|
| Basic Materials | MDF Boards (8ft x 12in) | 4 | 25-30 | 100-120 |
| Trim – 1×2 pine boards | 6-8 | 8-10 | 48-80 | |
| Trim – 1×1 boards for cubbies | 6-8 | 5-6 | 30-48 | |
| Hardware | Pocket screws | 1 set | 8-10 | 8-10 |
| Wall anchors | 1 set | 5-7 | 5-7 | |
| Closet rods | 2 | 12-15 | 24-30 | |
| Rod brackets | 4 | 5-6 | 20-24 | |
| Finishing Materials | White paint (1 gallon) | 1 | 25-30 | 25-30 |
| Wood filler | 1 | 6-8 | 6-8 | |
| Caulk | 1 | 4-5 | 4-5 | |
| Paint supplies (roller, brush) | 1 set | 15-20 | 15-20 | |
| Total Project Cost | 260-323 |
Money-Saving Tips
- Buy materials during hardware store sales.
- Use leftover paint if you have it
- Look for bulk hardware deals
- Check local stores for marked-down boards
Note: Prices may differ based on your location and store choice. This estimate assumes you own basic tools like a nail gun and saw.
Benefits of DIY Closet System
1. Cost Savings Benefits
- Building your own system costs about $260-323
- Similar pre-made systems often cost $800-1,200
- You save around 60-70% on total costs
- No installation fees to pay
2. Space Optimization
- Each shelf fits your exact closet measurements
- No wasted space between units
- You can adjust shelf heights to your needs
- Make use of every corner and odd angle
- Build around existing features like baseboards
3. Storage Benefits
- Make shoe cubbies sized for your shoes
- Add the exact number of hanging rods you need
- Create custom shelf spacing for folded items
- Build specific spots for bags and accessories
- Include drawers where you want them
4. Quality Control
- Pick materials that match your needs
- Choose better wood than pre-made units
- Add extra support where needed
- Fix any issues right away
- Make repairs easily if needed
5. Personal Satisfaction
- Learn new building skills
- Feel good about making something useful
- Know how to fix or modify it later
- Show others what you made
- Take before and after photos
6. Long-term Value
- Fix small issues before they grow
- Change parts as needs change
- Add more storage spots later
- Keep the system looking fresh with touch-ups
- Make it last many years with good care
DIY vs. Pre-Made Systems – Cost Comparision Analysis
| Category | DIY System ($) | Pre-Made Basic Unit ($) | Pre-Made Mid-Range Unit ($) | Professional Installation ($) |
|---|---|---|---|---|
| Materials/Components | ||||
| MDF Boards | 100-120 | – | – | – |
| Trim Pieces | 60-75 | – | – | – |
| Hardware | 50-65 | – | – | – |
| Finishing Items | 50-63 | – | – | – |
| Total DIY Cost | 260-323 | – | – | – |
| Pre-Made Costs | ||||
| Main Storage Unit | – | 400-500 | 600-800 | – |
| Installation Kit | – | 50-75 | 100-150 | – |
| Extra Shelves | – | 100-150 | 200-300 | – |
| Shoe Storage | – | 150-200 | – | – |
| Drawer Units | – | 200-300 | – | – |
| Hardware/Special Features | – | – | 100-300 | – |
| Total Pre-Made Cost | – | 900-1,225 | 1,200-1,700 | – |
| Professional Installation | ||||
| Labor | – | – | – | 200-400 |
| Extra Parts | – | – | – | 50-100 |
| Tools/Equipment | – | – | – | 50-75 |
| Total Installation Cost | – | – | – | 300-575 |
| Money Saved with DIY | ||||
| Vs Basic Pre-Made Unit | 640-902 | – | – | – |
| Vs Mid-Range Pre-Made Unit | 940-1,377 | – | – | – |
| Vs Professional Installation | Save extra $300-575 | – | – | – |
How to Maximize Space & Functionality
Smart Vertical Planning
- Install high shelves for seasonal items
- Use double-hanging rods for shorter clothes
- Add hooks on end panels for belts and scarves
- Place drawers at waist height for easy reach
- Keep everyday items at eye level
- Store shoes at the bottom for stability
Zone Creation Strategy
1. Work Clothes Section
- Hanging space for suits and dresses
- Shelf for folded work shirts
- Small drawers for ties and accessories Cost: $75-100 for extra rods and drawers
2. Casual Clothes Area
- Open shelves for T-shirts and sweaters
- Hooks for jackets and hoodies
- Pull-out bins for workout clothes Cost: $50-70 for bins and hooks
3. Shoe Organization
- Angled shelves for heels
- Cubbies for flat shoes
- Larger spaces for boots
- Clear boxes for special shoes Cost: $80-100 for specialty shelving
4. Accessory Management
- Small divided drawers for jewelry
- Belt hooks on side walls
- Scarf hangers on the rod end
- Hat shelves up high Cost: $40-60 for organizers
Smart Storage Solutions
- Add pull-out baskets: $15-20 each
- Install drawer dividers: $10-15 per drawer
- Use shelf dividers: $8-12 each
- Add label holders: $5-8 per section
- Include valet hooks: $12-15 each
Space-Saving Tips
- Use slim hangers ($25-30 per pack)
- Install sliding drawers ($40-50 each)
- Add corner shelves ($30-35 per corner)
- Include fold-down ironing board ($45-55)
- Use door-mounted storage ($35-45)
Lighting Improvements
- Battery-operated LED strips: $20-25
- Motion sensor lights: $15-20 each
- Push-button spots: $10-12 each
- Light bars: $30-35 each. Total lighting: $75-90
Conclusion
Building your own closet system might take a weekend of work, but the results are worth it. I saved over $900 compared to buying a pre-made unit, and my closet fits my needs perfectly.
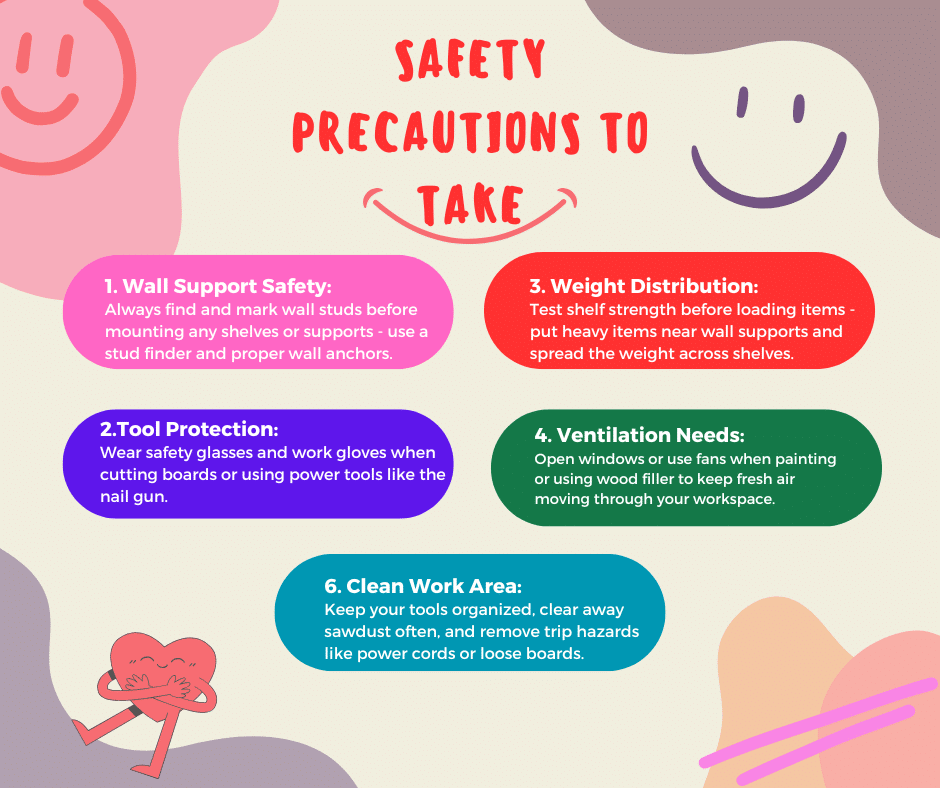
Remember to measure twice and cut once, wear safety gear, and take time with each step. The key is proper planning and careful building.
I hope this guide helps you create a closet system that works for you. If you’re ready to start, grab your measuring tape and make a list of what you need to store.
Your organized closet space is just a project away!
Frequently Asked Questions
What are Some Budget-Friendly DIY Closet Ideas?
For quick storage, use plastic bins, hanging shoe bags, and tension rods. Add milk crates as cubbies. Paint old boxes for shelf storage. Make cardboard dividers.
Is It Cheaper to Build or Buy a Closet Organizer?
Building your closet system costs around $260-323, while pre-made systems run $900-1,700. You’ll save at least $600 by making it yourself, plus get custom features.
How Long Will It Take to Build a DIY Closet?
A basic DIY closet takes about 2-3 days: one day for planning and buying materials, one for cutting and assembly, and a final day for painting and finishing.

