DIY Drop Cloth Curtains: A Complete Tutorial
Buying ready-made curtains can cost hundreds of dollars, and finding the perfect size often feels impossible.
I know because I’ve been there – measuring windows and comparing prices until my head spins.
Here’s the good news: You can make beautiful, custom-sized curtains using drop cloths that look just as nice as store-bought ones at a fraction of the cost.
I’ll show you how I did it in my own home.
In this guide, I’ll walk you through my step-by-step process for creating drop-cloth curtains. You’ll learn to measure, prepare the fabric, add grommets, and hang your curtains perfectly.
Plus, I’ll share my favorite tips for getting professional-looking results.
What Are Drop Cloths?
Drop cloths are large pieces of fabric that painters use to protect floors and furniture. But they’re so much more than just protective covers! I’ve found them to be perfect for home projects, especially curtains.
The two most common types of drop cloths you’ll find are:
1. Cotton Drop Cloths
Cotton drop cloths offer a light to medium-weight option perfect for most windows. I chose these for my guest room because they have a soft texture similar to store-bought curtains.
They wash and iron easily, creating natural folds that look stylish.
2. Canvas Drop Cloths
Canvas drop cloths provide a sturdier choice that’s great for large windows. I use these in my living room because they block more light. After a few washes, the fabric becomes quite soft while keeping its shape.
They handle daily opening and closing without wearing out.
Why Drop Cloths Are Great for Curtains
I love using drop cloths for curtains because:
- They cost much less than regular curtain fabric
- The neutral color matches any room style
- The fabric is already hemmed on all sides
- They come in large sizes, perfect for tall windows
- The material blocks light well
- They wash and iron easily
- The cotton-poly mix prevents much shrinking
- They last for years with proper care
How Do Drop Cloth Curtains Compare to Traditional Curtains?
1. Cost Comparison
Store-bought curtains can cost $50 to $200 per panel. I made all my living room curtains with drop cloths for under $60 total. One 6×9 foot drop cloth costs around $10-15, making enough fabric for two panels.
You won’t need to pay extra for hemming since drop cloths come finished.
2. Style Differences
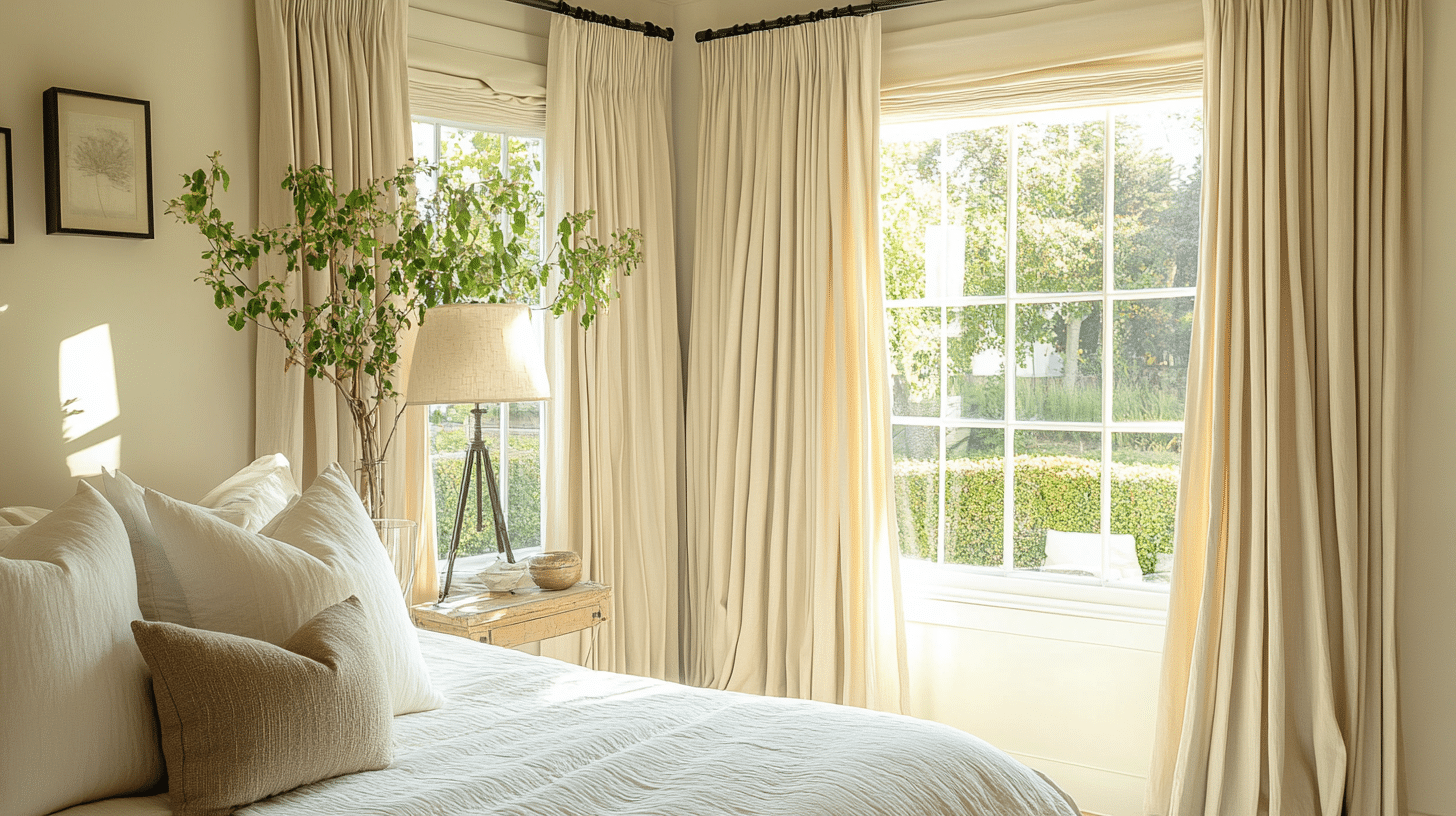
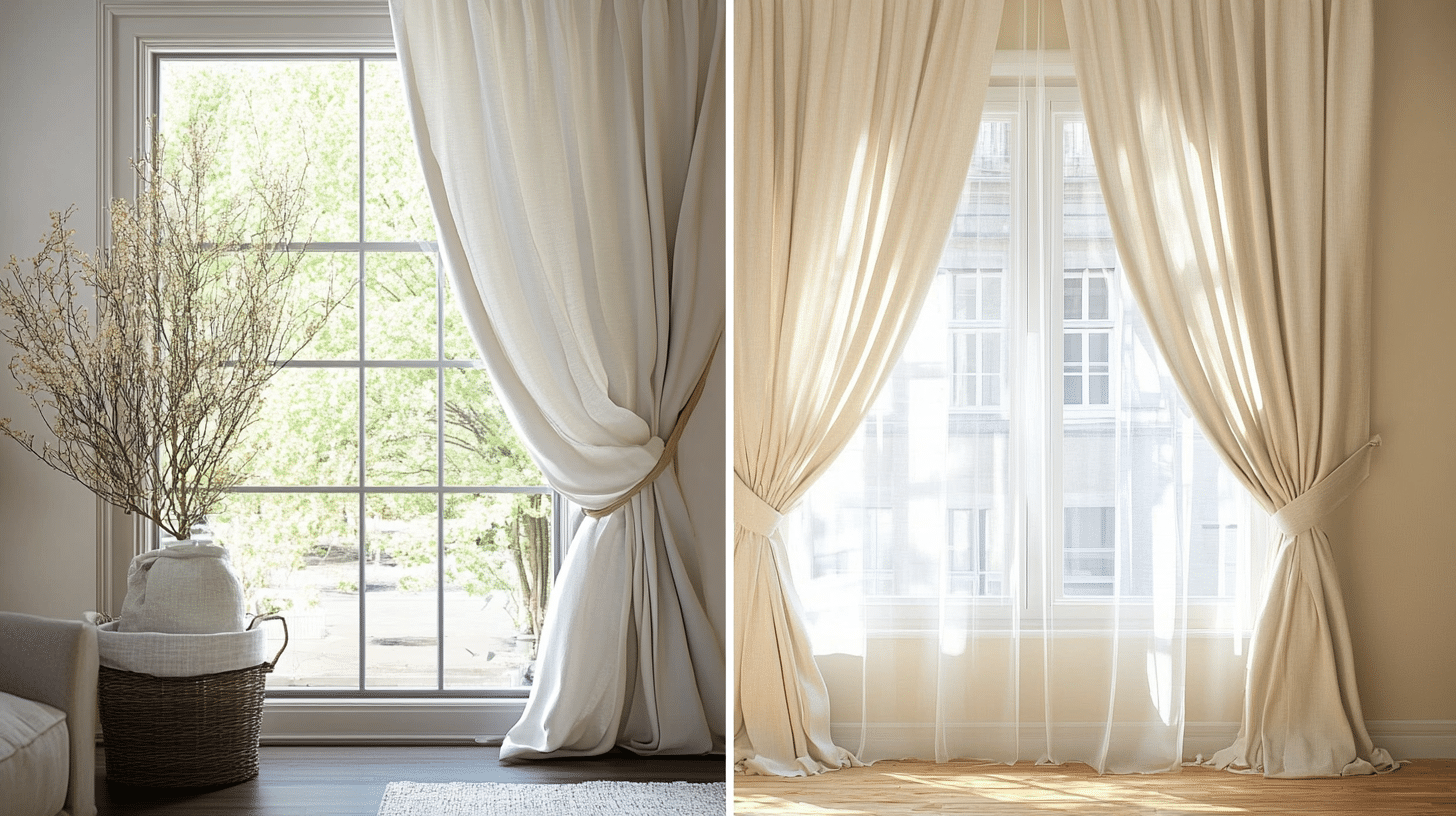
I’ve found that drop-cloth curtains look just as good as pricey ones. The natural cotton color fits perfectly with any room style. They drape beautifully, creating soft folds like linen curtains.
Most guests can’t tell they weren’t bought at a fancy store when washed and ironed.
3. Durability
My drop cloth curtains have lasted four years now and look as good as day one. The fabric holds up well to sunlight without fading.
They handle washing easily—I’ve cleaned my multiple times with no problems. The thick material resists tears better than many store curtains I’ve owned.
4. Light Control
These curtains block light well, especially canvas ones. I use them in my bedroom; they keep the morning sun out nicely.
Cotton drop cloths filter light softly, creating a warm glow. If you want complete darkness, you can add a blackout liner, just like regular curtains.
5. Maintenance
Caring for drop cloth curtains is simple. I wash mine in warm water and dry it on medium heat. They resist wrinkles better than many store curtains. Ironing is optional but gives a crisp look.
Spot cleaning works well for small marks; the neutral fabric hides dust between washes.
Selecting the Right Drop Cloth
Sizes Available
Drop cloths come in many standard sizes to fit different windows. Most stores offer 4×5, 6×9, 8×10, 9×12, and 12×15-foot options. For standard 8-foot ceilings, I usually pick 6×9 cloths.
For taller windows, I go with 9×12. Here’s my rule: multiply your window’s width by 1.5 or 2 to get the right panel width. This creates those nice folds when the curtains are closed.
What to Look For
When I shop for drop cloths, I focus on three key things. First, I check the weave—a tight, even weave that looks more like proper curtain fabric. Run your hand over the cloth; it should feel smooth without loose threads or bumps.
Next, test the weight. Pick up the cloth and let it fall – it should drop straight down without being too stiff. Too light, and it won’t hang well; too heavy, and it won’t fold nicely when opened.
The texture matters, too. Some drop cloths have a rougher finish that softens after washing, while others come pre-softened.
I prefer the pre-softened ones because they require less prep work, but both types work well once properly prepared. Look for cloths without obvious seams or patches in the middle.
Essential Tools for Making Drop Cloth Curtains
| Tool/Material | Description |
|---|---|
| Drop Cloths | Large, seamless cloths for curtains |
| Metal Curtain Poles | 10-foot, ½-inch metal rods |
| Metal Saw | For cutting poles to the required length |
| KILZ Spray Primer | Primer for a smooth, white base on poles |
| White Spray Paint | Final coating to match the patio’s decor |
| Ring Clips | Black metal clips to attach cloths to the rods |
| Metal Hooks | Hooks to support poles on the patio frame |
| Screwdriver/Drill | For securing hooks to the patio frame |
| Washing Machine and Iron | To clean and smooth out the drop cloths |
Preparing Your Drop Cloths
1. Washing and Shrinking
I never skip pre-washing my drop cloths – it’s a must-do step. The fabric often comes stiff with sizing chemicals. Pre-washing removes these, makes the fabric softer, and takes care of any shrinking before you hem.
I learned this the hard way when my first curtains shrank after washing!
Step-by-Step Washing Instructions
- Wash in warm water on a normal cycle
- Use regular detergent – no need for special products
- Add 1/2 cup white vinegar to soften the fabric
- Dry on medium heat until fully dry
- Run through a second wash if the fabric feels stiff
- Dry again, removing promptly to limit wrinkles
2. Bleaching and Dyeing Options
How to Lighten the Fabric
- Fill washer with hot water
- Add 2 cups of bleach
- Soak cloths for 30 minutes
- Run through regular wash cycle
- Repeat if needed for lighter color
- Always wash once more to remove bleach
Dyeing Techniques
- Pick RIT or other fabric dyes
- Use hot water in a large tub
- Add salt to help color stick
- Stir fabric often for even color
- Wash separately until water runs clear
- Test a small piece first
3. Removing Wrinkles and Ironing Tips
- Iron while slightly damp for best results
- Use cotton setting with steam
- Work in small sections
- Keep iron moving to prevent burns
- Start with main panel areas
- Finish with edges and hems
- Hang right away after ironing
- Use wrinkle release spray for touch-ups
Step-by-Step Instructions for DIY No-Sew Drop Cloth Curtains
Step 1: Gather and Prepare Materials
- Purchase five large drop cloths (Home Depot’s drop cloths work best since they don’t have a seam in the middle).
- Wash and iron each drop cloth to remove wrinkles and any factory coating that might stiffen the fabric. Washing also helps the drop cloths hang more naturally.
Step 2: Set Up Curtain Rods
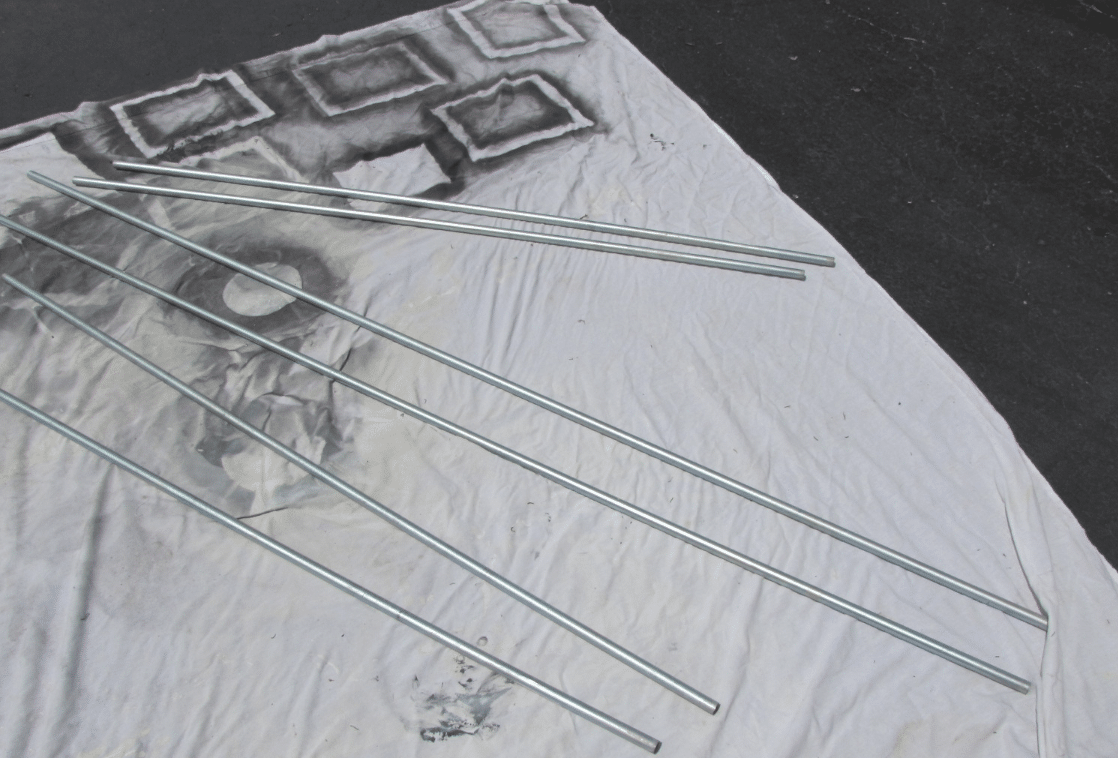
- Purchase two 10-foot metal poles (½ inch thick), which you’ll cut into the appropriate lengths.
- Use a metal saw to cut each pole to about 7 feet for each patio side. This ensures the rods fit your patio area well.
- Spray the poles with a primer (like KILZ spray primer) and a top coat of white spray paint for a smooth, finished look.
Step 3: Attach Hooks for Rod Support
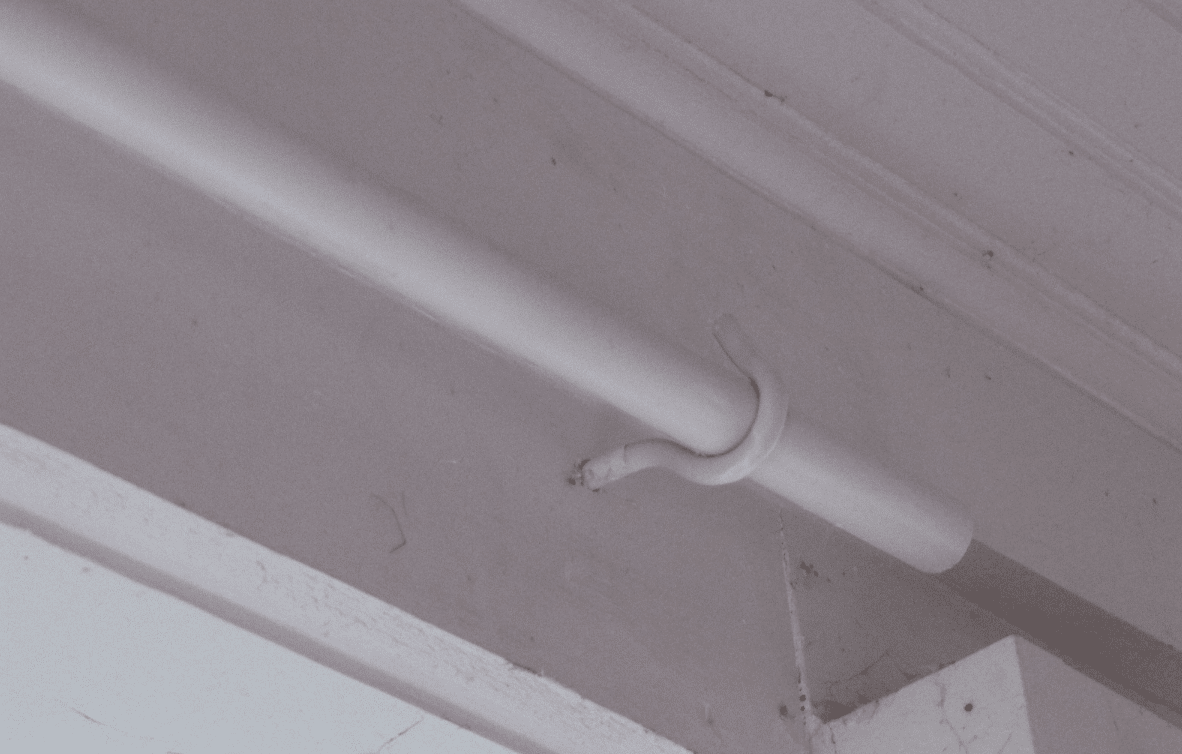
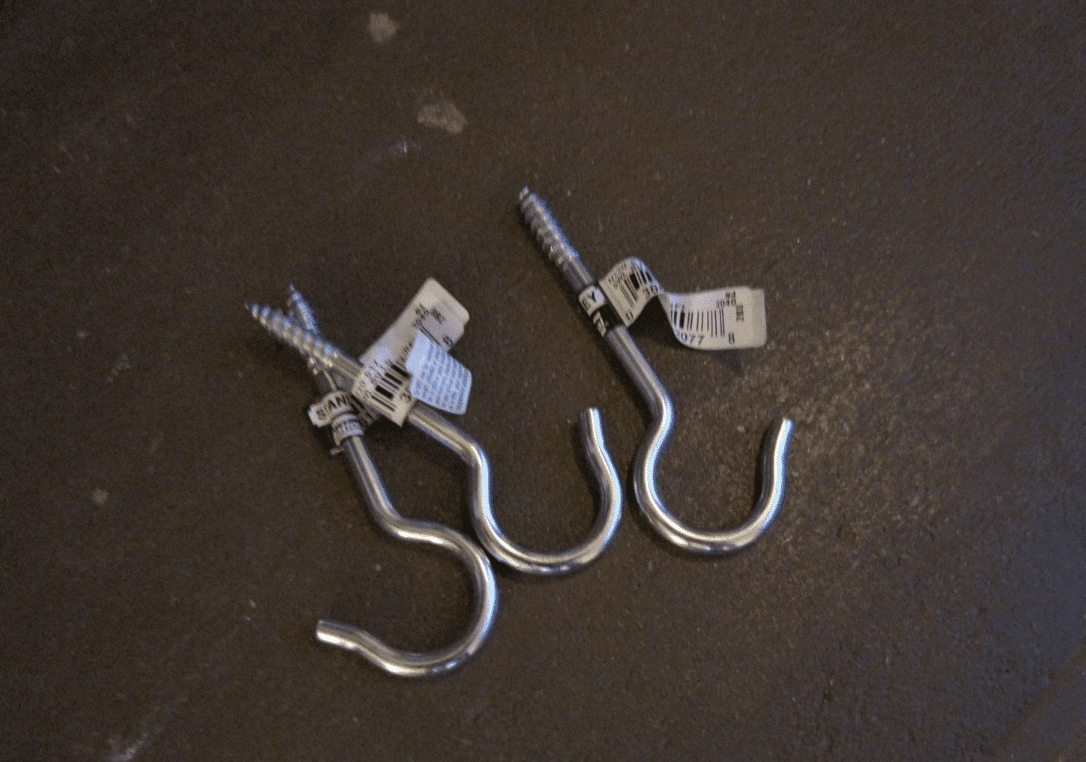
- Secure eight metal hooks to hold the curtain rods. Position each hook along the top edge of your patio frame, ensuring even spacing for stable support.
- Screw the hooks into place, then spray paint them white to blend with the patio decor.
Step 4: Assemble the Curtains on the Rods
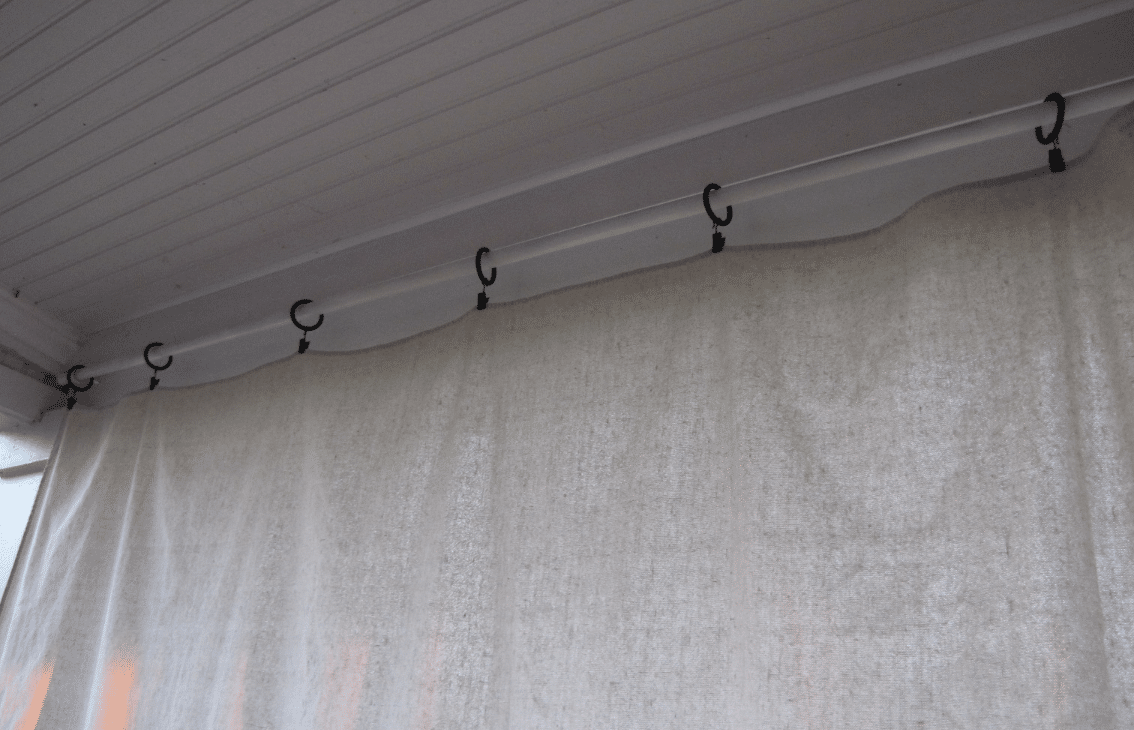
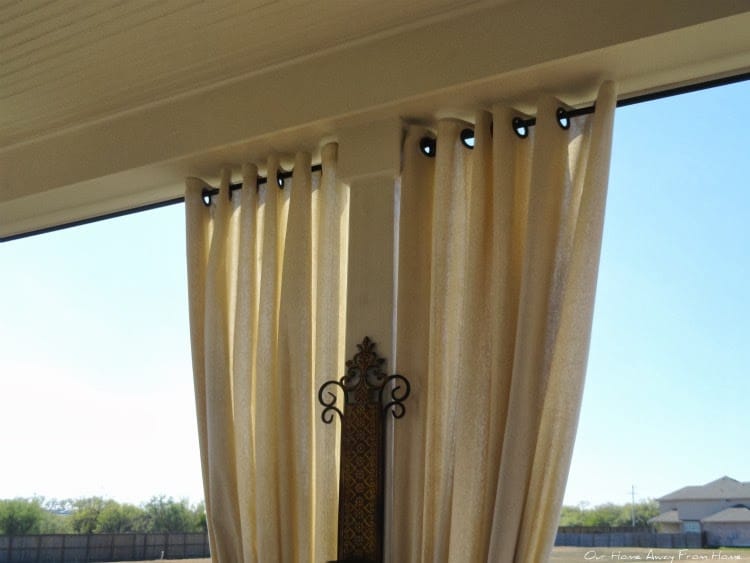
- Attach each drop cloth curtain to the rod using black metal ring clips for easy opening and closing.
- Distribute the clips evenly along the top edge of each drop cloth to create a balanced appearance and prevent sagging.
Step 5: Install Curtains and Final Adjustments
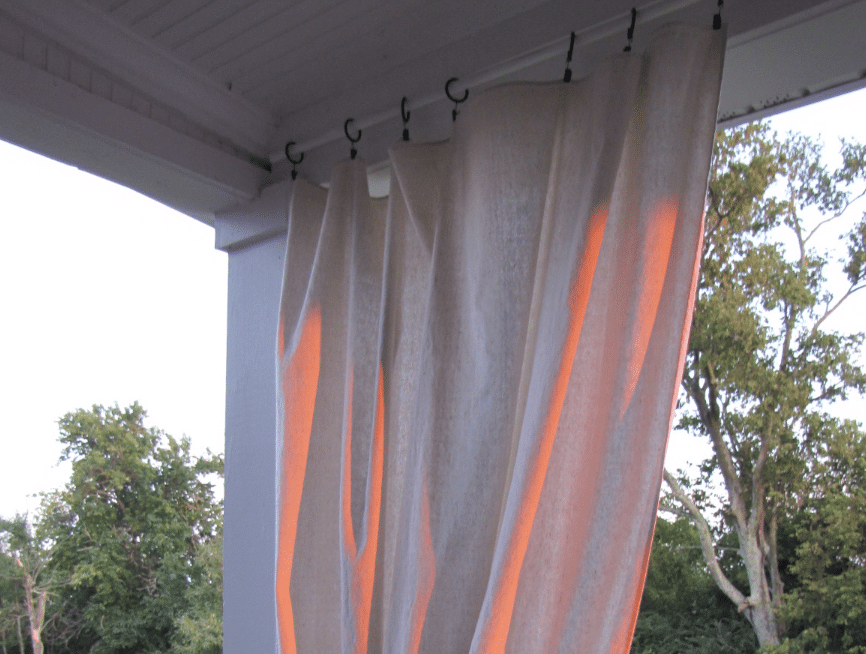
- Place the poles onto the hooks, ensuring each curtain hangs straight and to your liking.
- Adjust the curtains as needed by tying them back or spreading them out for added shade.
How to Care for Your Drop Cloth Curtains
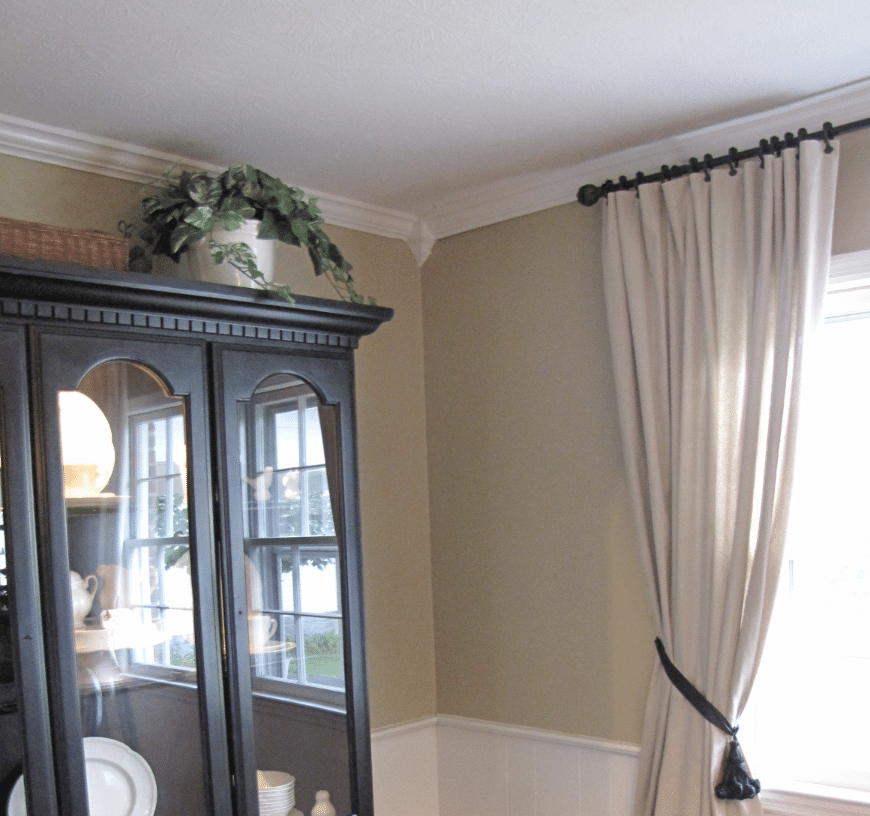
- Wash your curtains every 3-4 months in warm water on gentle cycle with mild soap – no fabric softener
- Remove dust weekly with a quick shake or vacuum with soft brush tool
- Clean spots right away using plain water first, then mild soap if needed – pat, don’t rub
- Dry on medium heat and take out quickly to stop wrinkles from setting
- Iron on cotton setting while slightly damp for smooth results
- Keep curtains away from direct contact with heating vents and pets
- Check seams and fabric every six months for wear – fix small tears early to prevent bigger ones
These simple steps help my drop cloth curtains stay fresh and look good. This care routine keeps them in great shape without much fuss.
How to Style Drop Cloth Curtains
1. Layer with Sheer Curtains
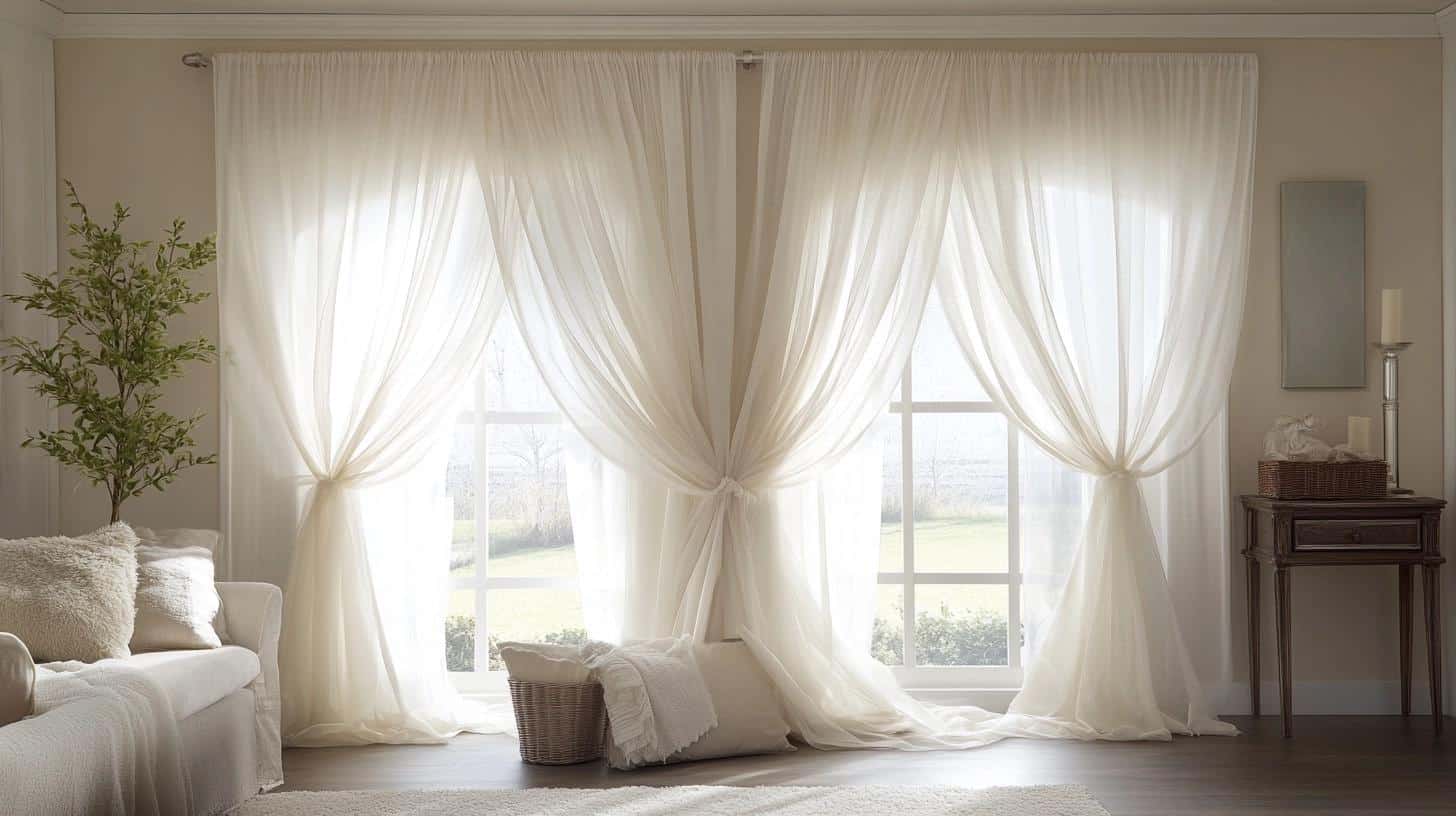
Hang a sheer curtain behind the drop cloths for a soft, romantic effect. The sheer layer adds elegance and texture while still allowing natural light.
- How to Achieve This Look: Use a double curtain rod or layered clip rings to hang the sheer curtain closest to the window and the drop cloth in front. Ensure both curtains have similar lengths for a seamless layered effect.
2. Add Grommets for an Industrial Look
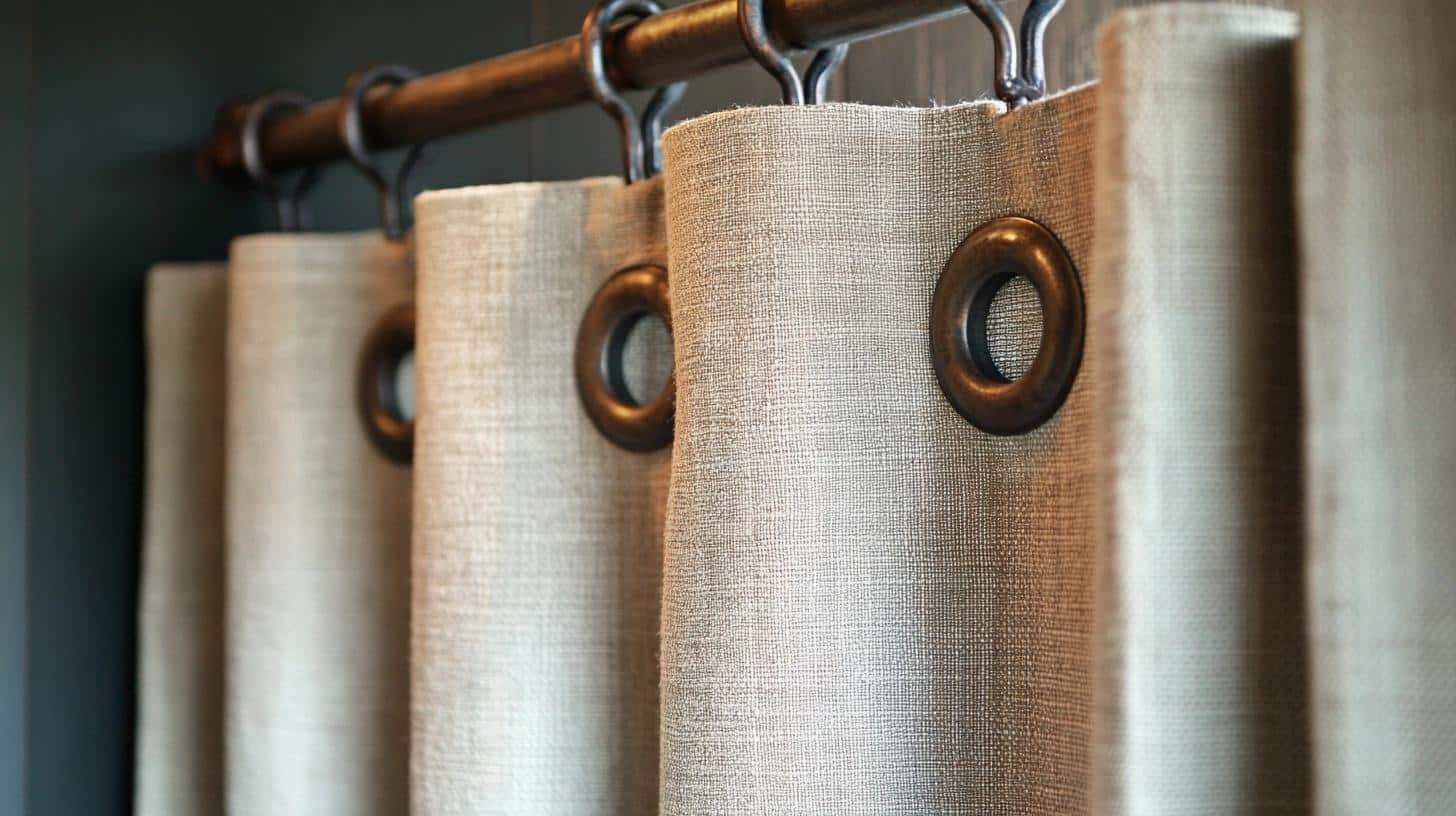
Install metal grommets along the top edge of each drop cloth and hang them on a sturdy metal rod. This industrial style suits urban and modern settings.
- How to Achieve This Look: Purchase a grommet kit from a craft store and mark the top edges of each drop cloth for even spacing. Insert the grommets following the kit instructions, then slide the curtains onto a metal rod.
3. Create a Boho-Chic Look with Tassels

Sew or glue tassels to the bottom or sides of the curtains. Bright-colored or neutral tassels add a playful, boho vibe, perfect for patios or sunrooms.
- How to Achieve This Look: Purchase tassels or make your own from yarn, then use a needle and thread or fabric glue to attach them along the curtain edges. Add tassels every few inches along the sides or bottom hem for a fuller look.
4. Stenciled Designs for a Custom Pattern
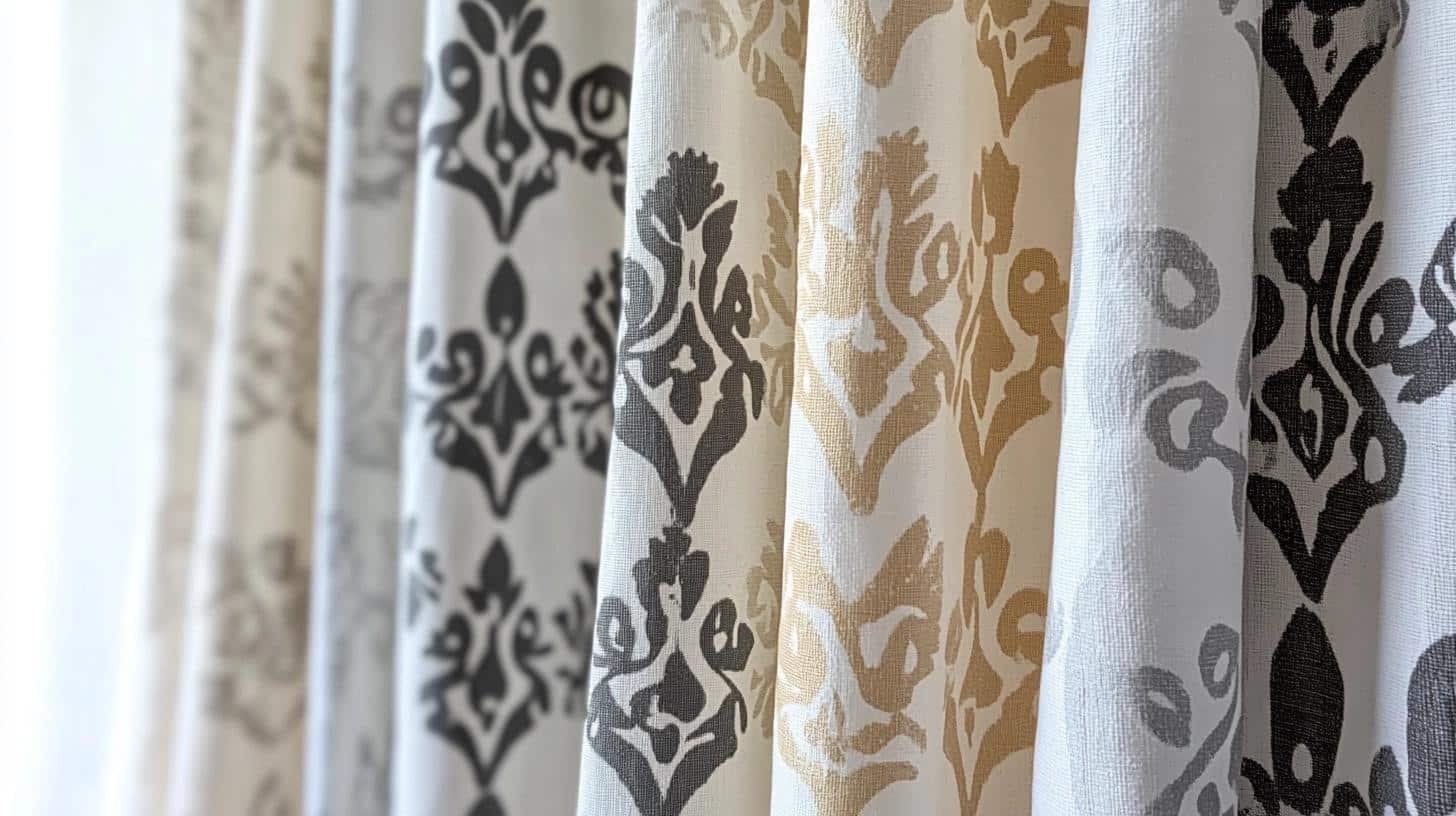
Use stencils and fabric paint to add patterns or designs to your drop cloth curtains. Geometric shapes or floral patterns can personalize your space and add visual interest.
- How to Achieve This Look: Lay the drop cloth flat and secure it with painter’s tape to avoid shifting. Position the stencil and apply fabric paint with a stencil brush or sponge in a dabbing motion. Let each section dry before moving the stencil to avoid smudging.
5. Tied Top Loops for a Relaxed Feel
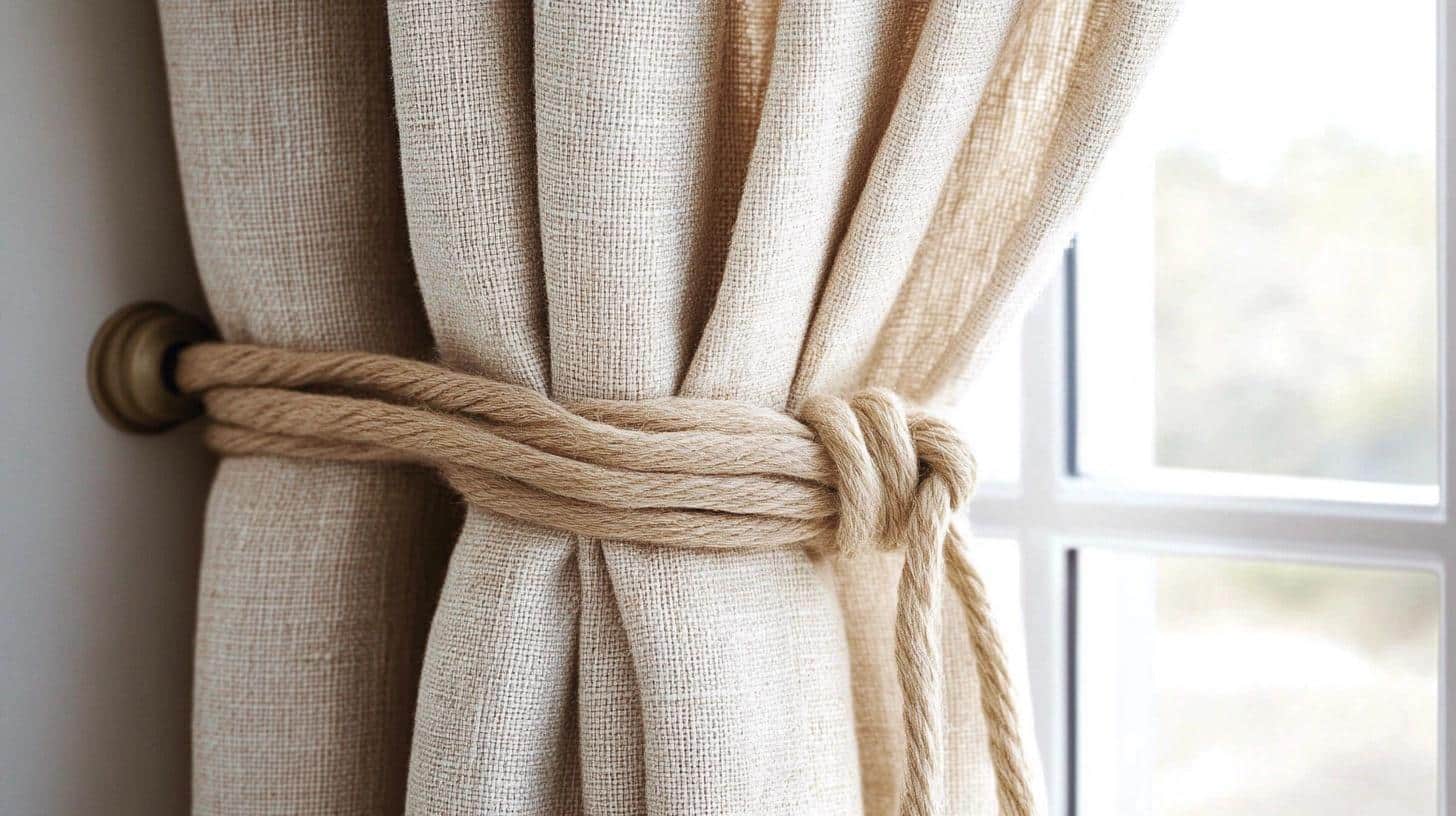
Instead of traditional rings or clips, tie the top of each curtain into loose knots or loops. This creates a laid-back, casual look for beachy or bohemian themes.
- How to Achieve This Look: Fold the top edge of each drop cloth into loops and tie loose knots that can slip over a rod or hook. Adjust the size and positioning of the loops for a balanced, uniform look along the curtain rod.
6. Add Trim for a Tailored Look
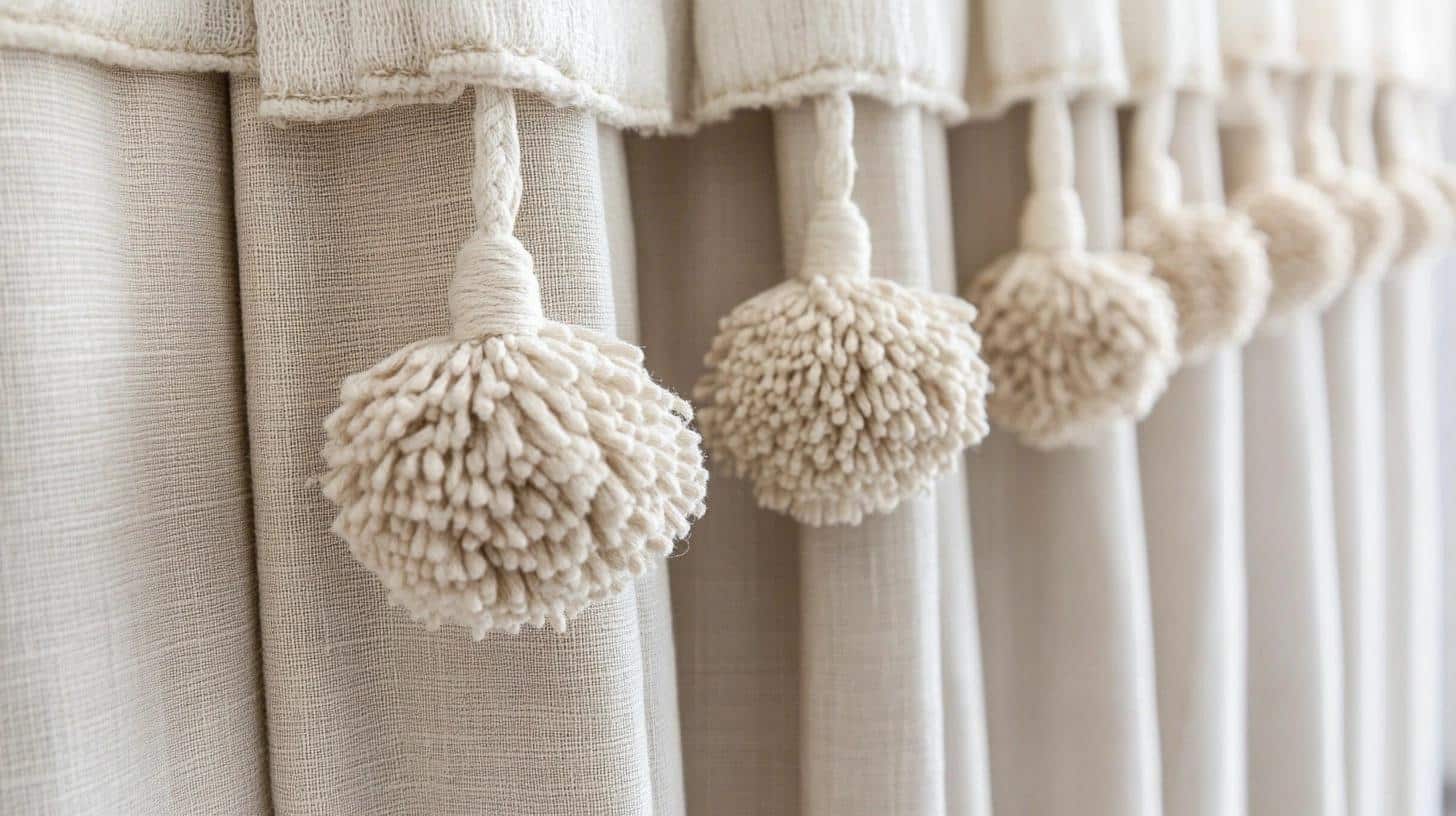
Sew or glue a decorative trim along the edges, such as pom-poms or lace. This gives the curtains a refined, tailored look and works well for indoor settings.
- How to Achieve This Look: Measure and cut the trim to match the edges of each curtain. Use fabric glue or a sewing machine to attach the trim, applying it along the sides or bottom edge as desired. Ensure a smooth, even line for a polished finish.
7. Rustic Wood Rods and Clips
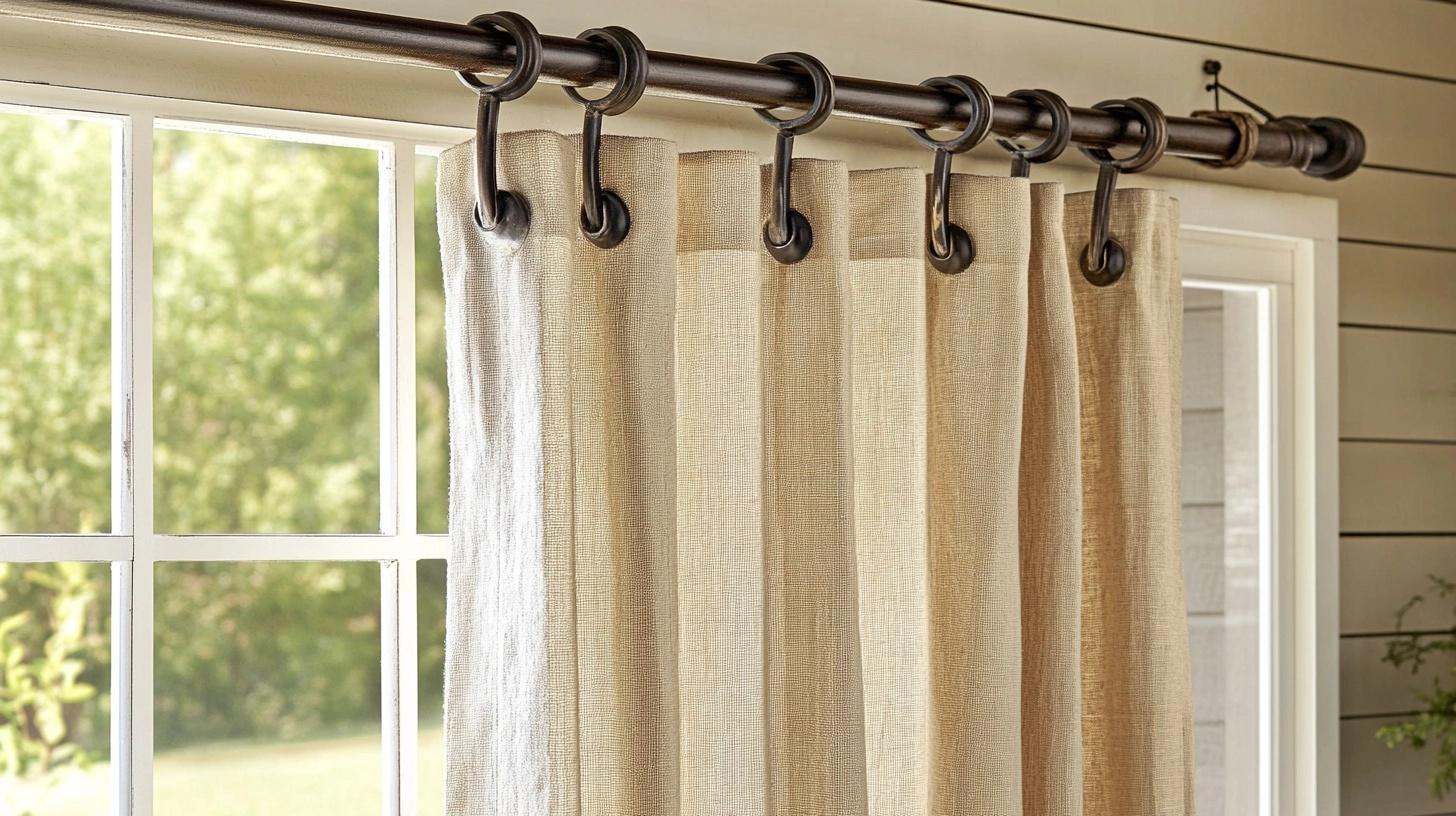
Use a wood rod and metal ring clips for a rustic, farmhouse style. The mix of materials complements the natural look of the drop cloth fabric.
- How to Achieve This Look: Choose a sturdy, unfinished wooden rod that fits the width of your window or patio area. Mount rustic-style brackets to hold the rod securely, and slide metal ring clips onto the rod. Attach the drop cloth curtains to the clips, spacing them evenly for a relaxed, natural drape. For an added touch, consider lightly sanding or staining the rod to enhance its rustic appearance.
Wrapping It Up
Making your drop cloth curtains opens up a world of budget-friendly options for window treatments.
I spent less than $100 on all my curtains, and they look just as good as store-bought ones that would have cost five times more.
Remember to wash your drop cloths first—this simple step makes a big difference in how they look and hang. Take your time measuring and ironing, and you’ll end up with curtains that fit perfectly.
Want to learn more about budget-friendly home projects? Check out my guide on making your throw pillows from drop cloths.
Or leave a comment below and tell me about your DIY curtain experience. I’d love to hear how your project turned out!
Your windows deserve to look nice without breaking the bank. Let’s start creating!

