Step-by-Step Guide for How to Paint Shiplap
Painting shiplap can be tricky.
I know the stress of getting those grooves just right – I messed up my first shiplap paint job and had to start over. Paint drips, uneven coverage, and brush marks can make your walls look less than perfect.
But here’s the good thing: after painting several shiplap walls in my home, I’ve found simple methods that work every time.
In this guide, I’ll share my tested steps to paint shiplap walls without the usual problems. I’ll show you the right tools to use, the best painting techniques, and my top tips to get clean lines on those tricky grooves.
By the end of this post, you’ll know exactly how to make your shiplap walls look fresh and smooth.
Understanding Shiplap
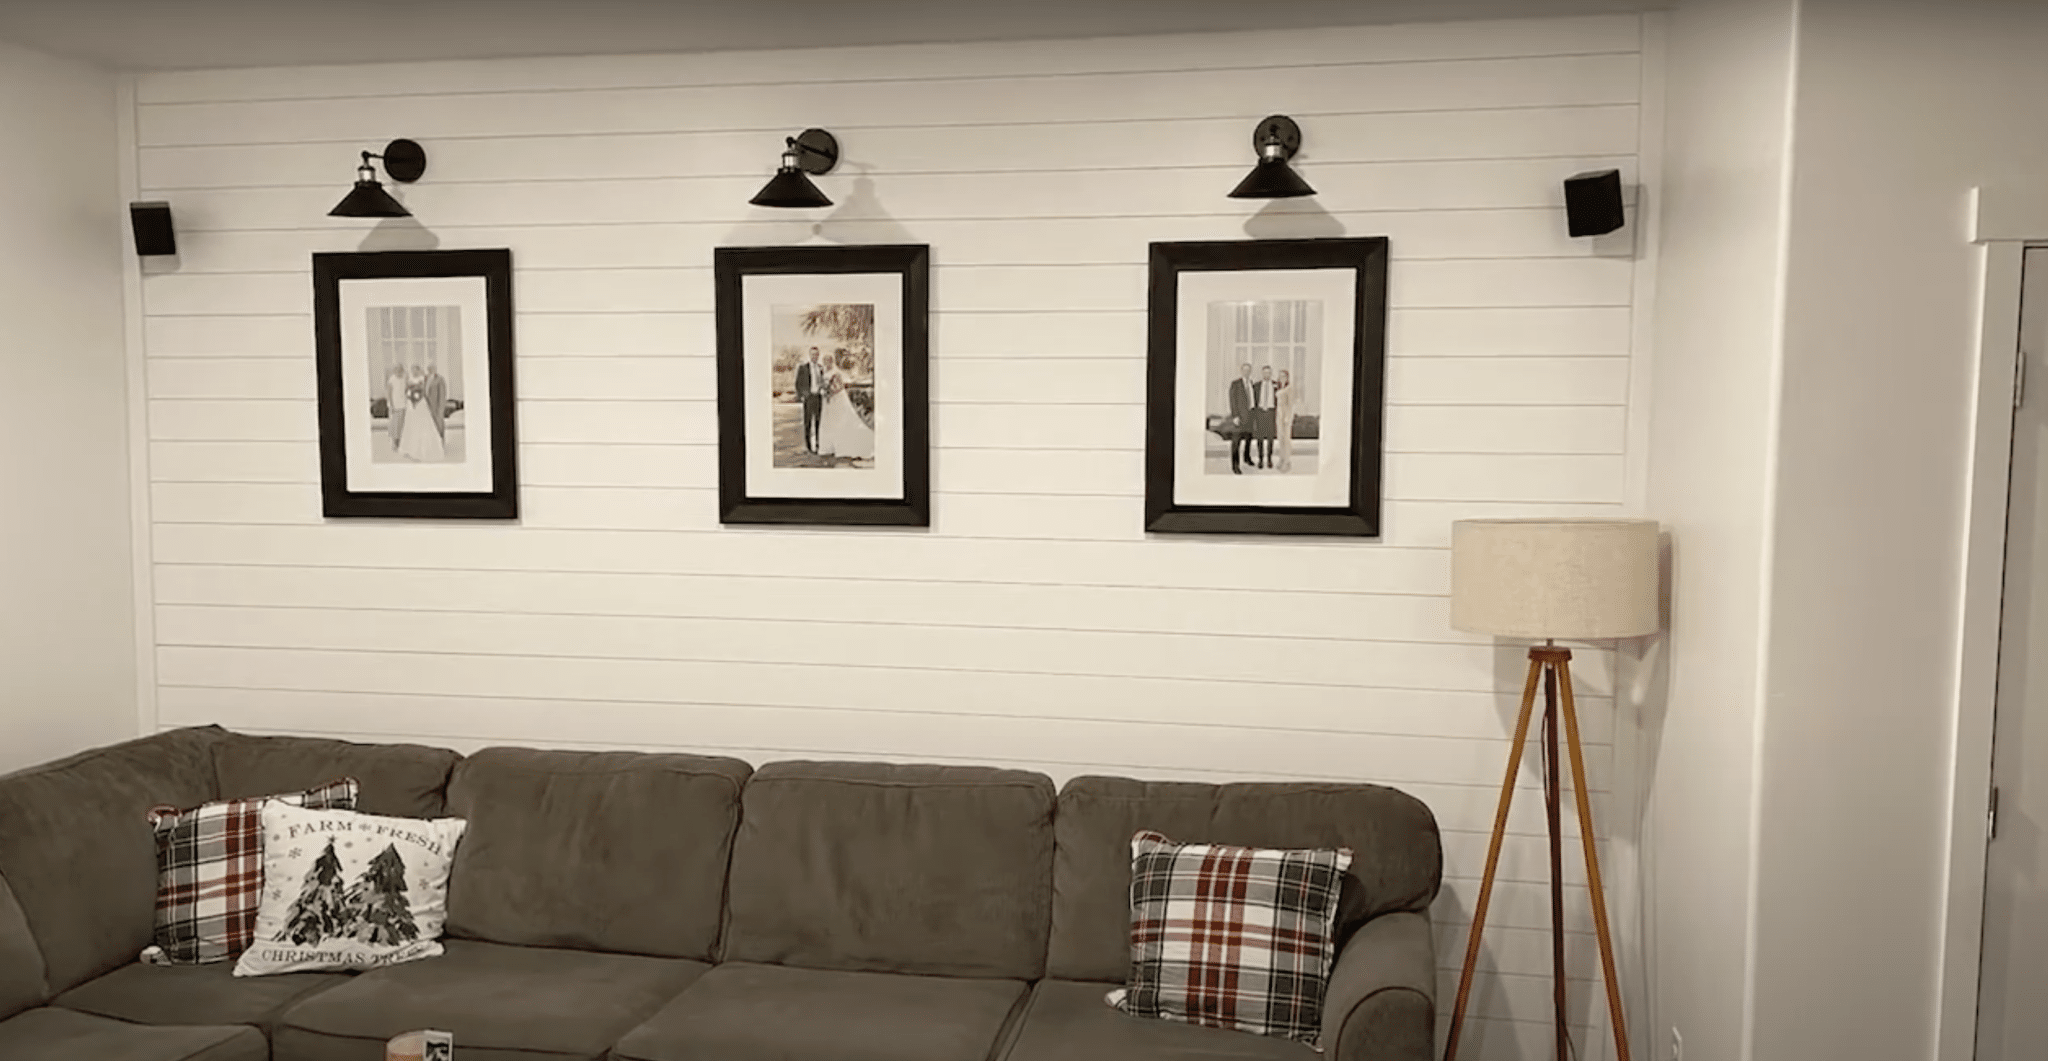
Shiplap is a type of wooden board siding that fits together with a small gap between each board. I first learned about it when I moved into my farmhouse-style home.
The boards have special grooved edges that help them fit snugly against each other.
Think of shiplap-like puzzle pieces that connect horizontally to your wall. Each board overlaps slightly with the one next, creating neat lines across the surface. These lines give your walls a clean, structured look.
Here’s why I love shiplap in my home:
- It adds texture to plain walls
- The boards protect your walls from daily wear
- You can paint it any color you want
- It works well in any room
- The boards are easy to clean
- It can hide small wall imperfections
- The style fits both modern and traditional homes
One thing I like about shiplap is how it makes rooms feel more put-together. The horizontal lines can make your space wider, while vertical shiplap can make your ceilings look higher.
You’ll often see shiplap in living rooms and bedrooms, but I’ve also used it in bathrooms and kitchens.
Just make sure to use the right paint type for each room.
How to Paint Shiplap
Tools and Materials Required
1. For Installation (if not already installed):
- Construction adhesive
- Finish nails
- Level
- Miter saw
- Multi-tool
- Jigsaw
- Table saw
- Speed square
- Tape measure
2. For Painting:
- Pre-primed MDF shiplap boards
- Paint rollers (small 4-inch and standard size)
- Paint brushes (2-inch angled brush)
- Paint tray
- Wall paint (suitable for interior wood)
- Sandpaper (fine grit)
- Painter’s tape
- Drop cloths
- Caulk and caulk gun
- Wood filler
- Putty knife
Step-by-Step Process to Paint
1. Prep the Space
- Put down drop clothes
- Remove outlet covers
- Tape off any areas you don’t want to be painted
- Fill nail holes with wood filler
- Sand-filled spots until smooth
2. Clean the Surface
- Wipe down all shiplap boards
- Remove any dust with a tack cloth
- Let the surface dry fully
3. Caulk the Gaps
- Apply caulk where shiplap meets trim
- Seal gaps between boards if needed
- Let the caulk dry completely
4. Start Painting
- Begin at the top of the wall
- Paint one section at a time
- Use the small roller for flat surfaces
- Use the angled brush for grooves
5. Apply Paint Properly
- Paint in small sections
- Work the paint into grooves first
- Roll the flat surfaces after
- Keep a wet edge while working
6. Check Your Work
- Look for missed spots
- Check grooves for drips
- Fix any uneven coverage
- Let the first coat dry fully
7. Final Steps
- Add a second coat if needed
- Remove painter’s tape while the paint is wet
- Put outlet covers back on
- Clean up your workspace
Some Amazing Painting Techniques to Try Out
1. Rolling Technique
I’ve learned that the right rolling method makes a huge difference. Here’s my process:
- Load the foam roller with paint – but not too much
- Start in the middle of a board
- Roll side to side with light pressure
- Keep your roller strokes overlapping by about 2 inches
- Don’t lift the roller until you reach the end of each board
- Clean your roller often to prevent paint buildup
2. Brush Stroke Method
Getting the grooves right took me some practice. Here’s what works:
- Hold your angled brush at 45 degrees
- Start at one end of the groove
- Paint in long, steady strokes
- Don’t stop mid-groove – go all the way across
- Clean excess paint from the brush often
- Use light pressure to avoid paint pooling
- Check for drips as you go
3. W-Pattern Application
This method helps get even coverage on flat areas:
- Load your roller with paint
- Make a 3-foot wide W on the flat part
- Fill in the W without lifting the roller
- Blend the edges as you go
- Work in small sections
- Keep a wet edge at all times
4. Back-Brushing Steps
This technique gives a smooth finish:
- After rolling, take a clean, dry brush
- Hold it at a slight angle
- Brush very lightly over the wet paint
- Use long, straight strokes
- Work in one direction only
- Don’t press too hard – let the brush glide
5. Groove-First Method
Here’s my step-by-step process:
- Paint all grooves in one area first
- Let them dry for 5-10 minutes
- Clean up any paint that got on flat surfaces
- Then, paint the flat areas
- This prevents double-coating edges
- It helps keep paint from getting too thick
6. Thin Coat Strategy
Getting the right thickness is key:
- Mix paint well before starting
- Load tools with less paint than you think you need
- Apply paint in thin, even layers
- Let each coat dry fully
- Sand lightly between coats if needed
- Plan for two thin coats minimum
7. Edge-Work Method
Edges need special care:
- Use a small brush (1 inch works best)
- Start at the edge and work outward
- Keep a steady hand
- Clean up edges right away if needed
- Use light pressure
- Have a damp cloth ready for quick cleanups
What Type of Paint Finish is Best for Shiplap Walls?
From my experience painting multiple shiplap walls, here’s what I’ve found about paint finishes:
1. Best Overall: Satin Finish
- Works in most rooms
- Easy to clean
- Shows texture nicely
- Hides small flaws
2. For High-Traffic Areas
- Semi-gloss finish
- Good for kitchens
- Perfect for bathrooms
- Stands up to washing
3. For Living Spaces
- Eggshell finish
- Looks soft and warm
- Great for bedrooms
- Good for living rooms
4. Finishes to Skip
- Flat paint (too hard to clean)
- High gloss (shows every flaw)
- Chalk paint (marks easily)
Tips for Success
- Use primer first
- Pick paint meant for wood
- Test finish on a small area
- Buy enough for two coats
Overall Cost Analysis While Painting The Whole
| Item | Cost Range |
|---|---|
| Basic Supply Costs | |
| Paint (1 gallon) | $25 – $35 |
| Paint rollers and brushes | $15 – $20 |
| Drop cloths | $10 |
| Painter’s tape | $5 – $8 |
| Sandpaper | $5 |
| Caulk | $5 – $7 |
| Optional Items | |
| Wood filler | $8 |
| Extra brushes | $10 |
| Paint tray | $5 |
| Cleaning supplies | $5 |
| Labor Costs | |
| DIY | Free (4-6 hours) |
| Professional painter | $200 – $300 per wall |
| Money-Saving Tips | |
| Buy supplies in bulk if painting multiple walls | – |
| Share tools with friends | – |
| Choose good quality paint (fewer coats needed) | – |
| Keep leftover paint for touch-ups | – |
| Total DIY Cost Range | $65 – $100 per wall |
| Total Professional Cost Range | $265 – $400 per wall |
Some Advanced Styling Options to Consider
I’ll share some clever ways to style your shiplap walls that I’ve tried in my own home:
1. Two-Tone Effect
- Paint the grooves a darker shade
- Keep the flat parts lighter
- This adds depth to your walls
2. Color Blocking
- Paint the top half one color
- The bottom half is another color
- Use trim pieces to divide them
3. Pattern Play
- Paint every third board different
- Create vertical stripes
- Make checkerboard designs
4. Mixed Finishes
- Use matte on flat areas
- Add satin finish in grooves
- Creates subtle contrast
5. Accent Wall Ideas
- Paint one wall bolder than the others
- Use soft contrast colors
- Match room’s color theme
6. Tone Transition
- Start dark at the bottom
- Fade to lighter at the top
- Use 3-4 shades of the same color
7. Trim Focus
- Paint trim separate color
- It makes walls pop more
- Frames the whole look
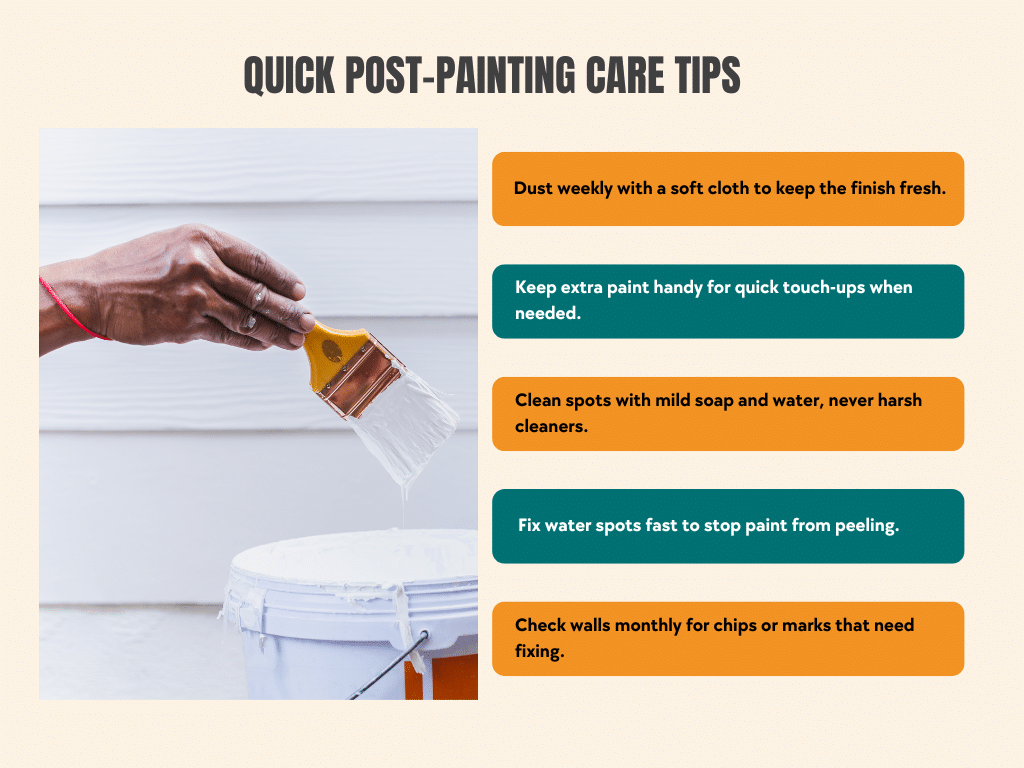
Post-Painting Care Tips to Follow
Some Troubleshooting Common Issues
- Paint Drips Fix: Sand drip marks gently after drying, wipe clean, and touch up with a thin paint layer.
- Patchy Coverage Fix: Wait for the first coat to dry fully, then apply the second thin coat in good lighting.
- Paint in Grooves Fix: Use small brush to smooth pooled paint, clean excess with damp cloth right away.
- Peeling Paint Fix: Remove loose paint, sand edges smooth, prime bare spots, and then repaint the area.
- Brush Marks Fix: Sand marks lightly between coats, use foam roller for smooth finish.
Conclusion
Ready to start your shiplap painting project? I hope this guide helps you skip the mistakes I made when I first started.
The key to a perfect shiplap wall is taking your time with prep work and using the right painting methods.
Remember to check your work in good lighting and keep those coats thin and even.
Keep this guide handy while you work on your walls. And here’s a final tip from my experience: take photos of your paint can labels. It makes touch-ups much easier later.
I’d love to see how your shiplap project turns out! Leave a comment below sharing your experience, or if you have questions before you start, I’m here to help.
Want more home painting tips? Check out my guide on choosing the perfect paint colors.

