Make a Faux Concrete Planter Using This Stepwise Guide!
While browsing home design websites, I fell in love with beautiful concrete planters, but the prices made me pause.
A single planter cost over $40! As a mom with a tight budget but a good eye for style, I found a smart fix: making lookalike planters using simple items from Walmart.
I paid just $30 for two planters – what a deal! I’ll show you how I turned basic plastic planters into stunning pieces that look like concrete.
The best part? They’re light enough for me to move around my garden without asking my husband for help.
What are Faux Concrete Planters?
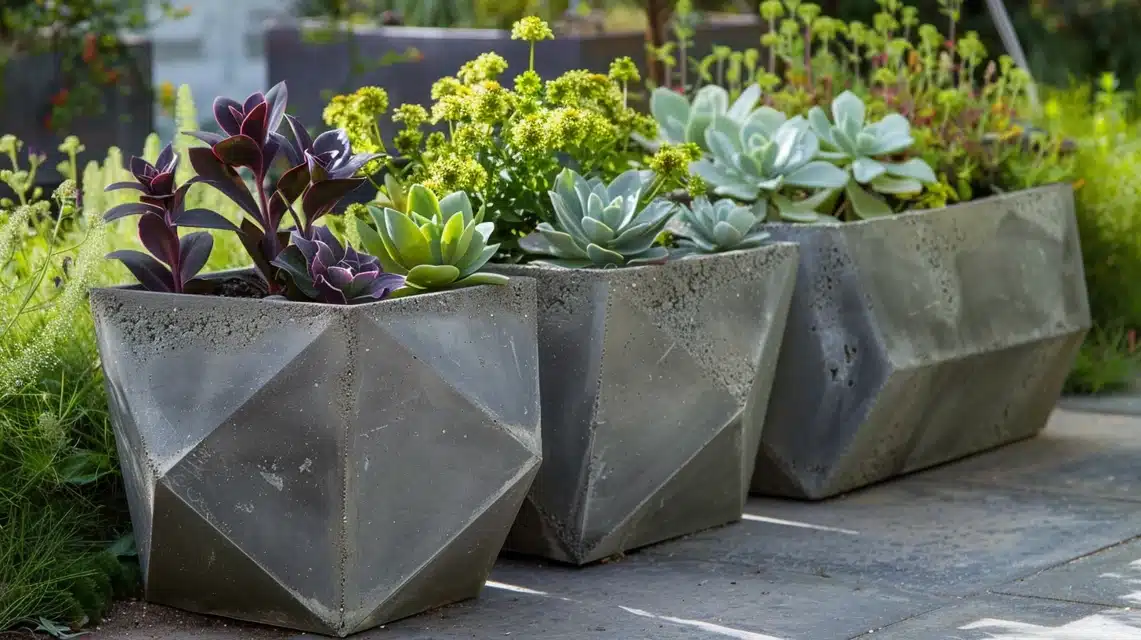
Faux concrete planters are decorative containers that look like they’re made of concrete but are crafted from lighter, less expensive materials.
These planters typically use paint techniques and special finishes to copy the look and texture of real concrete.
The base material is often plastic or resin, making them lightweight and easy to move.
Guide to Turning Walmart Planters into Faux Cement Planters
Materials Needed
- Walmart planters
- 120-grit sandpaper
- Lint-free cloth
- Gray spray paint
- White and black chalk paint
- White wax finish
- Chocolate brown acrylic paint
- Matte waterproof sealer spray paint
- Stones for weight and drainage
- Plants
Step 1: Prepare the Planters
- Lightly sand the planters with 120-grit sandpaper to roughen the surface for better paint adhesion.
- Use a lint-free cloth to wipe off any dust.
Step 2: Apply Base Color
- Spray paint the planters with gray spray paint. Note: If the color isn’t correct, adjust by mixing chalk paint.
- Mix white and black chalk paint until you achieve a light gray color.
- Apply three coats of mixed chalk paint on the planters to cover unwanted undertones.
Step 3: Add Color Variations for the Faux Cement Effect
Create a white wax finish:
- Mix some white chalk paint with wax.
- Use your finger to apply the white wax on the raised areas and rim of the planter.
- Buff out the wax with a lint-free cloth for a smooth, finished look.
Create a brown wax finish to mimic sand:
- Mix chocolate brown acrylic paint with wax until the desired color is achieved.
- Apply the brown wax in the same areas as the white wax.
- Buff out the brown wax with a lint-free cloth for the right texture.
Let Wax Finish Dry:
- Allow each wax coat to dry between applications for 20-30 minutes to prevent over-buffing.
Step 4: Seal the Paint
- After fully drying the paint and wax, spray the planters with a matte waterproof sealer.
- Apply two to three coats of the sealer, allowing it to dry between each coat.
Step 5: Add Weight and Plants
- Fill the bottom of each planter with stones for added weight and water drainage.
- Place your plants in the planters.
Comparison with Real Concrete Planters
| Comparison Factor | Real Concrete Planters | Faux Concrete Planters |
|---|---|---|
| Cost | $40-50 per planter | As little as $15 per planter saves about 75% |
| Weight | Very heavy; hard to move | Lightweight; easy to lift; stones can be added for extra weight |
| Durability | Long-lasting with maintenance; may crack | Long-lasting; no cracking; handles weather well with proper sealing |
| Appearance | Natural color variations; authentic texture | Similar look with modern painting; customizable texture |
| Practical Benefits | Challenging to move; may damage surfaces | Easy to move; less likely to damage surfaces; simple to repair; ideal for renters and weight-limited spaces like balconies and decks |
Benefits of Choosing Faux Concrete
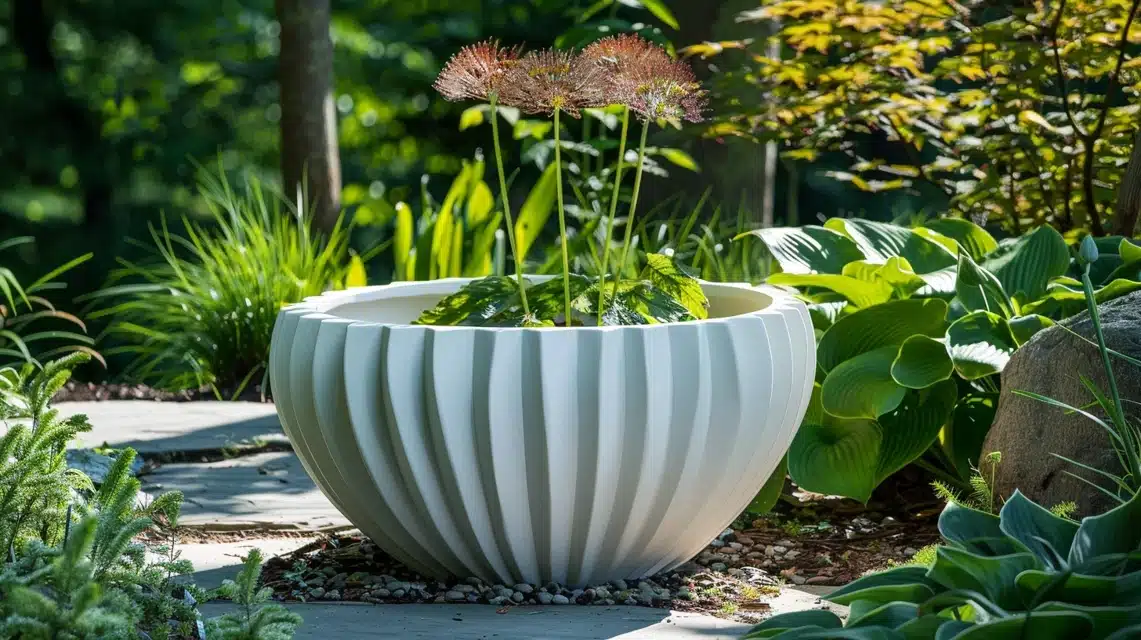
1. Lightweight Nature
- Perfect for Various Settings: These planters work well in apartments, balconies, and rental homes where weight limits matter.
- Simple Movement Options: These planters can be moved and rearranged by just one person, with no special tools or help needed.
- Safe for All Surfaces: The light weight means no damage to decks, patios, or indoor flooring.
2. Cost-effectiveness
- Purchase Price Savings: Two faux planters cost $30, while one real concrete planter costs $40-50.
- No Extra Expenses: You save money on transport and setup and don’t need to pay for help with installation.
- Long-term Value: These planters last well and cost less to replace if needed.
3. Versatility in Design and Style
- Color Control: Mix paints to create the exact shade of gray that fits your space.
- Surface Options: Create different textures to match other items in your garden or home.
- Size Selection: The lightweight option lets you choose larger sizes without structural concerns.
4. Durability and Weather Protection
- Temperature Resistant: These planters won’t crack in cold or hot weather like real concrete can.
- Water Protection: Proper sealing keeps the finish looking fresh through rain and moisture.
- Impact Resistant: The material flexes instead of breaking when bumped or dropped.
5. Easy Maintenance
- Basic Cleaning: A simple wipe with a cloth keeps these planters looking fresh and clean.
- Simple Repairs: Quick touch-ups fix any marks or wear that might happen over time.
- Good Water Flow: Adding stones creates proper drainage without the problems of water-logged concrete.
These features combine to make faux concrete planters a practical choice that looks good and works well in any setting.
Summing Up
After making these planters, I’ve received many questions from friends and neighbors about where I bought them.
Their faces light up when I tell them they’re plastic planters from Walmart! Since my first try, I’ve made six more, and each one turns out better than the last.
Here’s a useful tip I learned: in hot weather, do this project in a shaded area. Direct sunlight can cause the paint to dry too quickly and leave marks.
With proper care, my first set has lasted two years and still looks as good as real concrete. The money I saved went into buying beautiful plants, and my porch has never looked better.
Give it a try – you might find yourself making these as gifts, too!
Frequently Asked Questions
How to Make Cheap Planters Look Expensive?
Sand the surface, apply chalk paint in layers, add wax finishes in different shades, and seal with a matte spray to create a high-end look.
Do Concrete Planters Need Drainage?
Yes. Adding stones at the bottom of planters helps with water drainage, keeping plants healthy and preventing water buildup.
Should You Waterproof Concrete Planters?
To protect the finish and ensure the planter lasts longer, use a matte waterproof sealer with 2-3 coats.

