Transform Your Bathroom with Engineered Hardwood Flooring
Are you dreaming of the warmth of hardwood in your bathroom but worried about moisture damage? Many homeowners share this concern.
The good news is that engineered hardwood can work well in bathrooms when installed and maintained properly.
This guide covers everything about using engineered hardwood in bathrooms. You’ll learn what makes it different from solid wood, its special moisture-resistant build, and how it adds natural beauty to bathrooms.
We’ll examine the benefits and challenges of these options, compare them with options like tile and vinyl, and share tips for installation and care.
By the end, you’ll know if engineered hardwood fits your bathroom plans. Let’s explore why more homeowners choose this modern flooring and how to make it last in moisture-rich spaces.
Understanding Engineered Hardwood
Engineered hardwood is a modern flooring option that combines natural wood with smart design.
Unlike solid hardwood, which comes from a single piece of timber, engineered hardwood uses multiple wood layers pressed together. This creates flooring that keeps its shape better than traditional wood floors.
The History Behind the Boards
The flooring industry created engineered hardwood in the 1960s. Builders needed wood flooring that could handle moisture better than solid wood.
Through testing and research, they found that joining thin wood layers in opposite directions created stronger boards. This method soon gained popularity in homebuilding.
Growing Popularity in Homes
Many homeowners now choose engineered hardwood for their houses. The main appeal comes from its mix of good looks and practical benefits.
These floors work well in places where solid wood might fail. They can be installed in bathrooms, basements, and even kitchens.
Why People Choose It
The reasons for picking engineered hardwood keep growing. It handles moisture and temperature changes better than solid wood.
The cost is lower than traditional hardwood. Plus, it works with modern heating systems under floors, making it a practical choice for any room.
Composition of Engineered Hardwood
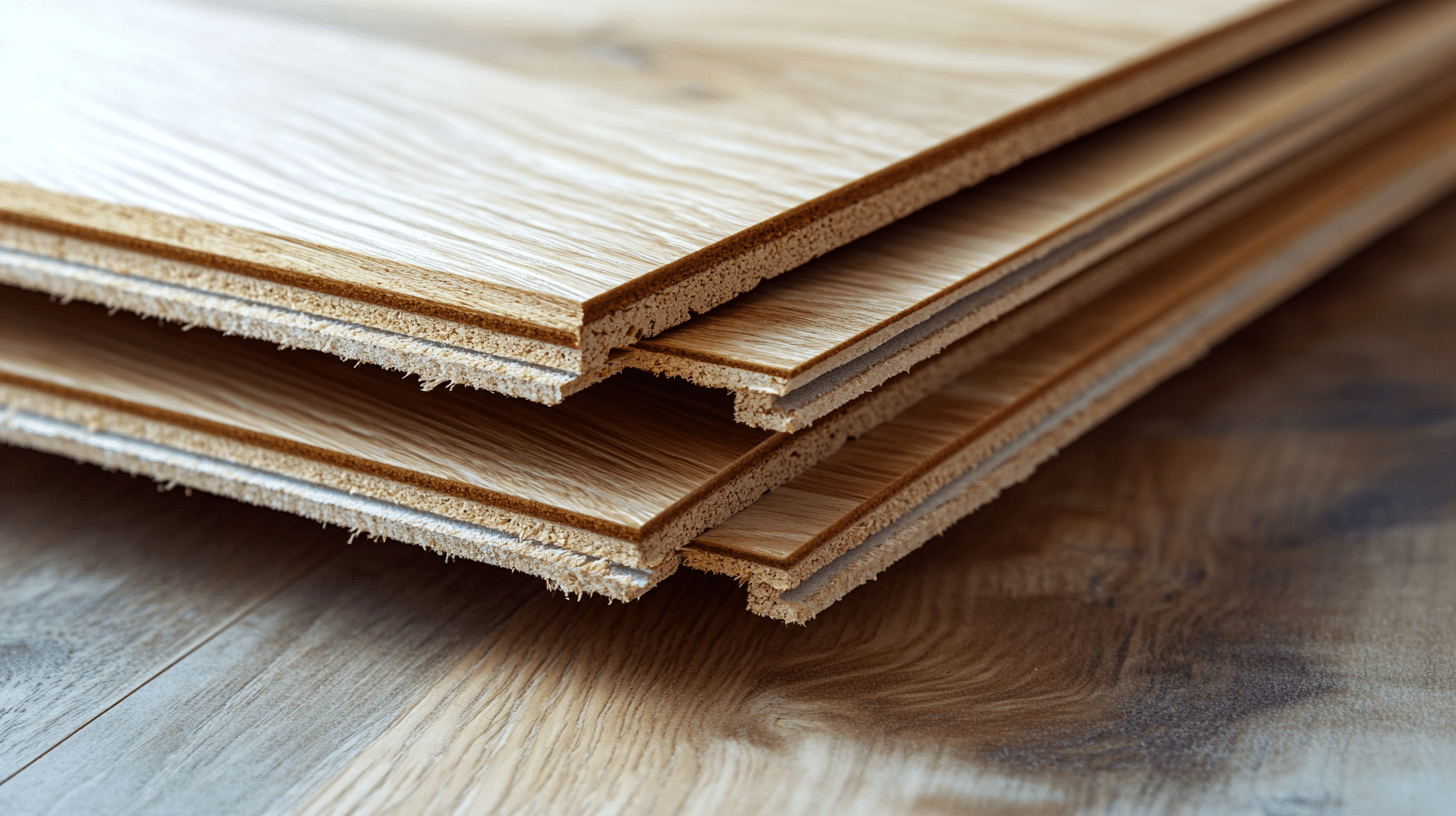
1. The Layer Structure
Engineered hardwood consists of three main parts working together. The top layer features real wood, giving the floor a natural look.
The middle has several wood sheets stacked together. At the bottom, a strong backing layer holds everything in place. Each layer serves a specific purpose in making the floor last longer.
2. Understanding Thickness Options
The total thickness of engineered hardwood planks ranges from 3/8 inch to 3/4 inch. The top wood layer can be thin or thick, usually between 0.6mm and 4.5mm.
Thicker top layers make the floor more durable and allow you to sand it more times over its life.
3. Types of Wood Used
The top layer comes in many wood types:
- Oak remains a top choice for its strength
- Maple offers a clean, bright look
- Hickory brings unique patterns
- Walnut gives rich, dark tones
- Cherry adds warm red hints
Each type of wood brings its look:
- Light woods make rooms feel bigger
- Dark woods add a formal touch
- Medium tones suit most home styles
- Varied grains create visual interest
Manufacturers choose these woods based on the following:
- How hard they are
- What colors do they offer
- How well do they take stain
- Their cost and supply
Benefits of Engineered Hardwood in Bathrooms
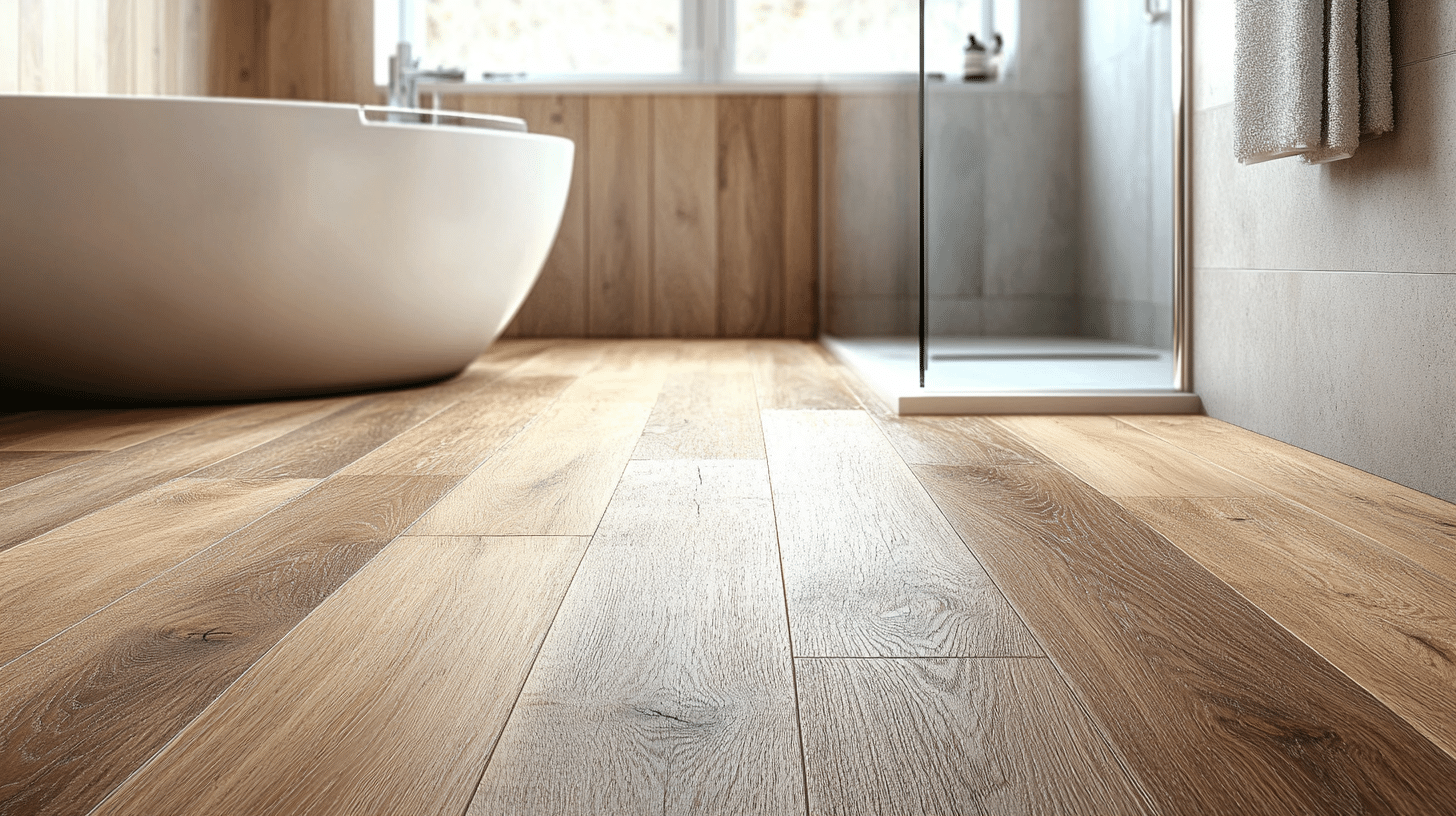
1. Superior Moisture Management
The layered design helps engineered hardwood handle bathroom moisture well. The top layer shields against splashes, while the core layers stop water from seeping in.
Most bathroom spills won’t harm these floors when cleaned up quickly, making them much more practical than solid wood, which tends to swell when wet.
2. Structural Stability in Damp Spaces
The cross-layered construction keeps these floors flat and stable. When humidity rises in the bathroom, the boards stay in place.
They don’t twist or cup-like regular wood might. The opposing grain patterns in each layer work together to resist movement. This stability means the floors keep their shape through seasonal changes.
3. Style Options for Every Bathroom
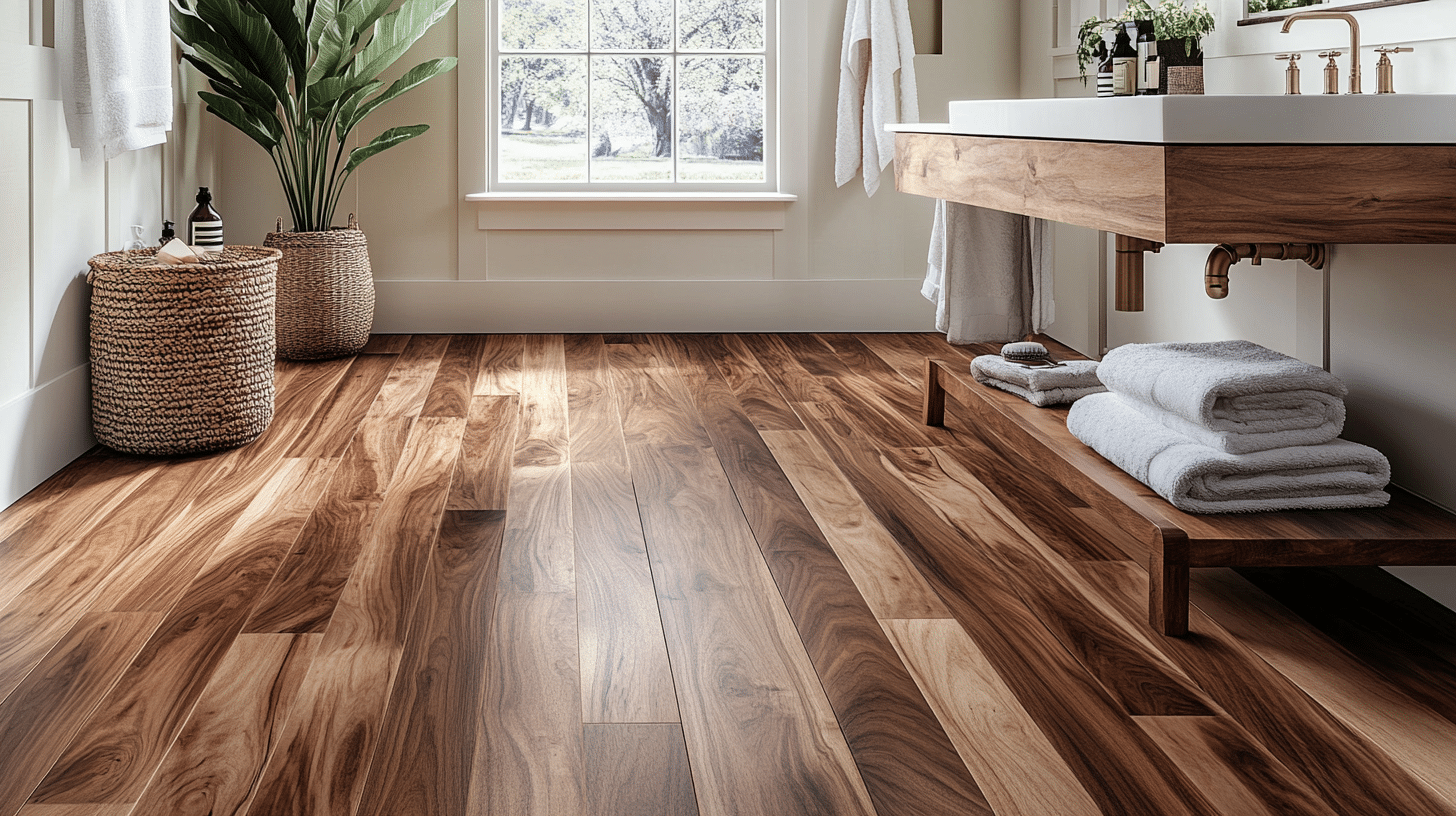
Rich wood tones bring natural beauty to bathrooms. Light oak creates an open, fresh feel in smaller spaces, while dark maple adds warmth to modern designs.
Walnut makes a bold statement in large bathrooms. Pine offers a casual look that suits country-style rooms.
Wide planks make spacious rooms feel grander, while narrow boards work better in small spaces.
Finish choices range from subtle matte to bright gloss. Wood grain patterns can be subtle or striking, matching your preferred bathroom style.
4. Works With Floor Heating
Modern bathrooms often include floor heating systems, and engineered hardwood pairs perfectly with this method. The wood layers transfer heat well, keeping the bathroom warm.
These floors stay stable even with temperature changes. You can glue them directly over heating elements without worry. The result is a bathroom floor that looks good and feels comfortable underfoot all year round.
Potential Drawbacks of Engineered Hardwood in Bathrooms
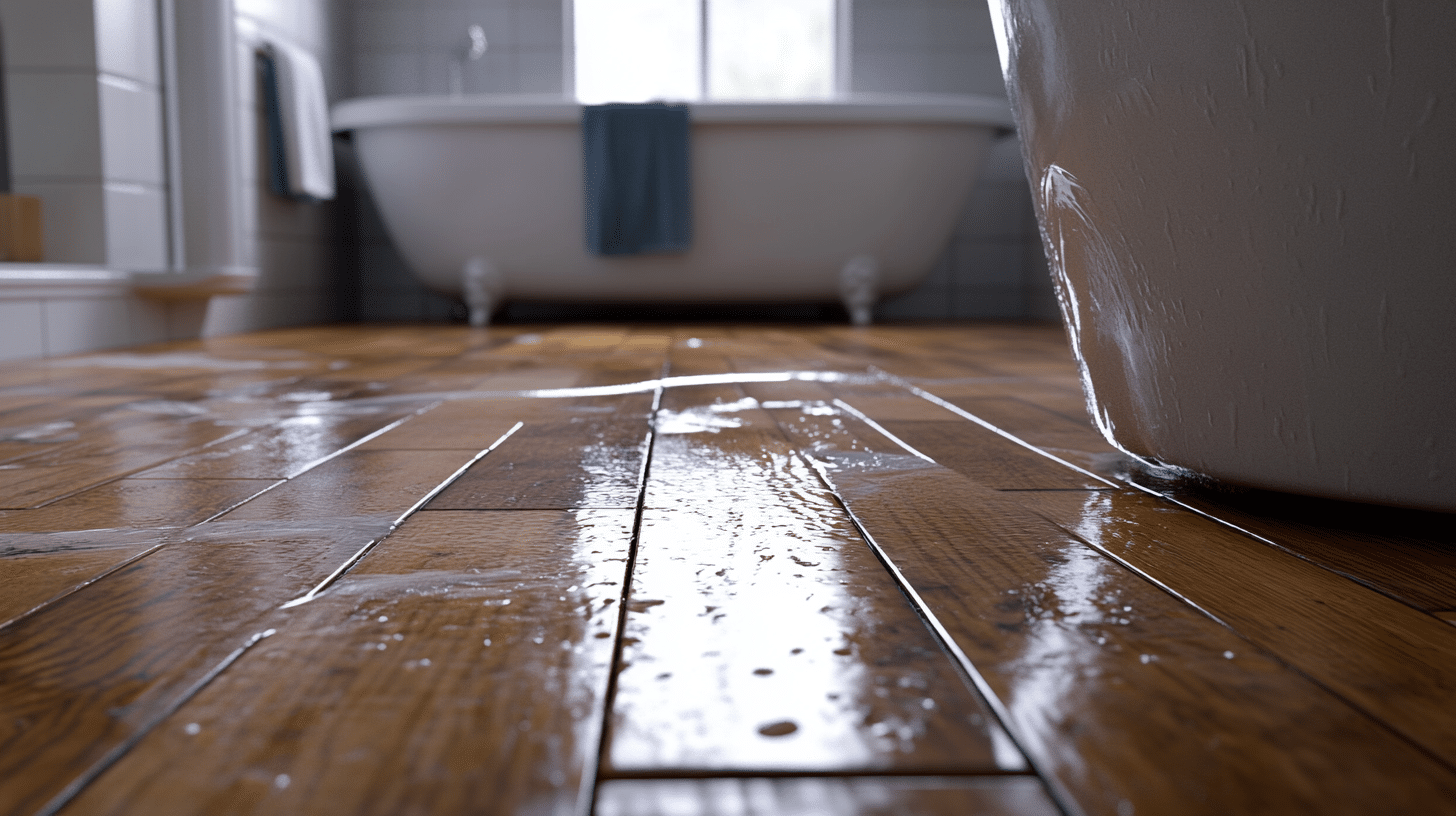
1. Surface Wear Concerns
The top wood layer can show signs of wear in busy bathrooms. Small stones stuck in shoes might scratch the surface, and dropped items can leave marks on softer wood types.
Lower-quality products tend to show these signs faster than premium options. Still, most scratches remain surface-level and won’t affect the floor’s structure.
2. Understanding Lifespan Expectations
A well-maintained engineered hardwood floor in a bathroom typically lasts 15-20 years. This falls short of ceramic tile, which can last 30+ years.
Daily bathroom use affects how long these floors stay looking fresh. Proper care helps extend their life, but replacement might be needed sooner than other materials.
3. Refinishing Limitations
The thin wood top layer limits your refinishing choices. Most engineered floors can handle one or two sandings at most.
Thicker top layers offer more refinishing options but cost more. Once you’ve used the available sandings, you must replace the flooring. This differs from solid hardwood, which allows multiple refinishing sessions.
4. Cost V.S Value
Installing engineered hardwood in bathrooms requires a bigger budget upfront. Basic options start at $4 per square foot, while premium choices can reach $12 or more.
The installation adds $3-8 per square foot to your cost. The total investment might seem high, but the natural look and comfort often justify the price for many homeowners.
The special moisture barriers and sealing needed for bathroom installation also add to the cost. Yet, these essential steps protect your investment.
When planning your budget, consider the long-term value. Good-quality engineered hardwood can boost your home’s resale value despite its higher initial cost.
Comparing Flooring Alternatives to Engineered Hardwood
1. Ceramic and Porcelain Tile
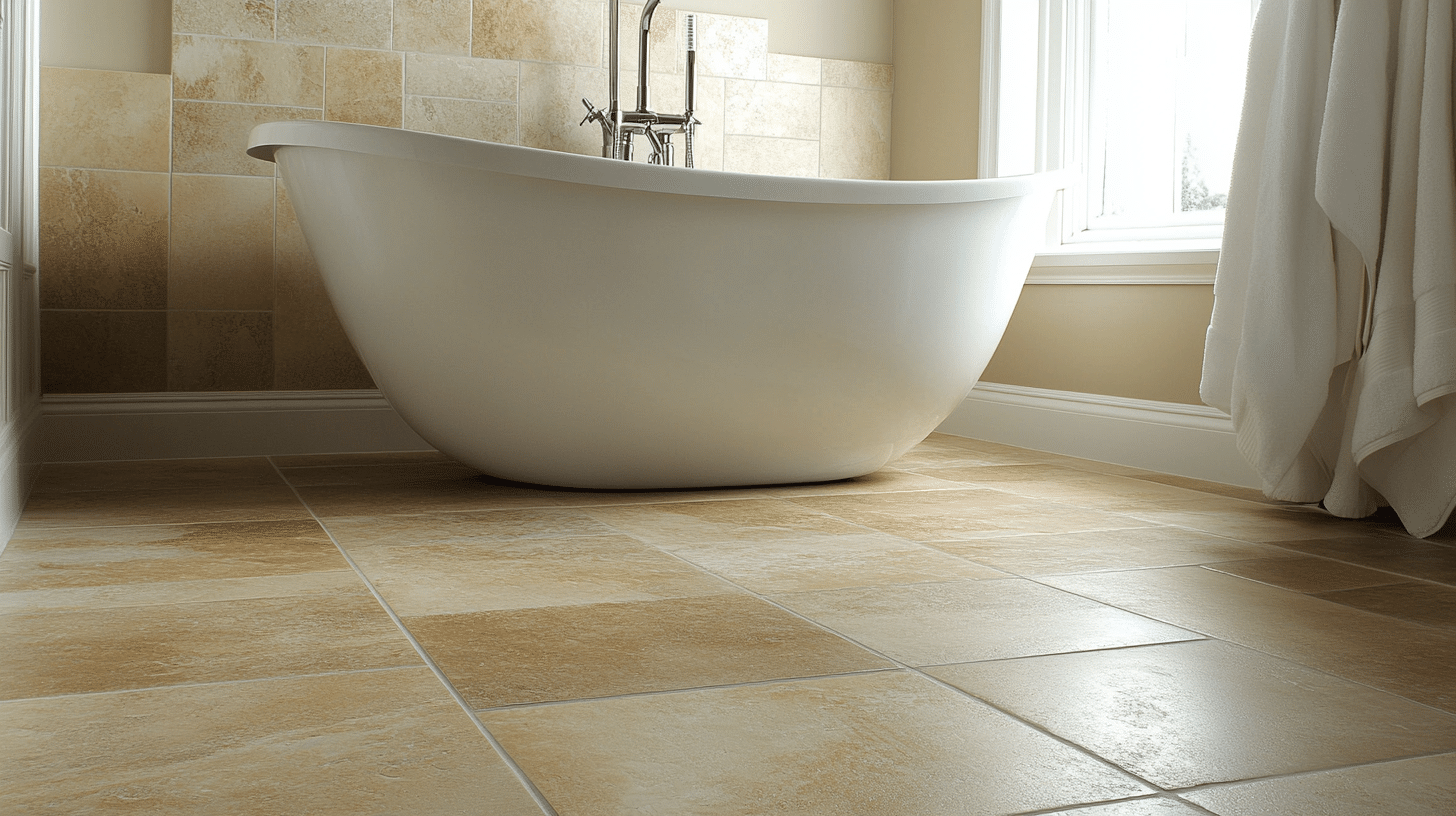
Tile is the traditional bathroom flooring choice. It handles water better than any wood product, so you won’t worry about puddles or steam with tile floors.
The cleaning process stays simple—just wipe and go. However, tile feels cold underfoot and can make the room feel less welcoming than wood floors.
2. Vinyl and Laminate Solutions
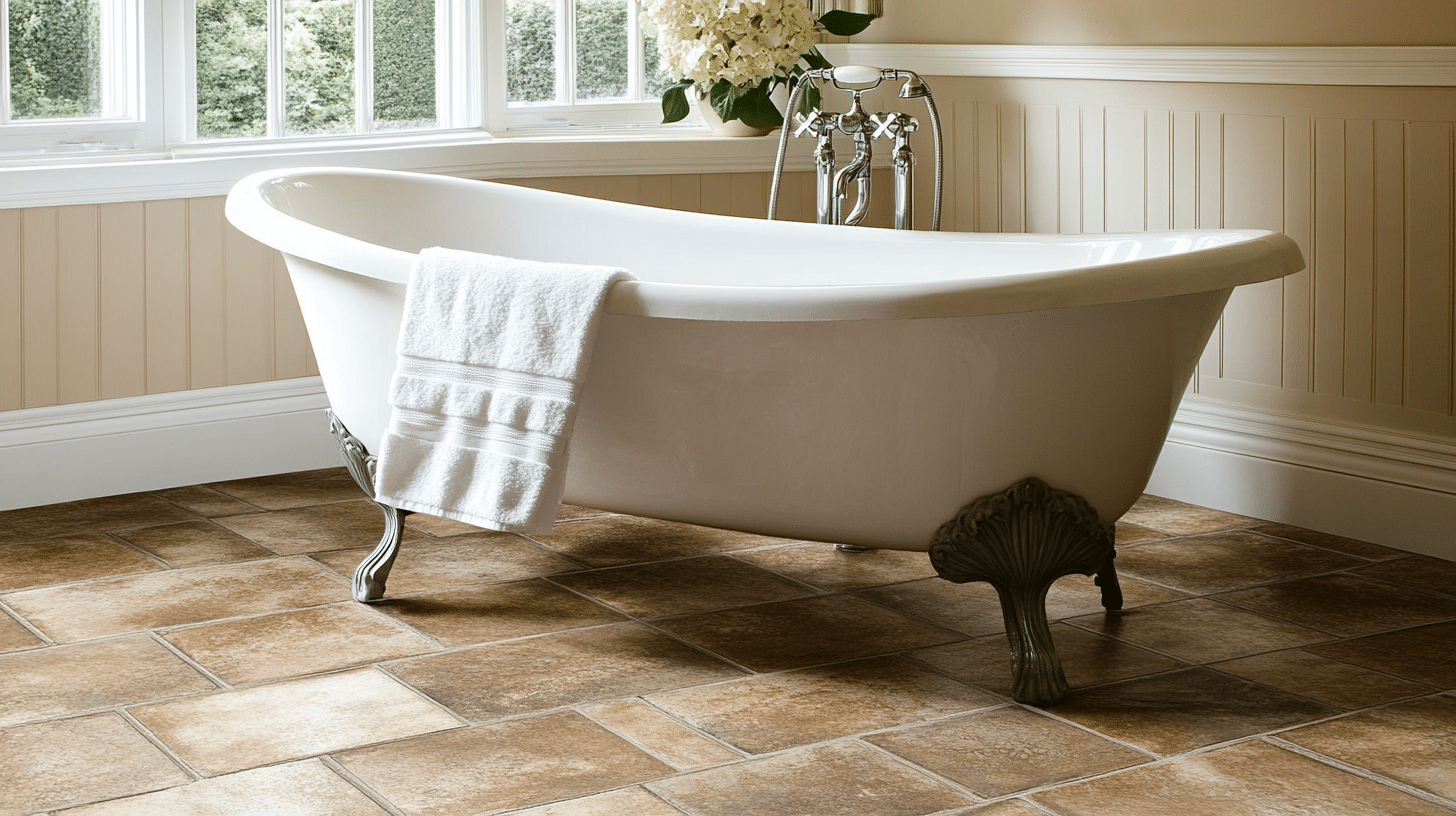
Modern vinyl floors look better than ever, cost less than engineered hardwood, and many types completely block water.
The soft surface feels warmer than tile. But vinyl lacks the solid feel of real wood. It might lower your home’s value compared to natural materials.
Laminate is another budget option. It costs about half as much as engineered hardwood. The pictures of wood grain look realistic, yet the laminate can’t match the natural feel.
Water can also seep between boards and cause problems over time.
3. Traditional Solid Hardwood
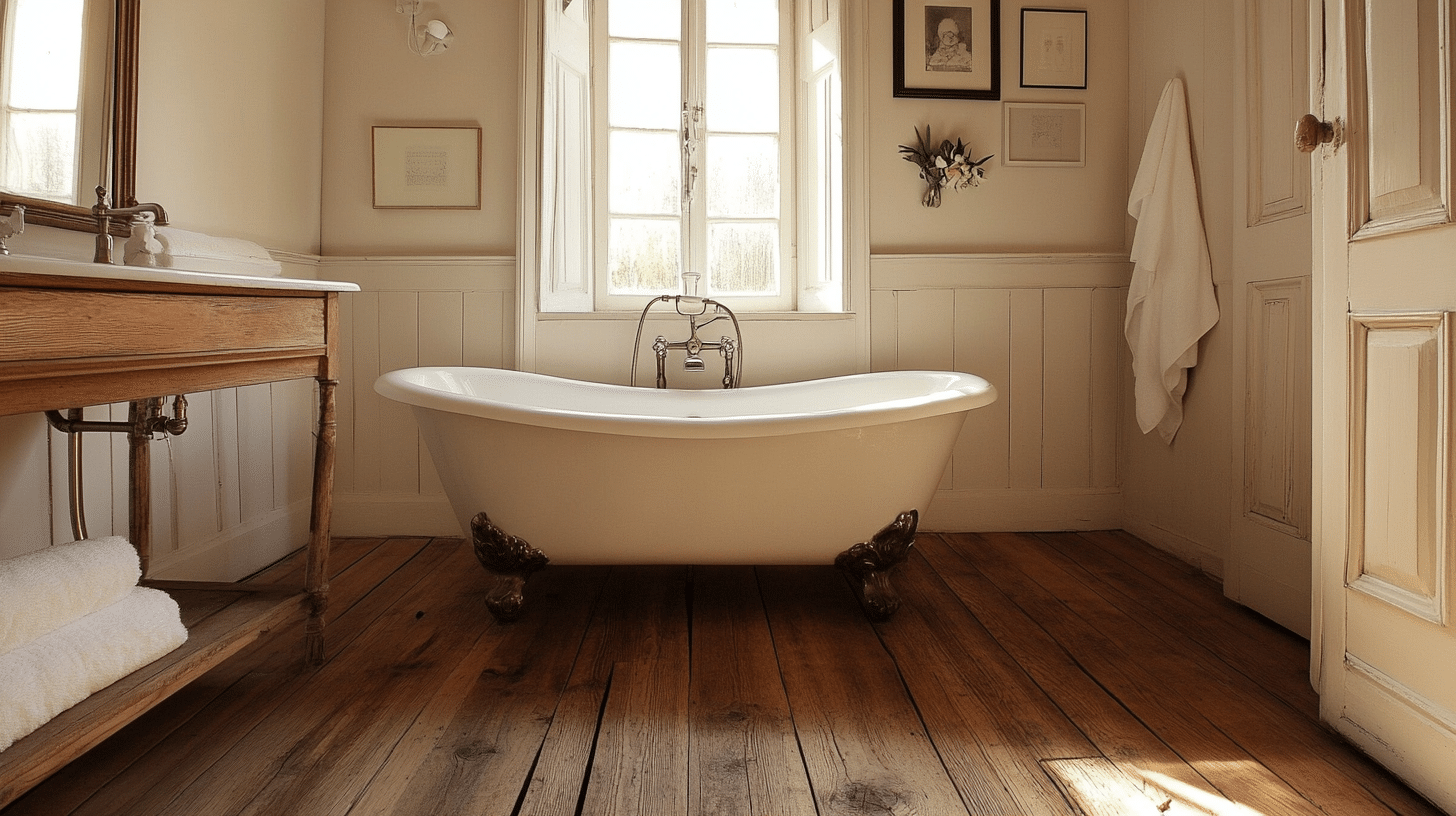
Solid hardwood brings timeless beauty to homes. The thick wood construction allows multiple refinishing sessions.
Each board shows unique grain patterns. But bathroom moisture poses real risks. The wood expands and shrinks with humidity changes. This movement often leads to warped or damaged floors.
4. Natural Stone Options
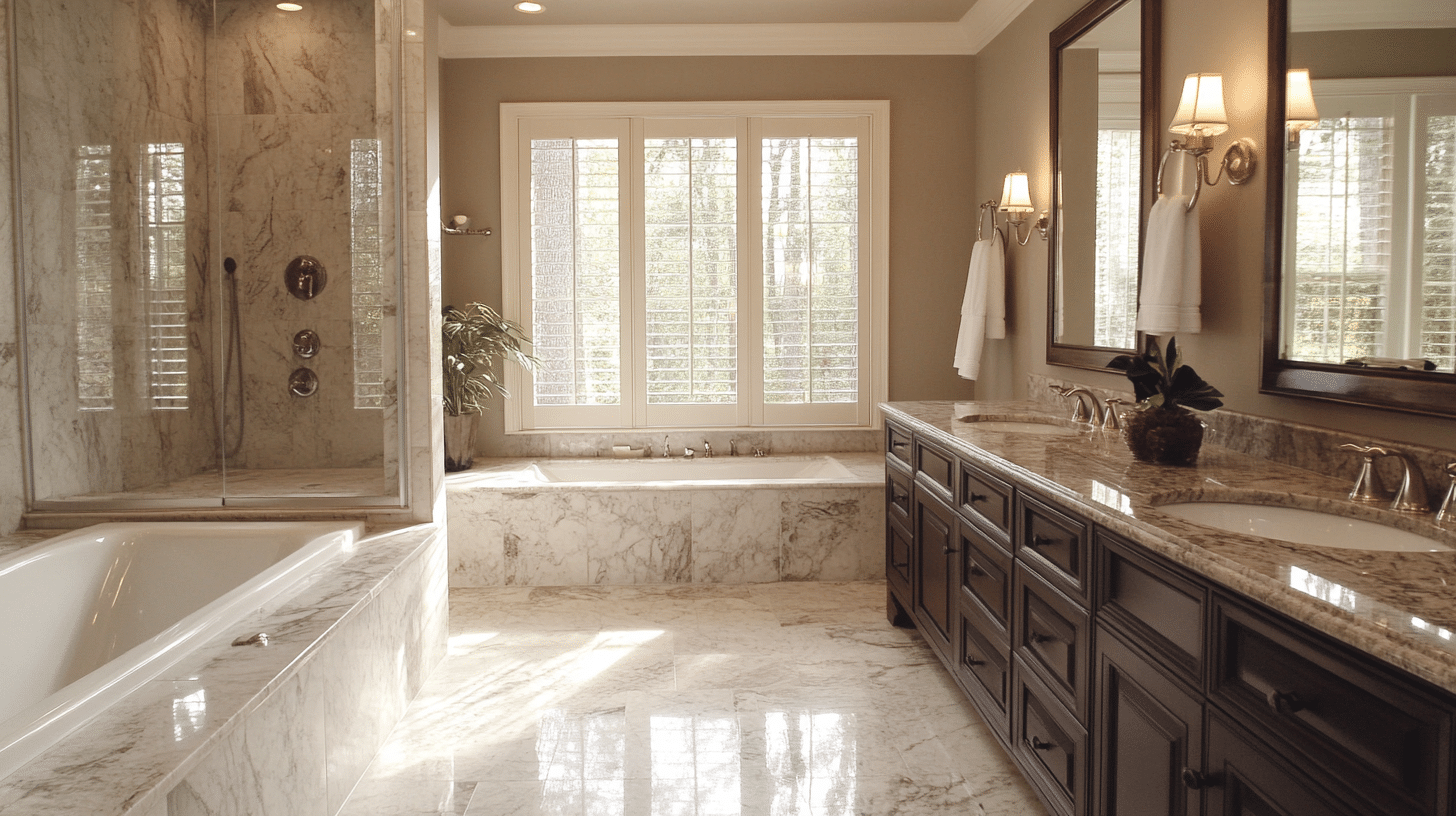
Stone tiles last for decades. Materials like marble and granite resist water damage. They add luxury to any bathroom, and the natural patterns catch light beautifully.
Still, the stone needs regular sealing to prevent stains. The hard surface can feel uncomfortable. Installation costs run higher than engineered hardwood. Plus, repairs often mean replacing whole sections.
Engineered Hardwood Installation Guidance
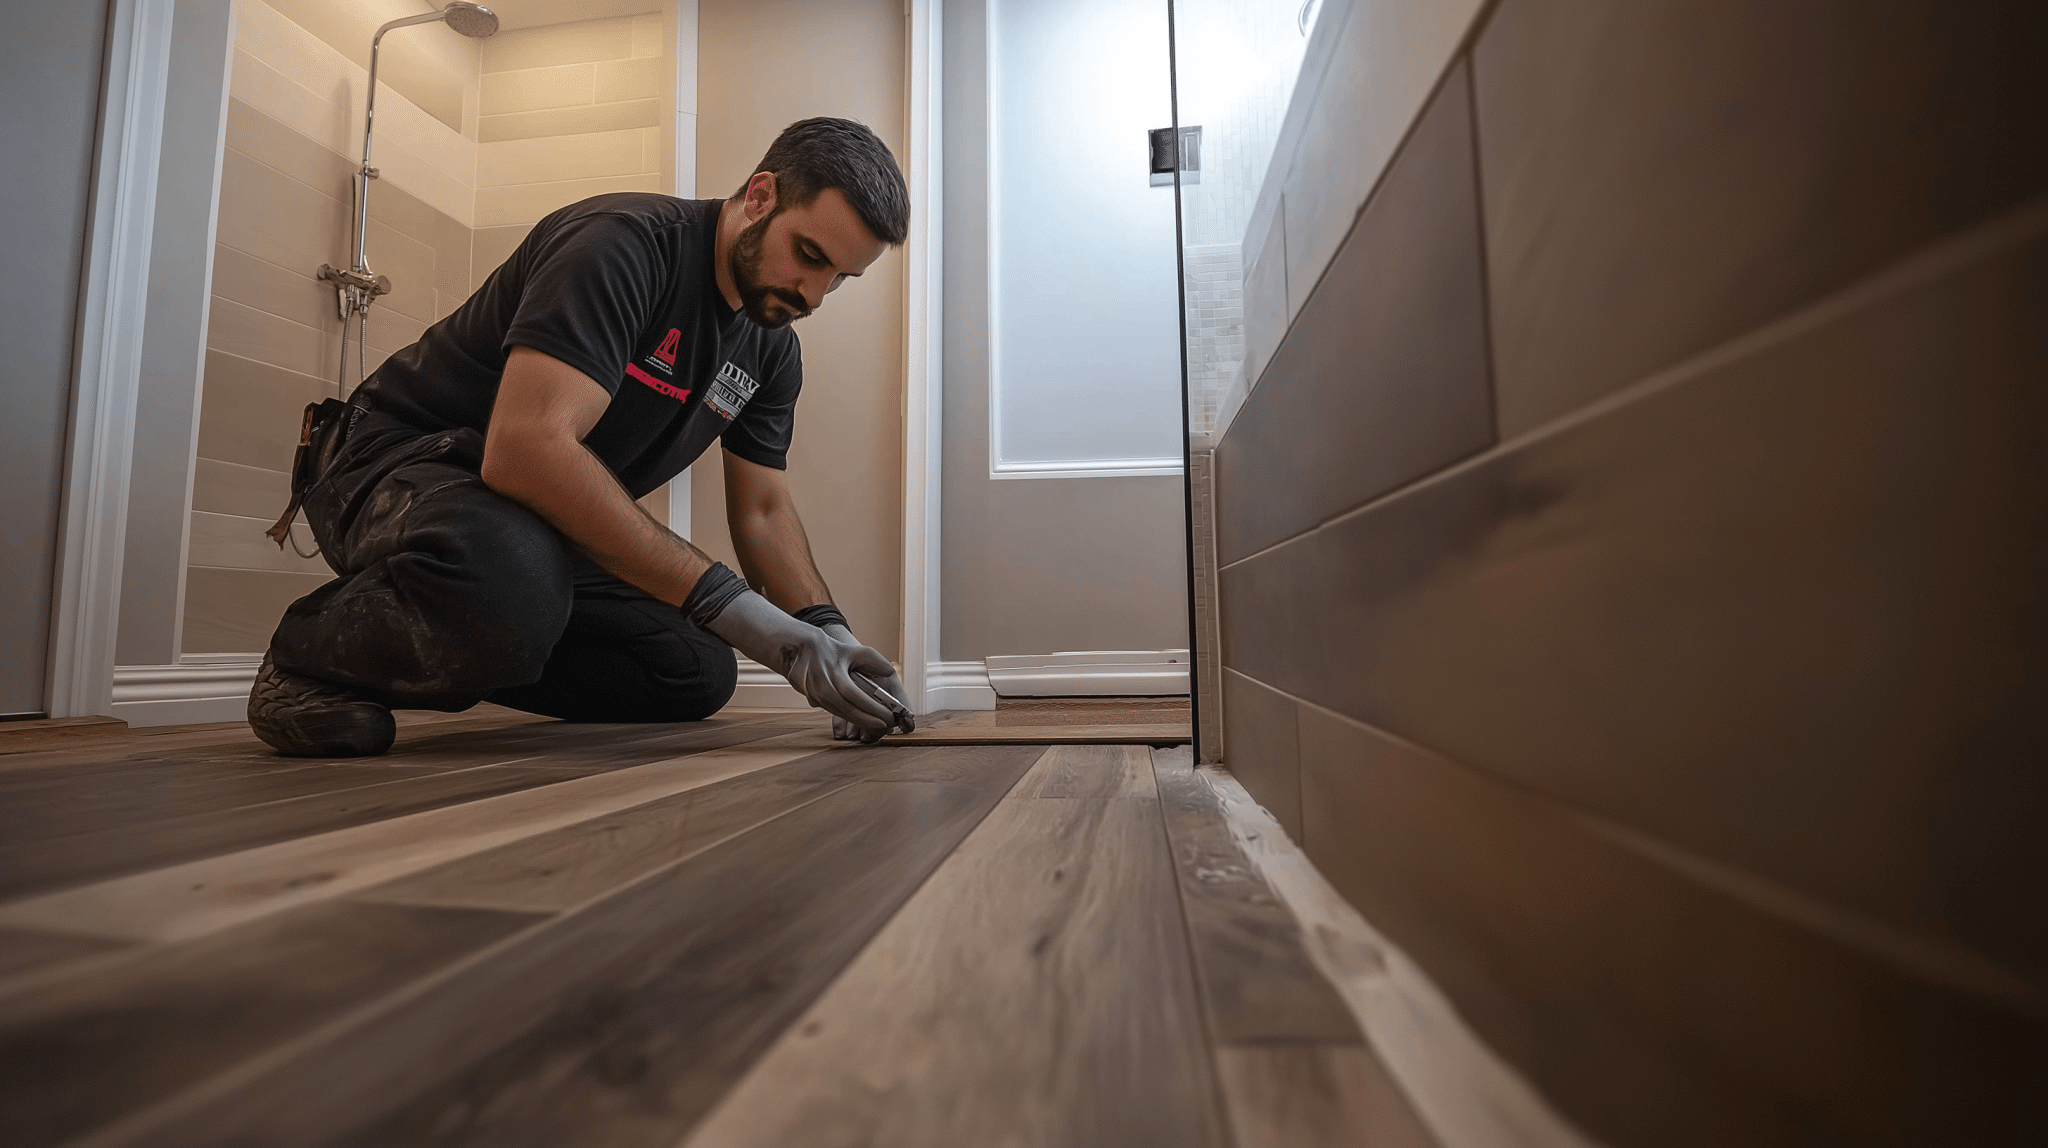
1. Preparing Your Bathroom Space
Start with a clean, level subfloor three days before installation. Let the wood boards rest in your bathroom, as this helps them adjust to the room’s moisture levels.
Fix any floor squeaks or loose spots first. Check that your bathroom fan works well to control humidity.
The subfloor must stay dry. Test it with a moisture meter. The reading should show less than 12% moisture content. Fix any leaks around toilets or sinks. Good prep work now prevents problems later.
2. Choosing Your Installation Method
Two main methods work for bathroom installation. The floating floor method lets boards click together above a moisture barrier, which works well for do-it-yourself projects.
The glue-down installation creates a stronger bond with the subfloor, which most professionals prefer for bathrooms.
Glue-down floors resist water better. The full-spread adhesive blocks moisture from below. This method costs more but adds stability. It also makes the floor feel more solid when you walk on it.
3. Moisture Protection Steps
Put a good moisture barrier under the flooring. Use waterproof seams where boards meet. Seal all edges where the floor meets the walls.
Leave small gaps around the edges for natural movement. Apply sealer to the wood surface after installation.
The toilet area needs extra care. Remove the toilet first. Install the flooring with a proper seal around the flange. Use flexible caulk where the floor meets fixtures. These steps keep water from getting under the boards.
4. Tools and Skills Required
Basic tools include: A moisture meter
- Sharp saw blades
- Tapping block
- Pull bar
- Clear silicone caulk.
The job requires medium skill levels. Most handy homeowners can handle a floating floor installation, but glue-down methods require more skill.
Consider hiring help if you’re unsure about moisture barriers or sealing steps.
Engineered Hardwood Maintenance And Care Tips
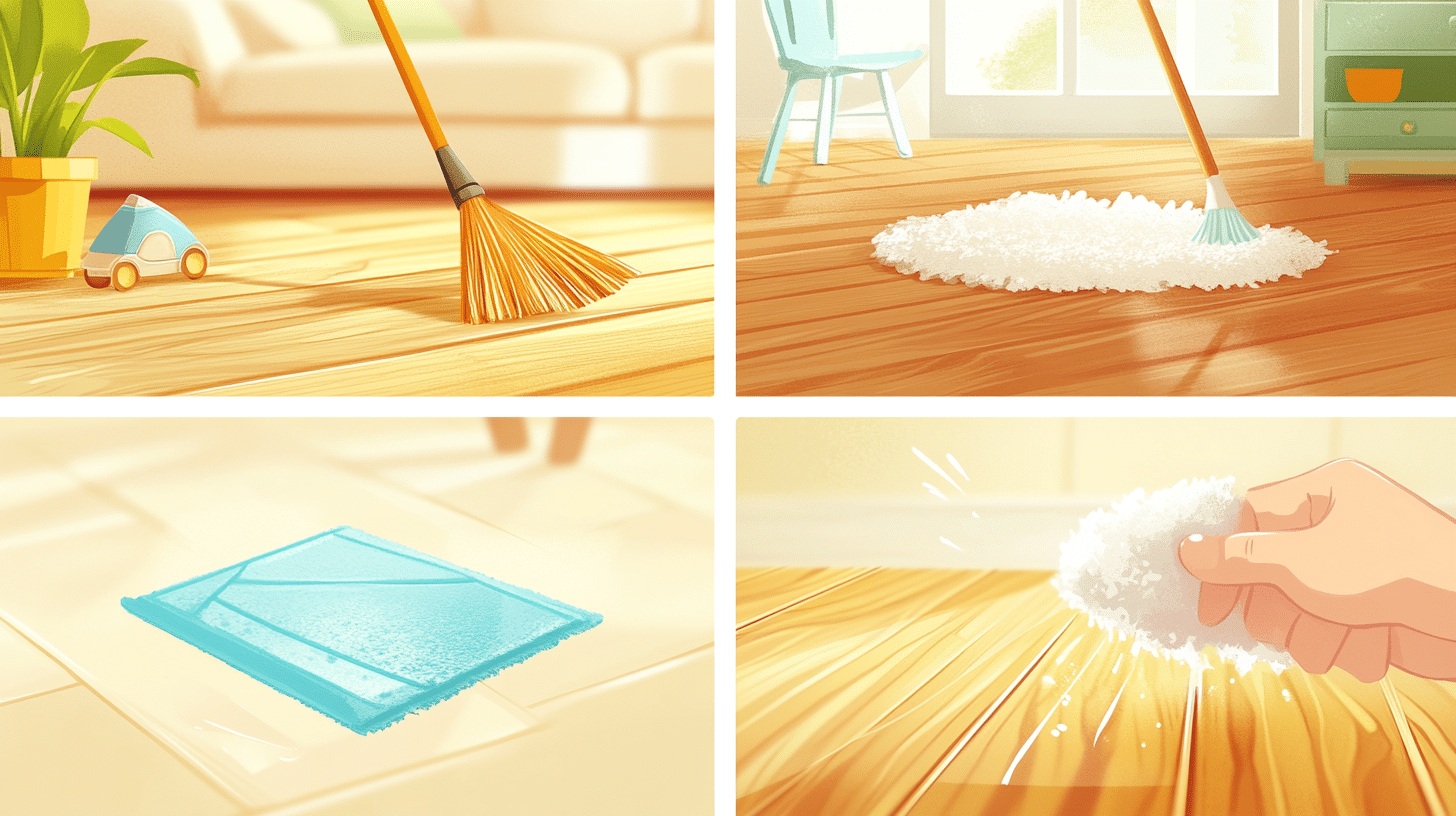
1. Daily Care Basics
Keep bathroom mats by the shower and sink. Wipe up water spots as soon as you see them. Use a dry mop or soft cloth for daily cleaning.
Skip the wet mop – it puts too much water on the floor. Regular, gentle cleaning helps your floor last longer.
Make sure the bathroom stays well aired out. Run the fan during showers and for 30 minutes after. Open windows when you can.
Lower humidity helps protect the wood surface. Check under mats often to make sure no water gets trapped.
2. Cleaning Products and Methods
Use cleaners made for wood floors. Mix them as stated on the label. Never pour cleaner straight onto the floor. Instead, dampen your clothes or mop first.
Less liquid means less risk to your floor. Stay away from steam mops – they force moisture into the wood.
Skip harsh chemicals and soap-based cleaners. They leave films that trap moisture. Plain water works for most daily cleaning.
For tougher spots, use wood floor cleaner. Always test new products on a small spot first.
3. Protection from Damage
Put soft pads under the sink cabinets and the toilet. Sometimes, move bathroom rugs to let the floor dry fully.
Watch for signs of water damage near fixtures. Fix drips or leaks right away – don’t wait for visible damage.
Keep bathroom windows covered when possible. Too much sun can fade the wood over time.
Trim pet nails to prevent scratches. If you have a vanity seat, use chair pads. Small steps avoid big problems.
4. Long-term Floor Health
Check the seals around your tub and toilet twice a year. Look for loose boards or changes in the wood color.
Notice if any areas feel soft when you step on them. Catching problems early makes fixes easier and cheaper.
Consider applying a fresh coat of sealer every few years. This keeps the moisture barrier strong.
Watch how the floor looks after cleaning. If water soaks in instead of beading up, it’s time to reseal.
Final Thoughts
Engineered hardwood brings the beauty of wood to bathrooms while handling moisture better than solid hardwood.
Its layered build, proper installation, and regular care create a lasting floor that feels warm and looks natural.
This option works best if you want real wood looks with better water protection, can maintain good bathroom airflow, and plan to follow basic care steps.
While it costs more than some options, many homeowners find the natural feel worth the investment.
The key to success lies in choosing quality products and ensuring proper installation with good moisture barriers.
Talk with local flooring experts about products that suit your space and lifestyle for the best results. Their guidance can help you make the most of this practical yet beautiful flooring choice.
Frequently Asked Questions (FAQs)
Is Engineered Hardwood Truly Waterproof?
Engineered hardwood is water-resistant but not fully waterproof. While it tolerates humidity, prolonged water exposure can cause damage. Quick spill clean-up and added sealants improve durability.
Can I Use Engineered Hardwood in A Full Bathroom?
Yes, with precautions. Engineered hardwood suits humid areas but must be protected from excess water.
Moisture barriers, ventilation, and rugs enhance longevity in full bathrooms.
What Are the Signs of Moisture Damage to Watch For?
Signs of moisture damage include warping, discoloration, buckling, and soft spots. Regular inspections help identify issues early, preventing extensive damage and ensuring the floor’s longevity.

