A Guide to DIY Painted Wooden Christmas Trees
Making wooden Christmas trees at home brings a special touch to holiday decorations.
Our guide shows you how to build and decorate your own wooden tree, perfect for table tops or mantels.
With basic tools and materials, you can create a decoration that lasts for many seasons.
The best part? You can make multiple trees in different sizes from the same type of wood, giving you a matching set for your home.
Stepwise Guide to DIY Painted Wooden Christmas Trees
Materials Needed
- Wood pieces (19 x 62 mm or 3/4 x 2 1/2 inch)
- Wood glue
- Nail gun (optional)
- CA glue (optional)
- Sandpaper (220 grit)
- Clear oil or paint for finishing
- Basic measuring tools
Step 1: Preparing Your Wood Cuts
Start with the top section:
- Make 30° angle cuts on both ends
- These form the main tree shape
Move to the bottom section:
- Create 45° cuts for the wider base parts
- Add 15° cuts for the supporting sections
Organize your pieces:
- Group similar angles together
- Double-check all measurements before assembly
Step 2: Assembly Options
Method 1: Nail Gun Approach
- Apply wood glue to joining surfaces
- Place nails from the inside out
- Keep 25mm (1 inch) overlap at joints
- Work quickly while the glue is fresh
Method 2: Glue-Only Approach
- Use CA glue for quick bonding
- Add standard wood glue for strength
- Hold pieces for 30 seconds
- Let dry for 5 minutes between steps
Step 3: Putting It Together
Start with side pieces:
- Join with your chosen method
- Maintain equal spacing
Create the base:
- Set center piece first
- Add side sections
- Check alignment
Add top section:
- Connect to the base carefully
- Check for stability
- Allow glue to set if using adhesive
Step 4: Finishing Your Tree
- Sand all surfaces smooth
- Remove dust with a clean cloth
- Clear oil for a natural look
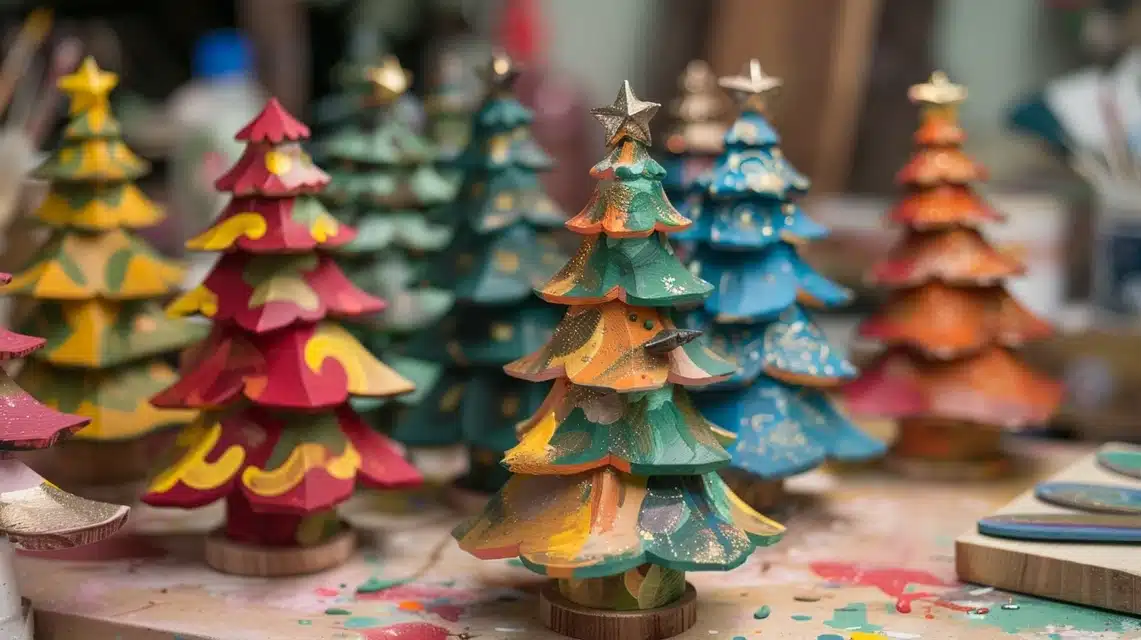
- Paint for custom colors
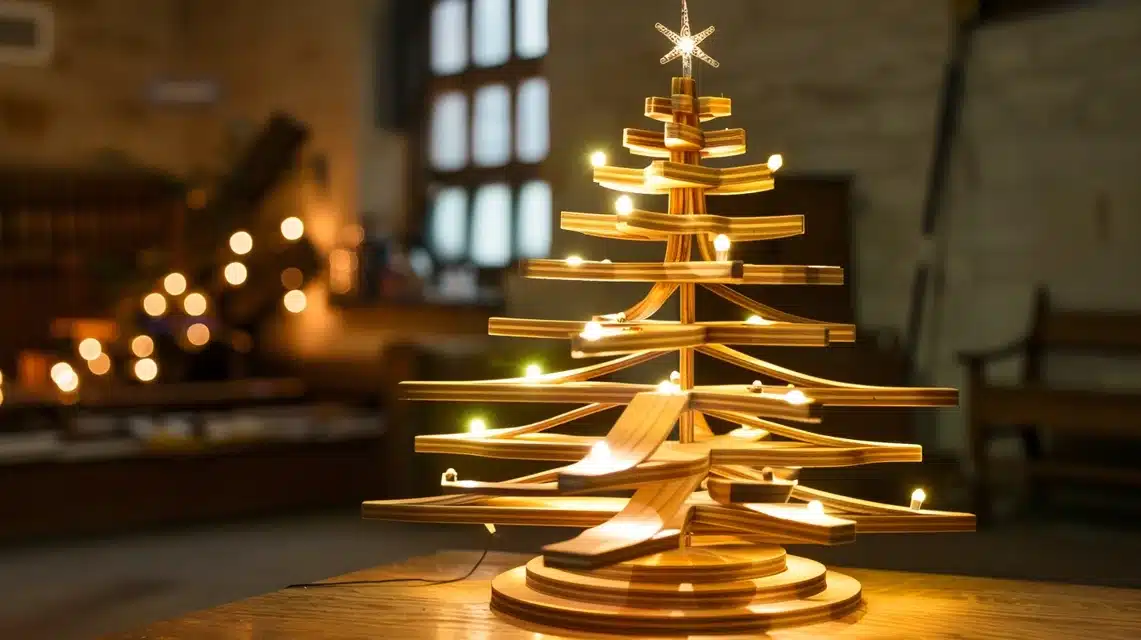
- Add decorative lights if desired
Tips for Success
- Use a guideboard for straight cuts
- Check angles before the final assembly
- Keep workspace clean and organized
- Allow proper drying time
- Sand between coats of finish
Safety Notes
- Wear safety glasses during cutting
- Use adequate ventilation with glues
- Keep fingers away from cutting tools
- Follow all tool safety guidelines
Storage Care
- Keep in dry place
- Wrap lights carefully
- Protect paint finish
- Check for loose parts yearly
Wooden Christmas Tree Decoration Guide
1. Adding Lights

String Lights Selection
- Small LED strings work perfectly
- Battery-powered options hide cords better
- Place battery pack at the base for easy access
Light Placement
- Begin at the top section
- Work downward in steady loops
- Hide wires in wood grooves
- Space evenly for balanced lighting
Light Colors
- Pure white creates a simple style
- Multi-colored adds holiday cheer
- Soft yellow brings comfort
- Blue-white offers a fresh look
2. Paint Ideas

Holiday Colors
- Rich green tones
- Deep red shades
- Use acrylic paint for good coverage
- Apply two coats for best results
Simple Color Options
- Clean white
- Basic black
- Soft tan
- Light gray
Pattern Ideas
- Create stripes using tape
- Make dots with basic stencils
- Mix wide and thin lines
- Keep patterns simple
3. Wood Stain Options
Light Wood Look
- Clear coat shows wood details
- Perfect for simple styles
- Brings out natural patterns
Rich Wood Tones
- Deep brown adds warmth
- Matches well with lights
- Works with metal decorations
4. Mixed Finish Methods
Two-Tone Finish
- Stain the bottom section
- Paint the upper parts
- Creates nice contrast
Worn Wood Look
- Paint full surface
- Sand edges gently
- Shows wood beneath paint
- Gives an old-time feel
Benefits of Wood Christmas Trees
A Lasting Holiday Investment
A wooden Christmas tree brings lasting value to your home decorations.
These pieces stay beautiful through many holiday seasons, making them a smart choice for families who want quality decorations.
Made from real wood, they need only basic care to keep their charm year after year.
Your Creative Control
Creating your own tree means you control every detail. Choose any paint color, size, or finish that suits your home.
Small trees add charm to quiet corners, while larger ones work well as main decorations.
When you want a fresh look, simply add new paint or change the decorations – your tree adapts to your changing wishes.
Perfect for Every Home
These trees fit nicely in any room setting. A white coat creates a clean look, while natural wood shows off its warm patterns.
Black paint makes a strong statement, and soft colors blend with gentle decor styles.
Set up one tree alone or group several together – they keep their good looks season after season.
Practical Perks
Wooden trees also offer simple benefits. They pack away in small spaces, stay stable around kids and pets, and make meaningful gifts.
Each tree can start a family tradition, holding memories of past holidays while making new ones each year.
Summing Up
An interesting fact: the first wooden Christmas tree decorations were actually functional items, serving as storage for small candies and treats during winter festivals.
Today, your handmade tree can become a treasured piece that comes out year after year, gathering memories with each season.
By following these steps and adding your personal touches with paint, stain, or lights, you’ve created something truly special.
Remember to date your creation on the bottom – it might just become an heirloom piece that tells the story of your family’s holiday celebrations.
Frequently Asked Questions
Can I Use Reclaimed Wood for This Project?
Yes, reclaimed wood works well if it’s solid and measures 19 x 62 mm (3/4 x 2 1/2 inch). Just clean it well and check for nails before cutting.
How Do I Safely Cut Wood for The Trees?
Always wear safety glasses, use a stable work surface, and keep hands away from blades. A miter saw or circular saw with angle settings works best.
How Do I Make My Painted Wooden Tree Last for Years?
Store in a dry place, apply two coats of paint with proper drying time, seal with clear coat, and touch up any chips yearly to prevent moisture damage.


