Revive and Redesign: Transforming Old Wooden Toolboxes into Home Decor
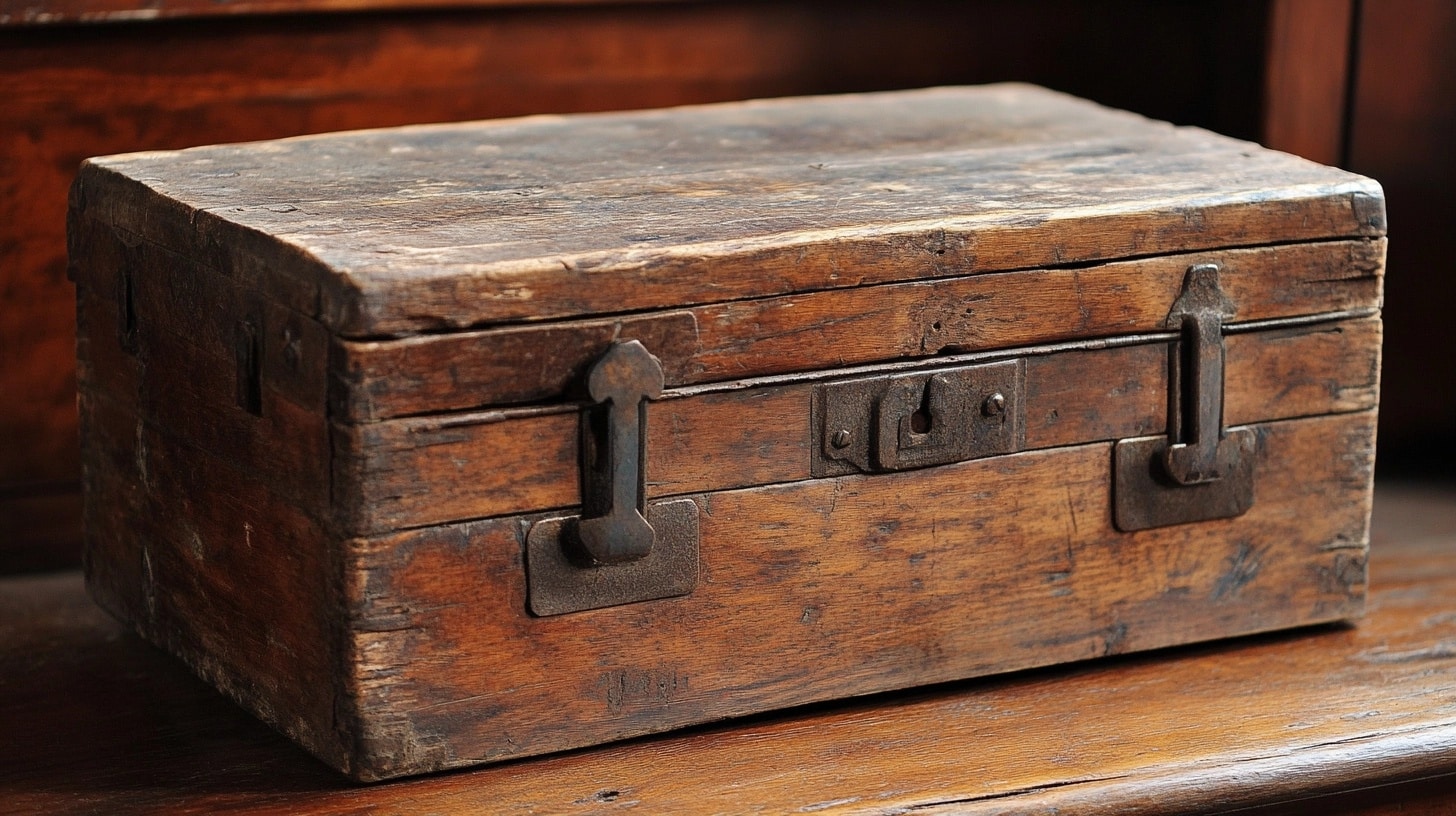
I found my first old wooden toolbox in my grandfather’s garage.
Each scratch, dent, and weathered corner told stories of years spent storing hammers, nails, and screws.
Looking at it, I saw more than just a practical container – I saw an opportunity to create something special for my home.
The appeal of vintage items in modern homes keeps growing.
We value pieces that carry history and character, which makes old wooden toolboxes perfect for creative restoration. Their solid construction and natural warmth can add a unique touch to any room.
In this guide, I’ll share my favorite ways to turn forgotten toolboxes into eye-catching home pieces.
From wall-mounted shelves to coffee table centerpieces, you’ll learn my simple methods to clean, repair, and style these treasures.
Let’s give these hardworking boxes a well-deserved second chance.
Finding Your Perfect Vintage Tool Box
Finding an old wooden toolbox can be a rewarding search.
The best places to start are local estate sales, particularly in older neighborhoods where these treasured items often surface in garages and workshops.
Early morning visits offer the best selection and chances of finding quality pieces.
Small-town thrift stores provide steady opportunities, with new stock arriving regularly. While some boxes might appear dirty or slightly damaged, many can be restored with simple repairs.
Price comparison with online listings helps ensure fair deals.
Spring and fall yard sales often yield excellent finds. Many homeowners discover these boxes tucked away in storage spaces, making neighborhood sales prime hunting grounds.
Meanwhile, flea markets and antique shows allow buyers to examine boxes personally and compare prices among different sellers.
Online platforms like Facebook Marketplace and Etsy expand the search radius, though shipping costs need consideration. Local auction sites frequently list vintage tools and storage items at reasonable prices.
Step-by-Step Guide to Restoring an Old Wooden Toolbox
Materials Required
| Category | Tools/Materials |
|---|---|
| Cleaning Supplies | – Sugar soap – Steel wool – WD40 (for rust removal) |
| Sanding Tools | – Power sander – Sandpaper (60 grit to 240 grit) |
| Rust Removal Tools | – Rotary tool – Wire brush – Rust remover solution |
| Wood Treatment | – Indian Rosewood wood dye – Ebony wood dye (spirit-based) |
| Finishing Supplies | – Wax polish (beeswax, carnauba wax) |
| Hardware Tools | – Screwdriver – Drill (for drilling rusted screws) |
| Replacement Materials | – New wood (for replacing rotten parts) |
| Painting Supplies | – Black spray paint (for hardware) |
| Safety Gear | – Gloves – Goggles – Dust mask |
| Special Tools | – Map gas (for heating and bending metal) |
Step 1 Gather Tools and Disassemble the Toolbox
- Collect necessary tools: WD40, power sander, rotary tool, steel wool, wood dye, and wax polish.
- Remove all hardware and screws, using WD40 to loosen rusted parts or drilling through them if necessary.
Step 2 Clean and Inspect the Toolbox
- Scrub the toolbox using sugar soap and steel wool to remove dirt and grime.
- Check for any water damage or rotten areas, especially at the bottom.
Step 3 Remove Rust from Hardware and Repair Rotten Parts
- Use a rotary tool and wire brush to clean rust off the hardware, then spray paint black.
- Replace rotten wood parts, using the original as a template for cutting new pieces.
Step 4 Sand the Surface of the Toolbox
- Power sand starts with 60 grit and works up to 240 grit for a smooth finish.
- Highlight details like dovetail joints and remove layers of paint to expose natural wood.
Step 5 Apply Wood Dye and Treat Stains
- Apply three coats of wood dye, like Indian Rosewood, to restore the wood’s natural beauty.
- Use a wood-burning technique (Shou Sugi Ban) to blend in persistent stains if needed.
Step 6 Polish the Wood and Clean the Hardware
- Apply a wax polish (beeswax and carnauba wax) for protection and shine.
- Buff the surface and clean smaller hardware pieces with a rust remover and wire brush.
Step 7 Reassemble the Toolbox and Final Touches
- Reattach all hardware, ensuring proper alignment of screws.
- Embrace imperfections like dents and stains to maintain the toolbox’s character.
11 Creative Ways to Use Your Wooden Toolbox
1. Kitchen Storage Solutions
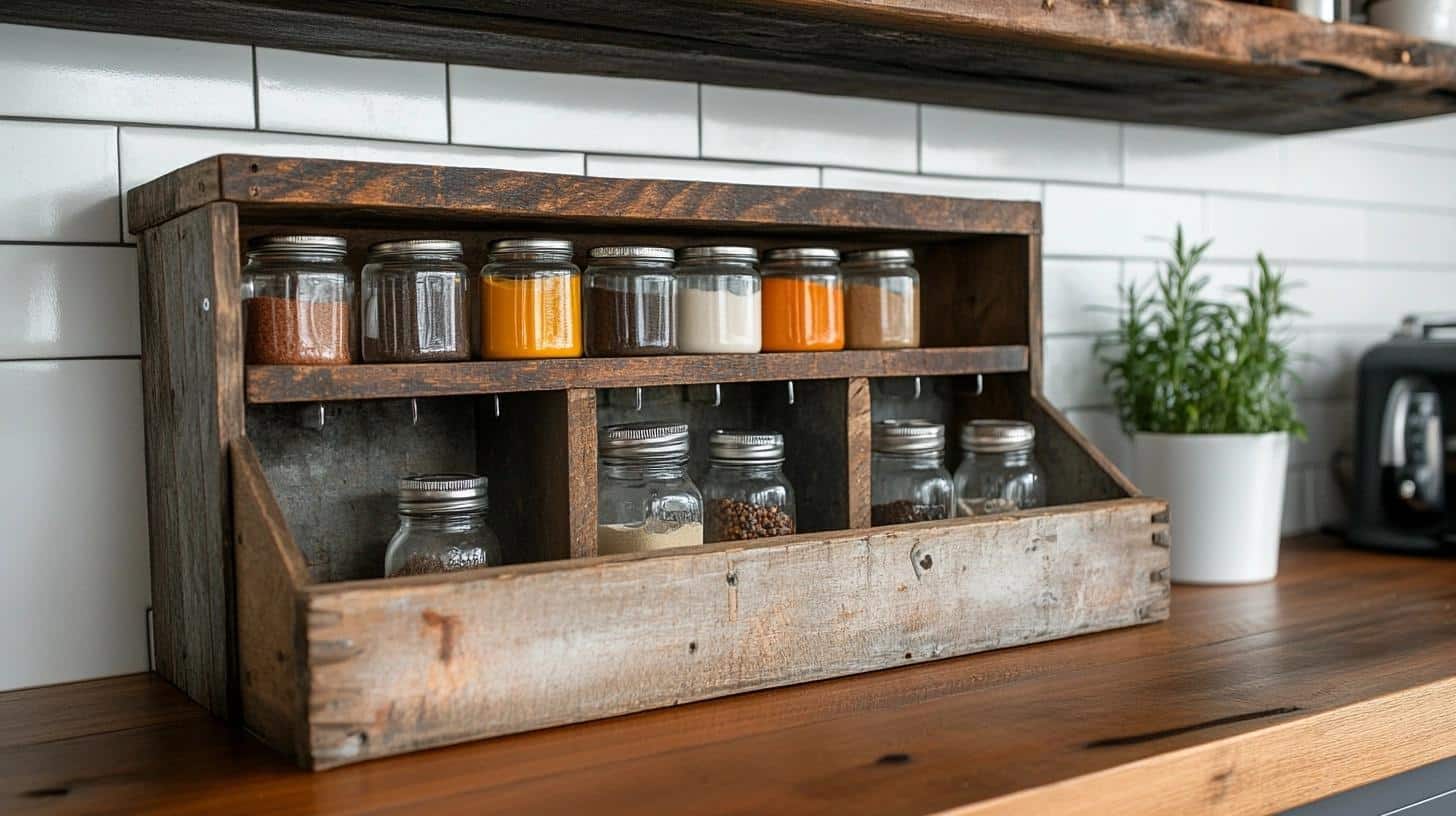
Every kitchen needs smart storage that’s both useful and good-looking. An old toolbox, with its ready-made sections and rustic appeal, perfectly fits this need.
- Mount on the wall as a unique spice rack with glass jars
- Use deep sections to store cooking oils and tall bottles
2. Bathroom Organization
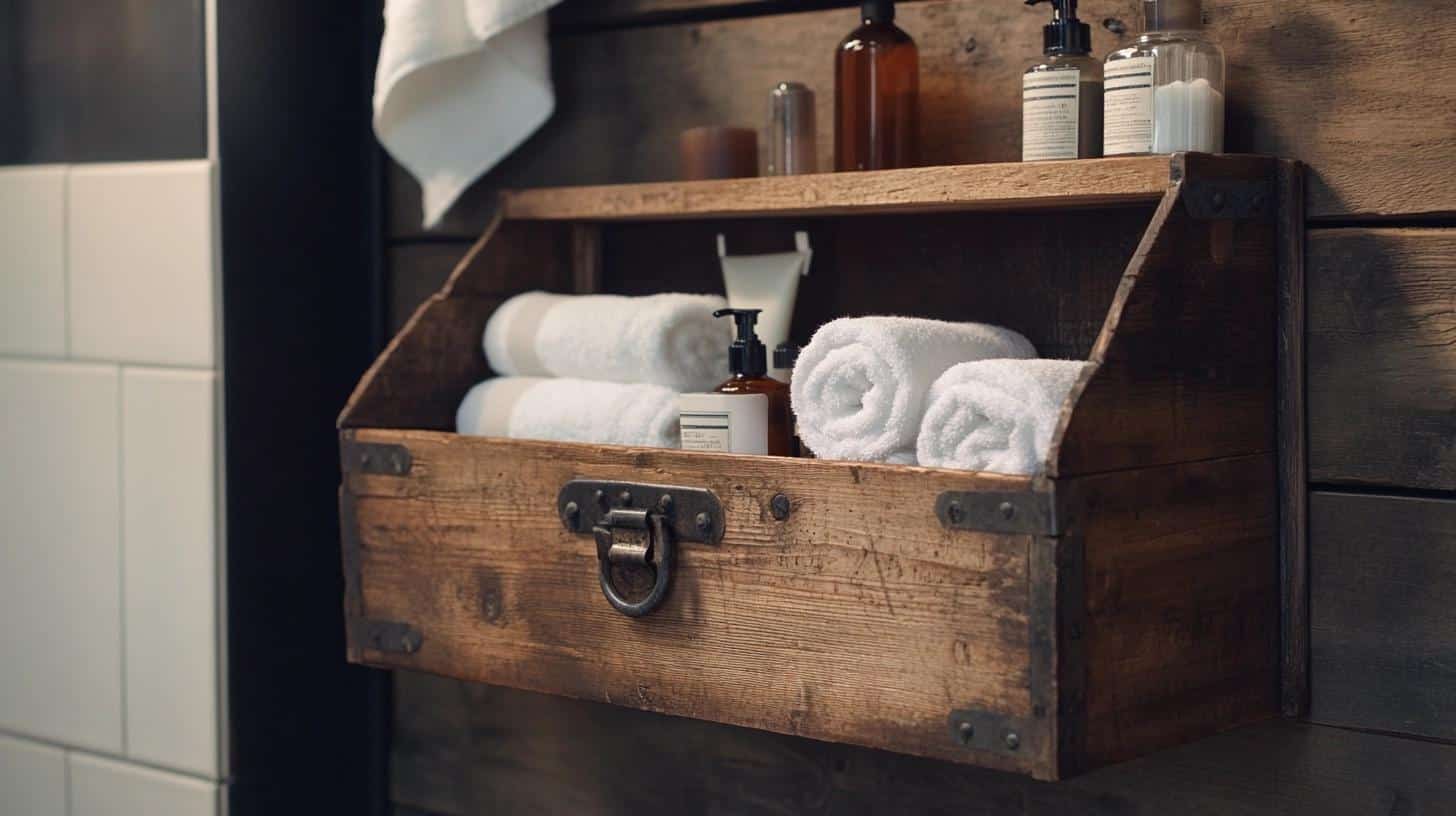
Small bathrooms often lack storage space, making every inch count. A wooden wall toolbox adds storage and style without taking up floor space.
- Apply three coats of water-resistant sealant inside and out
- Sort items like rolled hand towels, soaps, and cotton balls in sections
3. Living Room Display
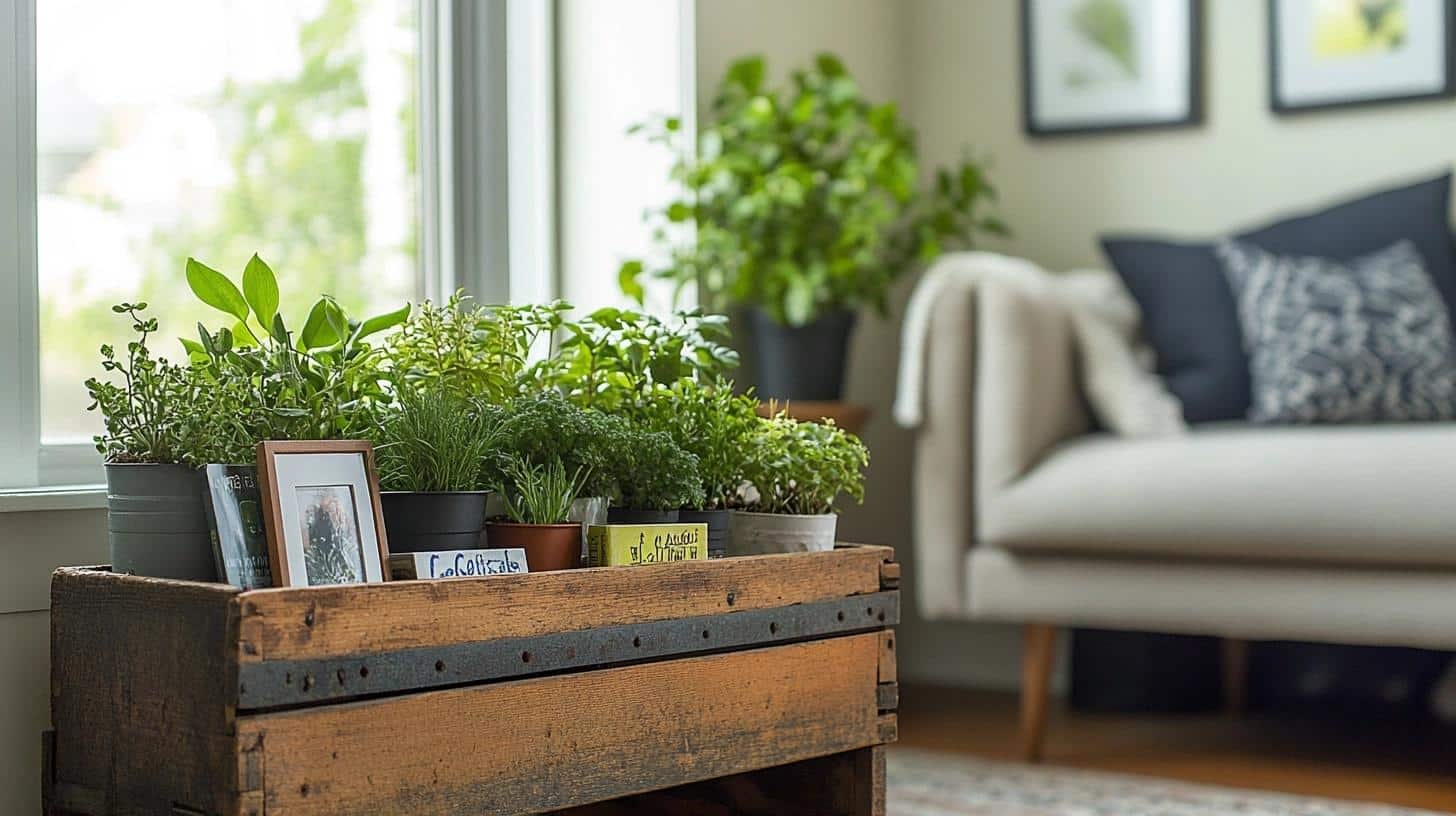
Living rooms need pieces that start conversations and serve a purpose. A toolbox brings character while offering spots for your favorite items.
- Set up a mini indoor garden with small potted plants
- Create a book and photo display using the different levels
4. Bedside Table Stand
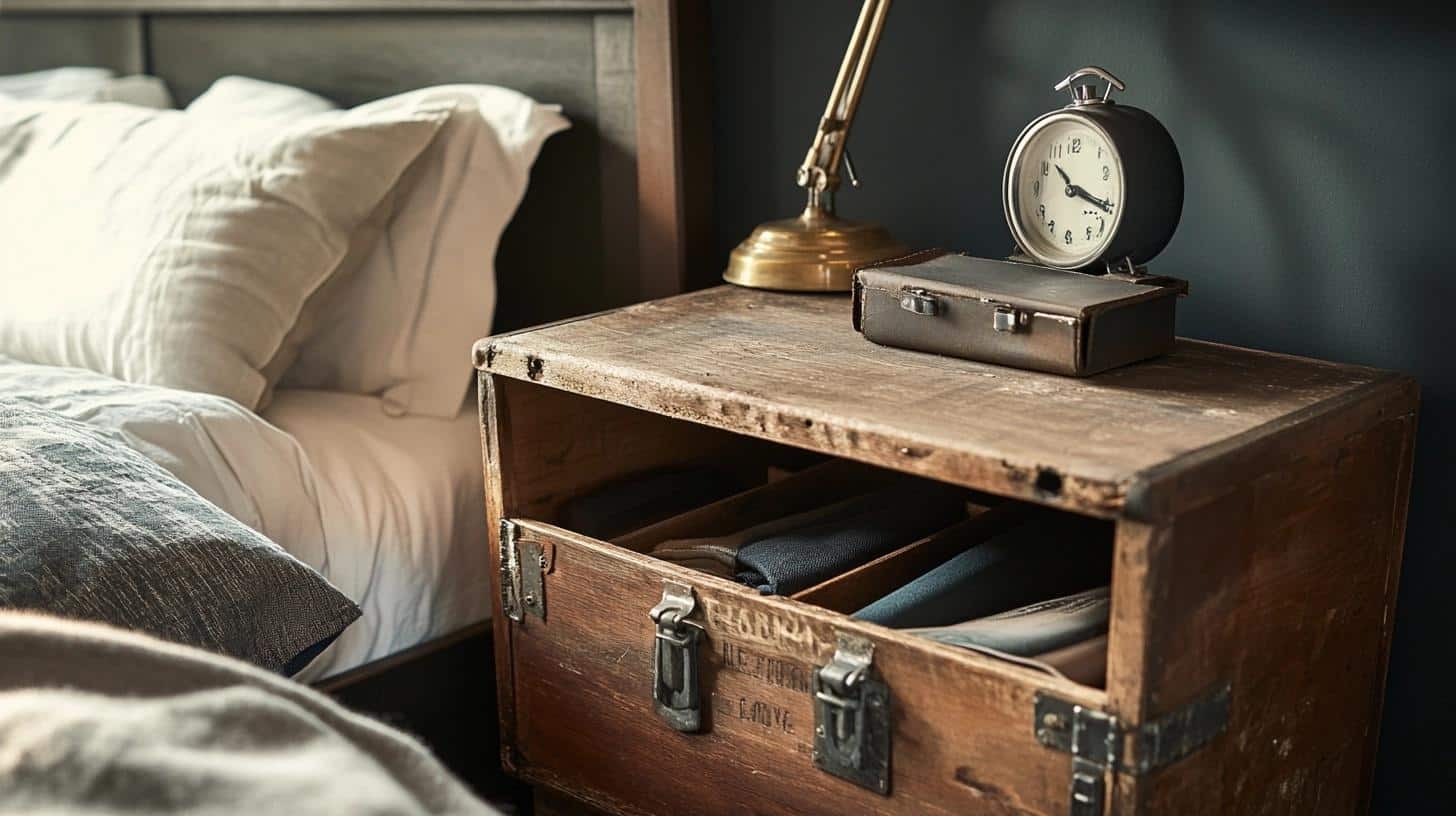
Turn your toolbox into a stand that serves your nightly routine. Its small footprint works well in tight bedroom spaces.
- Keep a lamp and clock on the flat top
- Tuck books and reading items into the sections
5. Entry Way Helper
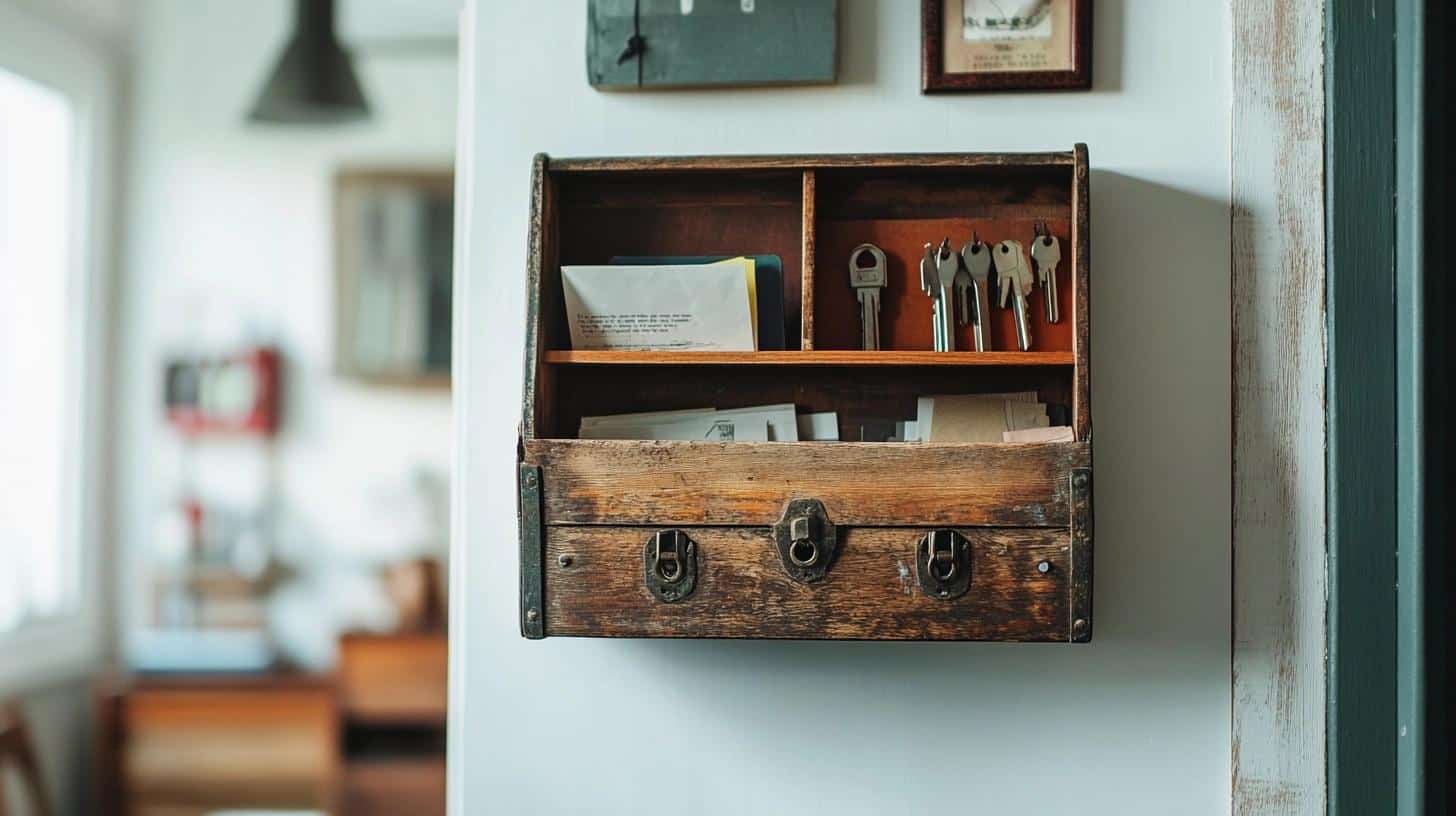
Entryways collect daily clutter that needs a proper home. A wall-mounted toolbox keeps everything sorted without crowding the space.
- Sort incoming mail and keys in separate sections
- Place a small tray in one compartment for loose change
6. Rustic Planters
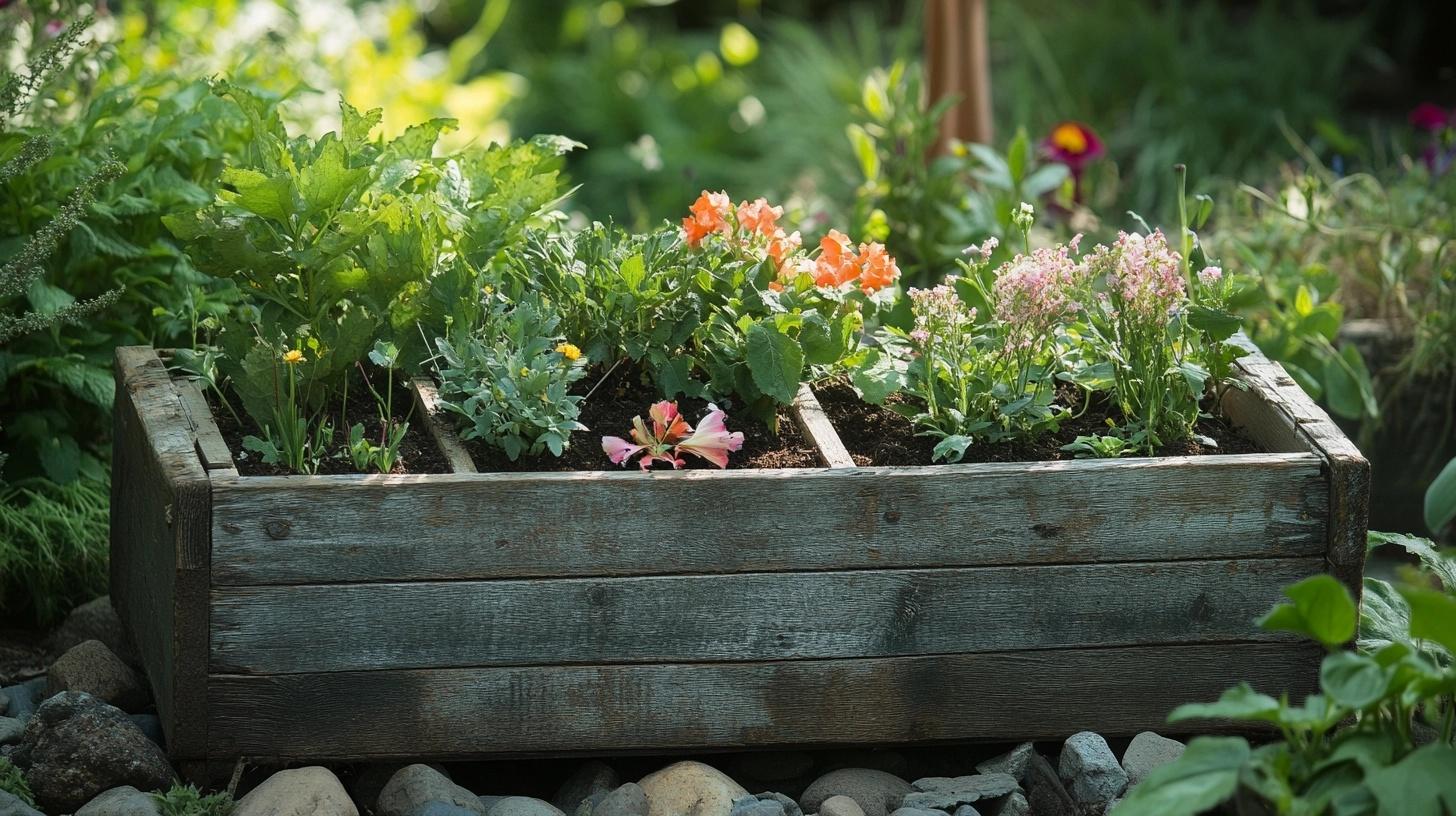
Old wooden toolboxes make natural homes for plants and flowers. Their solid wood construction handles soil and occasional water spills well.
- Line the interior with plastic sheeting for plant protection
- Add rocks at the bottom for proper drainage
7. Unique Centerpieces
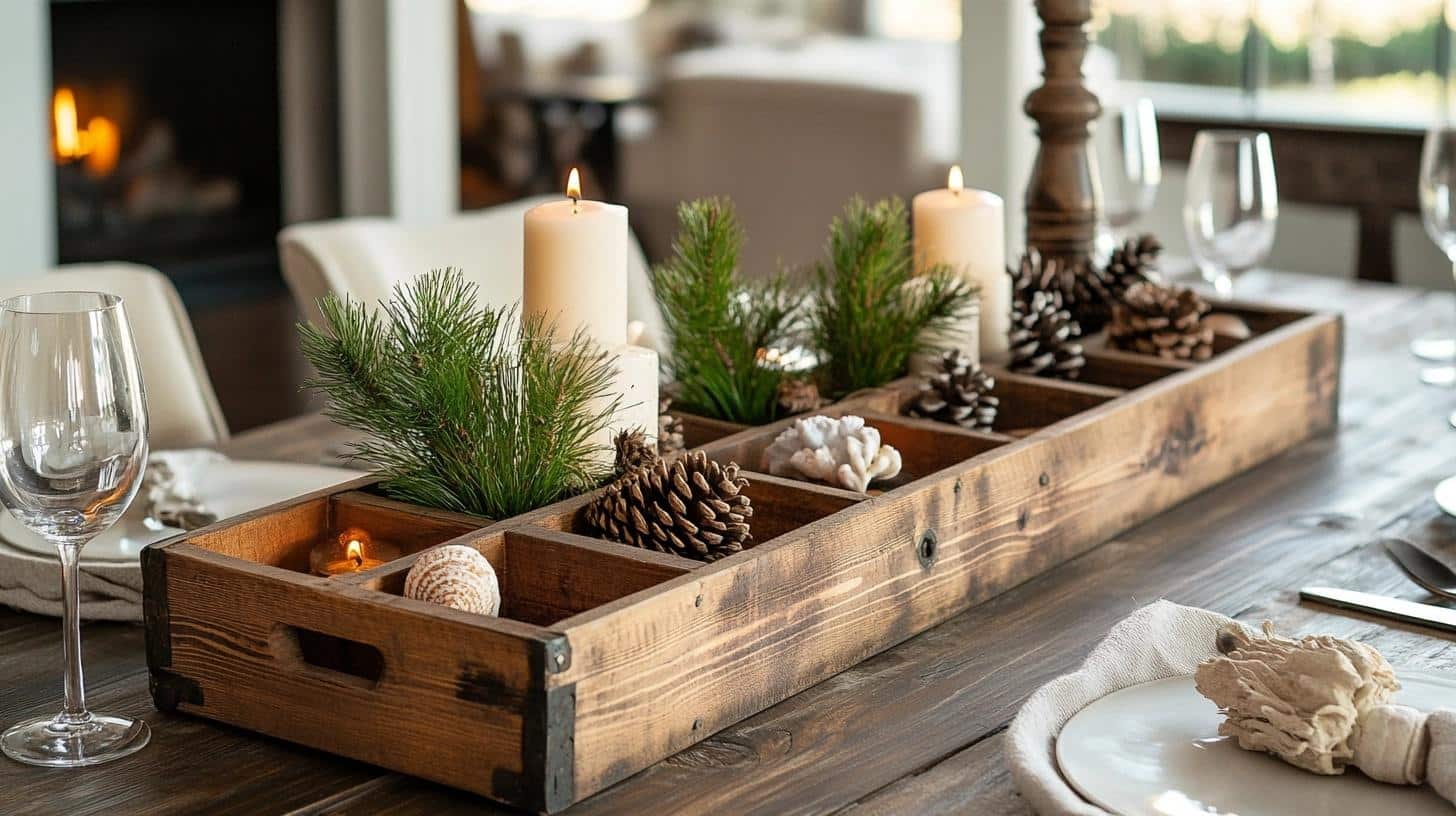
A toolbox in the middle of your dining table creates interest and saves space. Its long shape suits most table sizes perfectly.
- Fill sections with seasonal items like pinecones or seashells
- Place candles and small vases for added charm
8. Wall Shelves
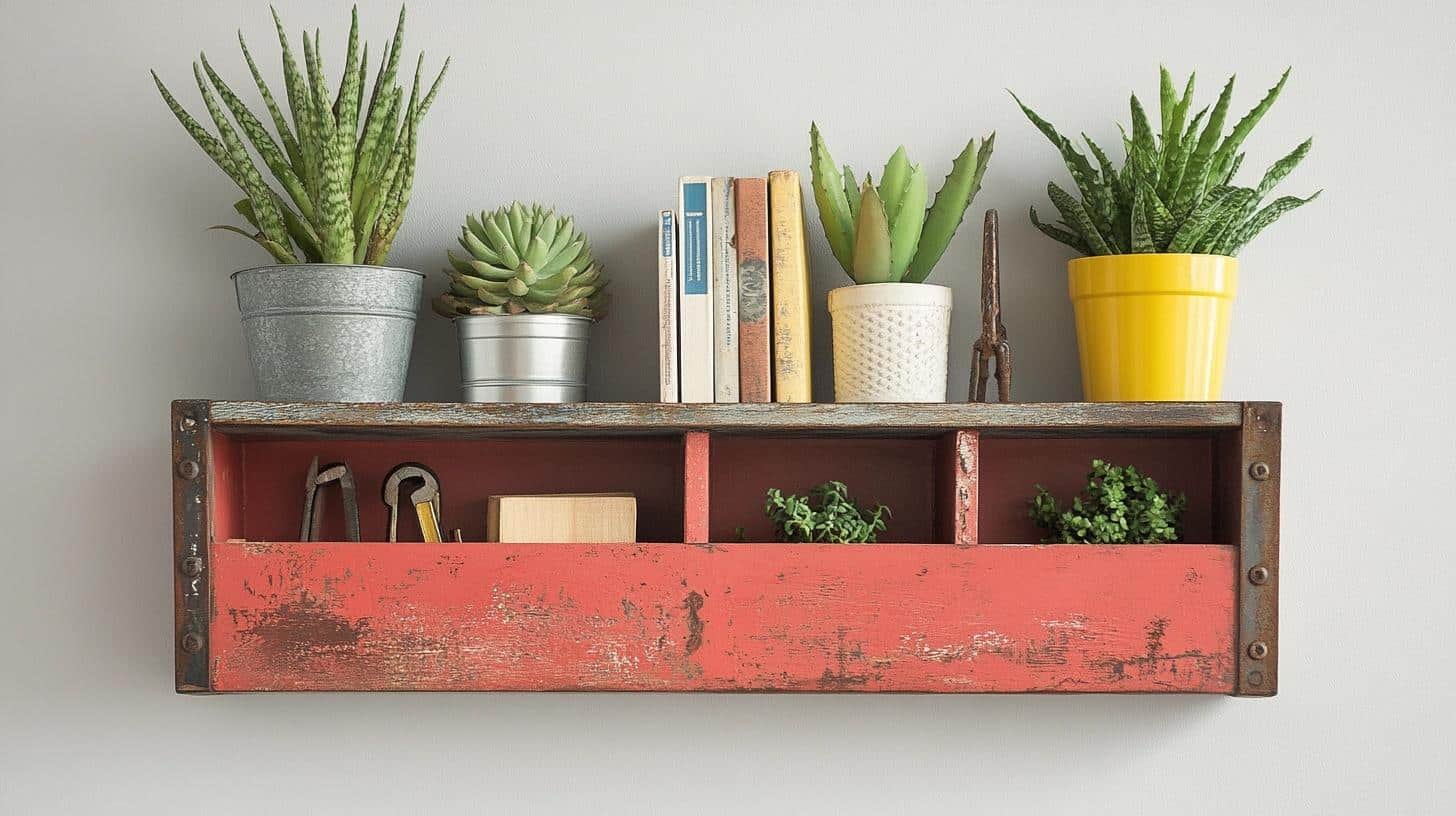
Mounting a toolbox on the wall turns unused vertical space into storage gold. Its built-in sections create natural display areas.
- Secure firmly to wall studs for safety
- Paint or stain to match room colors
9. Bookshelf Accent

Break up book rows with a toolbox turned on its side. This adds visual interest while creating extra storage spots.
- Use smaller sections for bookends
- Show off small items in the tool spaces
10. Outdoor Organizer
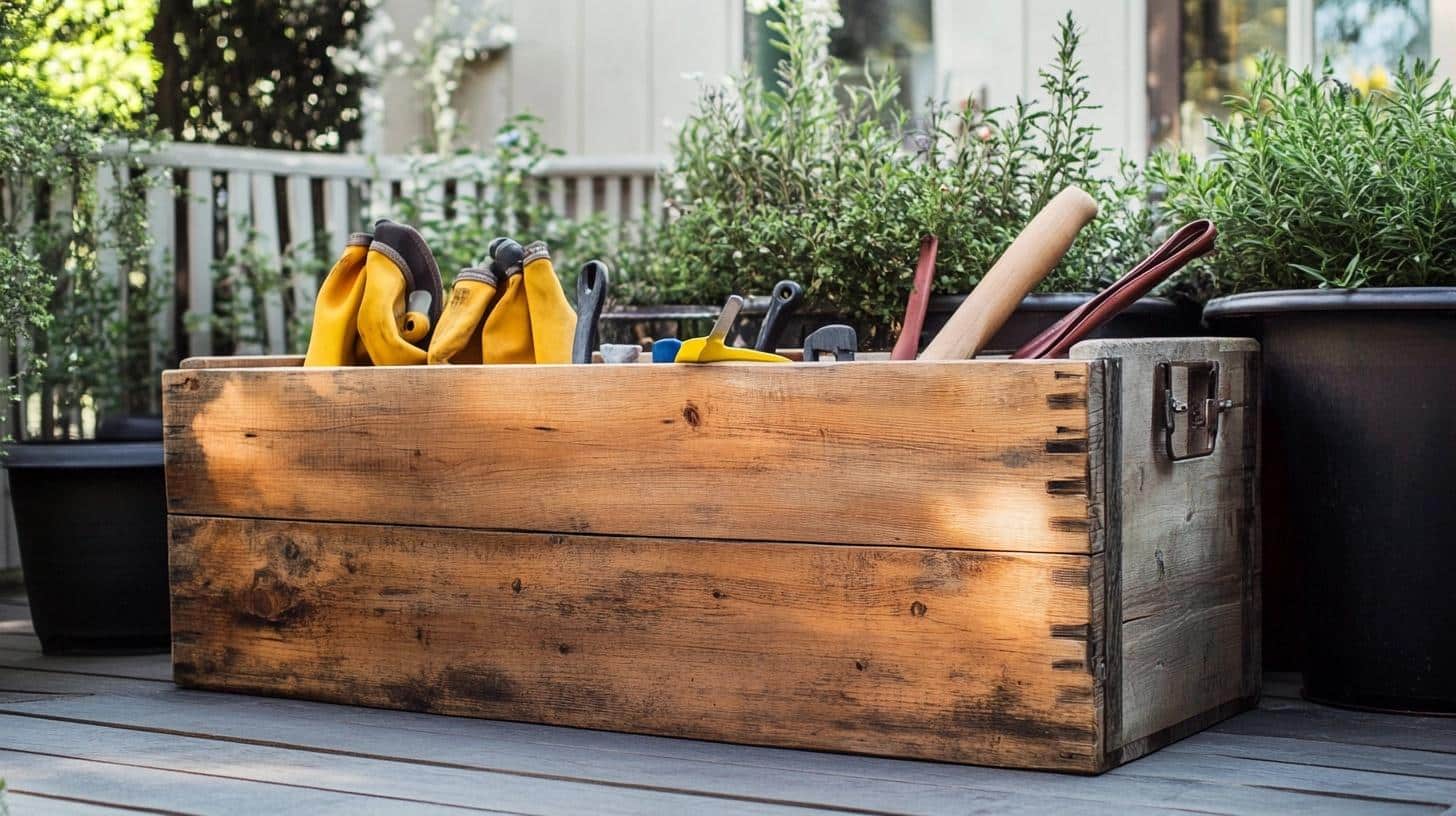
Give your patio or garden area extra storage with a protected toolbox. It keeps outdoor items tidy and close at hand.
- Seal wood thoroughly against weather
- Store garden tools and supplies within reach
11. Coffee Table Storage
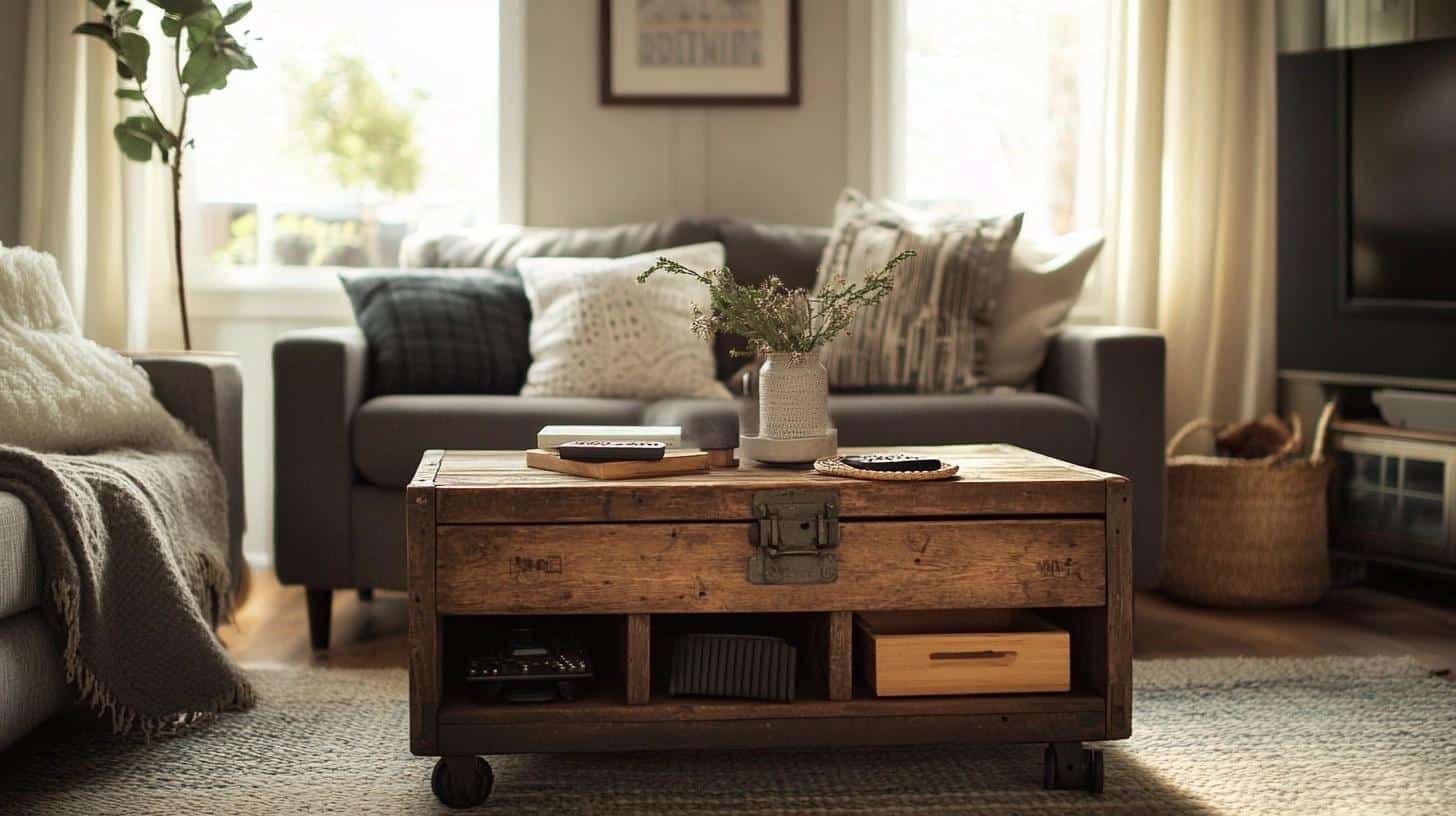
A toolbox at the center of your living room does more than hold magazines. Its shape and size make it ideal for daily use and storage.
- Add short legs or wheels for better height
- Store remote controls and coasters in original sections
DIY Projects to Enhance Your Wooden Toolbox
1. Simple Light Addition

- Choose suitable battery-operated strip lights that match your space and needed brightness level
- Plan light placement carefully, marking spots where shadows need elimination
- Attach lights securely in corners and under edges where they’ll provide the best coverage
- Create a hidden compartment for a battery pack and ensure easy access for changes
2. Adding Dividers
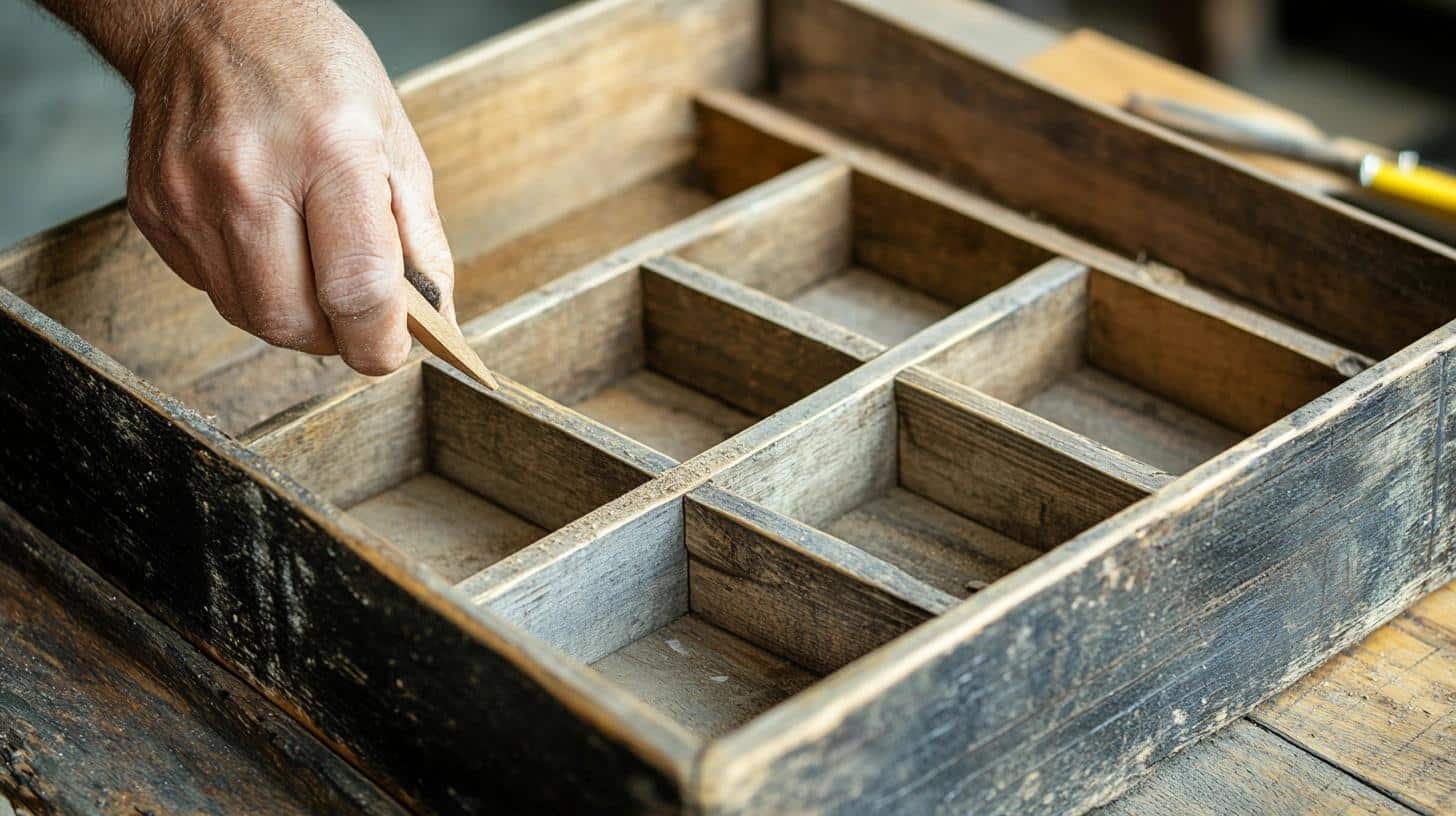
- Measure inside spaces carefully, accounting for width variations in old wood
- Select and cut thin wood pieces that complement your box’s original material
- Test-fit each divider and sand edges for smooth placement into existing grooves
- Secure pieces with small wood glue beads and finishing nails for stability
3. Wheels for Movement
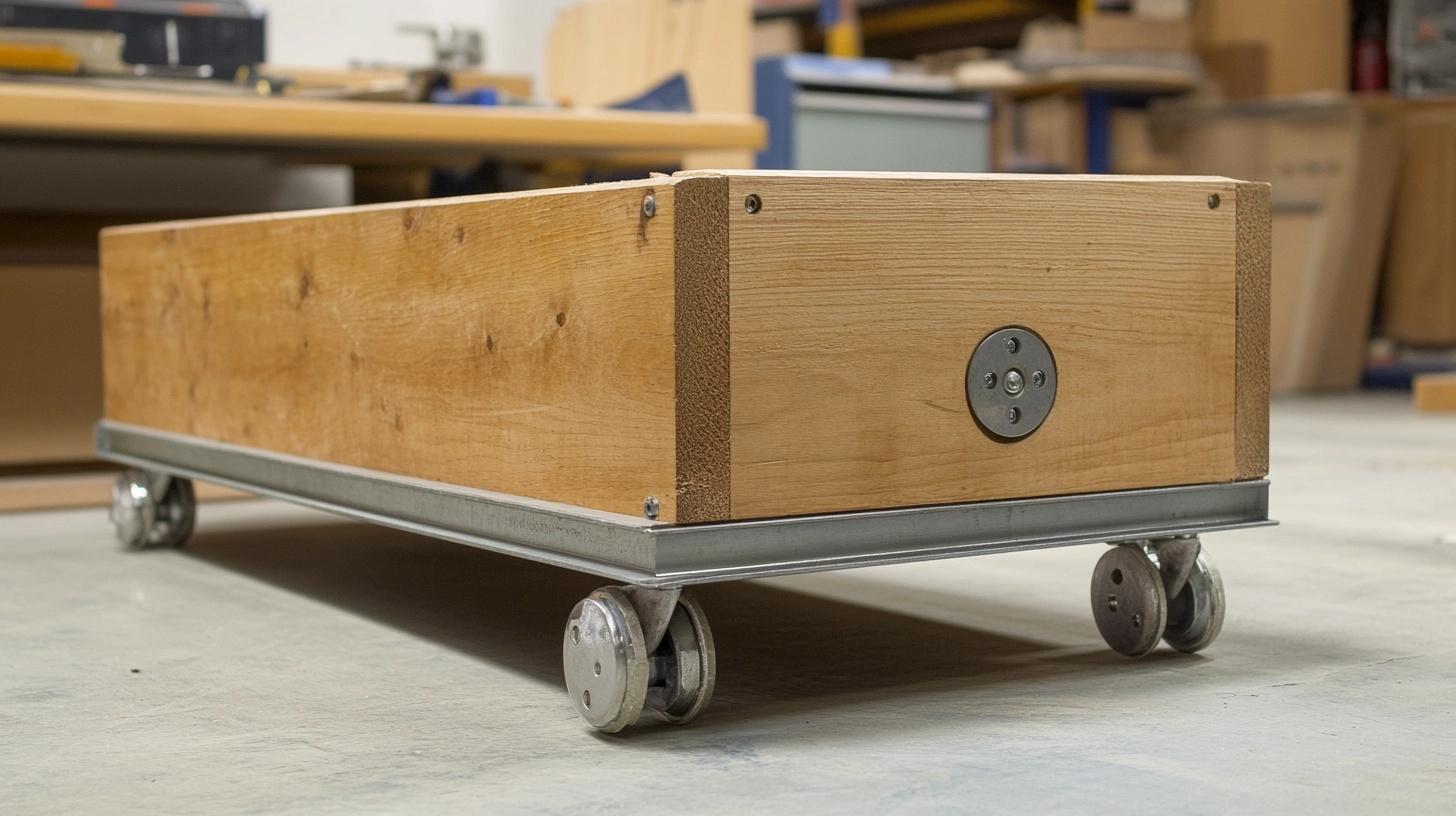
- Select sturdy casters that match your floor type and box weight requirements
- Create a mounting plan that maintains box balance and proper height
- Install metal mounting plates on the box bottom, ensuring equal spacing for stability
- Attach wheels with proper hardware and test weight distribution before final use
4. Handle Updates
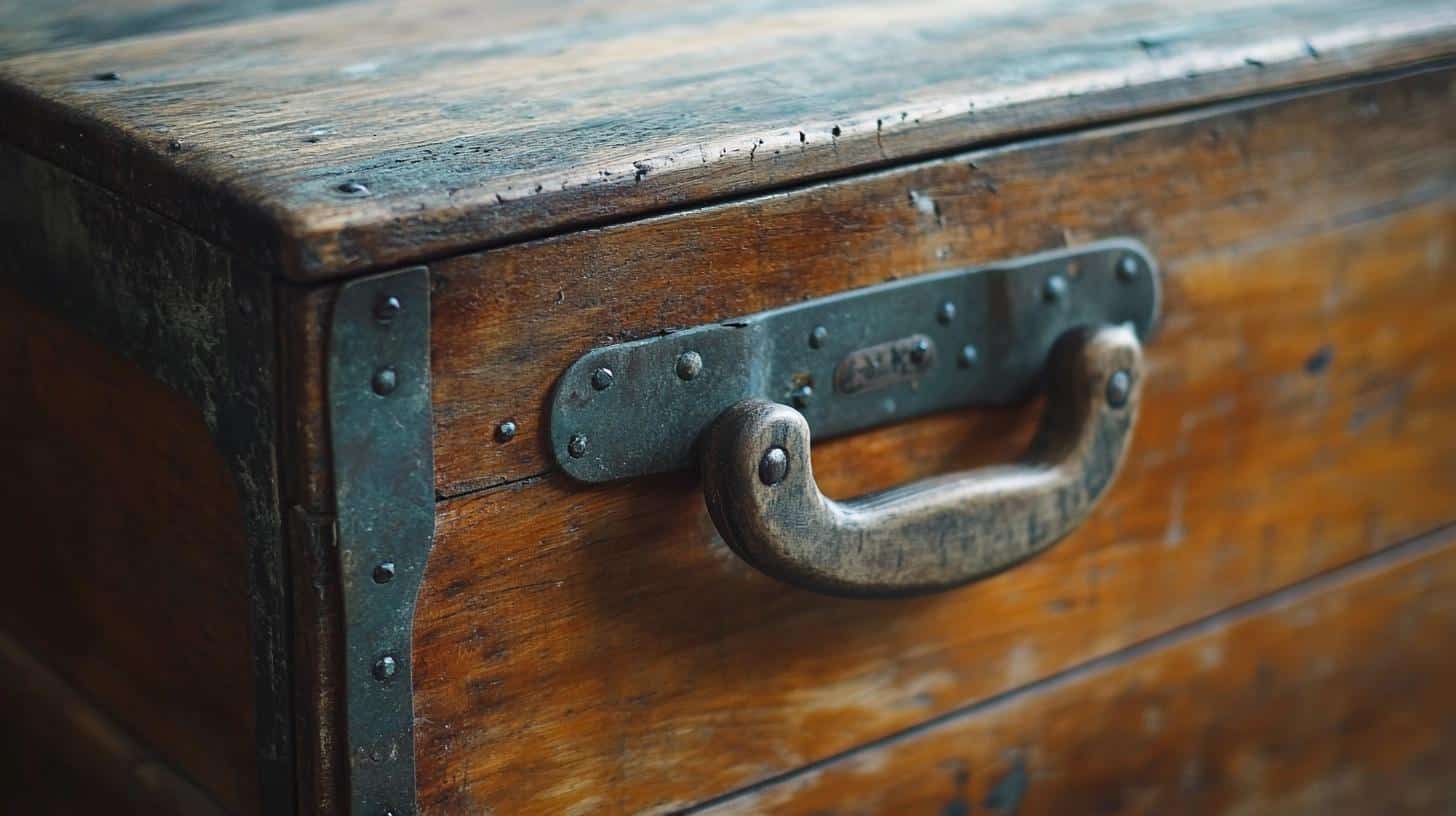
- Remove rust and dirt from metal parts using proper cleaning materials
- Check mounting points for weakness and reinforce where needed
- Select replacement handles that match the box style and your planned use
- Install new hardware with proper backing supports to prevent wood splitting
5. Paint or Stain
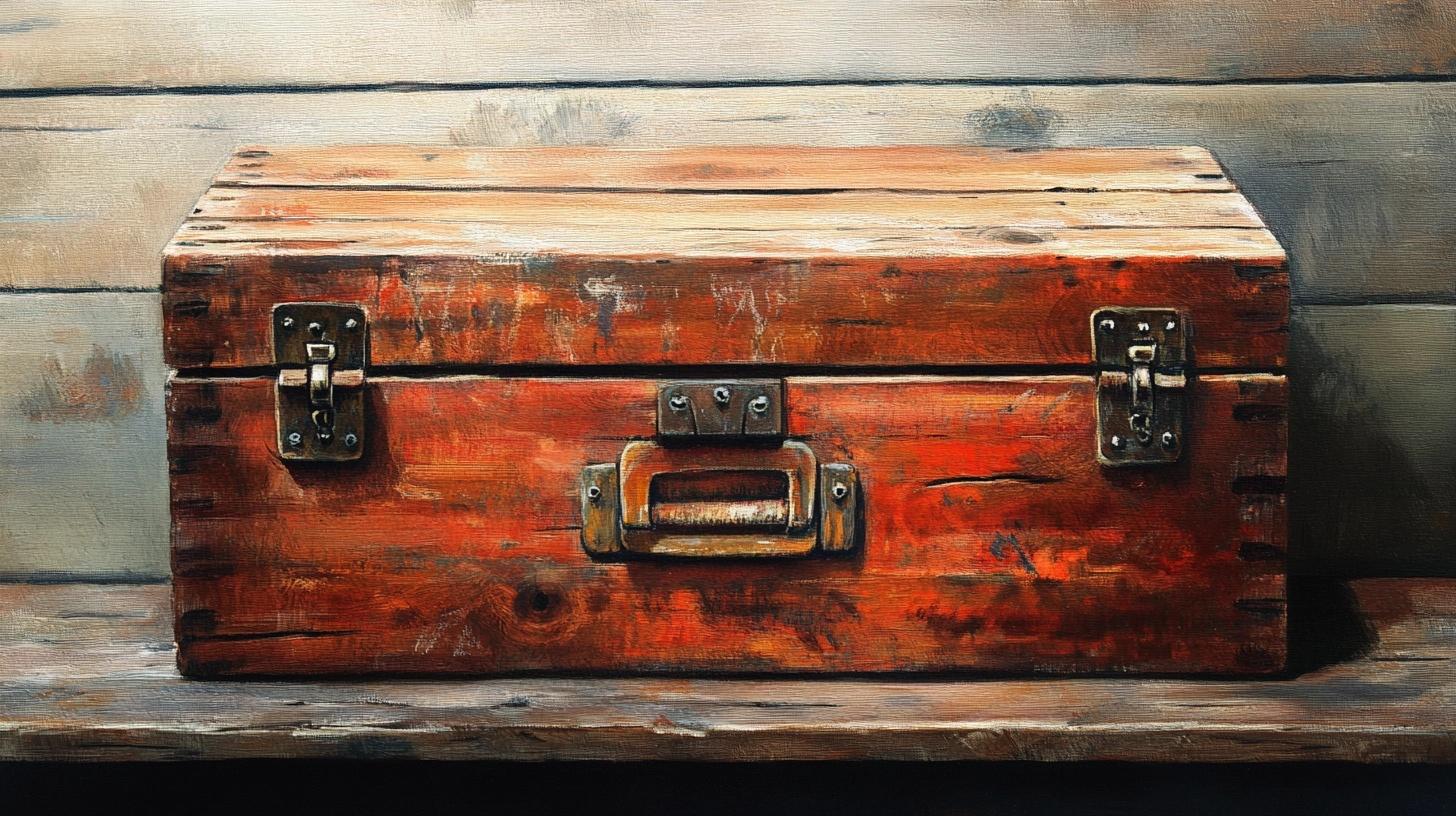
- Remove the old finish completely with appropriate sandpaper grades
- Clean all surfaces thoroughly, paying special attention to corners and grooves
- Apply chosen finish in thin, consistent layers following wood grain
- Allow proper drying time between coats based on product instructions
Maintenance Tips for Your Wooden Toolbox
- Regular Wood Care: A clean toolbox stays beautiful longer. Dust weekly with a soft cloth, reaching every corner and groove. Monthly polishing protects the wood and keeps its natural shine. Check for loose parts while cleaning – early fixes prevent bigger issues.
- Damage Prevention: Smart placement means longer life. Keep your box away from sun and heat vents. Use pads for items under display to prevent scratches. Clean spills fast – water is wood’s enemy.
- Quick Fixes: Small problems need quick action. Fill scratches with matching wood markers. Tighten loose parts right away. Fix water rings with wood care products. Sand rough spots gently when needed.
- Season-Based Care: Each season needs different care. Spring means deep cleaning. Summer calls for sun protection. Fall is coating time. Winter needs moisture watching. Regular checks catch problems early and keep wood healthy.
Conclusion
When I found my first old wooden toolbox, I never imagined how many ways it could brighten up a home.
After years of working with these treasures, I’m still finding new uses for them. Each project taught me that with proper care and simple changes, these boxes can serve both beauty and purpose.
Now it’s your turn to give an old toolbox new life.
Start small, follow the steps I’ve shared, and watch your creation take shape. The care you put in today will keep your piece looking great for years.
I’d love to see what you create! Share your questions and photos in the comments below.
For more DIY tips and ideas like these, join our community by signing up for my weekly newsletter.
Frequently Asked Questions
How Do I Remove Old Paint or Varnish Safely?
Use a paint stripper made for wood. Apply with a brush, wait as directed, then scrape gently. Sand remaining spots. Always work in open air with gloves and mask.
What Kind of Paint or Stain Is Best for Vintage Wood?
Oil-based paints and stains work best on old wood. They sink in better and last longer. Pick ones made for indoor or outdoor use based on your needs.
Can I Use an Old Toolbox Outdoors?
Yes, but seal it well first. Use outdoor wood sealer on all sides. Add extra coats yearly. Keep it off wet ground and cover during rain.
How Do I Prevent Wood Deterioration Over Time?
Keep wood clean and dry. Polish every three months. Fix scratches quickly. Avoid sun damage. Use coasters under wet items. Check joints regularly.
Are there any Precautions for Drilling or Modifying Old Wood?
Check wood for splits first. Start with pilot holes. Use sharp bits and drill slowly. Support wood while working. Wear safety glasses and mask.

