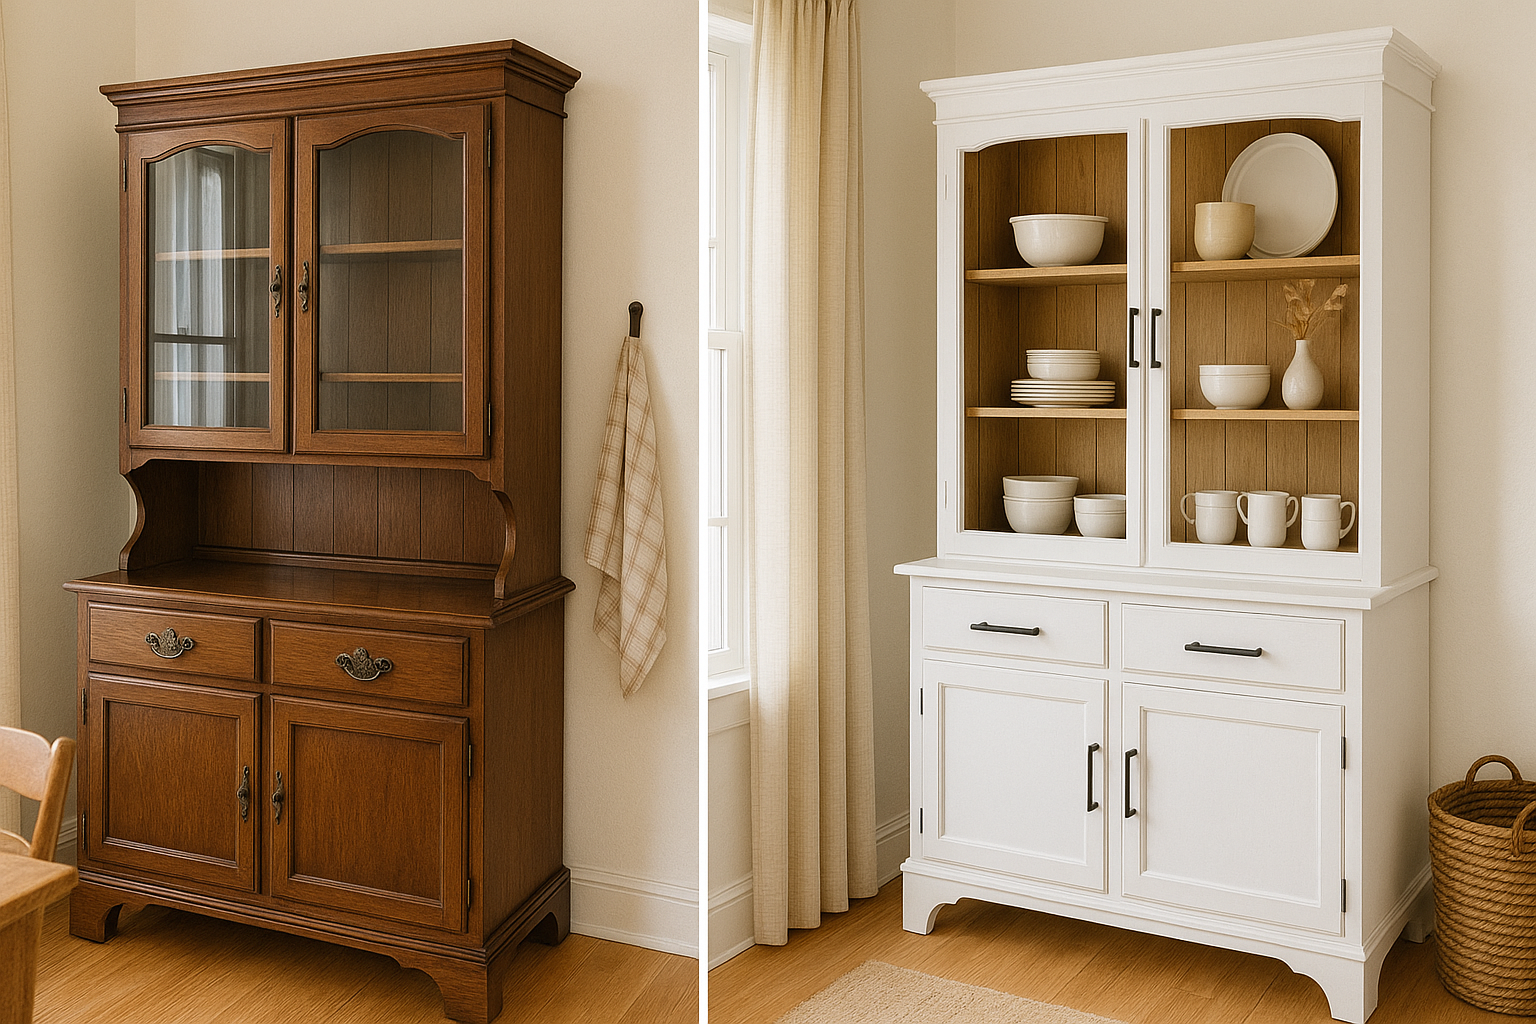
Transform Your Space: How to Build a Custom Built-In Storage Bench
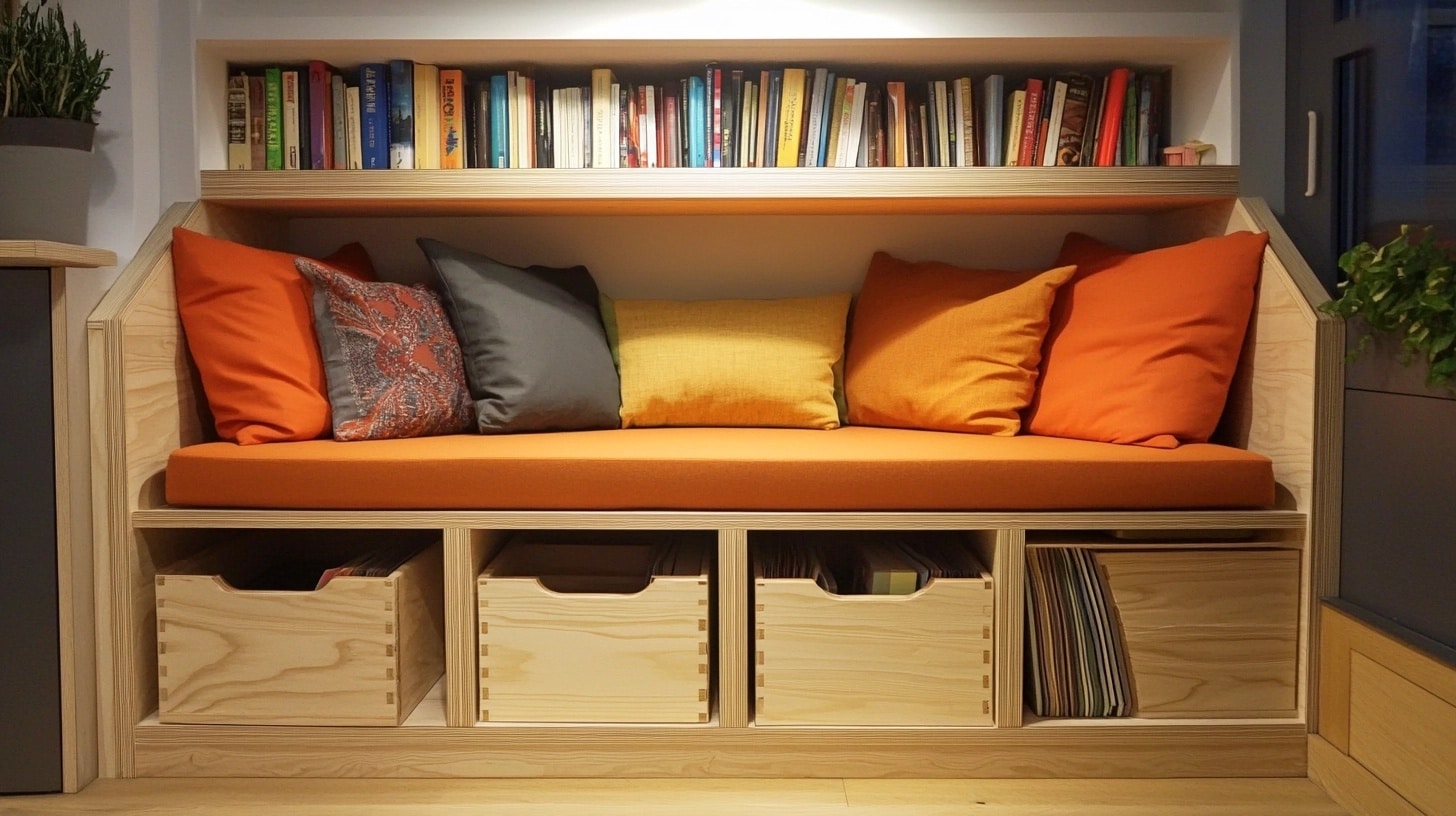
Want to make the most of your home’s space? A storage bench gives you a place to sit plus smart storage in one.
This guide shows you how to build your own built-in bench that fits your space perfectly.
Building it yourself saves money and lets you pick the exact size, style, and features you want. Plus, you’ll feel proud knowing you made it.
This step-by-step guide helps homeowners who need more storage, people who like to build things, and anyone who wants to use their space better.
With basic woodworking skills and standard tools, you can finish this project in 1-2 days. Ready to start? Let’s make your custom storage bench.
Planning Your Built-In Bench
A well-planned storage bench starts with picking the right spot and taking good measurements. Let’s look at key steps to plan your project.
Selecting the Location
Your bench can go in many spots:
- Near your front door for shoes and bags
- Under windows for extra seating
- In kitchen nooks for dining space
- Along hallway walls for storage
- In bedrooms as window seats
Measuring the Space
- Width: Measure wall to wall
- Height: Keep seat height at 18-20 inches
- Depth: Allow 16-20 inches for comfort
- Floor space: Mark area with tape
- Note outlet and vent spots
Design Considerations
- Pick a style that fits your home
- Choose storage type:
- Single lid top for big items
- Front doors for easy reach
- Open cubbies for quick access
- Match wood type to your trim
- Select paint that works with walls
- Consider fabric that handles daily use
Remember: Good planning makes building easier and helps avoid costly fixes later.
Materials and Tools You Will Need
| Materials | Tools |
|---|---|
| 3/4″ plywood for the bench frame and sides | Measuring tape |
| 1×4 boards for trim | Power drill and drill bits |
| 2×4 lumber for support frame | Circular saw or table saw |
| Heavy-duty hinges (3-4 pieces) | Level |
| Wood screws (#8 size, various lengths) | Electric sander |
| L-brackets for support | Hammer |
| Wood glue | Pencil |
| Primer and paint | Safety glasses |
| Sandpaper (medium and fine grit) | Work gloves |
| Foam padding for the seat | Dust mask |
| Fabric for covering | |
| Decorative trim pieces | |
| Handle or pulls for the lid | |
| Soft-close lid supports |
Extra Items for a Nicer Finish:
- Foam padding for the seat
- Fabric for covering
- Decorative trim pieces
- Handle or pulls for the lid
- Soft-close lid supports
Step-by-Step Guide: How to Build a Custom Built-In Storage Bench
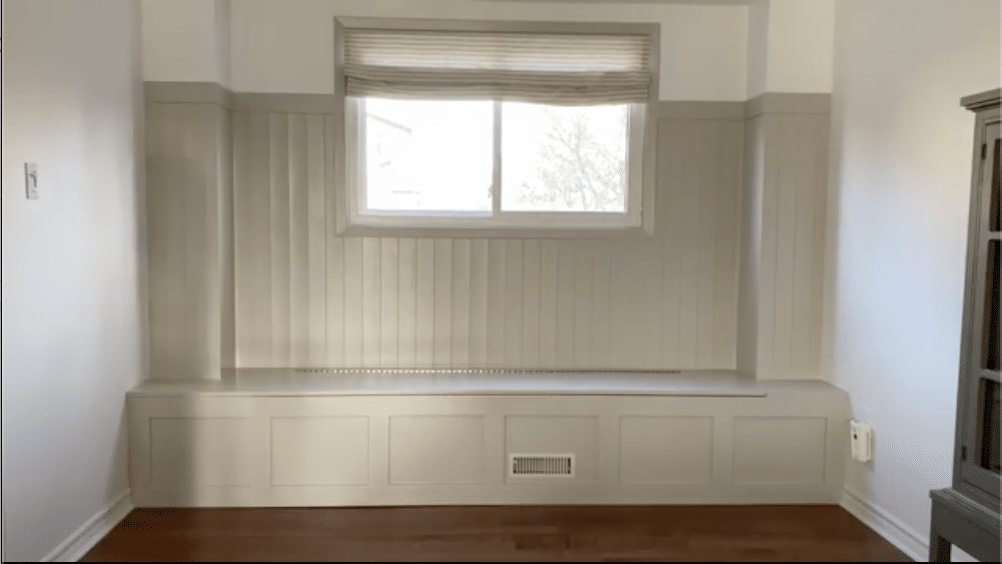
Step 1: Planning and Designing Your Bench
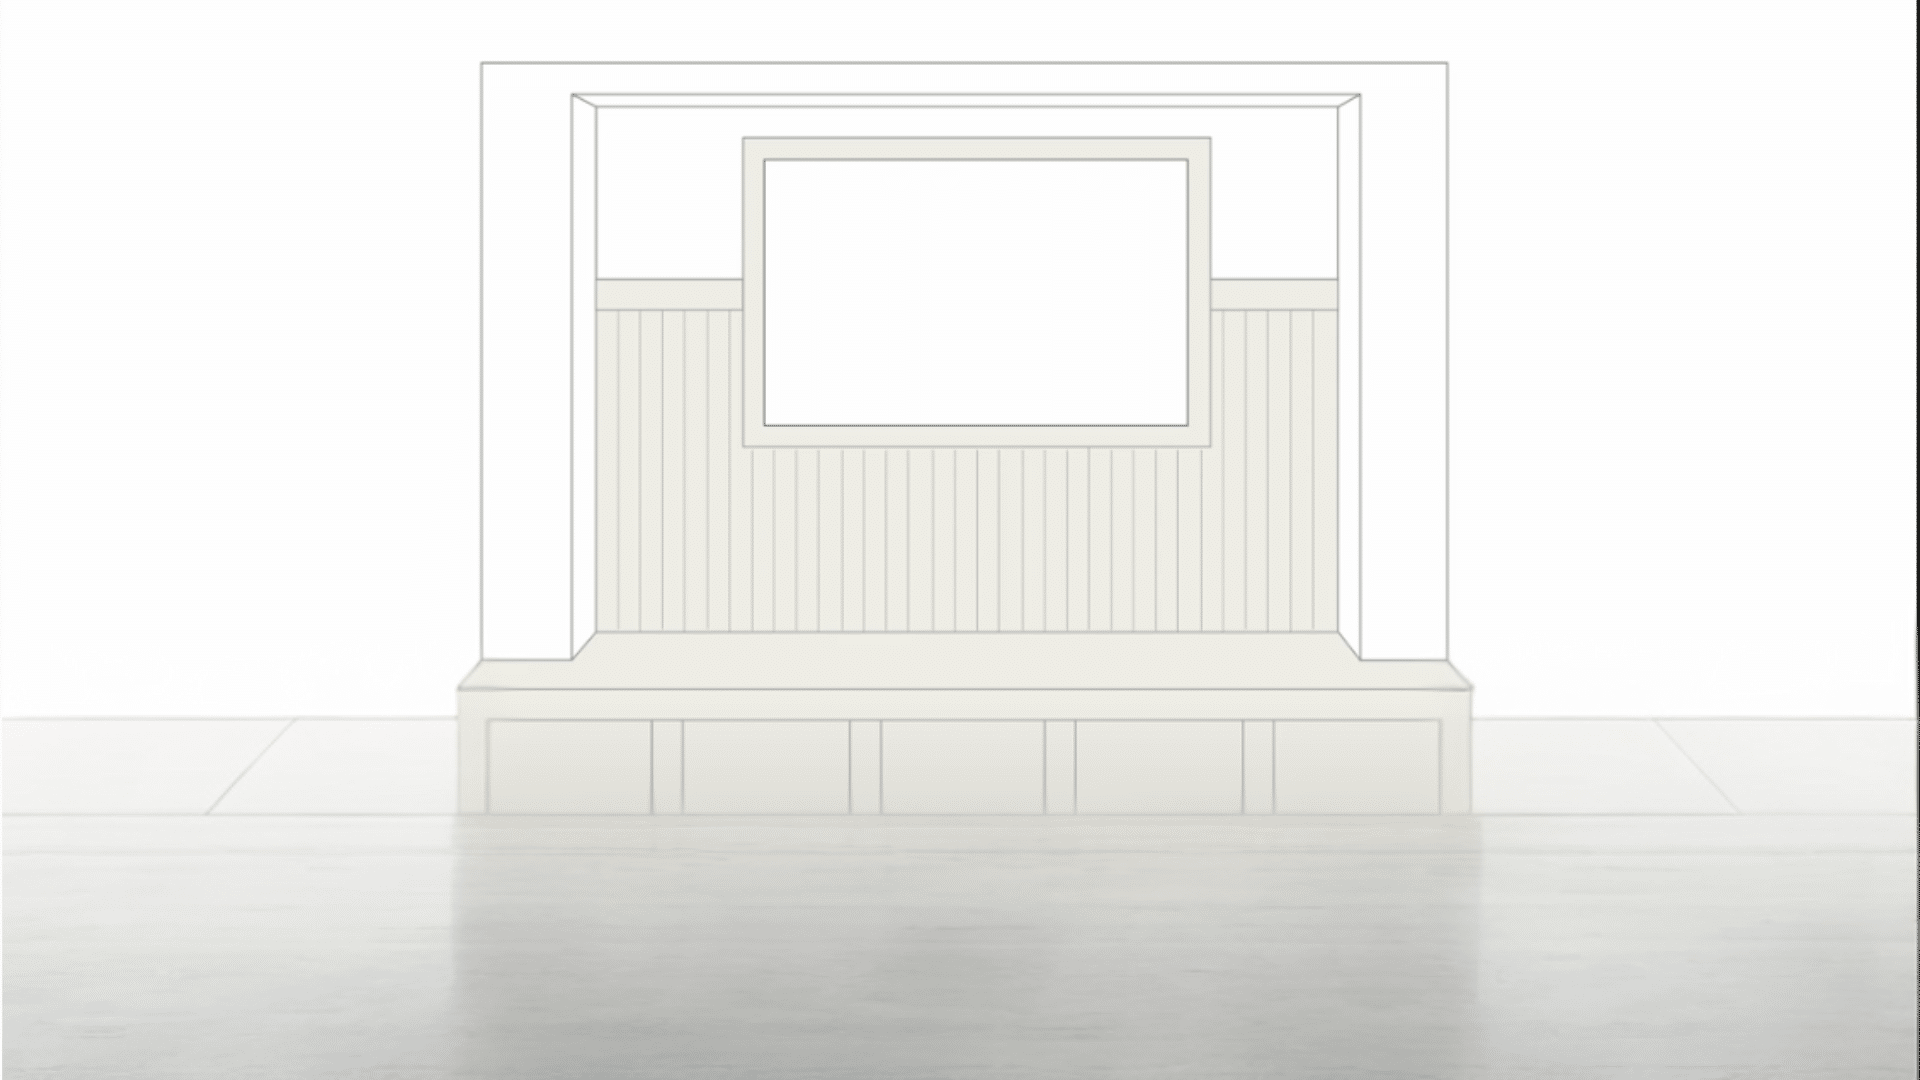
- Measure the space where your bench will go
- Check window height if placing under a window
- Plan extra depth for window placement comfort
- Draw out your design with exact measurements
- Note any air vents or obstacles in the area
Step 2: Preparing the Space
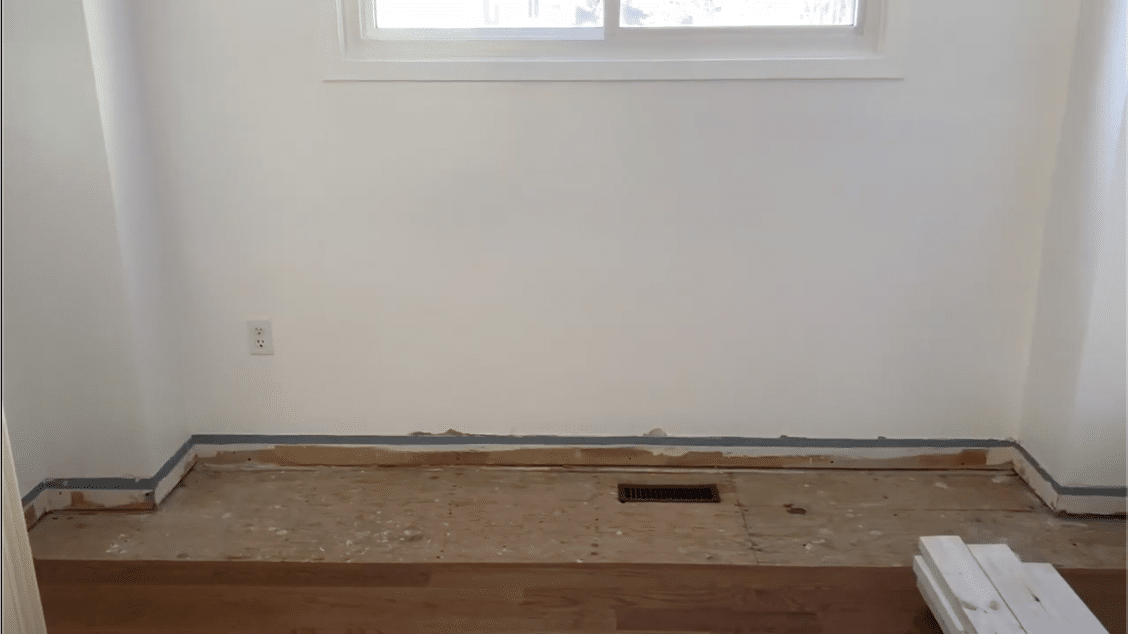
- Remove baseboards using a multi-tool and pry bar
- Mark cutting lines with painter’s tape for floor removal
- Set circular saw blade just deeper than floor thickness
- Cut along marked lines for flooring
- Use multi-tool for corner cuts
- Remove cut flooring pieces carefully
Step 3: Building the Base
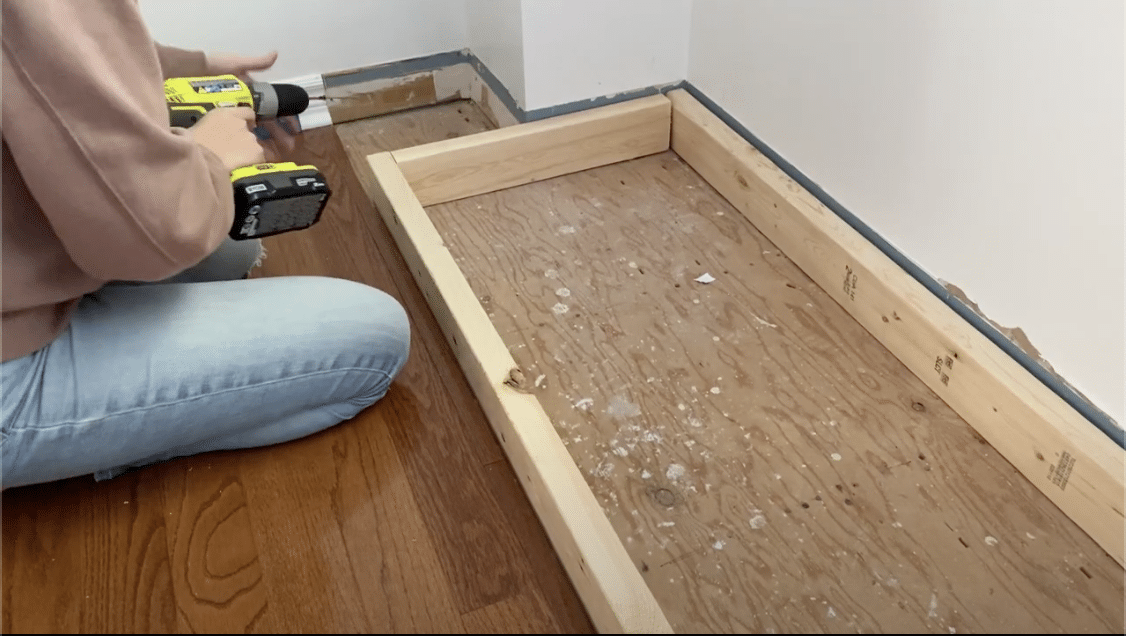
- Start with the main center frame
- Build separate boxes for side sections
- Check everything is level and square as you build
- Test the height with your dining table to ensure comfort
- Attach frame securely to wall studs
- Address any air vents by extending ductwork to front
Step 4: Constructing the Bench
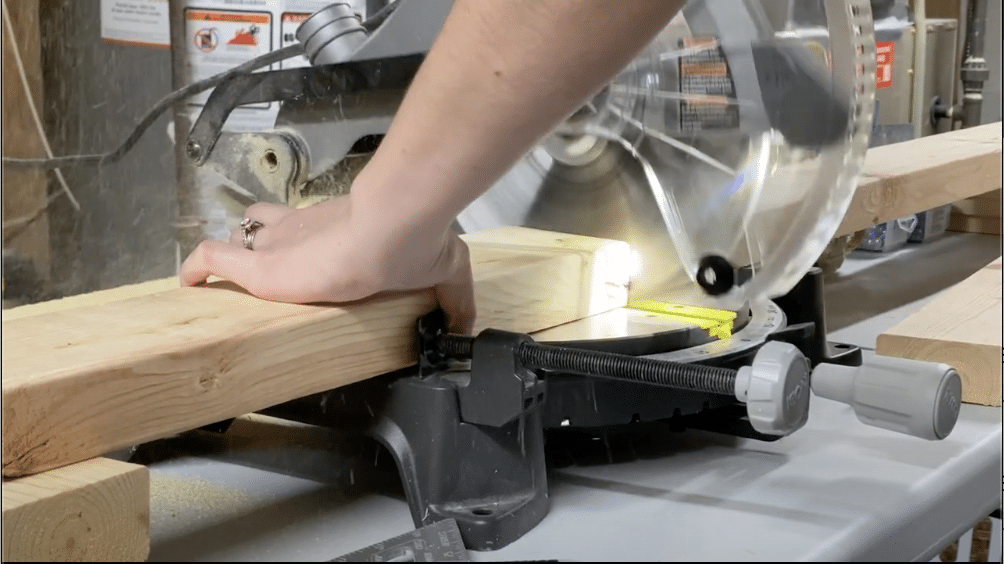
- Cover frame with 3/4″ plywood for front panels
- Use 3.5-inch baseboard for front trim details
- Space trim pieces evenly across the front
- Place center trim piece to cover plywood seam
- Make 2-inch stationary strip for bench top back
- Cut main lid piece to size
- Join pieces with 72-inch continuous hinge
- Add side pieces to complete the top
- Apply edge banding to cover exposed plywood
Step 5: Finishing Touches
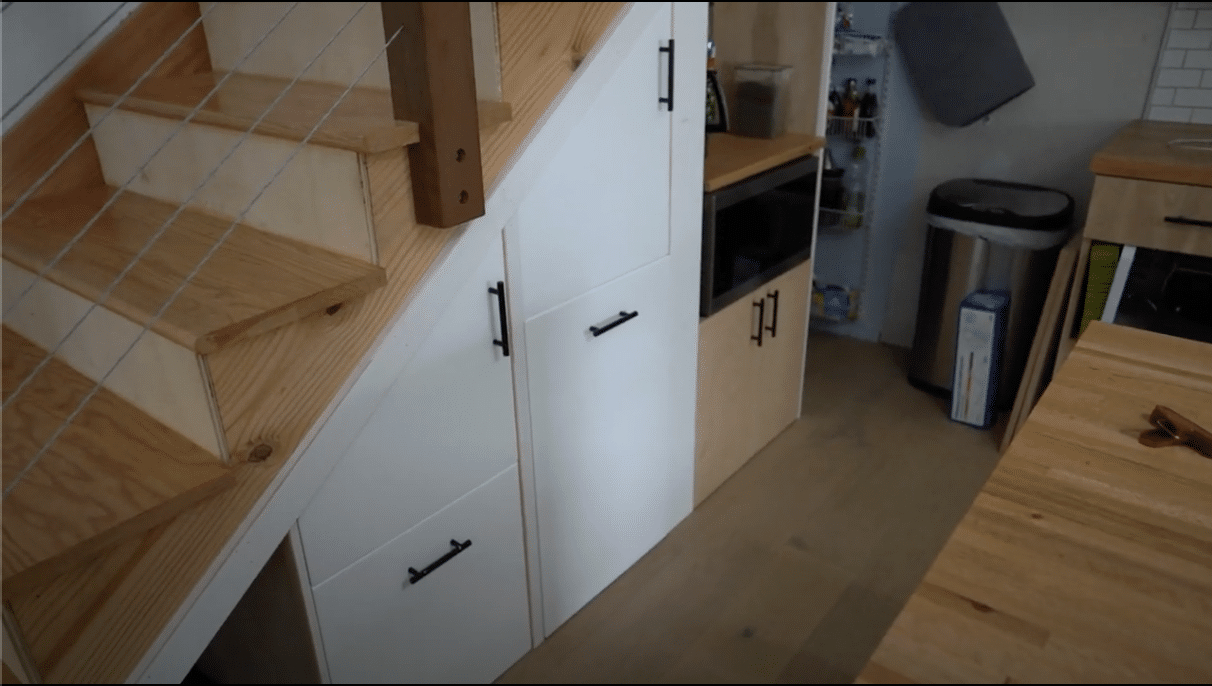
- Fill all nail holes thoroughly
- Sand with fine-grit paper until smooth
- Apply two coats of shellac-based primer
- Add caulk around all edges and joints
- Paint with durable furniture paint
- Place cushions for seating comfort
Key Tips:
- Double-check all measurements
- Test-fit pieces before final fixes
- Make adjustments as needed
- Take your time for best results
For a more detailed look on the process, click here.
Built-In Storage Bench Design Inspiration
1. Window Seat Storage Setup
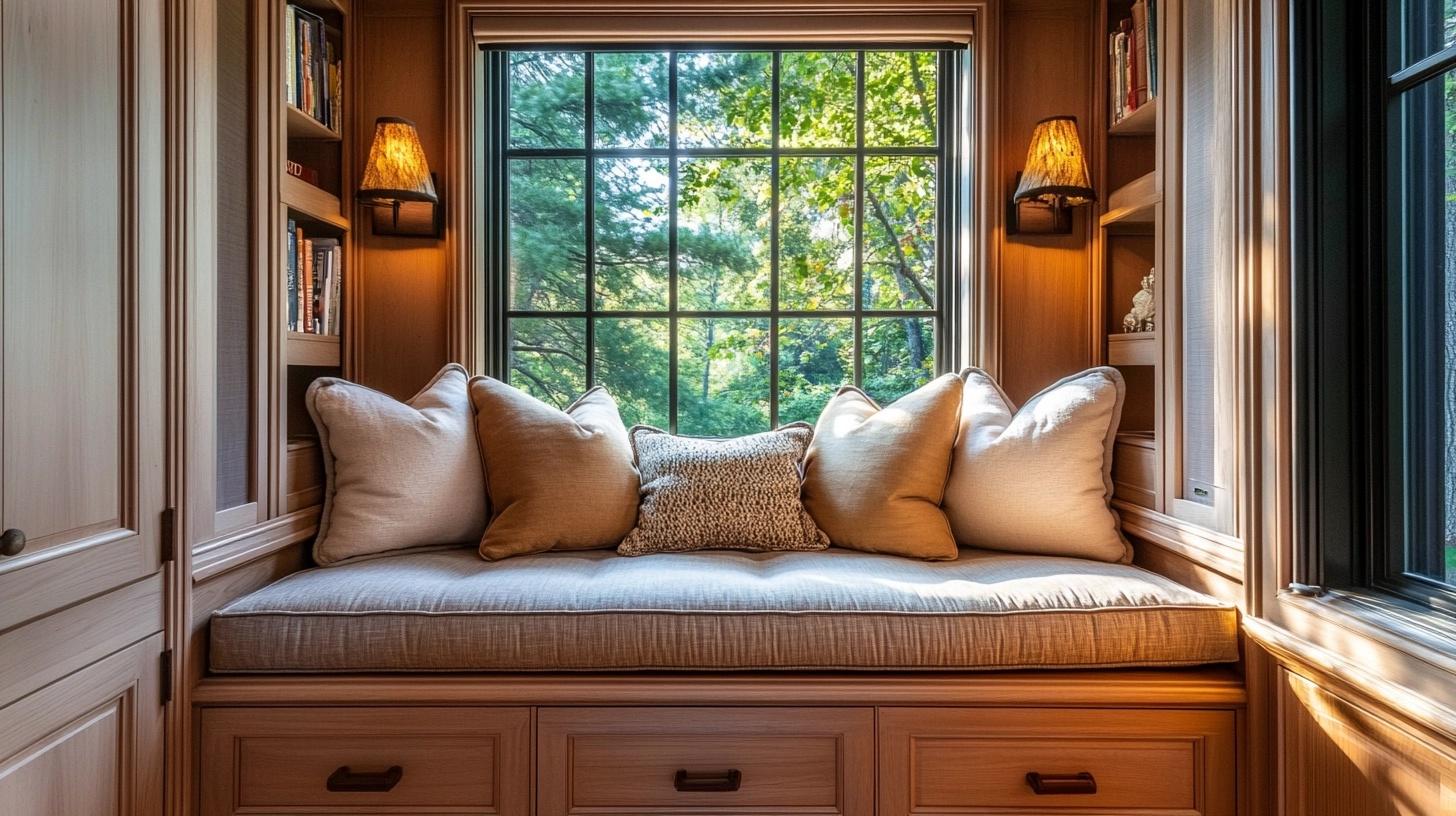
A wide bench unit spans wall-to-wall beneath three large windows, featuring crisp white paint that matches the trim. Deep storage compartments hide beneath three hinged seat tops, each lined with plush gray cushions. The tall side panels create a framed look while doubling as mini bookcases with built-in shelves, making this spot perfect for storing books and blankets while providing a sunny spot to sit.
Key Features:
- Storage Type: Lift-top compartments
- Best Location: Living room, reading space
- Extra Options: Side shelves, USB ports
- Style Match: Traditional, modern homes
2. Entry Organization Station
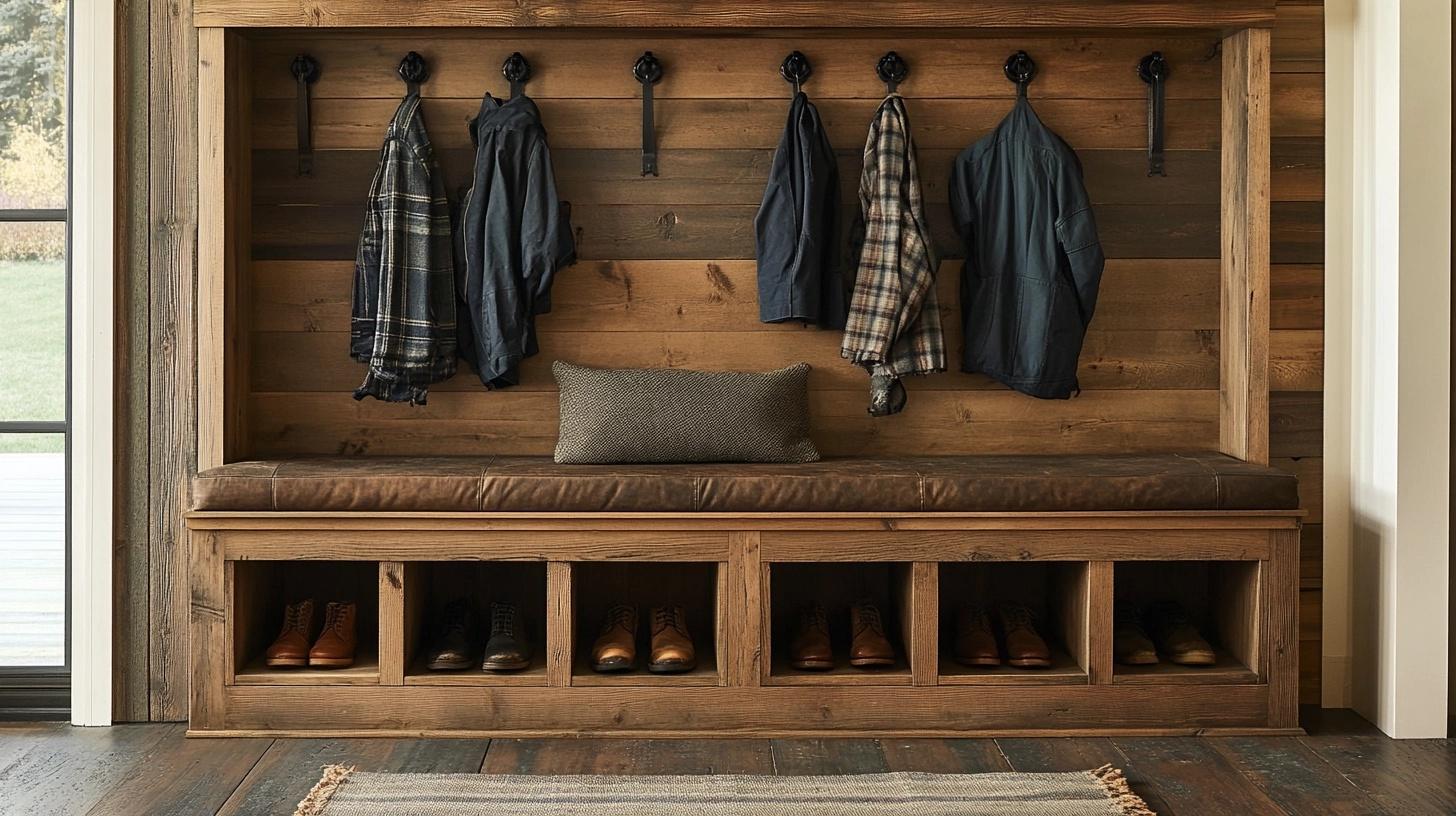
Dark wooden bench stretches along the entryway wall, offering six open cubbies below for shoes and boots. The simple cushioned seat lifts to store seasonal items, while matching side panels reach to the ceiling, complete with sturdy hooks for coats. This practical design keeps floors clear and provides a spot to sit while removing shoes.
Key Features:
- Storage Type: Open cubbies
- Best Location: Front door, side entry
- Extra Options: Name tags, baskets
- Style Match: Family homes, apartments
3. Dining Area Corner Setup
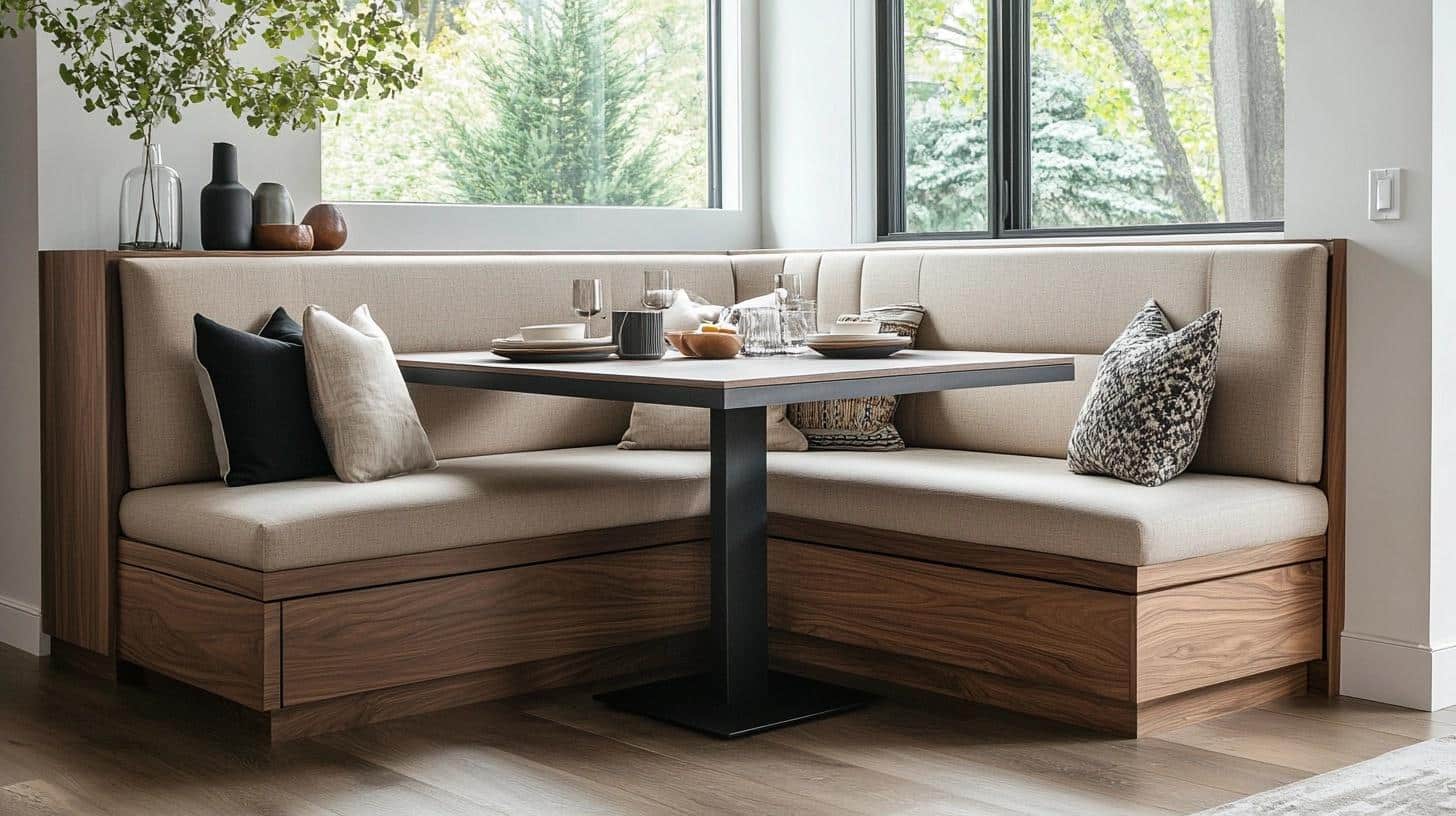
The L-shaped seating wraps smoothly around the dining area corner, featuring clean lines and a crisp white finish that blends with the walls. Each section includes deep storage under lift-up seats, perfect for extra table items and linens. The backrest stands at an ideal height for comfortable dining, while the extended length offers seating for six to eight people.
Key Features:
- Storage Type: Deep compartments
- Best Location: Kitchen, dining room
- Extra Options: Drawer units, outlets
- Style Match: Small spaces, open plans
4. Outdoor Seating Solution
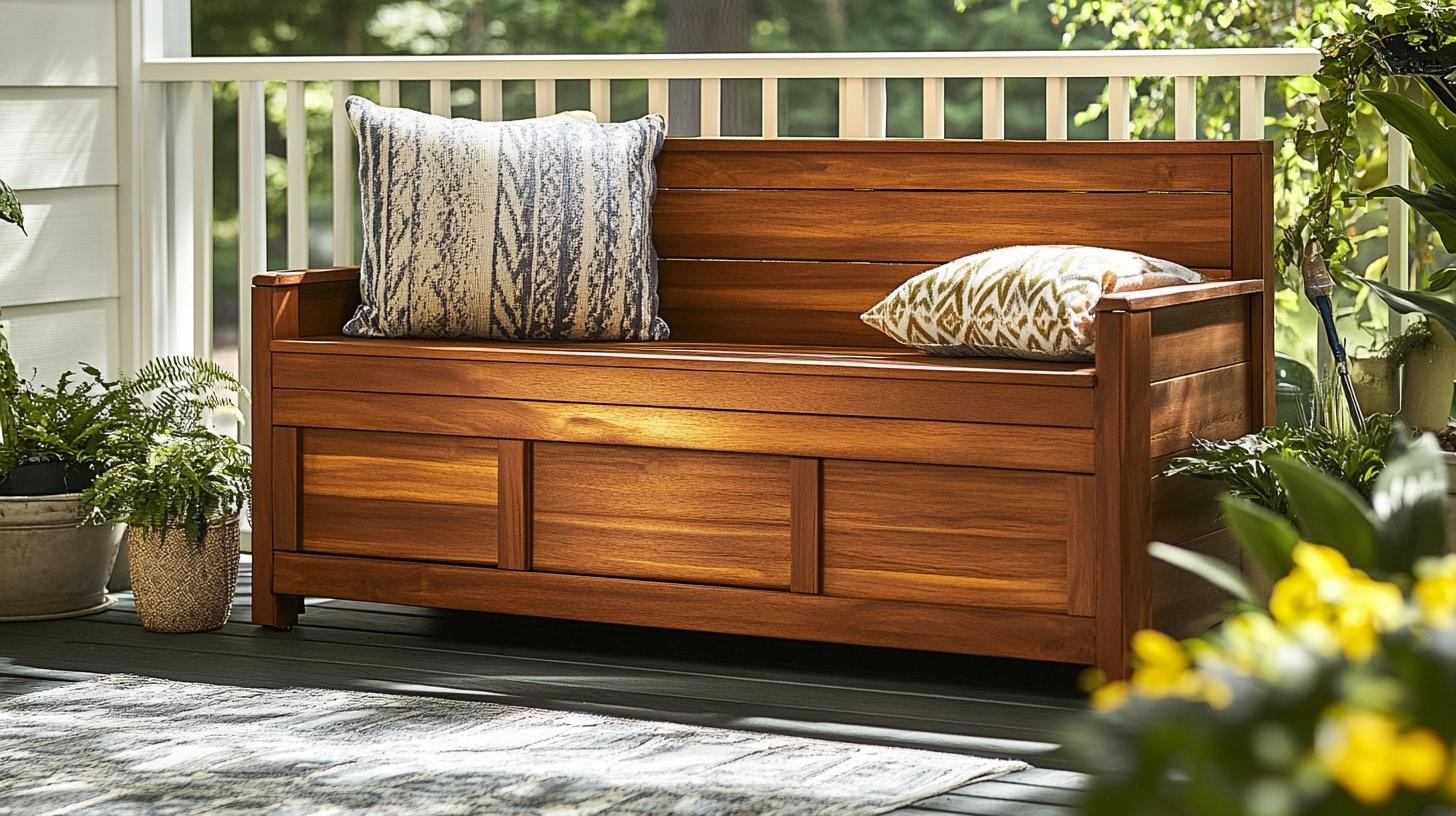
A sturdy cedar bench lines the full length of the deck, sealed against weather with three separate top-opening compartments. The natural wood finish complements outdoor settings while protecting garden supplies, tools, and seat cushions. Built-in drainage prevents water damage, and the seat height allows comfortable viewing of the garden.
Key Features:
- Storage Type: Weather-tight boxes
- Best Location: Deck, patio
- Extra Options: Drain holes, locks
- Style Match: Garden spaces, decks
5. Bedroom End Unit
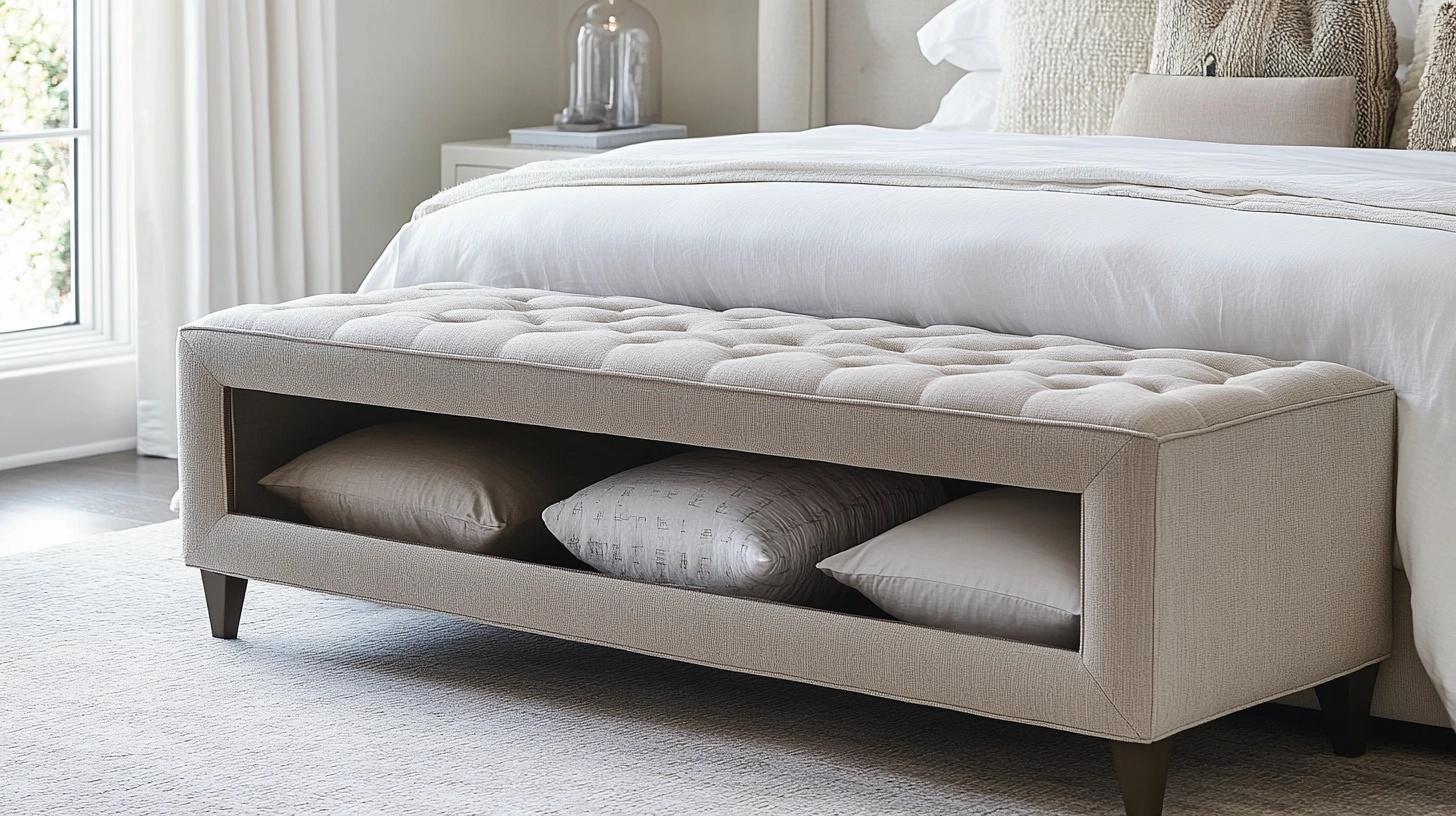
This sophisticated bench stretches six feet across the bed’s end, featuring soft velvet upholstery in warm gray. Two spacious drawers pull out smoothly from the sides, while the center section lifts up for larger items. The 18-inch seat height matches standard bed heights, creating a unified look while offering easy access to stored seasonal clothing.
Key Features:
- Storage Type: Side drawers
- Best Location: Master bedroom
- Extra Options: Fabric choices, wheels
- Style Match: Modern, classic rooms
6. Hall Seating Unit
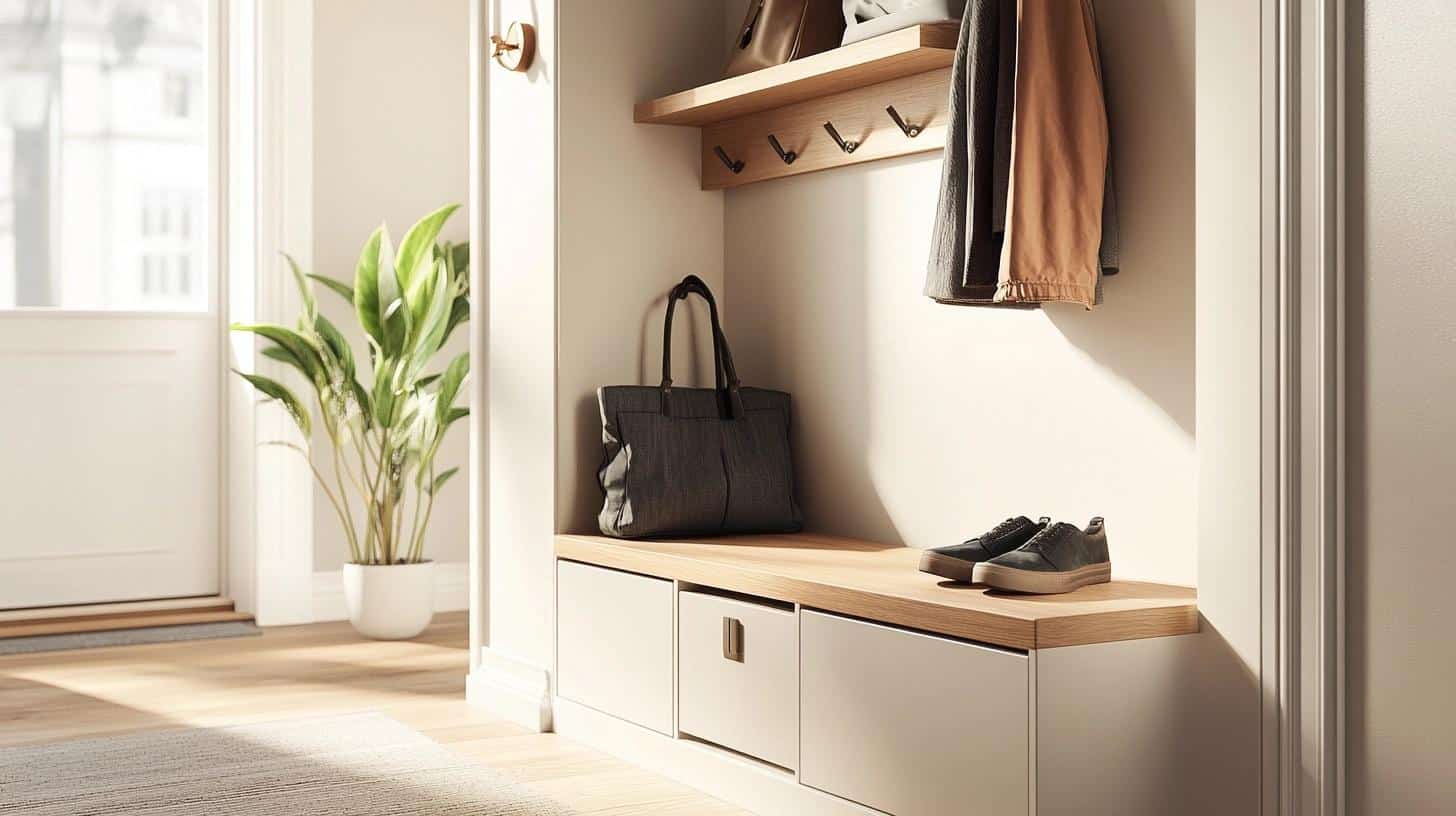
The streamlined bench runs the length of the hall, featuring a tall back panel with six matte black hooks. Below, four pull-out drawers provide hidden storage for shoes and winter gear. The seat, finished in warm oak, lifts to store larger items. Wall panels in white shiplap add texture, while the bench itself serves as a practical spot for putting on shoes.
Key Features:
- Storage Type: Mixed drawer and lift-top
- Best Location: Main hall, back entry
- Extra Options: Mirror panels, lighting
- Style Match: Family homes, condos
7. Stair Space Solution
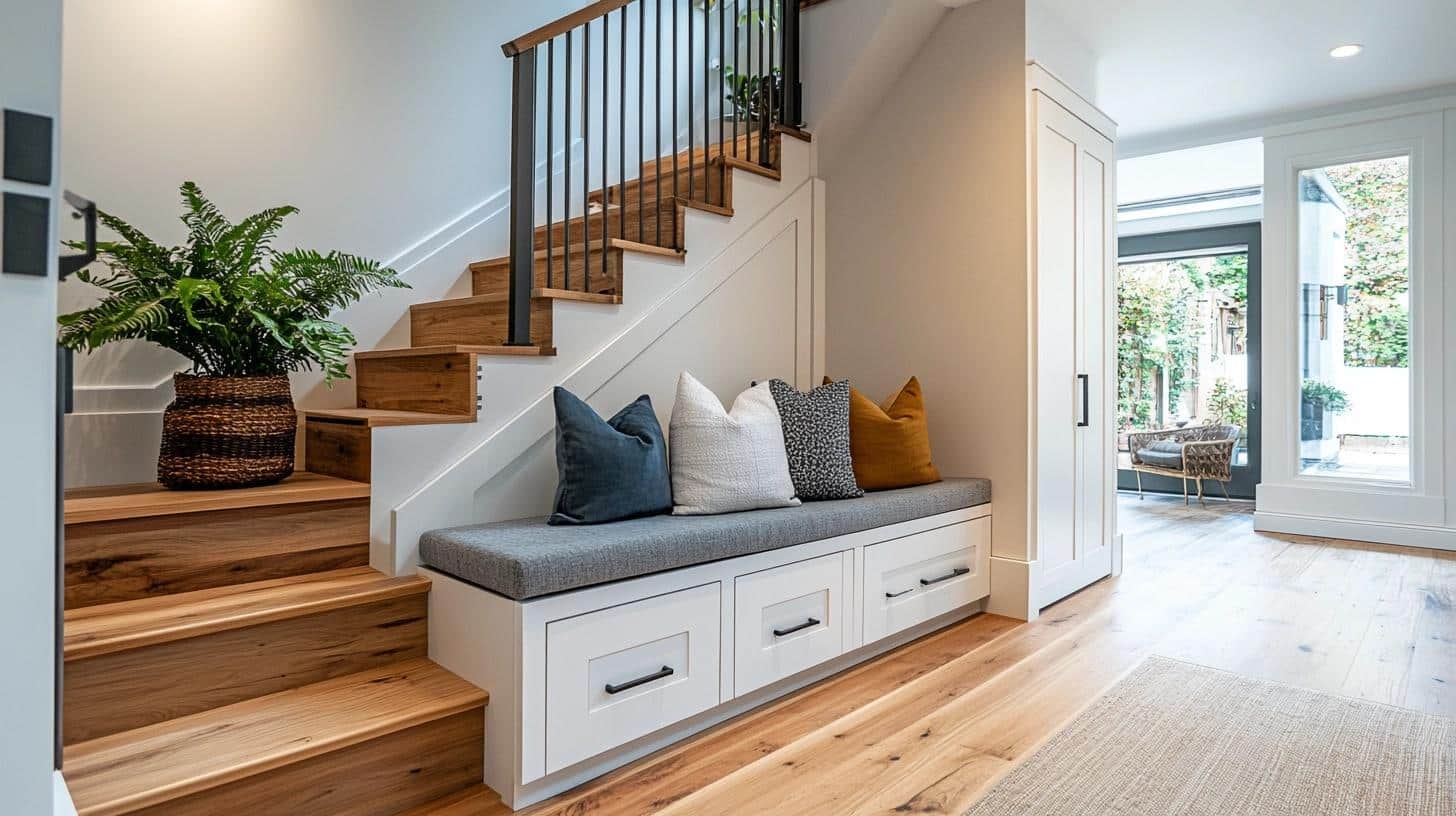
This white bench fits perfectly in the angled space under the stairs, maximizing often unused square footage. Three pull-out drawers of increasing depth follow the stair line, topped with a continuous cushioned seat. The clever design includes side shelving and maintains the room’s open feel while hiding seasonal items.
Key Features:
- Storage Type: Graduated drawers
- Best Location: Living areas, finished basements
- Extra Options: Pull-out trays, dividers
- Style Match: Split-level homes, townhouses
8. Modern Wall Mount
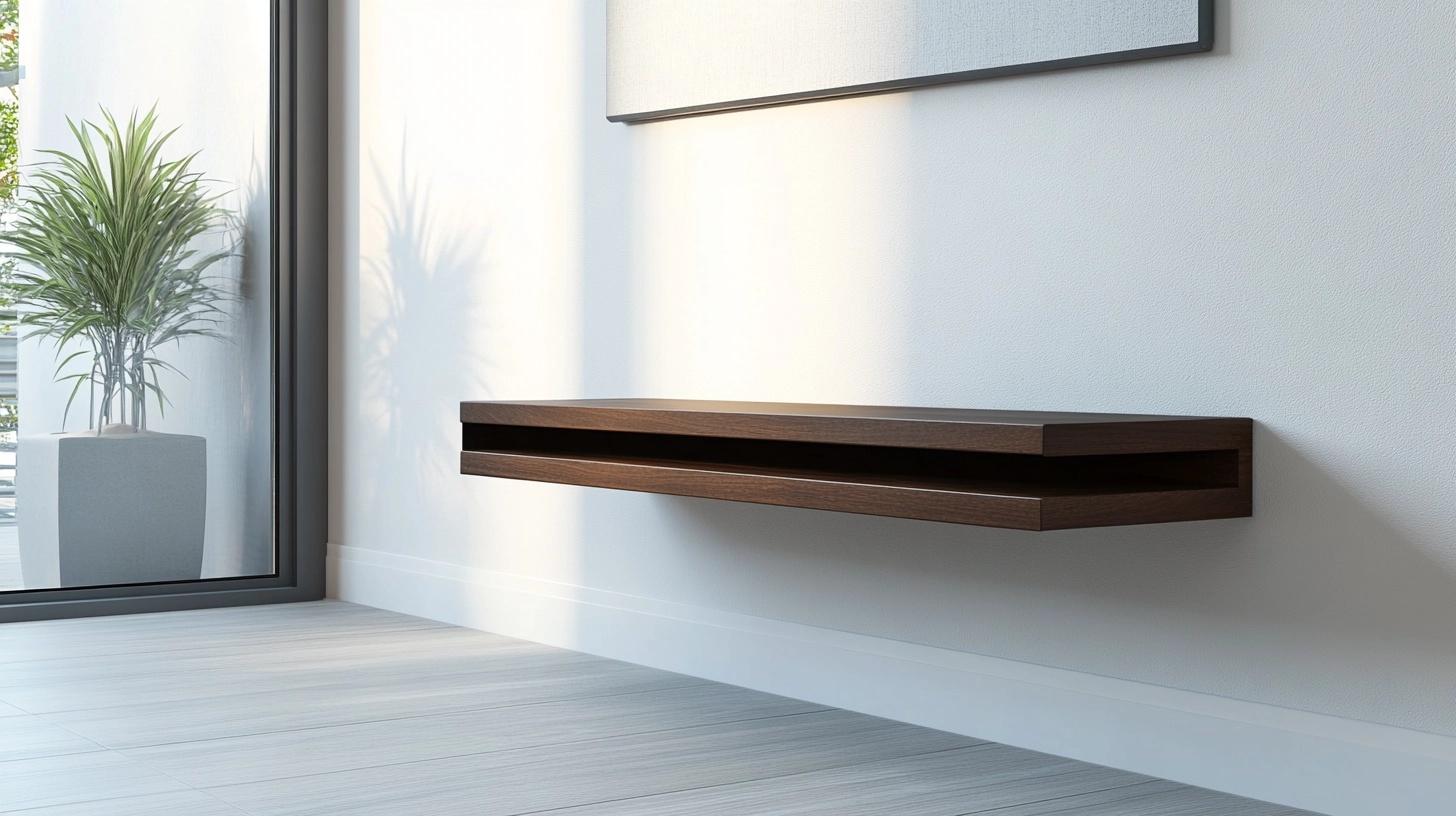
This minimalist bench appears to float 12 inches off the floor, mounted securely to the wall. The clean-lined design in matte black features two touch-latch drawers hidden in the base. The slim profile extends 18 inches from the wall, topped with a washable linen cushion in light gray.
Key Features:
- Storage Type: Hidden drawers
- Best Location: Small spaces, apartments
- Extra Options: LED strips, charging ports
- Style Match: Contemporary spaces, lofts
9. Bay Window Seating
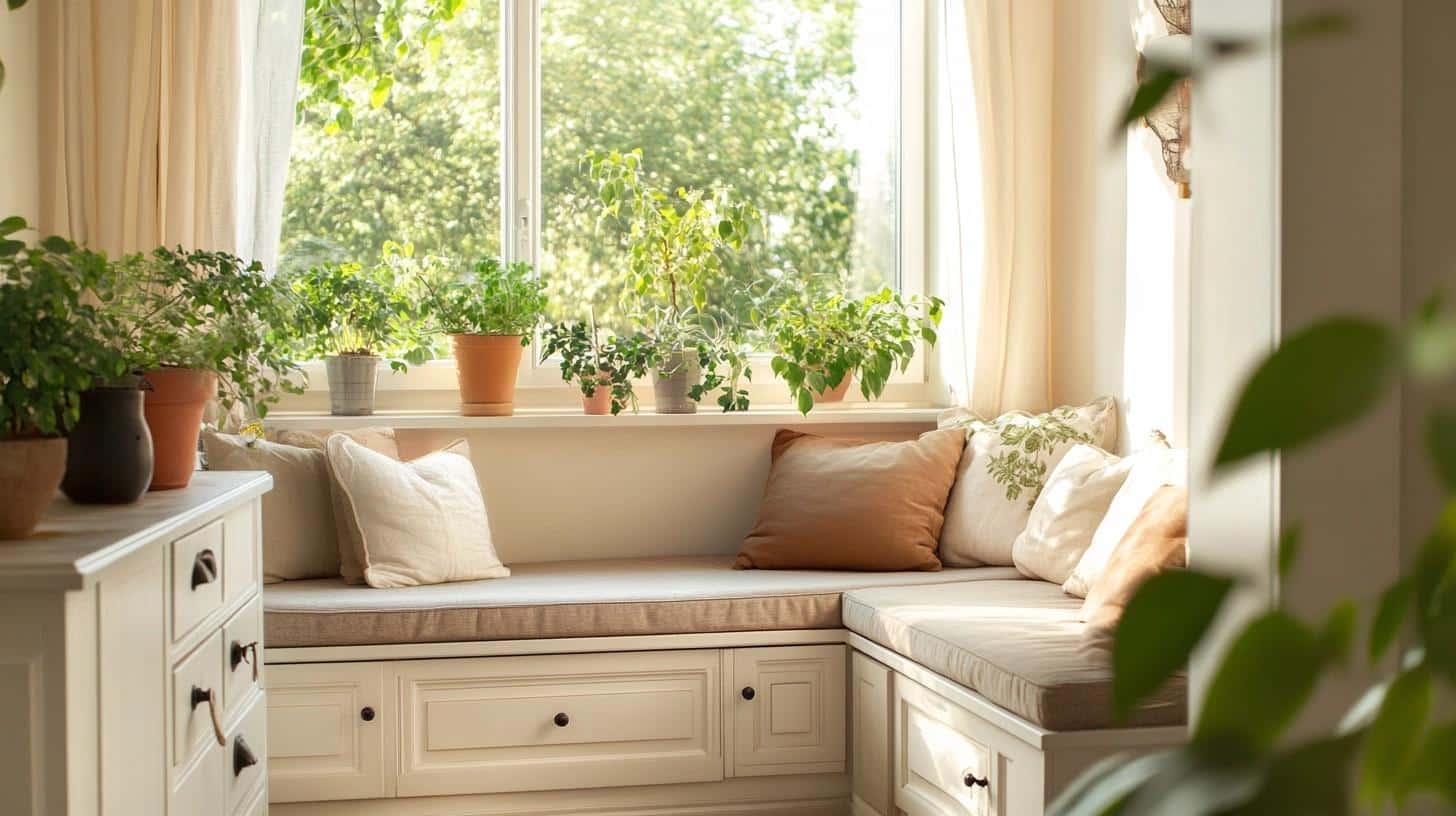
This multi-section bench follows the angles of the bay window perfectly, creating three distinct seating zones. Each section includes its own storage compartment under hinged seats finished in white with navy cushions. The 24-inch depth accommodates comfortable seating while providing enough space to store larger items.
Key Features:
- Storage Type: Sectioned lift-tops
- Best Location: Breakfast nooks, studies
- Extra Options: Bookshelf ends, power
- Style Match: Period homes, renovations
10. Kids’ Room Storage
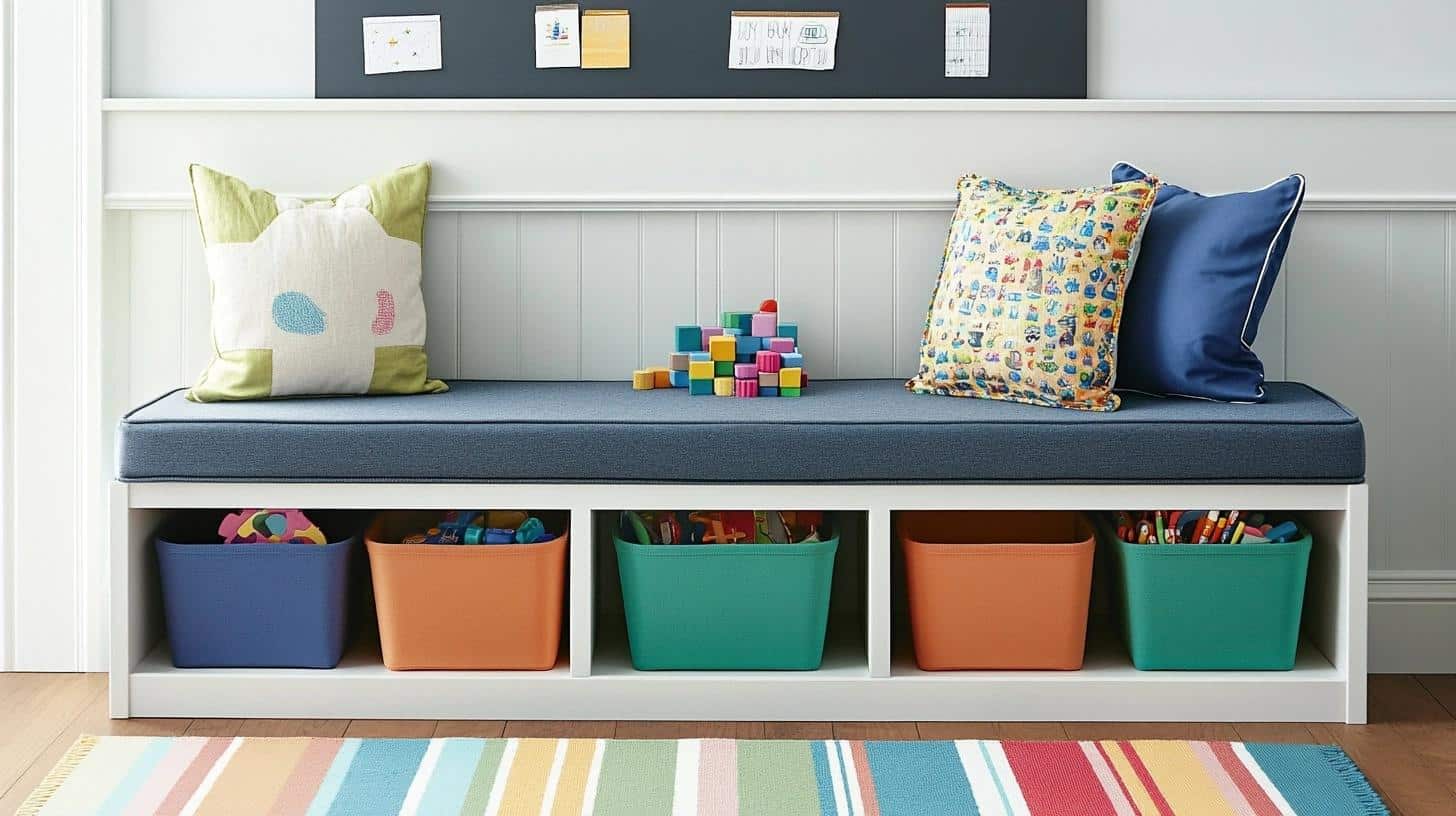
This bright and practical bench features six open cubbies with removable canvas bins in primary colors. The solid wood construction stands 16 inches high – perfect for small children. The seat cushion, covered in stain-resistant fabric, lifts to store larger toys and games. White beadboard backing adds charm while protecting the wall.
Key Features:
- Storage Type: Mixed open/closed storage
- Best Location: Playrooms, bedrooms
- Extra Options: Labels, safety hinges
- Style Match: Children’s spaces, daycares
Alternative Options: Buying vs. Building
Making the choice between buying or building a storage bench needs careful thought. Here’s a complete look at both options to help you decide what’s best for you.
When to Consider Buying Instead
- Limited free time for building projects
- Not having basic woodworking skills
- Small living spaces without room for tool storage
- Need for quick setup and use
- No access to required tools
- Limited physical ability for heavy lifting
Where to Buy
- Big home stores: The Home Depot, Lowe’s
- Online marketplaces: Wayfair, Overstock
- Local furniture shops
- Department stores
- Small woodworking shops
- Import furniture stores
Pros and Cons
| Aspect | Building Your Own | Buying Ready-Made |
|---|---|---|
| Cost | Lower material costs | Higher price point |
| Customization | Exact fit for your space, choose your materials | Set sizes, limited style options |
| Flexibility | Can make changes as needed | Fixed design, no modifications |
| Time | Takes more time | Quick setup |
| Skills and Tools | Requires tools and DIY skills | No tools or skills needed |
| Product Details | Fully customized, unique project | Clear product details upfront |
Community Tips and Advice
Real tips and suggestions from people who’ve built their own storage benches. We looked through home forums, social media, and DIY groups to bring you tested advice.
Real User Experiences
- “Check your floor level first – I had to add small wood pieces under one side”
- “Buy extra wood – you’ll make mistakes and need backup pieces”
- “Make paper templates before cutting expensive wood”
- “Test the bench height with dining chairs you use daily”
- “Put soft pads under the lid to stop loud closing sounds”
Troubleshooting Common Issues
- Uneven Floor Fixes:
- Use shims to level the base
- Add adjustable feet
- Build a flat sub-base first
- Bench Stability Solutions:
- Add corner braces
- Use more wall anchors
- Put support legs in front
- Storage Access Problems:
- Install quality hinges
- Add lid supports
- Make the top lighter
- Keep edges smooth
Tips from Experienced DIYers
- Label all pieces before taking things apart
- Work in a well-lit space
- Keep your saw guide lines visible
- Test joints before final assembly
- Clean your workspace often
- Ask for help with heavy lifts
- Take photos of each step
- Keep all your screws sorted
- Put down guides for straight cuts
Most importantly: There’s no rush. Take breaks when needed and focus on safety first. A well-built bench takes time, but it’s worth the effort.
Conclusion
Building a storage bench takes planning and patience, but the results are worth every minute spent.
With this guide, you can make a bench that fits your space perfectly and meets your storage needs. Remember to measure twice, check levels often, and take your time with each step.
Whether you choose to build or buy depends on your skills, time, and needs. If you build, follow safety steps and ask for help when needed.
The most common advice from DIY builders? Start with good planning and stay patient through the process.
Ready to start your bench project? Get your materials list ready and clear your workspace.
And if you make your own bench, i’d love to hear how it went – share your experience in the comments below.
Frequently Asked Questions
What are built-in benches called?
Built-in benches are often called banquettes, window seats, or nook seating, depending on their placement and design in your home.
How much does it cost to build bench seating?
A DIY storage bench costs $150-$400 for materials. Costs vary based on wood type, size, and extra items like hinges, paint, and cushions.
How deep should a built-in bench be?
A built-in bench should be 16-20 inches deep for comfortable seating. Add 3-4 extra inches if adding back cushions.
Can I incorporate a built-in bench in a small space?
Yes! Built-in benches work well in small spaces. Put them in corners, under windows, or along walls. They add seating without taking up much room.

