Easy DIY Pantry Cabinet: A Step-By-Step Tutorial
Is your kitchen crying out for more storage? Picture a custom pantry cabinet that fits perfectly in that awkward nook.
Creating your pantry cabinet may seem difficult, but it’s quite simple. You only need one sheet of plywood and some basic tools to make a storage solution that blends in perfectly.
This guide will walk you through each step, from planning to painting. You’ll learn to measure, cut, assemble, and install your new pantry.
By the end, you’ll have a professional-looking cabinet that matches your existing kitchen and provides ample space for all your dry goods.
Ready to transform your kitchen and boost your DIY skills? Let’s get started on your custom pantry cabinet project!
Why Build a Pantry?
Not all kitchens are the same, and store-bought cabinets don’t always fit. A custom pantry lets you use every inch of space.
It’s a smart way to add storage where you need it most. This section will examine why making your pantry cabinet is a good idea and how it can solve your kitchen storage problems.
Planning Your Pantry: Design Tips and Tricks
The following points should be kept in mind before starting the construction work.
1. Cabinet height: Match it to other cabinets in your kitchen.
2. Door style: Choose one that fits with your kitchen look.
3. Opening direction: Make sure doors won’t hit other things when open.
4. Handle placement: Check for enough space for door handles.
Tools of the Trade: What You Need for This Project
- One sheet of 3/4 inch cabinet-grade plywood: This is the main material for your pantry. It’s sturdy and smooth, perfect for cabinets.
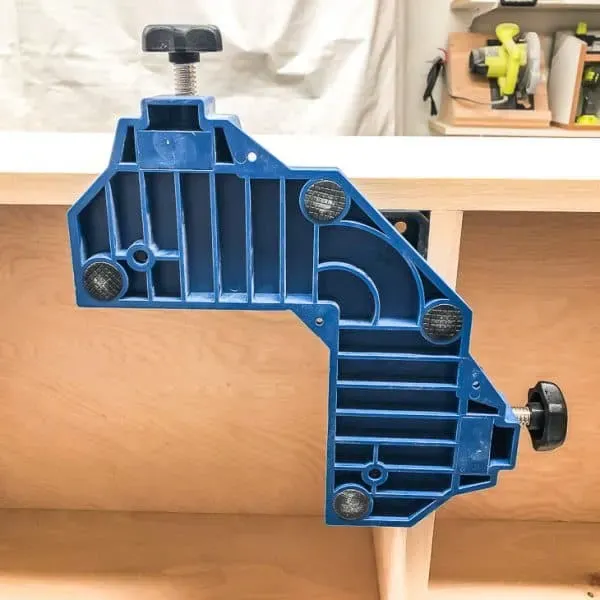
- Pocket hole jig and screws: These help you join wood pieces at angles without visible screws.
- Drill: You’ll use this to make holes and drive screws.
- Sander and sandpaper: These smooth out rough edges and surfaces.
- Edge banding and trimmer: Edge banding covers raw plywood edges. The trimmer helps cut it to size.
- Iron: This is used to apply edge banding.
- Square: It ensures your corners are at right angles.
- Corner clamps: These hold pieces at 90-degree angles while you work.
- Custom cabinet doors are the front of your pantry, sized to fit your project.
- Hinges: They attach the doors to the cabinet frame.
- Paint or stain: This gives your pantry its final look.
- Cabinet screws: These are strong screws for attaching the cabinet to the wall.
- Level: It helps ensure your cabinet is straight.
- Shims: These thin wedges help level uneven surfaces.
- Stud finder: This tool locates wall studs for secure mounting.
Steps to Build Your Pantry
Now that you know why a custom pantry is useful, let’s get building. This part will guide you through each step of making your pantry cabinet.
We’ll cover everything from cutting the plywood to attaching the doors. Follow these steps, and you’ll have a new pantry quickly. Let’s start creating your perfect storage solution.
1. Cut the plywood
Have the store cut large pieces. Cut smaller ones at home.
2. Prep the pieces
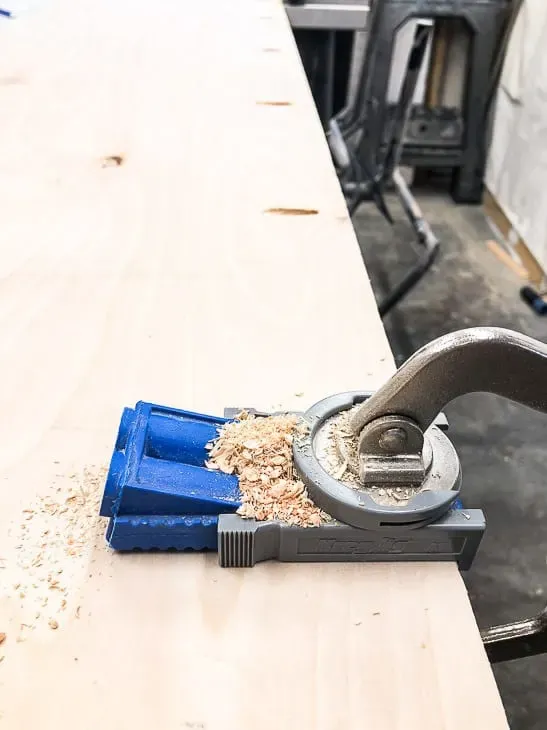
- Drill pocket holes in the back and shelf pieces.
- Sand all pieces.
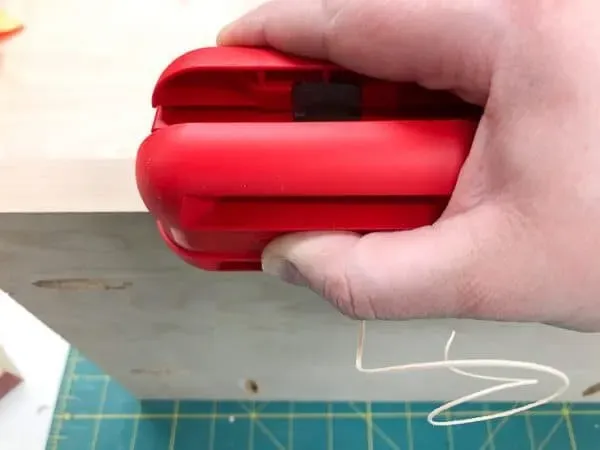
- Add edge banding to the front edges of the sides and shelves.
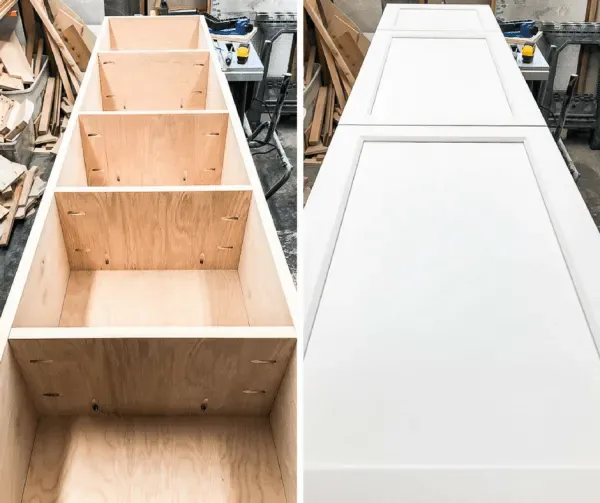
3. Put it together
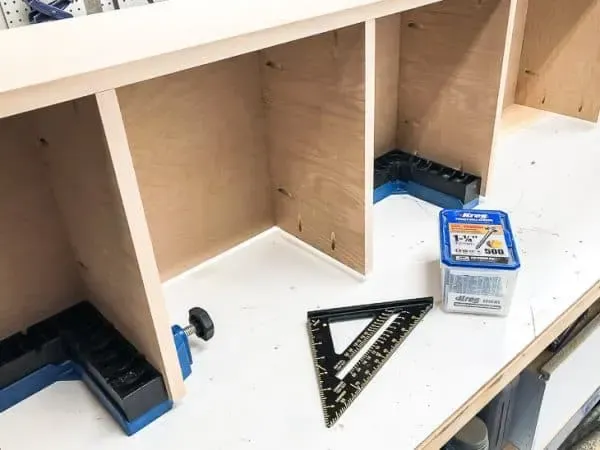
- Attach the top and bottom shelves to the back.
- Add middle shelves where cabinet doors will meet.
- Attach side panels.
- Check if cabinet doors fit.
4. Paint the cabinet
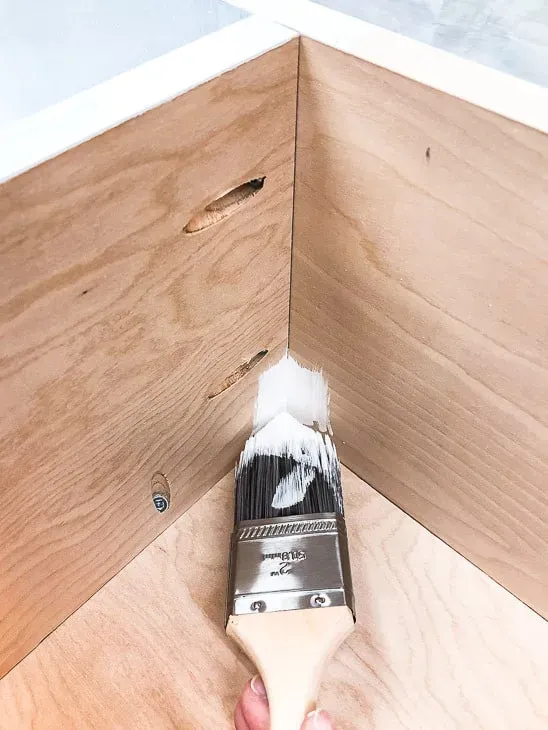
- Use primer and paint to match your kitchen.
- An angled brush helps with corners.
5. Install the cabinet
- Remove baseboards if needed.
- Find and mark wall studs.
- Level the cabinet with shims if needed.
- Screw cabinet to wall studs.
6. Add the doors
- Install hinges on doors and cabinets.
- Adjust doors to fit well.
Organizing Your New Pantry
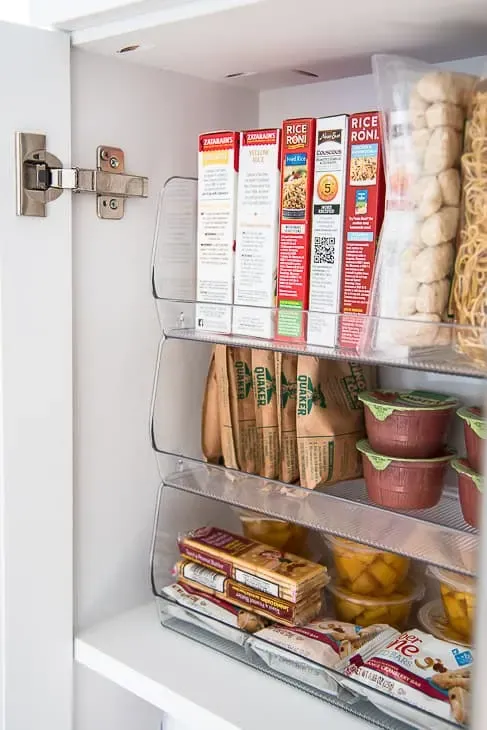
You’ve built your pantry; now it’s time to use it. Good organization makes all the difference in a kitchen.
In this final section, we’ll share tips on arranging your new space. From container choices to shelf layout, you’ll learn how to make the most of your custom pantry.
- Use clear, airtight containers for baking essentials like sugar, flour, and baking soda. These containers keep ingredients fresh and make it easy to see when running low. Label each container for quick identification. Consider square containers to maximize shelf space.
- Invest in large bins with tight-fitting lids for storing rice, pasta, and other grains. These bins protect food from pests and moisture. Choose sizes that fit your buying habits – larger for items you buy in bulk, smaller for less-used grains.
- Stack bins organize snacks, breakfast bars, and small packaged items. They come in various sizes and can be arranged to fit your shelf space. Use shorter stacks for easy access to items at the back. Clear bins let you see contents at a glance.
Before and After: See the Difference a DIY Pantry Makes
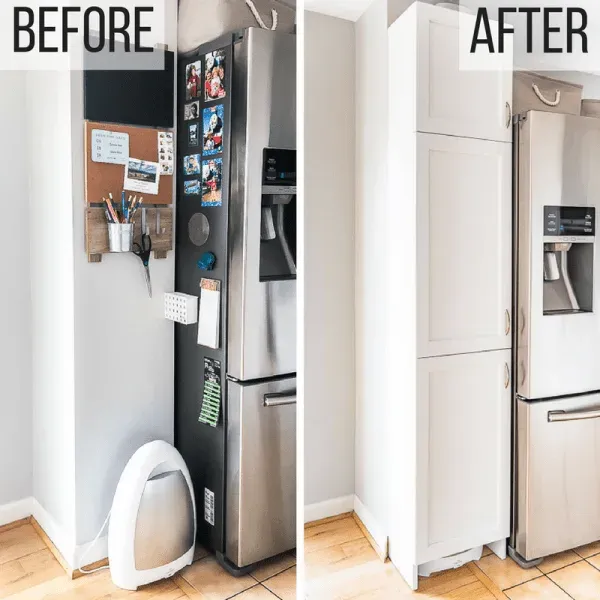
Let’s look at the big change a DIY pantry cabinet can make. Before, we had a messy corner that didn’t do much. It was just wasted space that made the kitchen look smaller.
Now, with our new pantry, things are different. The cabinet fits perfectly in that 9-inch space. It gives us lots of storage for food and kitchen items. The best part? It makes the kitchen look bigger!
The new pantry lines up with other cabinets, making the kitchen feel longer. Its clean look matches the rest of the room. Now, that odd corner is useful and nice to look at.
This shows how a small project can make a big difference in your home. Your DIY pantry can turn a problem spot into a handy feature.
Maintenance Tips: Keeping Your New Pantry in Top Shape
Your DIY pantry cabinet will last longer if you take good care of it. Here are some easy ways to keep it looking great.
1. Clean spills right away to avoid stains.
2. Dust shelves weekly with a soft cloth.
3. Check hinges every few months. Tighten loose screws if needed.
4. Touch up paint chips to prevent wood damage.
5. Use shelf liners to protect the surface from scratches.
6. Keep the pantry dry to avoid warping. Fix any leaks quickly.
7. Clean door handles often to remove grime buildup.
8. Adjust shelves as needed to prevent sagging.
9. Wipe down the exterior with a damp cloth now and then.
10. Check for pests regularly and address any issues promptly.
Following these simple steps, your DIY pantry cabinet will stay in great shape for years.
Final Words
Building your DIY pantry cabinet is a rewarding project that solves storage problems and enhances your kitchen’s look. This custom solution uses space efficiently, even in narrow areas.
Remember to match your new pantry’s height and style with existing cabinets for a flawless look. To make the most of every inch, organize your new space with clear containers, lidded bins, and stackable storage.
Your DIY pantry cabinet provides extra storage and adds value to your home. This practical skill can also be applied to other rooms, like creating storage for bathrooms or craft areas.
You’ve created a professional-looking cabinet tailored to your needs with just one sheet of plywood and some basic tools. Enjoy your newly organized kitchen and the satisfaction of a job well done!


