Creating an Engaging Virtual House Tour: Tips and Tricks
Did you know that 92% of home buyers use the internet to search for a new place to live? As a real estate professional, creating an engaging virtual house tour is essential to capturing their attention. By leveraging the right techniques and tools, you can showcase a property’s best features and help potential buyers envision themselves living there.
In this article, we’ll explore the key steps to crafting a compelling virtual tour that will leave a lasting impression on your audience and help you stand out in a competitive market.
Planning Your Virtual House Tour
Before you press record, take time to plan your virtual house tour. Consider your target audience and the goals you want to achieve with the tour. Script out the key talking points and the flow of the tour to ensure a smooth and engaging experience for viewers.
Target Audience
To craft a virtual house tour that resonates with and captivates your target audience, start by identifying their unique needs, preferences, and lifestyle. Are you targeting young professionals seeking a sleek, modern space, or families in need of ample room to grow? Tailor your virtual tour planning and staging to highlight the most important features to your ideal buyer.
When creating your virtual tour, pay close attention to lighting and detail. Use high-quality house stock footage and virtual tour software to showcase the property’s best attributes. Emphasize spacious rooms, natural light, and attractive finishes that will leave a lasting impression.
As you plan your virtual tour, consider the flow and focus on creating a seamless, engaging experience. Highlight key areas like the kitchen, living room, and master suite, and use virtual tour tips to create a narrative that guides viewers through the space. By understanding your target audience and crafting a visually stunning, informative tour, you’ll capture their attention and leave them inclined to take the next step in making this house their home.
Tour Goals
When planning your virtual house tour, clearly define your goals to ensure a focused, effective presentation highlights the property’s best features. Are you showcasing the entire property or specific areas? Knowing your objectives keeps the tour on track and ensures you’re using the right virtual tour equipment and software for real estate.
To create a high-quality virtual house tour, consider what potential residents need to see. If you’re targeting families, spotlight the spacious living areas, well-lit bedrooms, and child-friendly outdoor spaces. Aiming for young professionals? Highlight the modern kitchen, sleek bathrooms, and any interactive virtual tour features that let them envision living there.
Scripting the Tour
Once you’ve defined your tour goals, craft a detailed script that guides viewers through the property, highlighting its standout features and creating an immersive experience.
When scripting your virtual house tour, focus on the most compelling aspects of the property, such as well-lit, spacious living areas, updated kitchens with modern appliances, or beautifully landscaped outdoor spaces. Use descriptive language to paint a vivid picture and help potential residents envision themselves living in the home.
As you create your real estate virtual tour script, strike a balance between providing essential information and maintaining an engaging, conversational tone.
Consider incorporating interesting anecdotes or historical details about the property to add depth and character to your 360 virtual house tour. Remember, your script should complement the visuals, not compete with them. Keep your sentences concise and your paragraphs short to maintain viewer attention.
A well-crafted script will ensure your virtual house tour flows smoothly, highlighting the property’s best features while providing viewers with the information they need to make an informed decision about their future home.
Prepping the Property for its Close-Up
Before you hit record, it’s essential to prep the property for its close-up. Start by decluttering and depersonalizing each space to create a clean, neutral canvas that allows potential residents to envision themselves living there.
Next, stage the rooms with attractive, well-placed furniture and decor that highlight the property’s best features and create an inviting atmosphere. Finally, ensure each area is well-lit, as lighting plays a vital role in capturing the property’s true essence and making it look its absolute best on camera.
Declutter and Depersonalize
A picture-perfect property starts with a thorough decluttering and depersonalization process that’ll make your space shine. When creating a virtual house tour on a budget, decluttering is a cost-effective way to showcase your property’s best features.
Remove personal items like family photos, keepsakes, and quirky decor that may distract viewers from envisioning themselves in the space. Instead, focus on creating a neutral, inviting atmosphere that appeals to a wide audience.
As you declutter, pay attention to the details that’ll make your virtual tour stand out. Ensure every room is well-lit, highlighting key features and creating a warm, welcoming ambiance. Consider virtual tour tricks like rearranging furniture to maximize space and flow, and adding strategic pops of color with neutral accessories. Remember, the goal is to create a clean, spacious feel that allows potential residents to imagine their belongings in the space.
Stage the Space
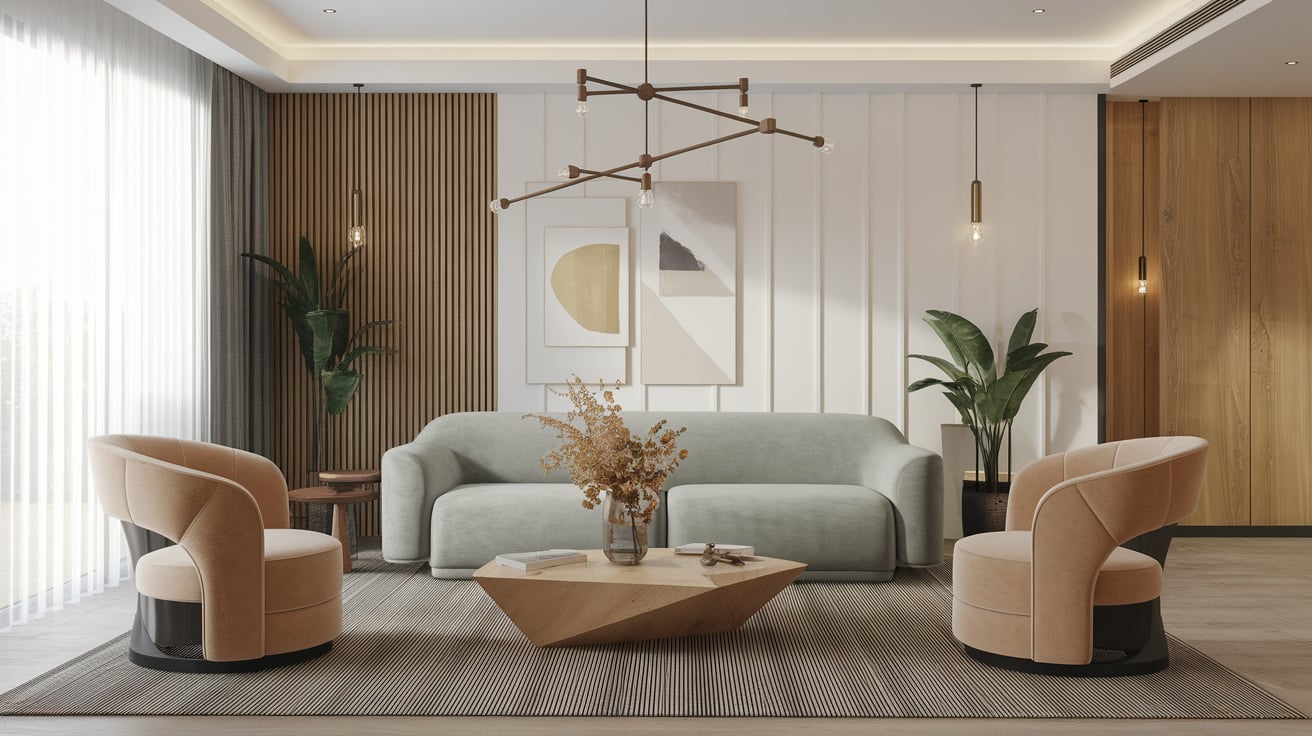
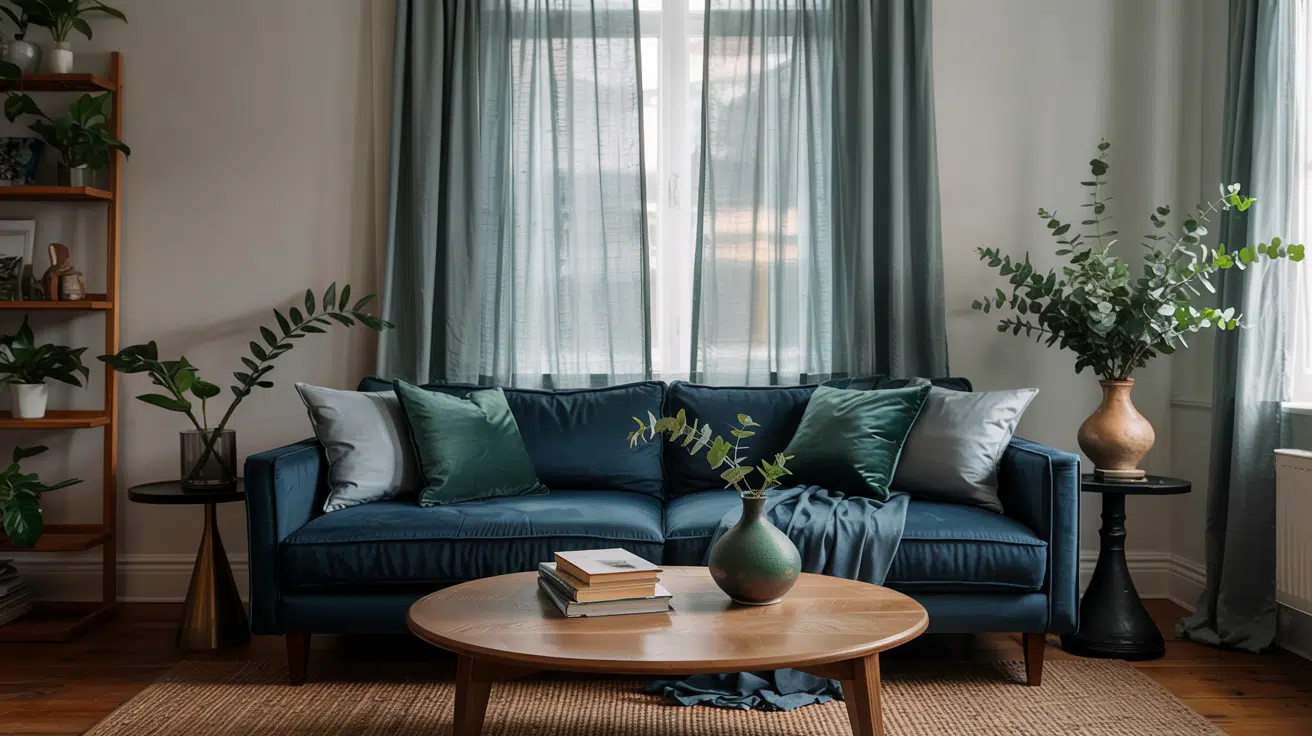
After decluttering, it’s time to stage your space, arrange furniture, and add decorative touches that’ll make your virtual tour pop. Strategically position couches, chairs, and tables to showcase the room’s best features and create an inviting flow. Add eye-catching elements like colorful throw pillows, lush green plants, or elegant artwork to draw viewers’ attention and highlight the property’s potential.
Maximize natural light by opening curtains and blinds, and consider adding lamps or light fixtures to brighten darker areas. Ensure each room is well-lit to create a warm, welcoming atmosphere that translates beautifully on camera.
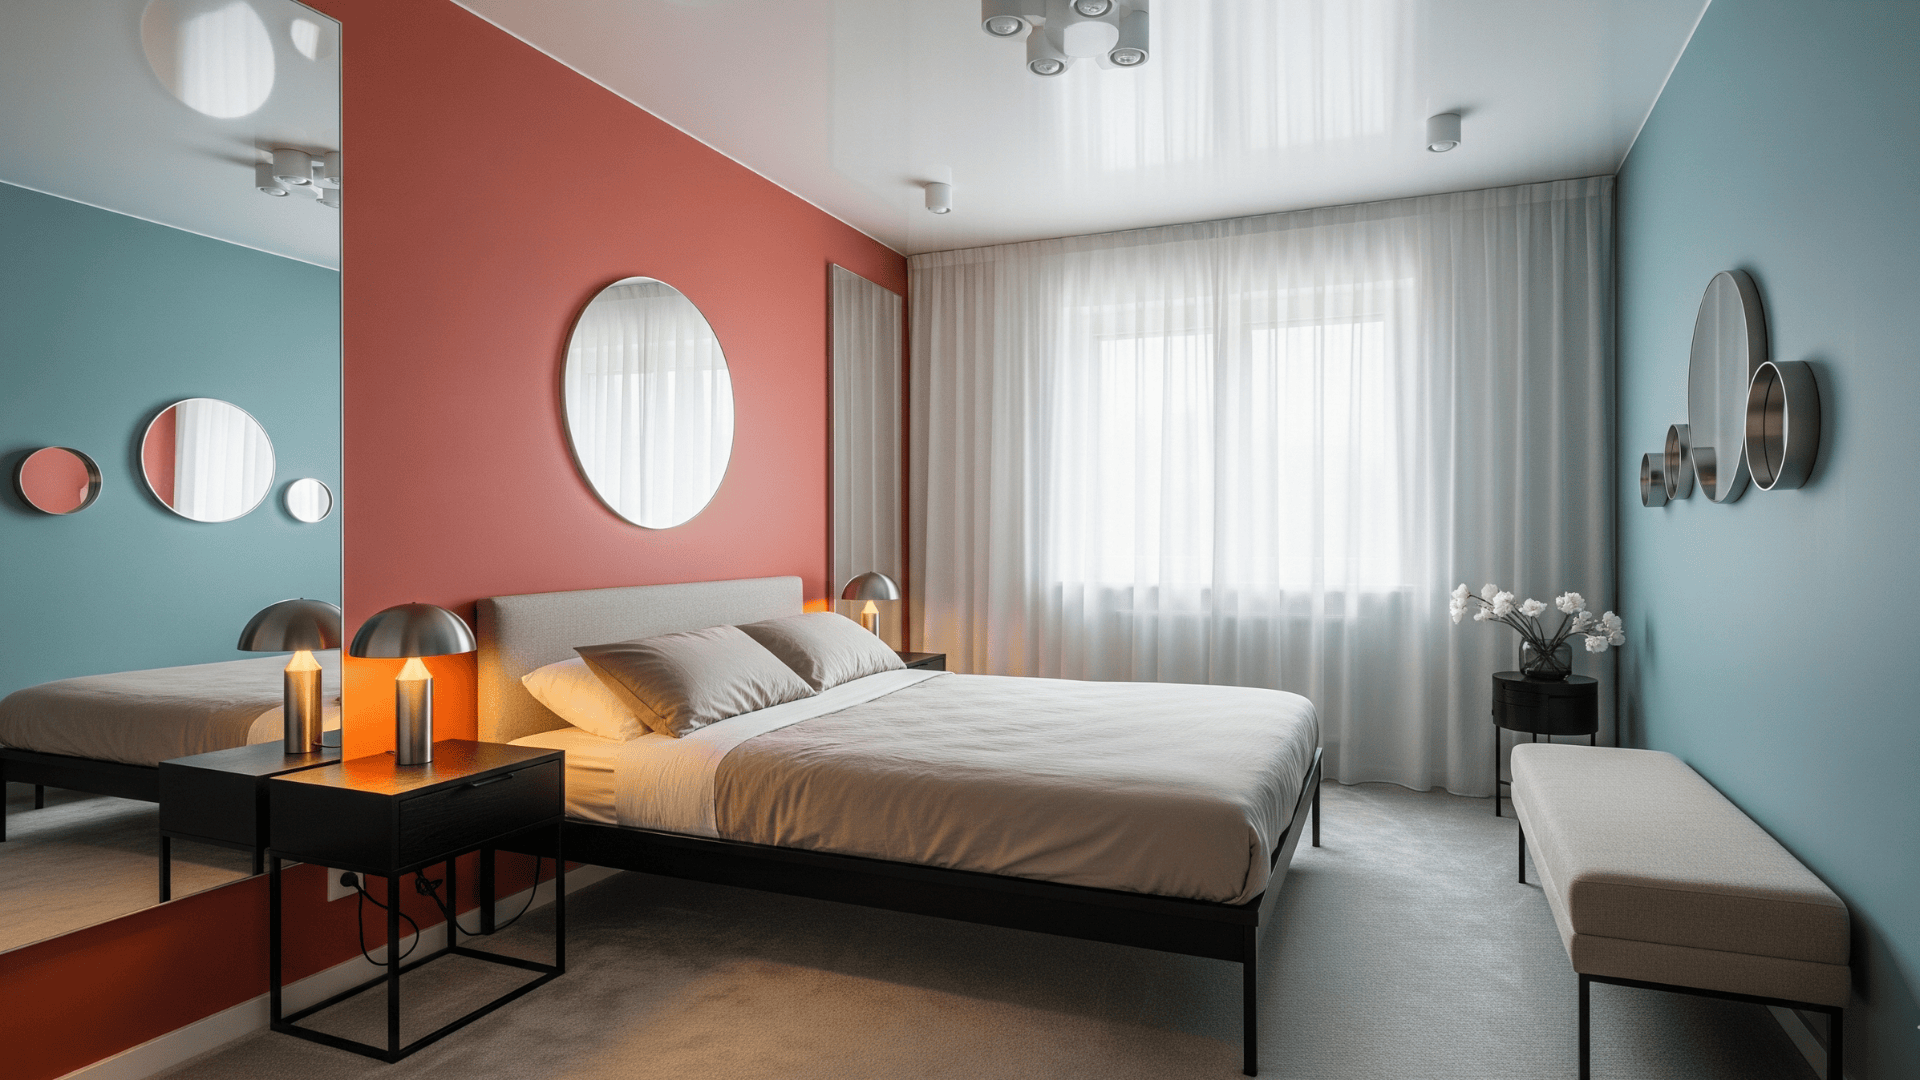
Pay close attention to details like neatly folded towels in the bathroom, a perfectly made bed in the bedroom, and an attractively set dining table. These small touches can make a big impact, helping potential residents envision themselves living in the space.
Lighting is Key
When it’s time to record your virtual tour, lighting can make or break the final product. You want to showcase the property in the best possible light – literally! Aim to film during the day to take advantage of natural light streaming through the windows. Open all the curtains and blinds to let in as much sunlight as possible. It will give the space a bright, airy, and inviting feel.
However, don’t rely solely on natural light. Come prepared with high-quality artificial lighting to supplement as needed, especially in darker corners or interior rooms without windows. Properly illuminating these areas is essential for giving viewers a clear and complete picture of the space.
Pay attention to how the light plays off different surfaces and textures, like gleaming hardwood floors or glossy granite countertops. Adjust your lighting and camera angles to accentuate these eye-catching details. Remember, the goal is to make the space look warm, welcoming, and move-in ready. With strategic lighting choices, you’ll be able to highlight the property’s best features and leave a lasting impression on potential residents.
Capturing Your Virtual Tour
With your property prepped and ready, it’s time to capture its essence through your lens. Choose high-quality equipment that will showcase your space in the best light, both literally and figuratively. Employ shooting techniques that draw the viewer’s eye to key features and create a natural flow from room to room.
Choosing the Right Equipment
Two tools you’ll need to capture a stunning virtual tour are a high-quality camera and proper lighting. A 360-degree camera provides an immersive experience, allowing viewers to explore every nook and cranny of your property as if they were physically present. If a 360 camera isn’t in your budget, opt for a high-resolution digital camera that captures crisp, clear images with excellent color reproduction.
Lighting is essential for showcasing your property’s best features. Natural light is ideal, so schedule your shoot during the day when the sun is bright but not harsh. Open curtains and blinds to let the light flood in, and consider using reflectors to bounce light into darker corners. If natural light is limited, invest in superior studio lighting to ensure your space is well-lit and inviting.
When selecting your equipment, prioritize quality over cost. An exceptional camera and lighting setup will result in a polished, professional virtual tour that impresses potential residents and sets your property apart from the competition. With the right tools in hand, you’re ready to start capturing the unique charm and character of the property.
Shooting Techniques
Once you’ve selected your equipment, it’s time to start capturing the essence of your property through carefully composed shots and well-planned angles. Pay close attention to lighting, as it plays a major role in showcasing your property’s best features.
Ensure that each room is well-lit, using natural light whenever possible and supplementing with artificial lighting as needed. Consider the time of day when shooting exterior shots to take advantage of the most flattering sunlight.
As you navigate through the property, keep your camera steady and level. If you’re using a tripod, make sure it’s properly adjusted and secure. When framing your shots, aim to create a sense of depth and space by using a wide-angle lens and incorporating foreground elements.
Focus on highlighting the unique selling points of each room, such as architectural details, high ceilings, or expansive windows. Don’t forget to capture the flow between rooms, as this helps potential residents visualize themselves moving through the space. Remember, the key is to create a visually appealing and informative tour that showcases your property’s best assets.
Adding Context with Floor Plans
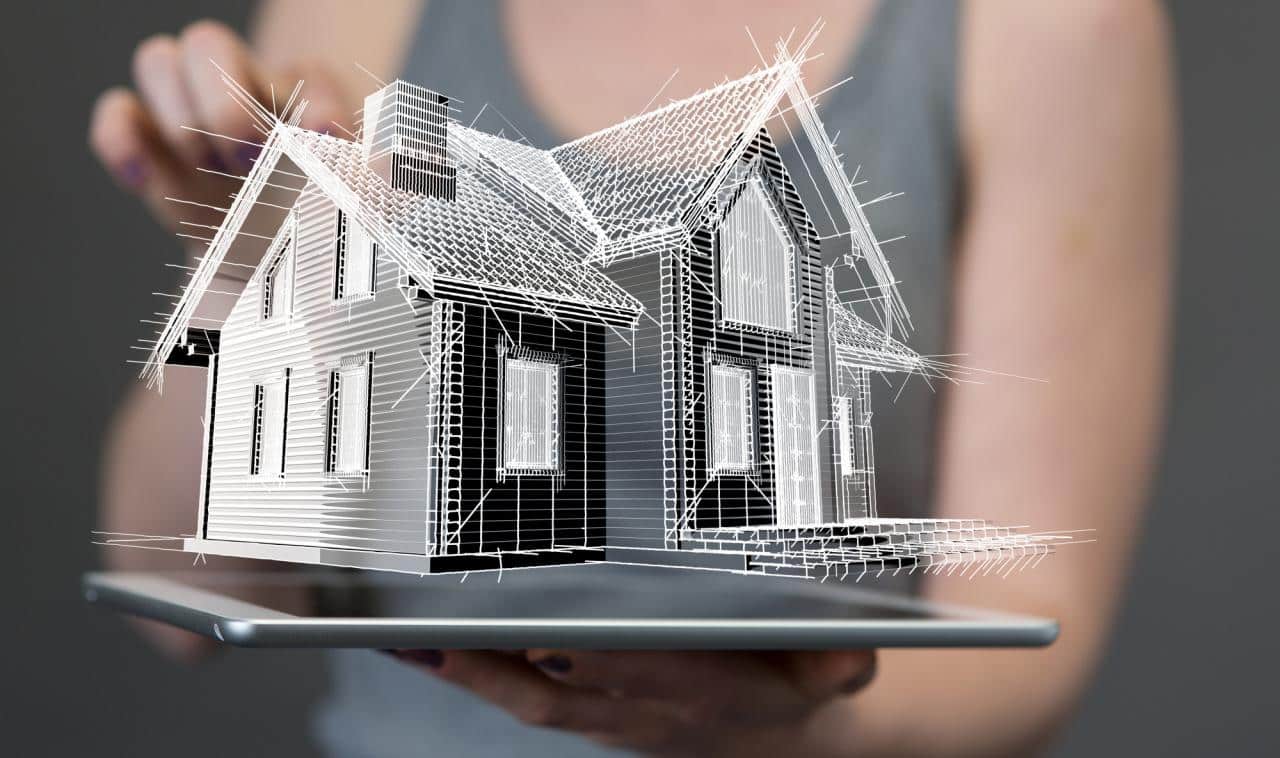
To provide viewers with a clear understanding of your property’s layout, consider incorporating floor plans into your virtual tour. Floor plans serve as a visual roadmap, allowing potential residents to grasp the flow and spatial relationships within your property. By including detailed, well-lit images of your floor plans, you’ll enable viewers to mentally navigate the space and envision themselves living there.
When presenting floor plans, ensure they’re visually appealing and easy to comprehend. Use clear labels, measurements, and legends to highlight key features like bedrooms, bathrooms, and living areas. Consider enhancing your floor plans with color-coding or 3D renderings to make them more engaging and informative.
Seamlessly integrate your floor plans into the virtual tour experience by placing them alongside corresponding room showcases or 360-degree views. It helps viewers to make connections between the abstract layout and the actual living spaces, providing a holistic understanding of your property.
Bringing Your Virtual Tour to Life
Now that you’ve captured your footage, it’s time to bring your virtual tour to life through the magic of editing. Select user-friendly editing software that allows you to seamlessly stitch together your shots and enhance the visual appeal of your tour. Elevate the viewer’s experience by adding a professional narration that highlights key features and incorporating an engaging soundtrack that sets the mood.
Editing Software
With your raw footage captured, you’re ready to breathe life into your virtual tour using editing software that seamlessly stitches together photos or videos and adds mesmerizing effects. Choose a program that offers intuitive tools for arranging your content, applying shifts, and enhancing the visual appeal of your tour.
As you edit, pay close attention to the flow and pacing of your virtual tour. Ensure that each room or area is well-represented and that the transitions between spaces feel natural and smooth. Consider adding subtle visual effects, such as gentle fades or pans, to create a polished and professional look.
Lighting plays a pivotal role in the overall quality of your virtual tour. During the editing process, take the time to adjust the brightness, contrast, and color balance of your footage to showcase each room in its best light. Aim for a well-lit, inviting atmosphere that highlights the unique features and charm of the property.
Adding Narration and Music
Once you’ve polished the visuals, consider elevating your virtual tour by adding narration or background music that complements the atmosphere of your property. A professional voiceover can guide viewers through the space, highlighting key features and creating a more engaging experience.
Choose a narrator with a warm, inviting tone that aligns with your brand’s personality. Alternatively, if you prefer a more subtle approach, select background music that sets the mood and enhances the overall ambiance of your tour.
When incorporating audio elements, pay close attention to the quality and clarity of the sound. Ensure that the voiceover is well-recorded, free from background noise, and easily understandable. If opting for background music, choose tracks that are royalty-free or properly licensed to avoid any copyright issues.
Adjust the volume levels so that the music doesn’t overpower the narration or distract from the visuals. By carefully integrating audio components, you’ll create a multisensory experience that immerses potential residents in the unique atmosphere of your property, making your virtual tour even more memorable and impactful.
Interactive Features
To bring your virtual tour to life and create an immersive experience, consider incorporating interactive features that allow viewers to engage with the property on a deeper level. Hotspots are a powerful tool that enables potential residents to explore the space at their own pace, clicking on points of interest to reveal additional information, photos, or even videos. This self-guided exploration mimics the experience of an in-person tour, giving viewers a sense of control and discovery.
Another interactive element to consider is a floor plan overlay, which allows users to navigate through the property by clicking on different rooms or areas. This feature provides a clear spatial understanding and helps viewers orient themselves within the virtual environment. You can include clickable furnishings or decor to highlight remarkable design elements or amenities.
By thoughtfully integrating these interactive features, you’ll transform your virtual tour from a passive viewing experience into an engaging, immersive journey that showcases your property’s unique character and invites potential residents to envision themselves living there. Remember, the key is to strike a balance between interactivity and simplicity to ensure a seamless, user-friendly experience.

