Wood Beam Doorways: DIY Guide and More
Making wood beams for doorways or ceilings at home opens fresh ways to add warmth and style to your space.
These wooden structures, created from basic boards and simple tools, can transform plain rooms into eye-catching spaces.
While real timber beams might cost thousands and need special installation, these DIY versions give you the same visual impact at a fraction of the price.
Whether you want to frame a doorway or add ceiling details, this step-by-step guide will help you create custom wood beams that match your home’s style.
DIY Guide for Wood Beam for Doorways or Ceilings
Step 1: Gather Materials and Tools
Materials Needed:
- 1×8 plain wood boards (or similar size based on your project)
- Wood glue
- Nails
- Stain (the example uses “Aged Barrel” stain)
Tools Required:
- Planer
- Grinder with a diamond plate wheel
- Chisel
- Wire brush
- Nail gun with a line of nails
- Sandpaper or a sander
- Putty for filling screw holes
Step 2: Assemble the Beam Frame
- Create a box structure by joining the wood planks to form the shape of the beam.
- Use two-inch spacers on the back side to give the beam depth and ensure it does not lie flat against the wall.
- Secure the frame by gluing and nailing the pieces together.
Step 3: Shape and Texture the Beam
Plaining:
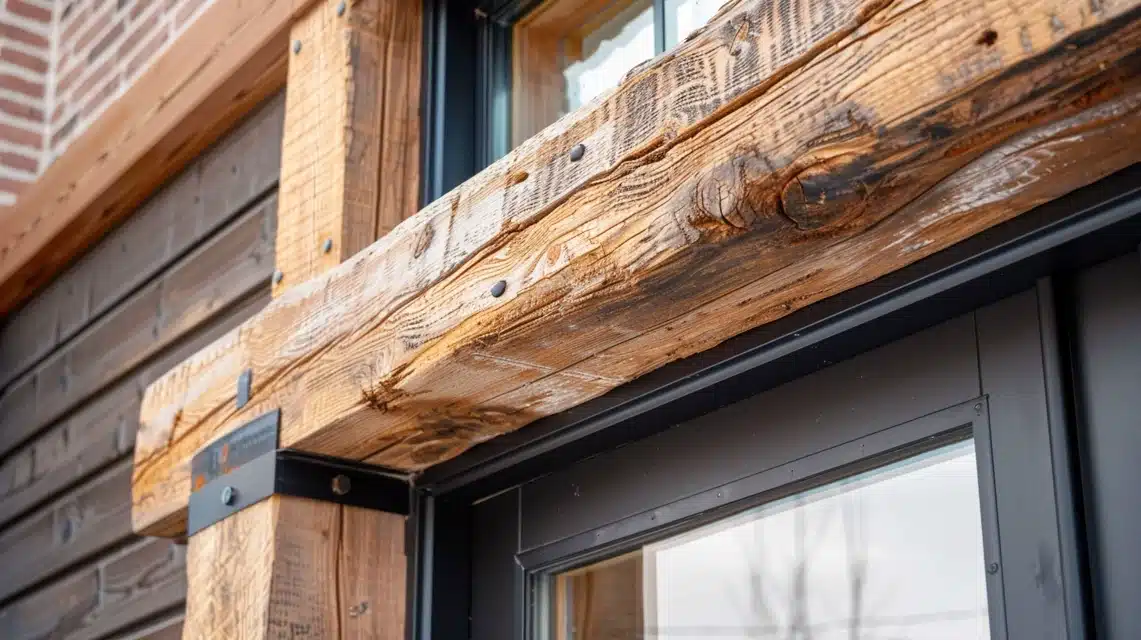
- Use a planer to smooth the wood and round off sharp edges, making the wood look aged and more like reclaimed timber.
- Adjust the planer’s depth to about 1/8 inch for deeper grooves.
Add Distressed Effects:
- Use a nail or a pointed tool to make small, random holes on the wood surface to mimic the look of bug holes.
- Use a grinder with a diamond plate wheel to create deep and shallow cuts across the surface, giving it an aged and cracked appearance.
Refine the Distress:
- Run a chisel along the beam to add random, natural-looking cuts.
- Use a line of nails from a nail gun to create small grooves, mimicking natural wear on the wood.
Finish with Wire Brushing:
- Run a wire brush across the entire surface to enhance the wood grain and create detailed textures.
Step 4: Apply Stain
- Use a stain to color the wood, emphasizing deep crevices and textures created during the distressing process.
- Let the stain sit and dry thoroughly.
Step 5: Prepare for Installation
- Lightly sand the edges to remove any excess stain that might rub off onto walls during installation.
- If desired, use putty to fill in any visible screw holes for a seamless finish.
Step 6: Mount the Beam
- Attach the beam to the wall or doorway frame, ensuring it aligns well with rounded or square edges as needed.
- Secure it with screws and check for stability.
Step 7: Final Touches
- After mounting, touch up any visible nail holes with a stain rag to blend them in.
- Consider adding beams throughout the house using the same process for aesthetic consistency.
What Are Faux Beams?
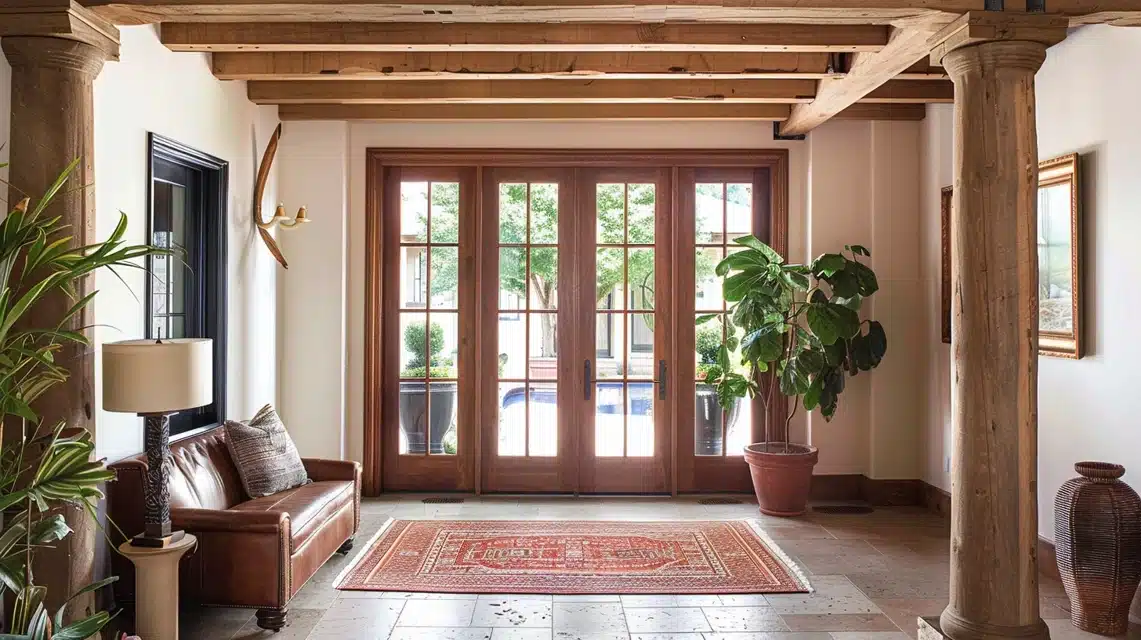
Faux beams are decorative wood boxes that go around existing structures or create stand-alone design elements in your home.
Think of them as hollow wooden covers with the same look as solid timber without the weight or cost.
They’re made by joining wooden boards to form a three-sided or four-sided box shape, which can then be finished to match your home’s style.
These beams serve a purely decorative purpose – they add character and warmth to spaces like:
- Doorways
- Ceiling spans
- Wall features
- Room transitions
The beauty of faux beams lies in their simplicity: they’re light, easy to install, and can be removed without major construction work.
Faux Beams vs. Solid Wooden Beams
| Aspect | Solid Wooden Beams | Faux Beams |
|---|---|---|
| Weight and Structure | Heavy, load-bearing pieces that support the structure of the house. | Light, hollow, non-structural boxes. |
| Cost Factors | Generally, it costs thousands of dollars due to high material and installation costs. | Affordable, often costing $100-200, with basic materials from hardware stores. |
| Installation Process | Requires professional installation, structural adjustments, and permits in many cases. | DIY-friendly and can be installed with basic tools and minimal assistance. |
| Flexibility and Changes | Permanent once installed; difficult to modify without major work. | Easily moved, adjusted, or replaced without structural impact. |
| Material Options | Limited to certain timber types and dimensions. | Flexible in material choice, allowing a range of finishes to suit different styles. |
| Maintenance Requirements | Requires periodic inspections for structural integrity, often needing professional maintenance. | Low maintenance, with simple cleaning and occasional touch-ups, is sufficient. |
Summing Up
We explored the step-by-step process, starting with basic assembly, moving through texturing techniques like wire brushing and making intentional marks, and finishing with staining and installation.
We compared costs and benefits versus real timber beams, discussed installation time of 4-6 hours, and addressed common concerns about permits and rental properties.
With proper planning and under $200 in materials, you can craft these decorative elements that add lasting beauty to your space. The results look rich and timeless without straining your budget.
Frequently Asked Questions
How Much Time Does This Project Typically Take?
Expect around 4-6 hours for one beam, including assembly, distressing, staining, and mounting.
Typically, a day’s work for one beam, but multiple beams may extend the timeframe to a weekend project.
Do I Need Special Permits or Approvals?
Permits aren’t required for non-structural, decorative beams, but check local regulations if rental restrictions apply.
For rentals, consult the lease or property owner to confirm allowable changes, even temporary ones.
Can I Achieve This Look in a Rental Property?
Use temporary mounting strips or brackets that won’t damage walls or ceilings, making removal easy.

