
Updating Your Hallway Bathroom: A Complete Guide
Sick of waking up to a cramped, outdated bathroom that starts your day off wrong? You’re not the only one.
A tight, tired space can be frustrating, but fixing it doesn’t have to be expensive or stressful. This guide shows you how to turn your small bathroom into a clean, comfy space you actually like.
You’ll get easy steps for everything, from planning and clearing out to painting and putting things back together.
No special tools or skills are needed. If you want your bathroom to look better and feel more useful, this is for you.
Ready to see how small changes can make a big difference? Let’s jump in and turn that “blah” bathroom into something better.
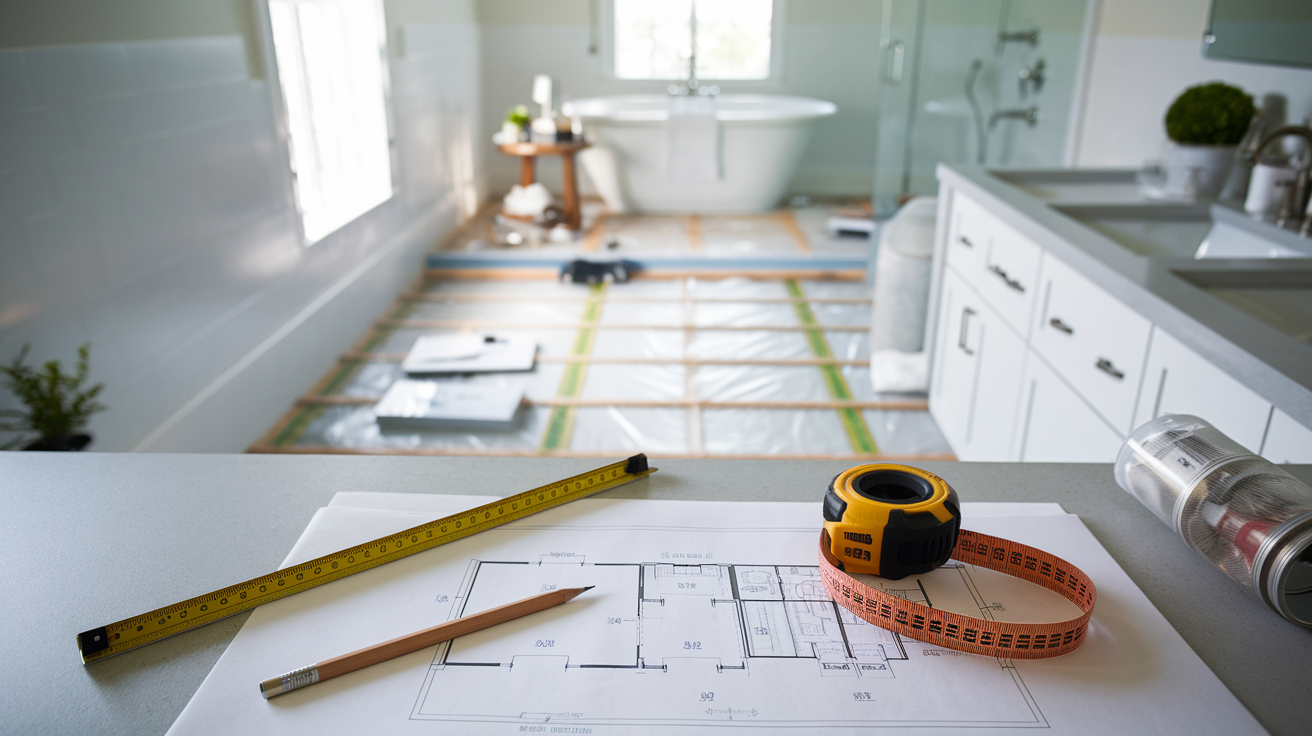
Planning Your Hallway Bathroom
Your bathroom makeover starts with careful planning. Take time to measure your space carefully. Understanding every corner helps you make smart choices.
Think about how you want the room to feel – bright, clean, and comfortable. Your budget and design goals will guide every decision.
Measuring Your Space
A tape measure is your best friend. Walk around your bathroom and check every corner and wall. Carefully measure the width, length, and height.
Look for ways to make the space feel larger and more useful. Pay attention to how you move in the bathroom. Is the vanity too big? Does the shower feel tight? These details matter.
Take detailed notes as you measure. Sketch a rough floor plan on graph paper or use a smartphone app to create a digital layout.
Consider the placement of electrical outlets, windows, and existing plumbing. These elements can impact your renovation plans and help you understand potential challenges.
Think about traffic flow. How do you enter and exit the space? Where do you naturally move when getting ready?
Identifying these patterns will guide your design choices and help you create a bathroom that works perfectly for your needs.
Budget Breakdown
Planning how much you’ll spend helps you stay in control and avoid stress later.
This breakdown gives you a rough idea of where your money might go, from tiles and fixtures to paint and small touches.
Keeping track of each part helps you make better choices and stick to your budget.
It’s not about doing everything at once but about making steady progress with what you have.
Please note that actual expenses may vary based on factors such as bathroom size, material choices, and regional labor rates.
Step-by-Step Bathroom Transformation
Turning your bathroom into a space you enjoy takes a little time and planning.
This step-by-step section walks you through the whole process, from measuring and clearing out the space to installing the final details.
Each stage builds on the last, helping you stay focused and on track. You don’t need fancy tools or expert skills, just clear steps and a bit of patience.
Step 1: Preparation
Effective bathroom renovation begins with thorough preparation. Measure your space accurately and sketch the current layout. Select a design style that matches your taste and budget.
Take photos to document the “before” state. Gather all necessary tools and materials prior to starting.
Empty the bathroom completely, removing all items. Protect surrounding floors with coverings to prevent damage during construction. This initial groundwork sets you up for a successful renovation project.
Step 2: Demolition
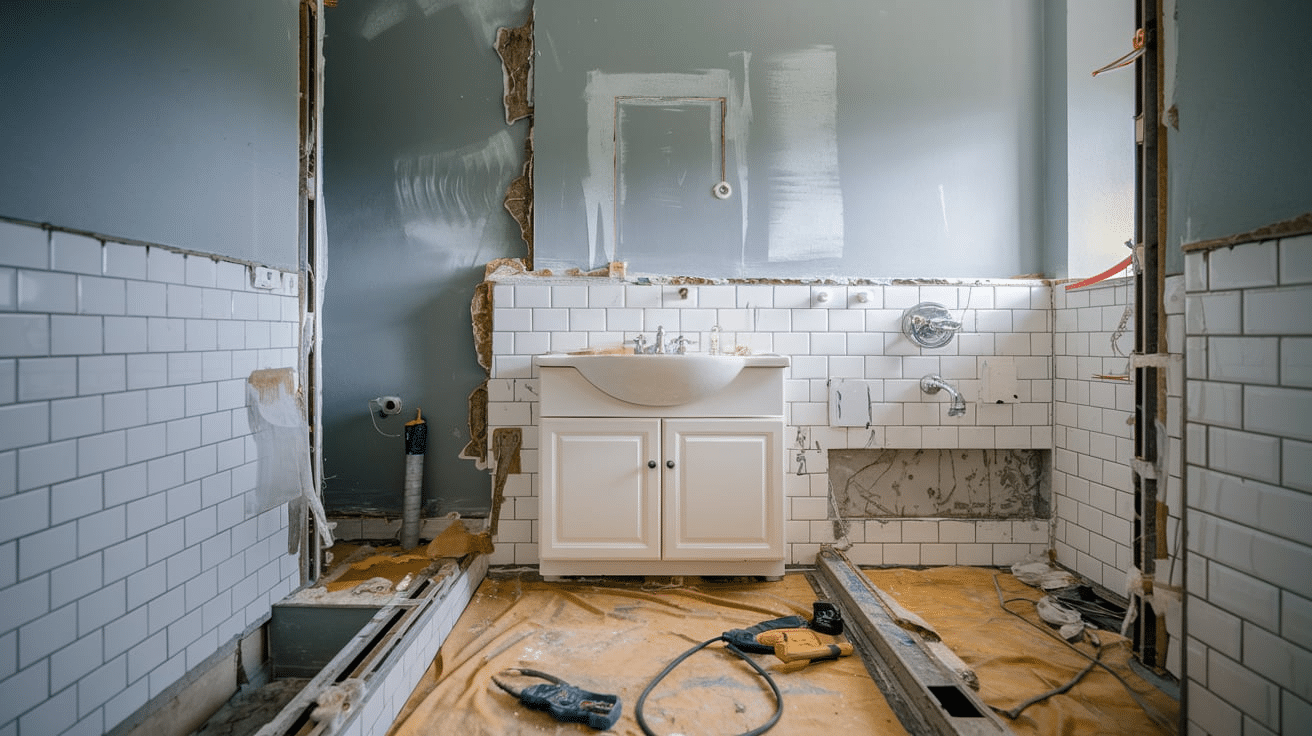
The demolition phase is essential to prepare your bathroom for renovation. Begin by shutting off the water supply to prevent leaks or flooding.
Next, carefully remove all existing fixtures, such as the toilet, sink, and shower components. With the fixtures out of the way, you can then extract the old vanity unit completely from the space.
Following this, strip away all outdated tiles from both floors and walls. Don’t forget to take off any wall trim that will be replaced.
After removing these elements, it’s important to inspect the exposed areas for water damage, mold, or structural issues that might need attention.
Conclude this stage with a thorough cleaning to clear away dust, debris, and any remaining adhesive, giving you a blank canvas for the installation of new components.
Step 3: Flooring
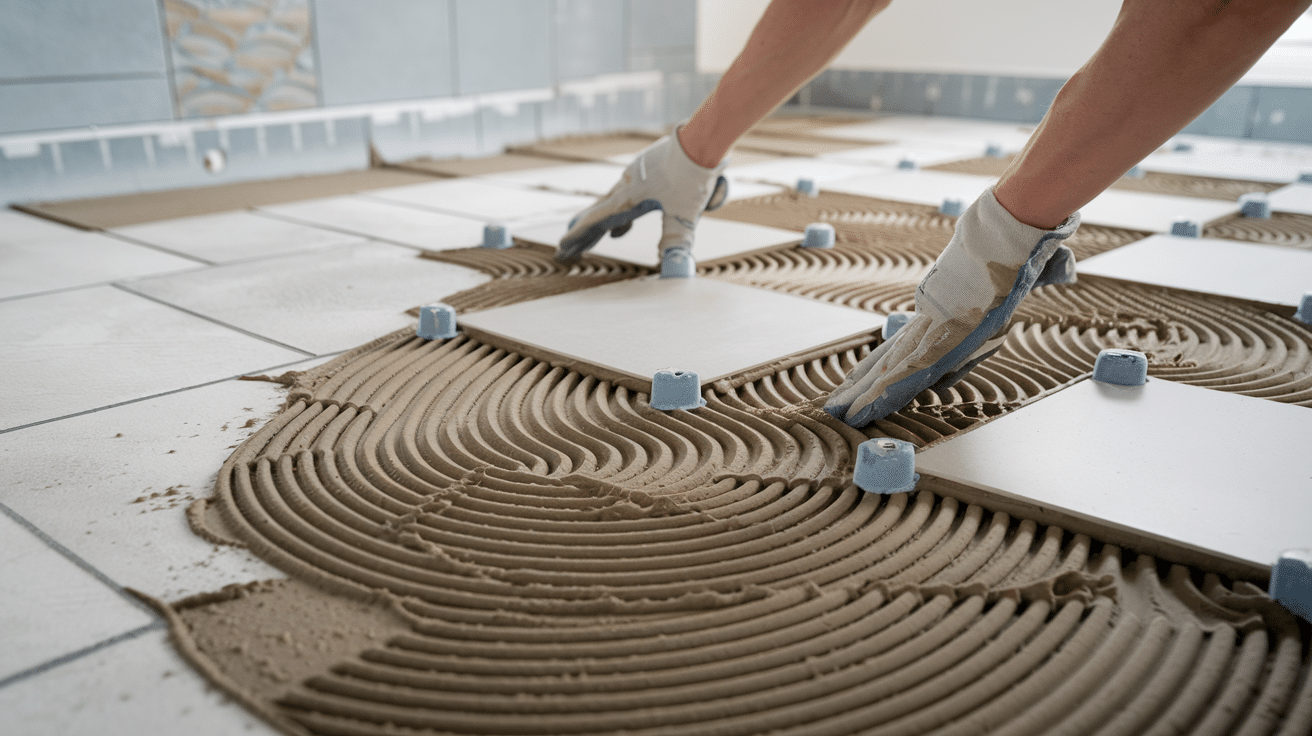
The third phase involves floor installation. Start by preparing a clean, level subfloor, then add underlayment for moisture control.
Plan your tile layout carefully before mixing the adhesive. Place tiles precisely, using spacers for even gaps.
Once dry, fill spaces with grout and finish by sealing all grout lines to protect against stains and moisture. This method creates a durable, attractive floor surface.
Step 4: Walls and Trim
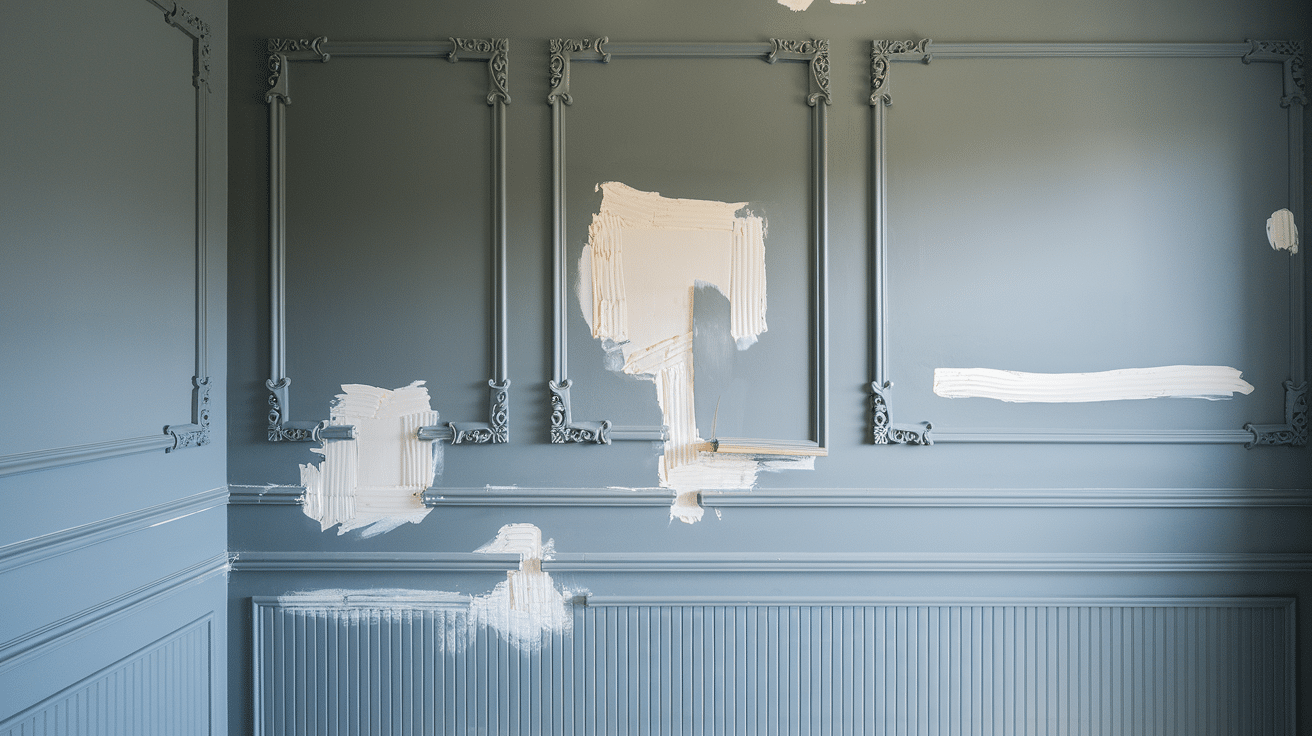
The fourth phase focuses on walls and trim. Sand all wall surfaces until smooth. Apply primer to create a good base for paint.
Measure and install wall molding, then cut and attach trim pieces. Fill any nail holes with filler compound.
Finish by painting both walls and trim with your chosen colors, applying multiple coats as needed for a clean, professional look.
Step 5: Install Fixtures

The fifth phase involves setting up all bathroom components. To ensure stability, begin by positioning and securing the new toilet properly.
Next, attach the vanity to the wall, making certain it’s level and firmly in place. Following this, connect the water lines to the faucet and verify there are no leaks.
Install the lighting fixtures according to the manufacturer’s specifications, checking that all electrical connections are safe and functioning.
Position and affix the mirror at the appropriate height on the wall.
Finish by installing the towel bars in convenient locations around the bathroom for optimal functionality.
Step 6: Final Touches
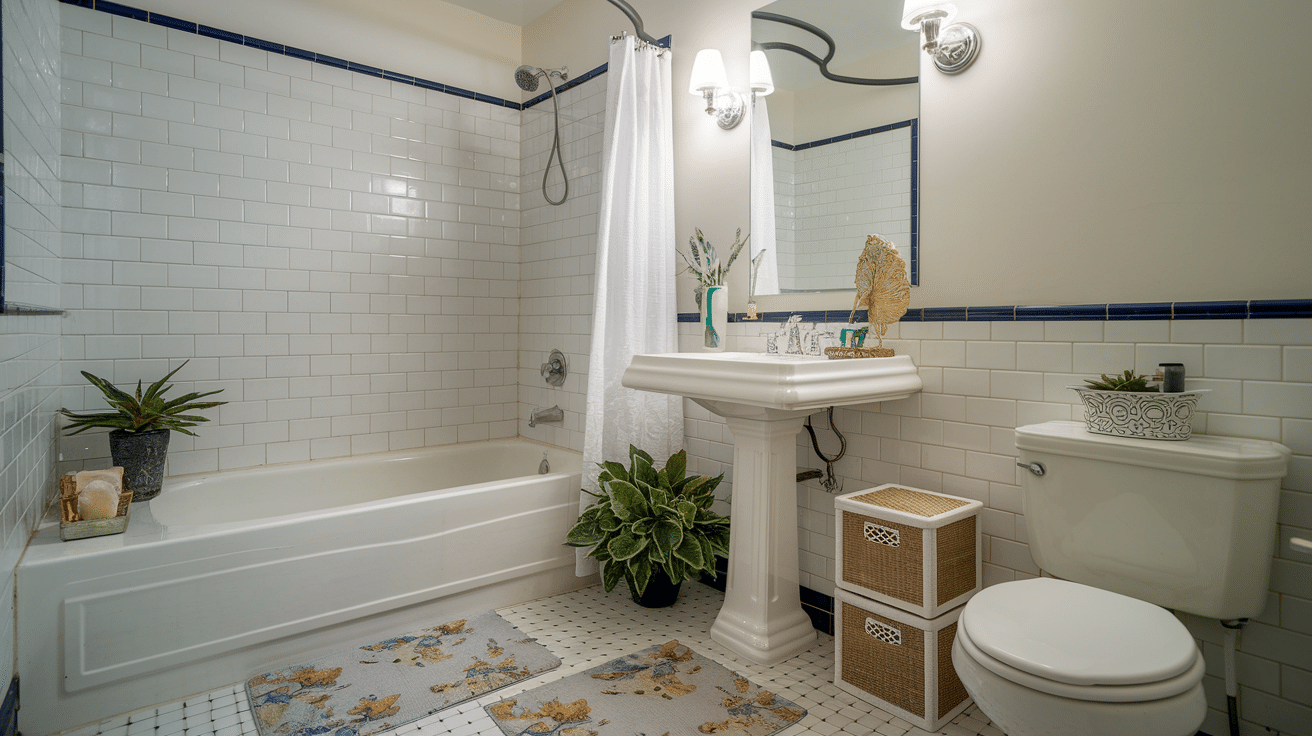
The last phase of your bathroom update involves several key finishing elements.
Start by installing the shower curtain to create privacy and prevent water splashes.
Next, organize your bathroom essentials using appropriate storage containers to reduce clutter and maintain tidiness.
Position a bath mat strategically to provide comfort and absorb moisture when stepping out of the shower or tub.
Add a few carefully selected decorative elements to enhance the overall appearance of your space without overwhelming it.
Complete the process with a thorough cleaning of all surfaces, fixtures, and floors to ensure your refreshed bathroom is spotless and ready for use.
Budget-Friendly Renovation Strategy
Saving money doesn’t mean cutting corners. Smart planning is key to any home update. With careful consideration and research, your financial resources can go further.
Budget-Winning Tips:
- Track every dollar spent
- Look for sales on materials
- Focus on must-have items first
- Shop at discount stores for basics
- Check online marketplaces for used items
- Watch for clearance items at home stores
Research helps you find the best deals available. Watch tutorial videos to learn how to complete tasks yourself.
Compare prices between different suppliers and stores. Learn which materials provide the most value for your specific needs.
With thoughtful planning, you can create a beautiful space that meets your needs without exceeding your budget. The results can be impressive while keeping costs manageable.
Conclusion
Wrapping up your bathroom makeover doesn’t have to be stressful or expensive.
With a little planning and the right steps, you can turn even the smallest space into something that feels fresh, clean, and easy to use.
From measuring and budgeting to adding those final touches, each part of the process brings you closer to a bathroom you’ll actually enjoy.
Start with what you can, go at your own pace, and take pride in the progress you make.
Looking for more smart, budget-friendly ideas for your home? Check out our other blog posts for practical tips and advice on making the most of your space without spending a fortune.


