Transform Your Space: How to Acid Stain Concrete Floors Step-by-Step
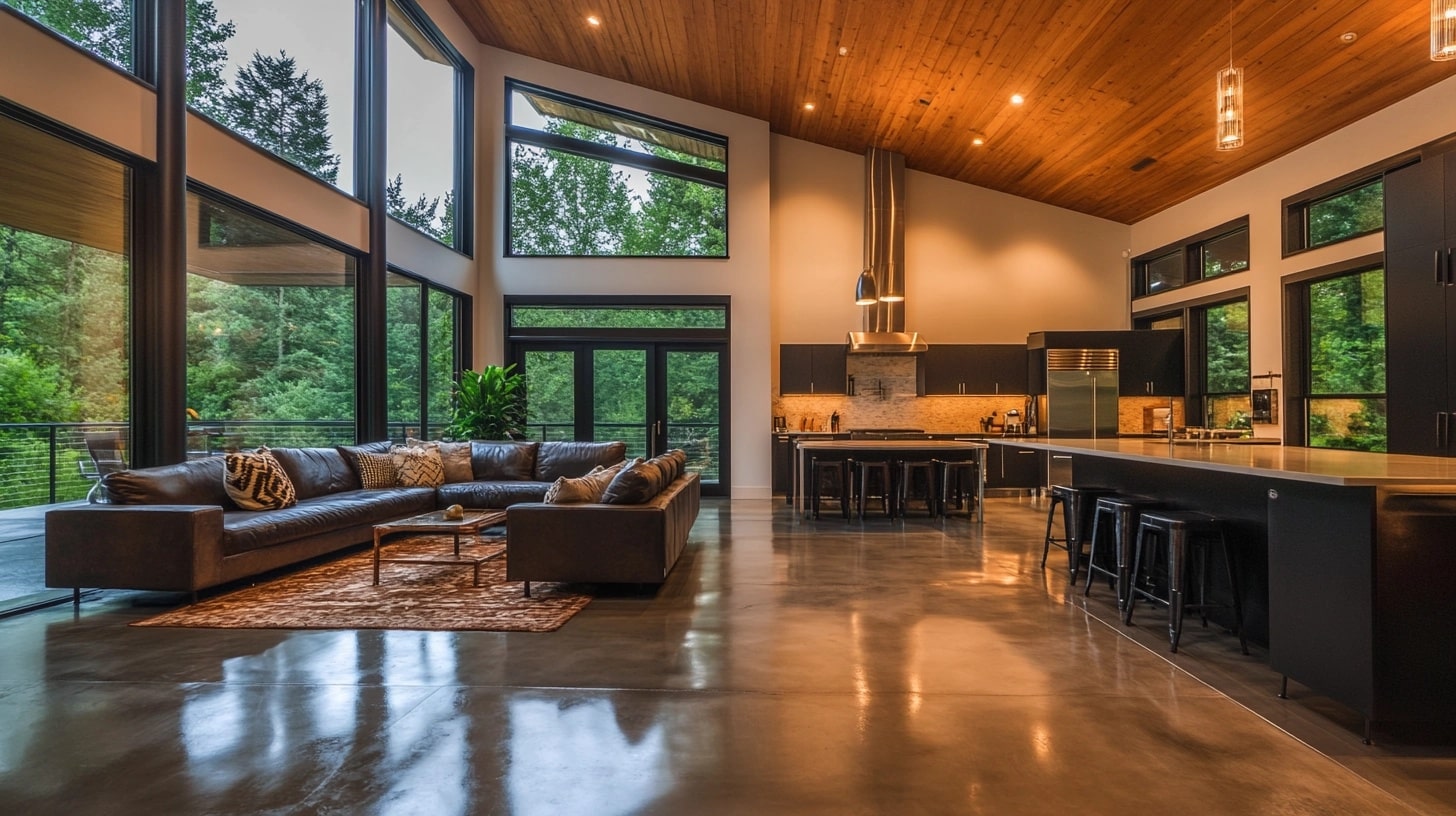
I’ve discovered a fantastic way to add color to concrete floors – acid staining.
In my experience, this method stands out from regular paint or coating because it creates lasting color by working with the natural elements in your concrete.
Let me explain how it works: when acid stain meets concrete, a chemical reaction begins. This creates permanent colors that become part of the concrete itself.
I love that each floor develops its own special pattern – similar to a fingerprint, no two look exactly alike.
Here’s what I find most impressive: it’s budget-friendly. These floors stand strong for years, need minimal maintenance, and handle heavy foot traffic without losing their charm.
I’ll show you exactly how to create beautiful acid-stained concrete floors in your home.
Why Choose Acid Staining for Your Concrete Floors?
Acid staining stands out from other concrete coloring methods through its unique chemical interaction.
When acid stains meet concrete, they create a real chemical change on the surface. Unlike paint that forms a top layer, acid stains mix with the concrete’s minerals to create lasting colors that won’t chip or peel off.
The process works like dying fabric versus painting it – the color becomes part of the material itself.
The stain penetrates the concrete and triggers a chemical process that permanently changes the surface color. Think of how tea stains a white shirt—that color stays fixed in place.
Each acid staining project produces unique results. The final appearance depends on the concrete’s specific makeup, age, and texture.
This means every floor develops its own distinct look that can’t be replicated exactly anywhere else.
Step-by-Step Guide to Acid Staining Concrete Floors
Transforming a concrete floor with acid stain is a straightforward process that enhances its durability and appearance. Follow this detailed guide to achieve beautifully stained concrete floors with a natural finish.
Materials and Tools Needed:
| Material/Tool | Purpose |
|---|---|
| Soap and water | For cleaning the concrete surface |
| Vacuum | To remove dust, dirt, and debris |
| Mop | For applying cleaning solution and water |
| Concrete etching solution | To open the pores of the concrete |
| Bucket | To mix etching solution and water |
| Brush | To scrub the concrete after applying the etching solution |
| Garden sprayers (2) | For spraying water and acid stain on the concrete |
| Acid stain (Graphite color) | To stain the concrete floor with a warm gray hue |
| Degreaser neutralizer | To neutralize the acid stain post-application |
| Paint roller and pole | For applying the sealer |
| Acrylic floor sealer | To seal the concrete and provide a satin finish |
| Paint pan | For holding the sealer while applying |
Step 1 Thorough Surface Preparation
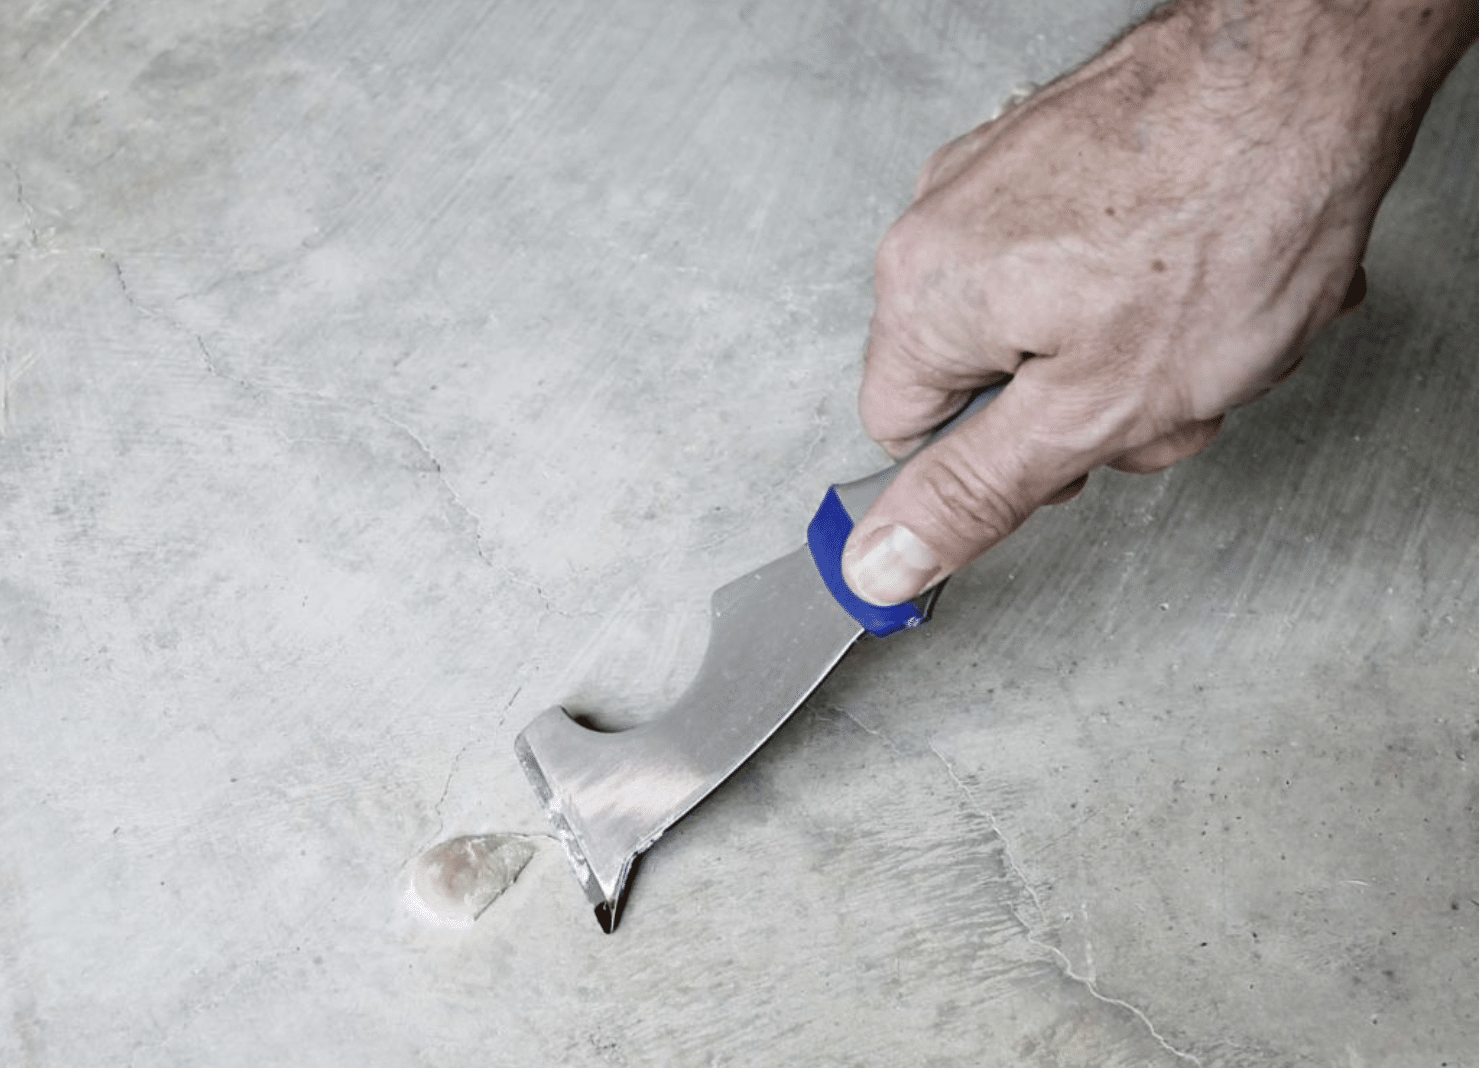
- Scrape off dried debris like drywall mud or paint, and vacuum the floor to remove dust and dirt.
- Mop the floor with soapy water, then follow up with two more mopping rounds using clean water.
Step 2 Prepping the Concrete for Stain Penetration
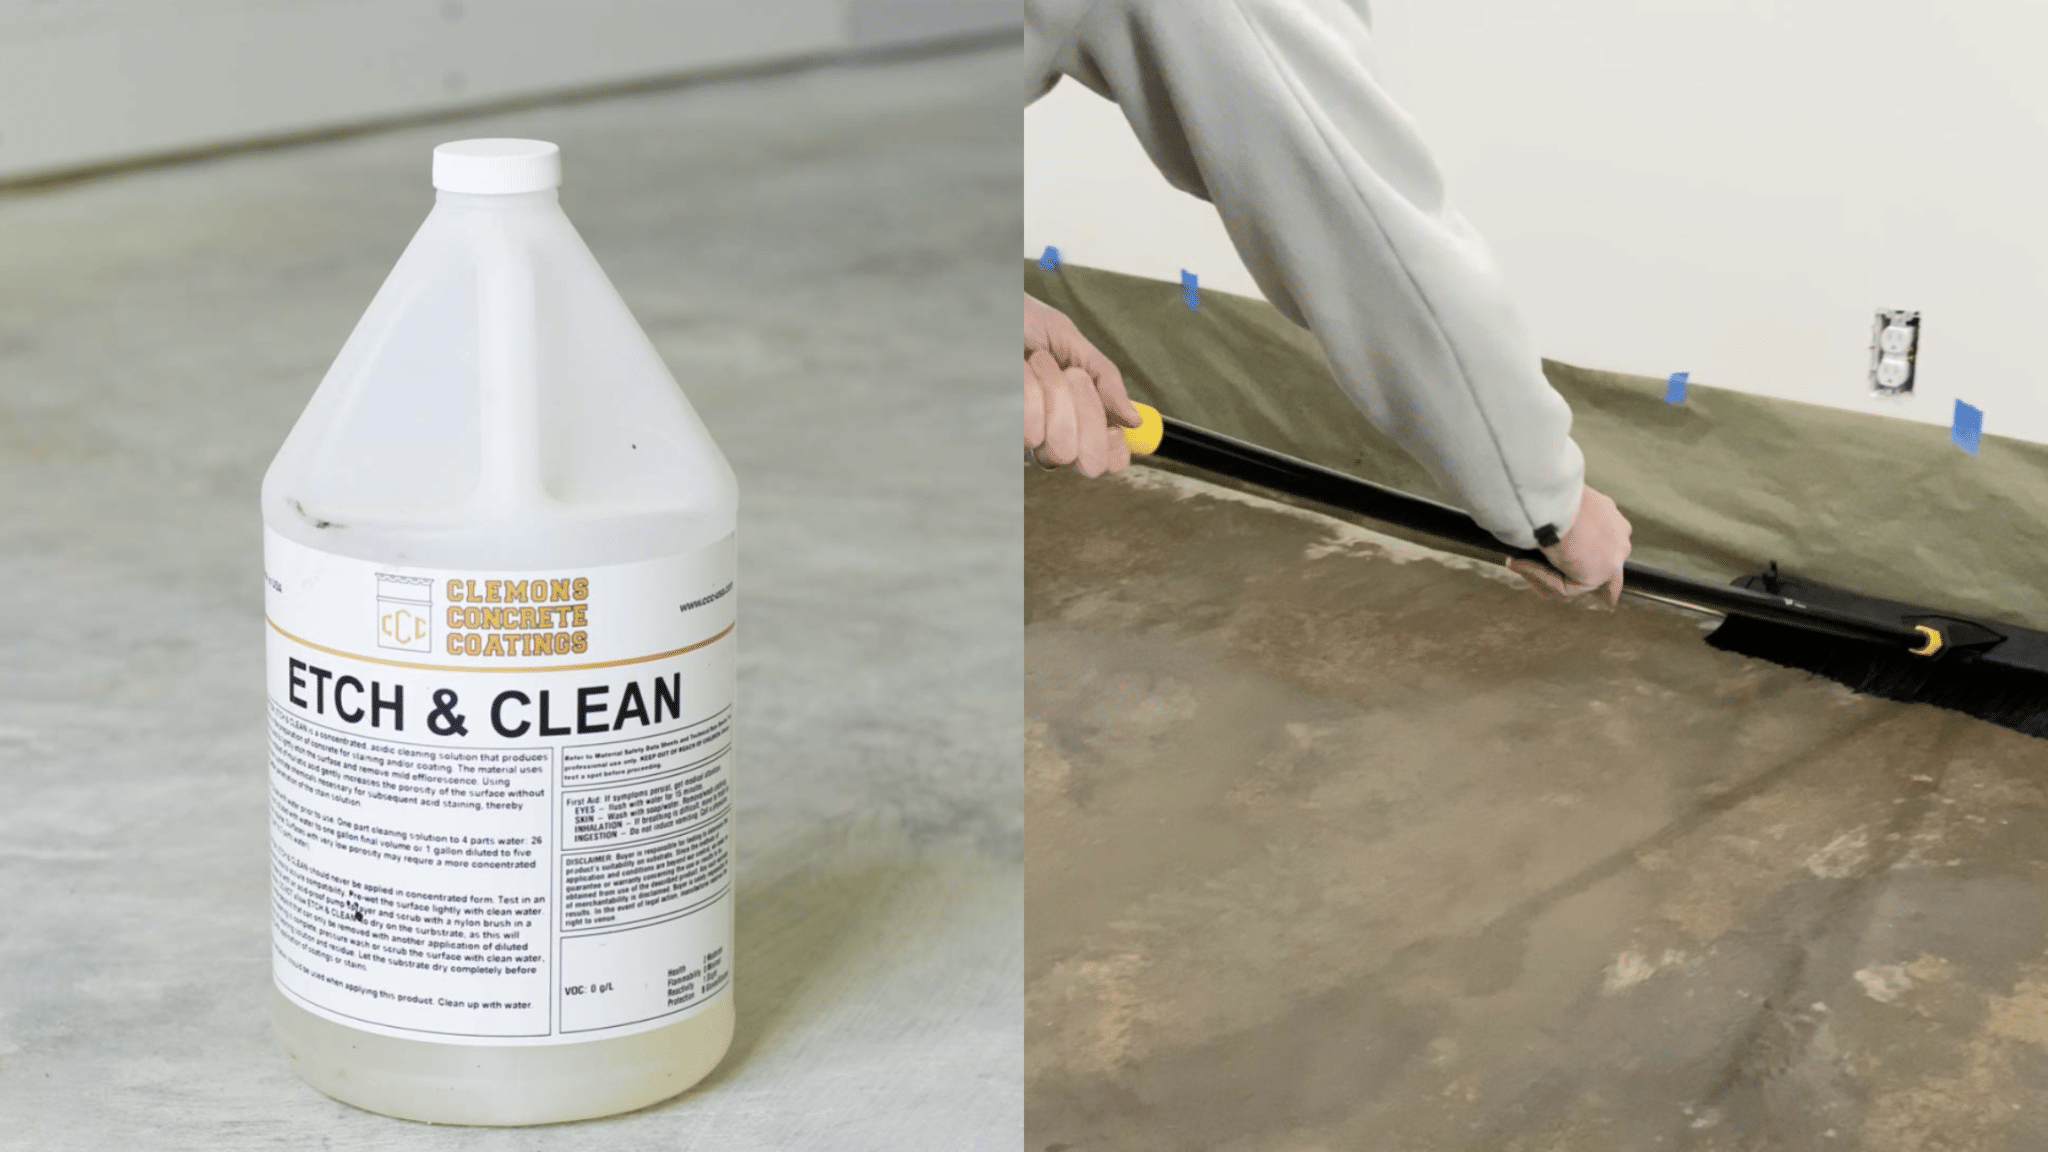
- Mix the etching solution with water (1:4 ratio) and apply it to the concrete in 10×10 ft sections.
- Scrub each section, let it sit for 5 minutes, and rinse thoroughly to avoid residue buildup.
Step 3 Applying the Stain
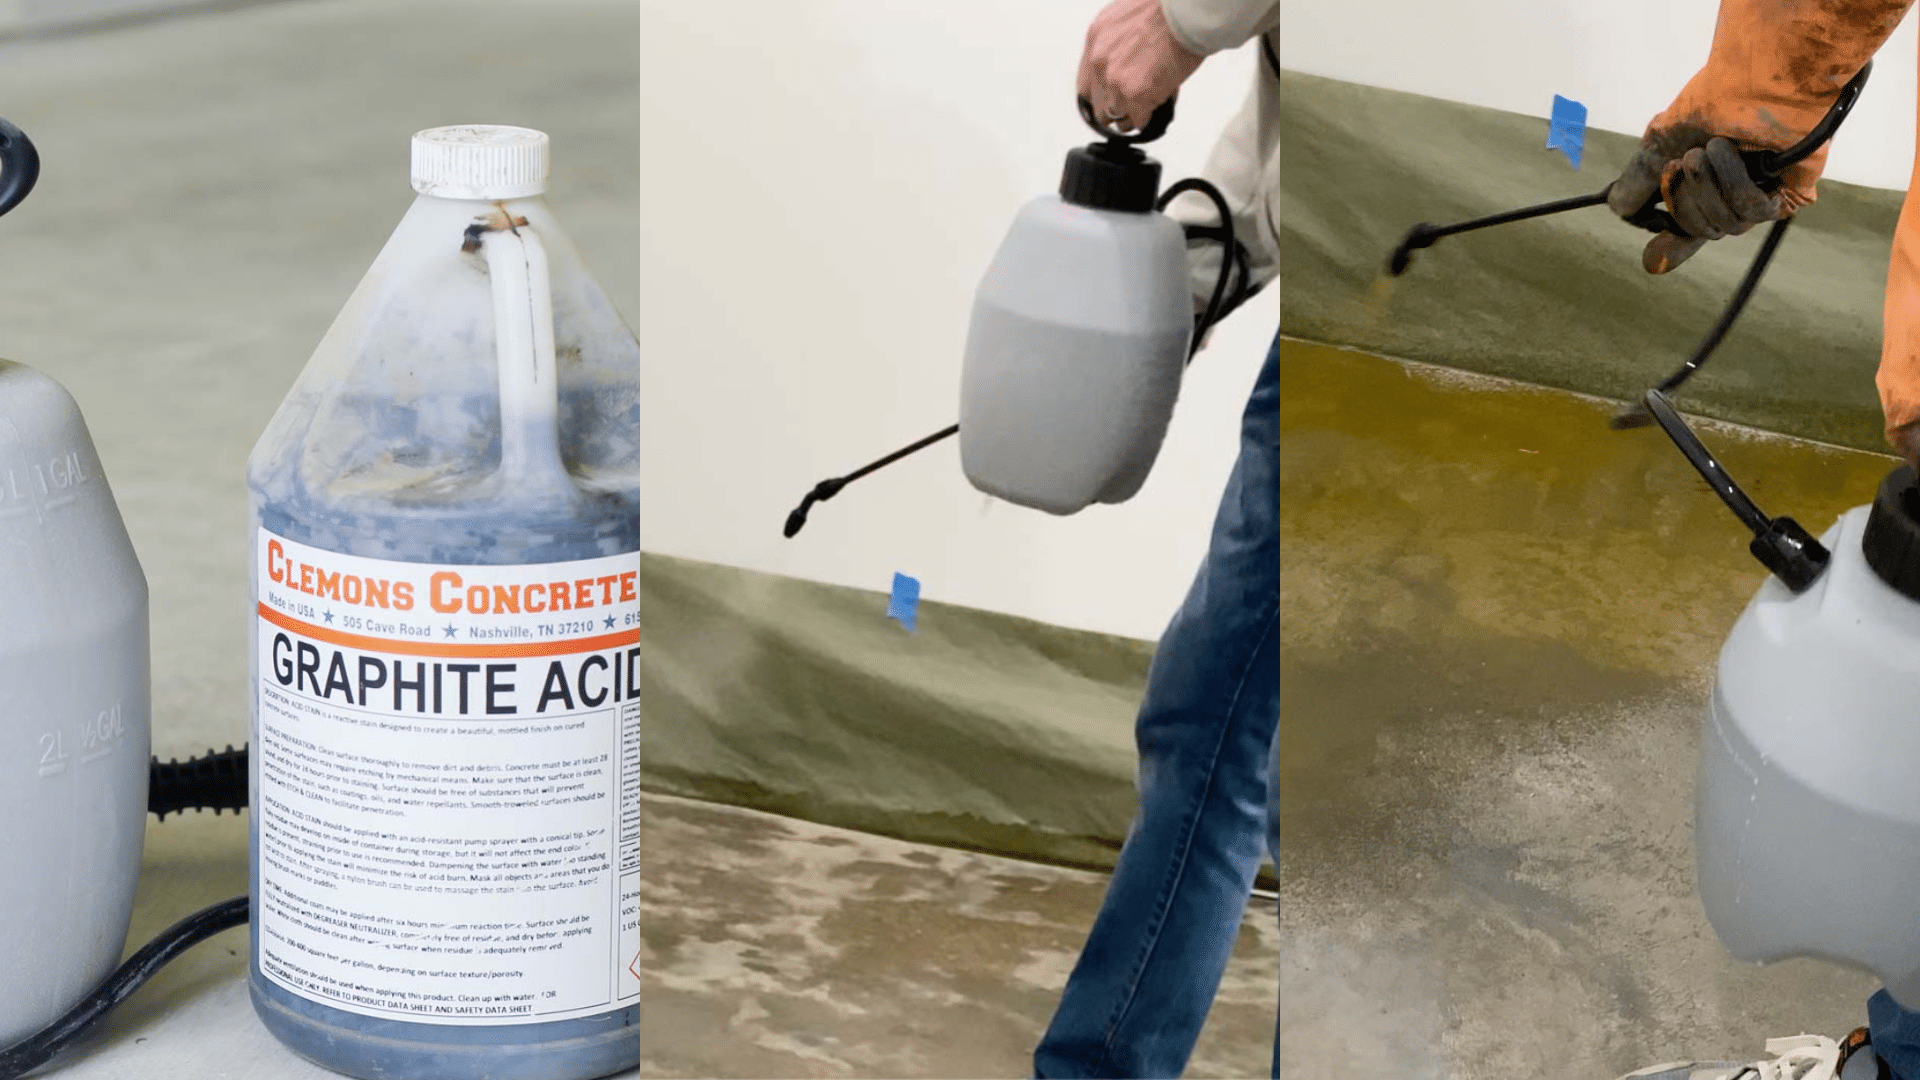
- Dampen the concrete section with clean water using a garden sprayer, making sure there are no puddles.
- Use a second sprayer filled with acid stain and spray it evenly in a back-and-forth motion over the dampened section.
Step 4 Neutralizing the Stained Surface
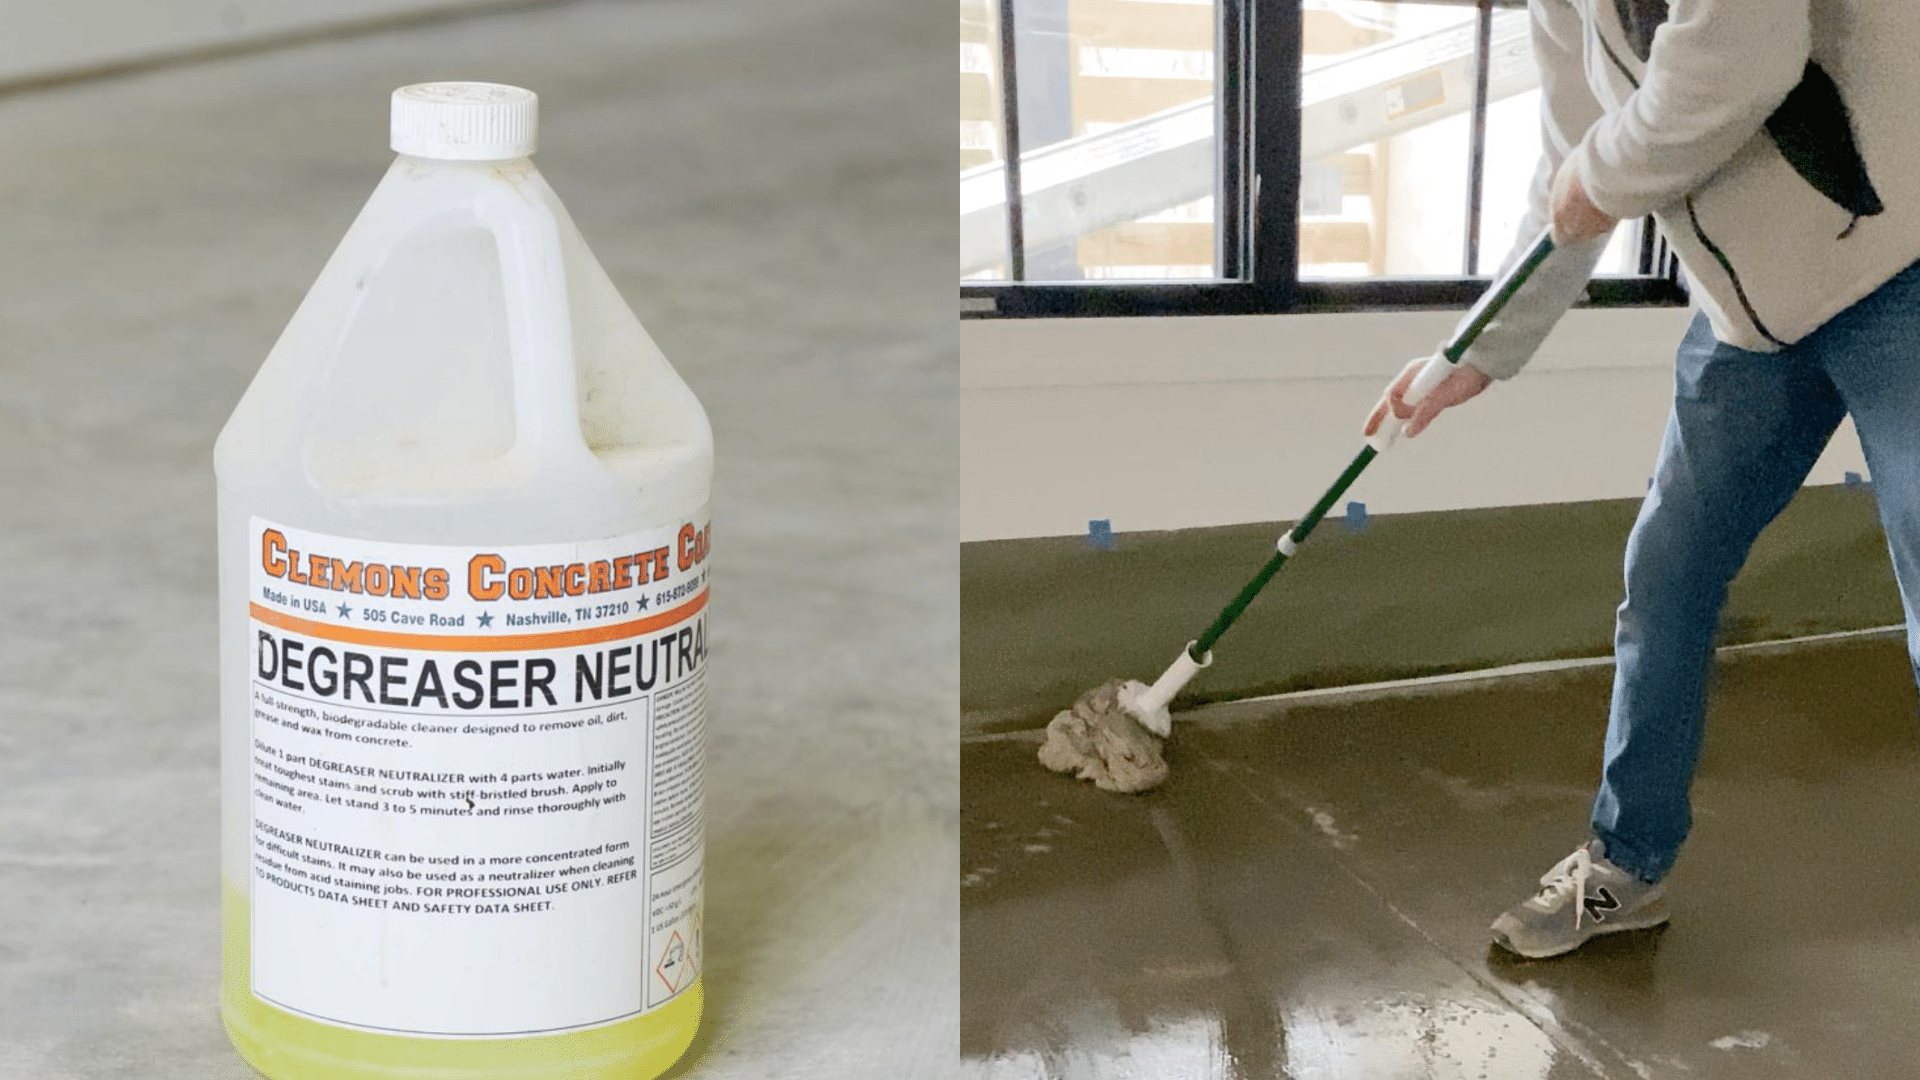
- After 24 hours, mop the floor with a degreaser neutralizer mixed with water (1:4 ratio).
- Rinse the entire floor several times with clean water to remove the acid residue and neutralize the surface.
Step 5 Applying the Sealer
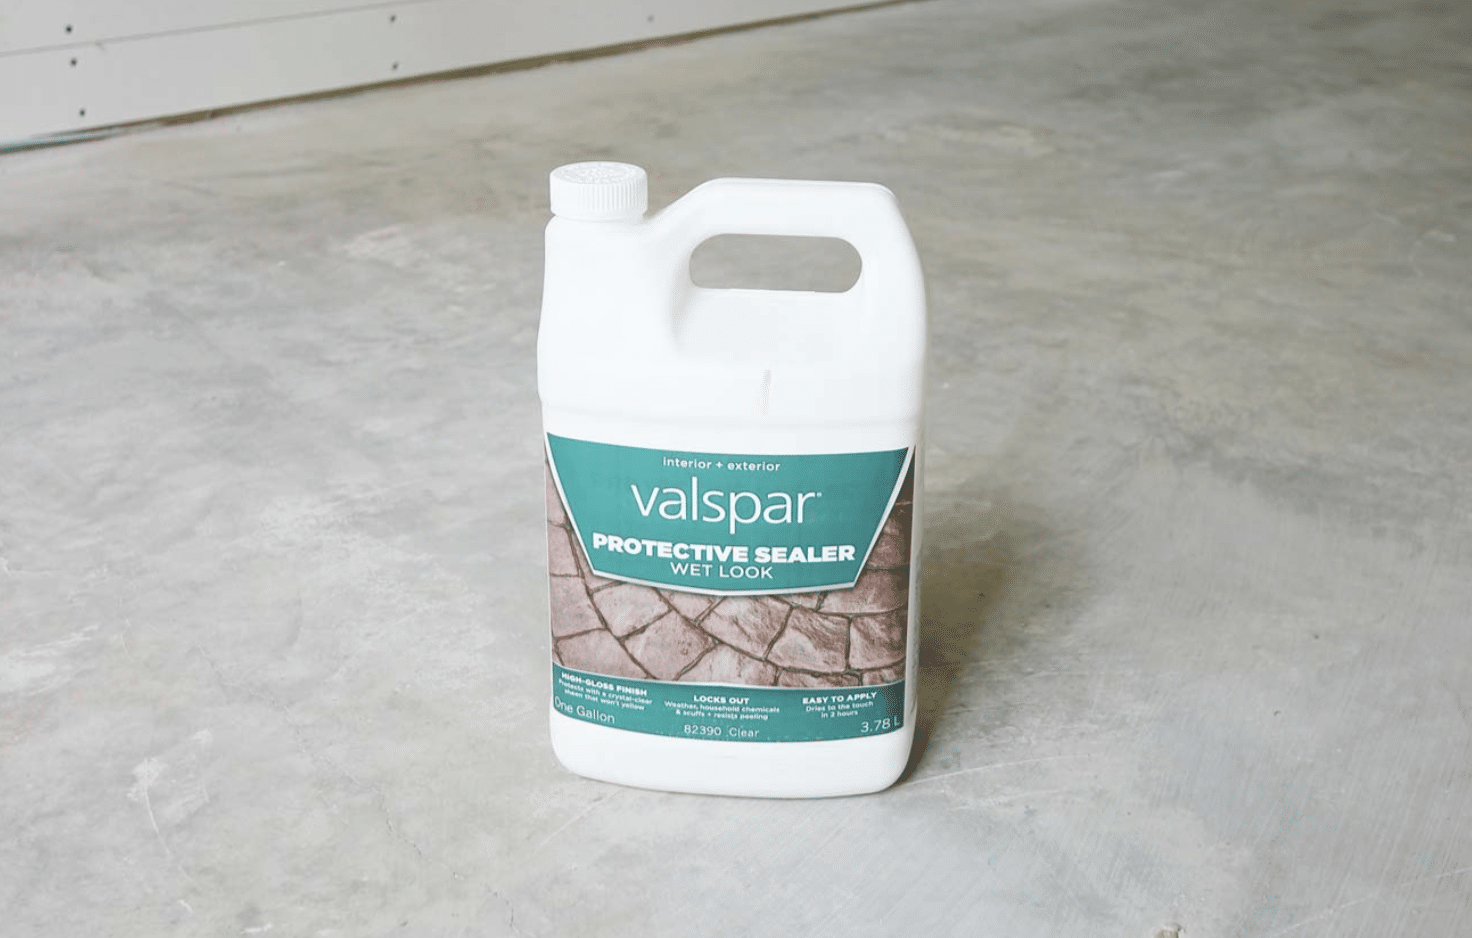
- Once the floor is dry, apply a thin coat of acrylic sealer using a paint roller.
- Repeat the process for a total of three coats, letting each one dry before applying the next.
Step 6 Admire the Final Look
- After sealing, allow the floor to fully dry and enjoy the completed look of your concrete floor.
- Appreciate the subtle color and durable finish that enhances your space.
Cost Breakdown: Acid Staining Your Concrete Floors
| Item | Estimated Cost (in USD) | Details |
|---|---|---|
| Concrete Cleaner | $10 – $20 | For cleaning and preparing the surface |
| Etching Solution | $15 – $30 | To open the concrete pores for stain absorption |
| Acid Stain | $50 – $100 per gallon | Covers approximately 200-400 sq ft per gallon |
| Neutralizer/Degreaser | $10 – $25 | To neutralize the acid stain post-application |
| Acrylic Sealer | $30 – $80 per gallon | Seals and protects the stained surface |
| Garden Sprayers (2) | $20 – $40 each | For applying water and acid stain |
| Mop and Bucket | $15 – $30 | For cleaning and applying etching/neutralizer |
| Brush | $5 – $15 | Used for scrubbing during etching |
| Paint Roller and Pole | $10 – $20 | For applying the sealer |
| Protective Gear (gloves, mask, goggles) | $10 – $30 | Safety equipment for handling chemicals |
Total Estimated Cost:
For a 200-400 sq ft area: $165 – $390
This is a general estimate. Actual costs can vary depending on the size of the area and the specific products chosen.
How to Maintaining Your Acid-Stained Concrete Floors
Regular Cleaning Requirements
- Clean spills promptly using a soft mop and pH-neutral solution to prevent staining. Sweep or vacuum twice a week to remove dirt and grit that could scratch the surface. For weekly mopping, use microfiber mops and avoid string mops, which leave residue.
- Avoid harsh products like bleach, ammonia, or vinegar, as these can damage the protective sealer.
Professional Care Tips
- Based on foot traffic and wear, reapply a fresh coat of sealer every 2-3 years. Schedule professional cleaning annually to remove buildup and restore the floor’s sheen.
- Check for sealer wear by seeing how water beads on the surface; if it absorbs quickly, resealing is necessary.
Prevention Measures
- Place mats at entrances to catch dirt and moisture, and add protective pads under furniture legs to avoid scratches. Use only recommended cleaning products to prevent the sealer from breaking down.
- Monitor high-traffic areas for wear and address any issues early.
What to Avoid
- Avoid dragging heavy objects and using abrasive cleaning tools like steel wool or rough brushes. Prevent standing water and avoid placing hot items directly on the floor without protection.
Safety Tips for Acid-Staining Concrete Floors
- Use Protective Gear: To prevent chemical contact with skin and eyes, wear chemical-resistant gloves, safety goggles, a respirator mask, and full-coverage clothing.
- Ensure Proper Ventilation: Work in open spaces with plenty of air circulation. Open windows and use fans while applying stain and sealer to prevent breathing in fumes.
- Avoid Skin Contact: Acid and etching solutions can be harmful to the skin, so handle them carefully and wash off any splashes immediately.
- Handle Sprayers with Care: Keep separate sprayers for acid stain and water. Label each clearly and never mix their uses to prevent accidents.
- Place Fire Safety Tools Nearby: Keep a fire extinguisher close while working since sealers can catch fire.
- Read Product Labels: Always follow manufacturer instructions for each product, paying close attention to safety guidelines.
Conclusion
I’ve shared all the steps needed to create beautiful concrete floors in your home.
From my experience, acid staining might seem complex at first, but with proper safety measures and careful attention to each step, you can achieve professional-looking results.
Remember my key tips: always test in a small area first, keep your safety gear on throughout the process, and take your time with each step. The results are worth the patience.
I’d love to hear about your acid staining plans or projects. What room are you thinking of starting with? If you’ve already tried this technique, what tips would you add?
Share your stories in the comments below, or ask me any questions about the process. Let’s learn from each other’s experiences!
Frequently Asked Questions
Is Acid Staining Expensive?
Acid staining costs $3-7 per square foot, less than hardwood ($8-15) or tile ($15-20). DIY projects cut costs by 40-60% compared to professional installation.
How Long Does the Acid Staining Process Take?
The process takes 3-4 days total: 1 day for cleaning, 4-6 hours for staining, 8 hours for drying, 1 day for neutralizing, and 1 day for sealing.
Can I Acid Stain Old or Indoor Concrete Floors?
Yes, both old and indoor concrete work well if the surface is clean and free from sealers, paint, or damage. Test a small area first.
What Colors Are Available?
Common colors include browns, tans, blues, and greens. The final shade depends on your concrete’s makeup. Light to medium browns show up most reliably.
What’s the Difference Between Acid Stains and Concrete Dyes?
Acid stains change concrete color through chemical reactions, creating permanent, varied tones. Dyes simply add color, offering more shade options but less depth.

