Top Laundry Room Makeover Ideas and Inspirations
Does your laundry room feel like a forgotten corner of your home? I get it. For years, I overlooked my own laundry space, treating it as just a functional area.
But here’s something most people don’t realize: the laundry room can be both useful and beautiful.
I’ve learned that small changes can turn this everyday workspace into a space you’ll actually want to spend time in.
I’m excited to share my favorite laundry room makeover ideas with you.
From smart storage solutions to budget-friendly updates, I’ll show you how to create a laundry room that works better and looks great.
These simple changes will make laundry day something you might even look forward to.
Planning Your Laundry Room Makeover
Before picking up that paint brush or buying new cabinets, I always tell my readers to take a step back. Let’s talk about making a solid plan for your laundry room update.
First, I suggest looking at how you use your space right now.
Take notes about what works and what doesn’t. I found that spending a week tracking my laundry habits helped me spot problems I hadn’t noticed before.
Here’s what I recommend checking:
- Your daily laundry routine
- Current storage needs
- The flow of movement in the room
- Available light sources
- Areas that bug you the most
Your budget matters too. I like setting aside 80% for must-have items and keeping 20% for unexpected costs. This split has saved me from many budget headaches.
Measurements are crucial. I learned this the hard way when I once bought a cabinet that was too big!
Measure your space twice, including:
- Wall dimensions
- Door clearance
- Window positions
- Plumbing locations
- Electrical outlet spots
Budget-Friendly Laundry Room Makeover Ideas
I love finding ways to make my laundry room look better without spending too much.
Let me share some simple ideas that won’t break your bank.
1. Wall Enhancements
Wall Colors and Paint
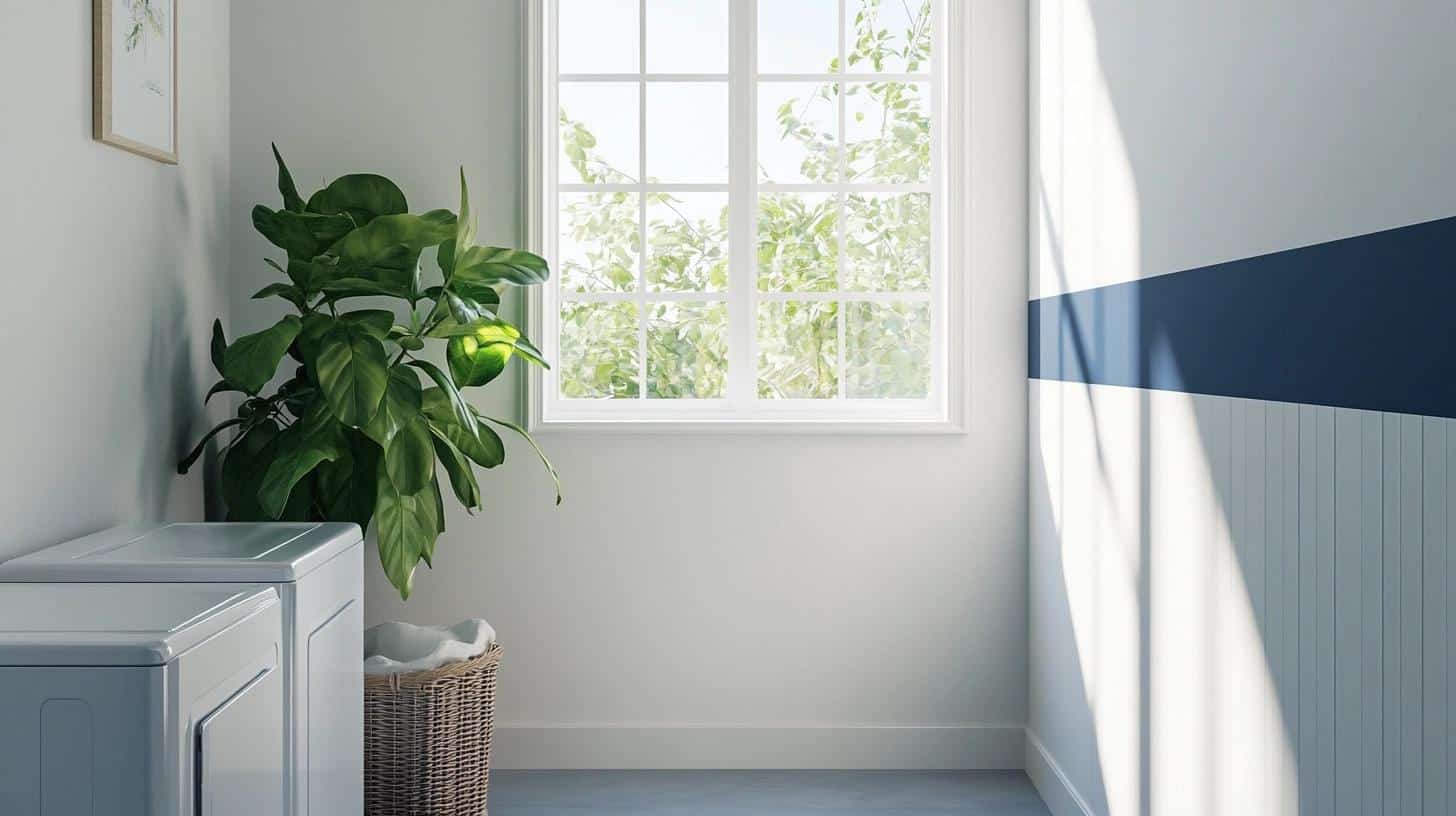
I’ve found that light colors work magic in small laundry rooms.
When I painted mine soft white, the room felt twice as big! You don’t need fancy paint – a basic light neutral shade works great.
Want to add some fun? Try this trick: I used leftover paint to create a simple stripe across one wall. It cost nothing extra but made a big difference.
You could also paint the bottom half of your wall in a different color for a modern look.
Stick-On Style
Here’s a secret I wish I knew earlier: peel-and-stick wallpaper is perfect for laundry rooms. I found mine online for just $45.
The best part? If you don’t like it, you can take it down without damaging your walls.
Easy Wall Updates
For those who rent or want flexibility, I recommend lightweight wall panels.
They’re simple to put up and remove later. I used faux shiplap panels in my space – they look like real wood but cost much less.
Money-Saving Tips:
- Check your local hardware store’s “oops paint” section
- Use leftover paint from other room projects
- Look for wallpaper sales online
- Start with one wall as a test
2. Floor Updates That Won’t Break The Bank
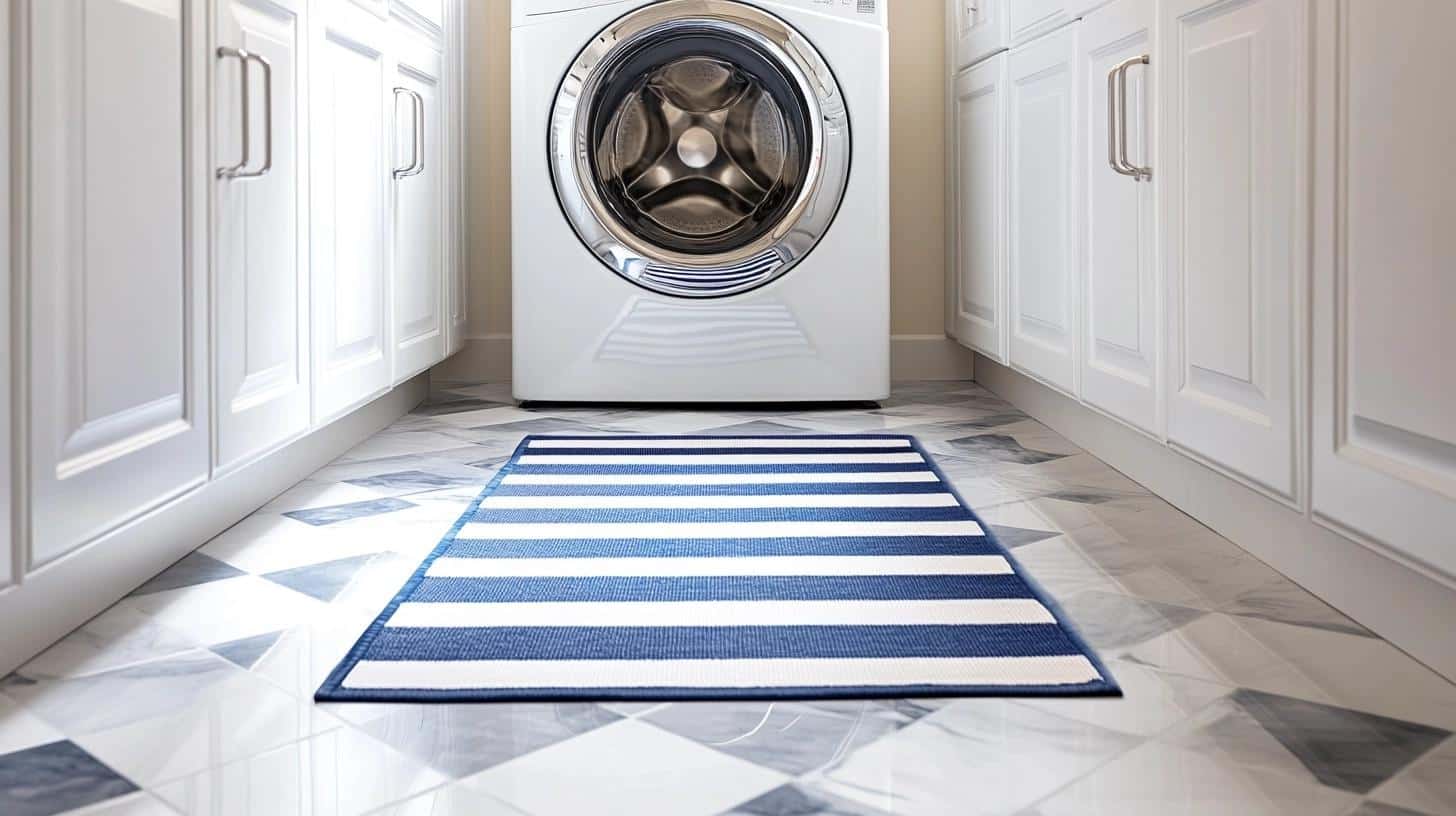
I understand how dated flooring can make a room feel old. When I updated my laundry room floor, I went with peel-and-stick vinyl tiles.
At just $1 per square foot, I covered my whole floor for under $100. The best part? I did it myself in one afternoon!
A tip from my experience: Large washable rugs make a huge difference. I picked up a colorful runner for $40, and it not only looks great but catches drips and lint.
Plus, I can toss it in the wash when needed.
3. Smart Lighting Makes Everything Better
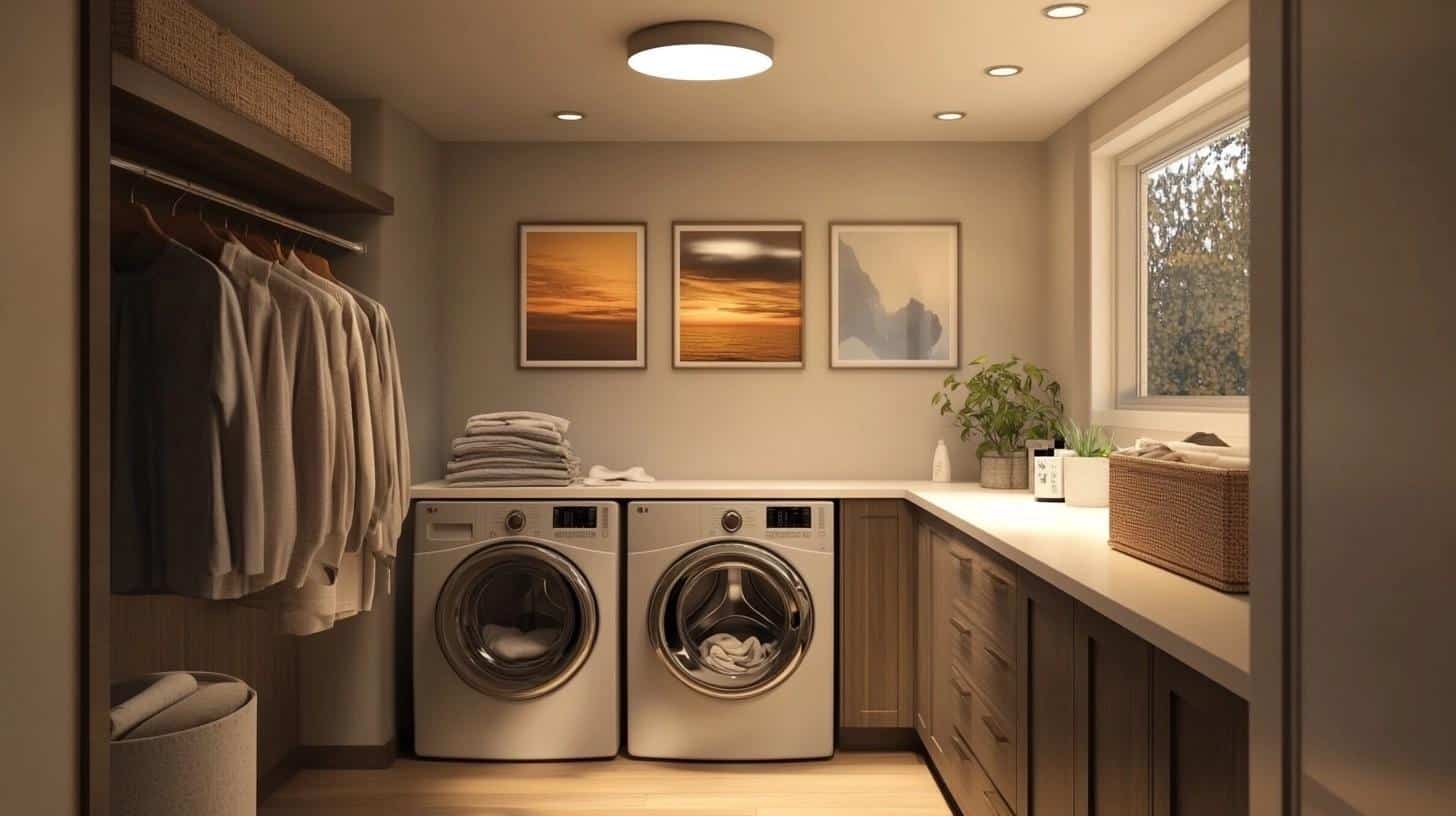
Bad lighting used to make me miss stains on clothes.
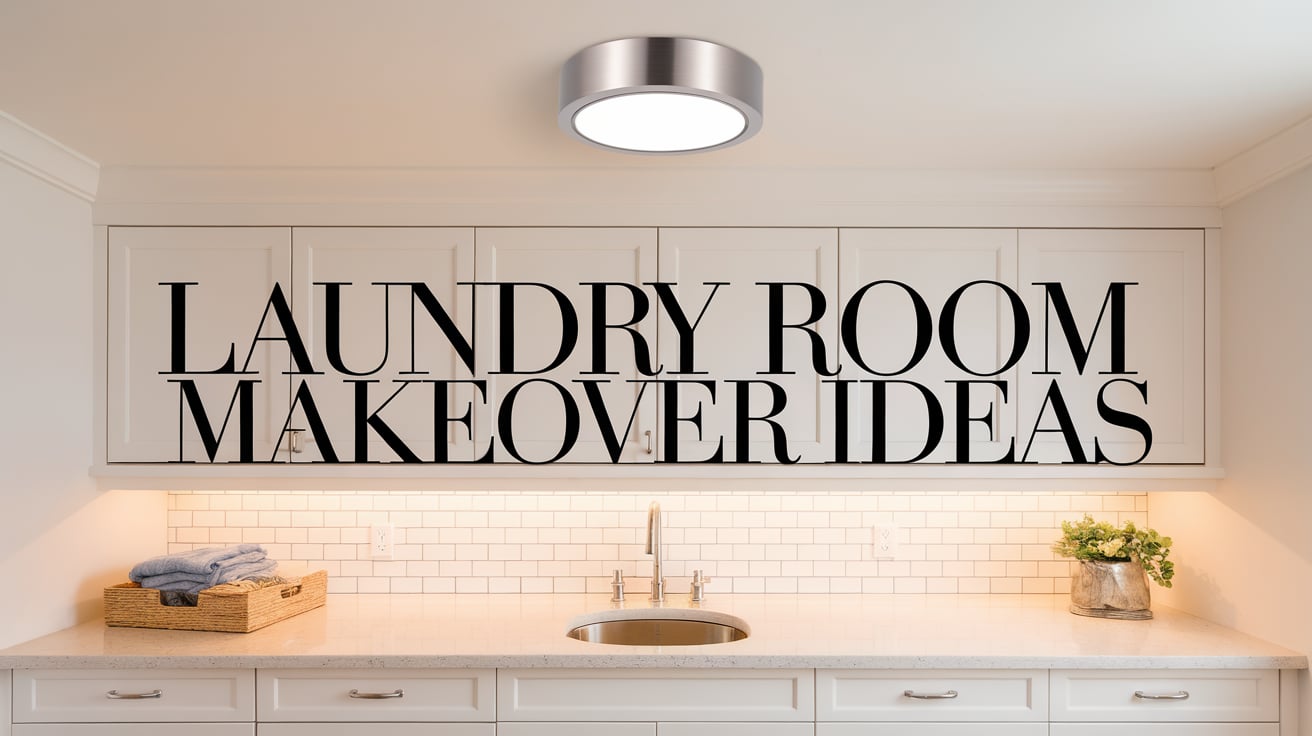
I fixed this by swapping my old light fixture for a new LED one. For less than $50, my room became much brighter, and my power bill went down too.
Here’s a neat trick I learned: stick-on LED lights under shelves. They cost about $25, run on batteries, and help me see inside cabinets clearly.
I put them above my folding area, and they’ve made sorting socks much easier!
Money-Smart Lighting Tips:
- Look for LED fixtures on sale
- Choose battery-operated lights to avoid electrical work
- Start with one upgrade at a time
- Check clearance sections for deals
4. Shelving Ideas
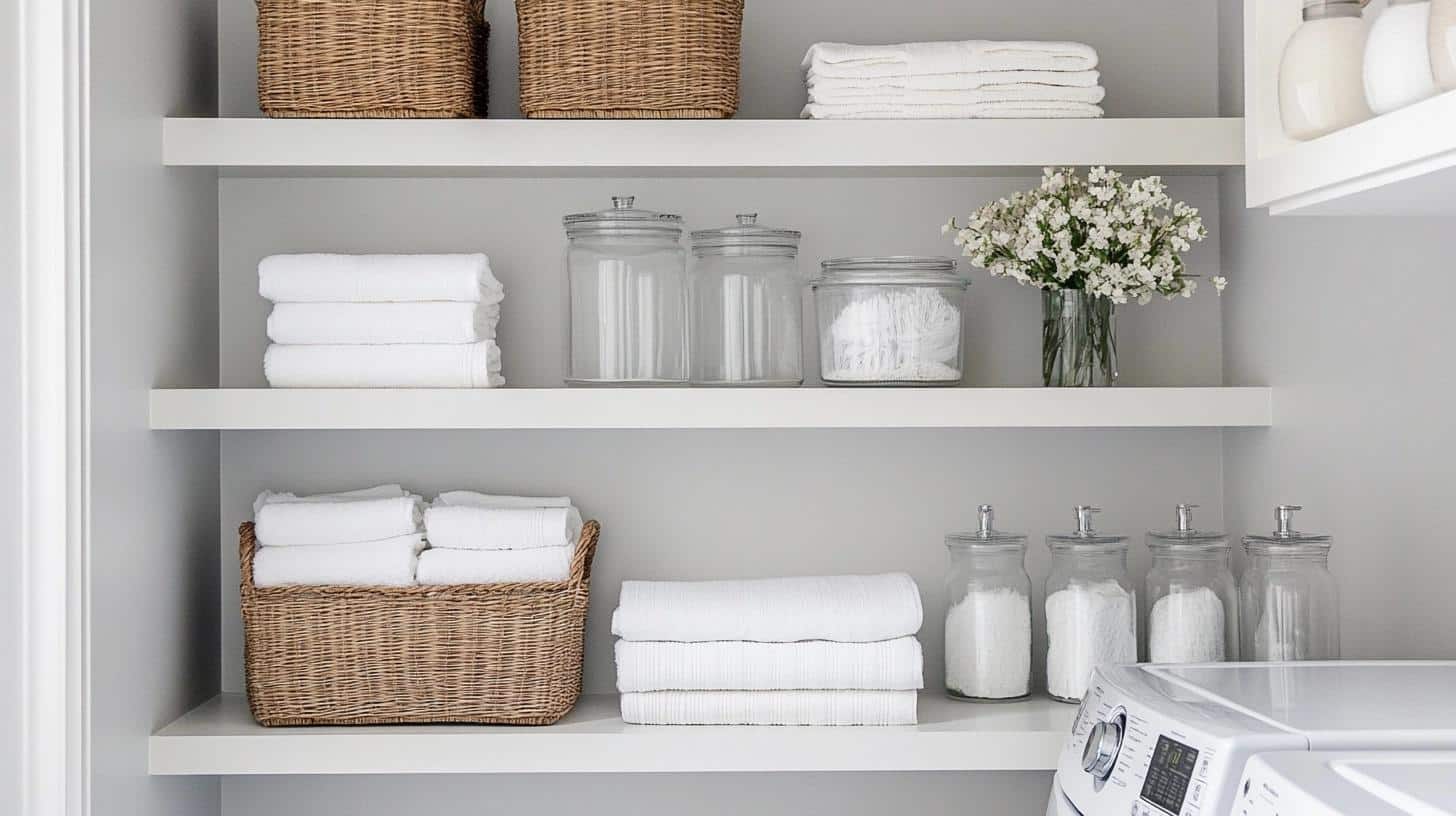
Installing Open Shelves
Open shelves changed my laundry room completely. I picked up basic wood planks and brackets from the hardware store.
Total cost? Just $40. The shelves hold my detergents, softeners, and folded linens. Now everything’s within easy reach, and the room feels more open.
DIY Floating Shelves
I turned scrap wood into floating shelves for those tricky narrow spaces.
With some sanding and paint, they look store-bought! These slim shelves fit perfectly between my washer and wall, holding small items like stain removers and dryer sheets.
5. Cabinet Updates That Work
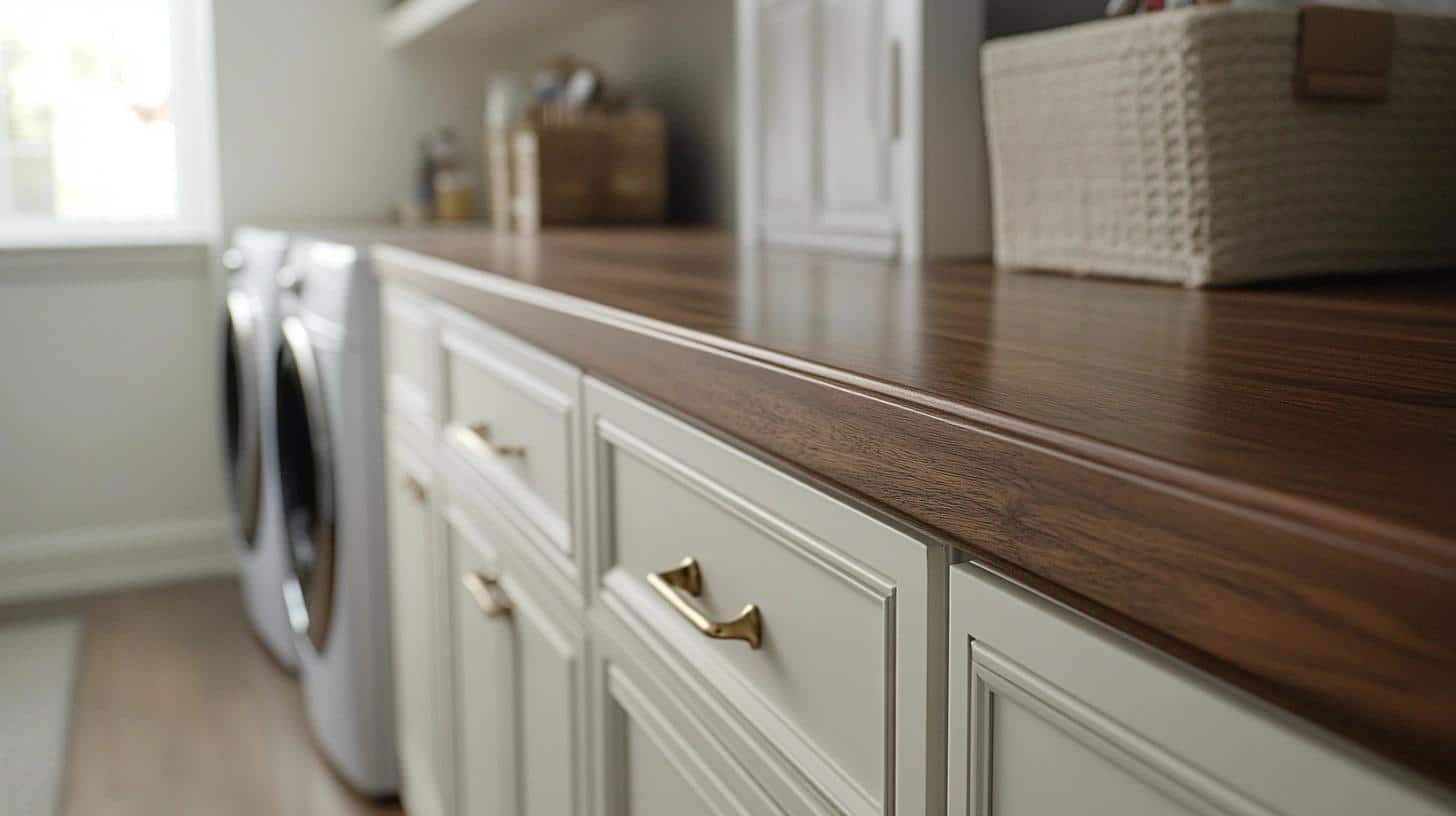
My old cabinets looked tired, but I didn’t want new ones.
Instead, I sanded and painted them white. With new handles from the dollar store, they look brand new! Total cost: less than $60.
Modular Storage Units
I added cube organizers near my folding area. They’re easy to build and perfect for sorting laundry supplies. Each cube holds different items – one for cleaning sprays, another for spare towels.
Plus, I can rearrange them whenever I want.
6. Appliance Integration
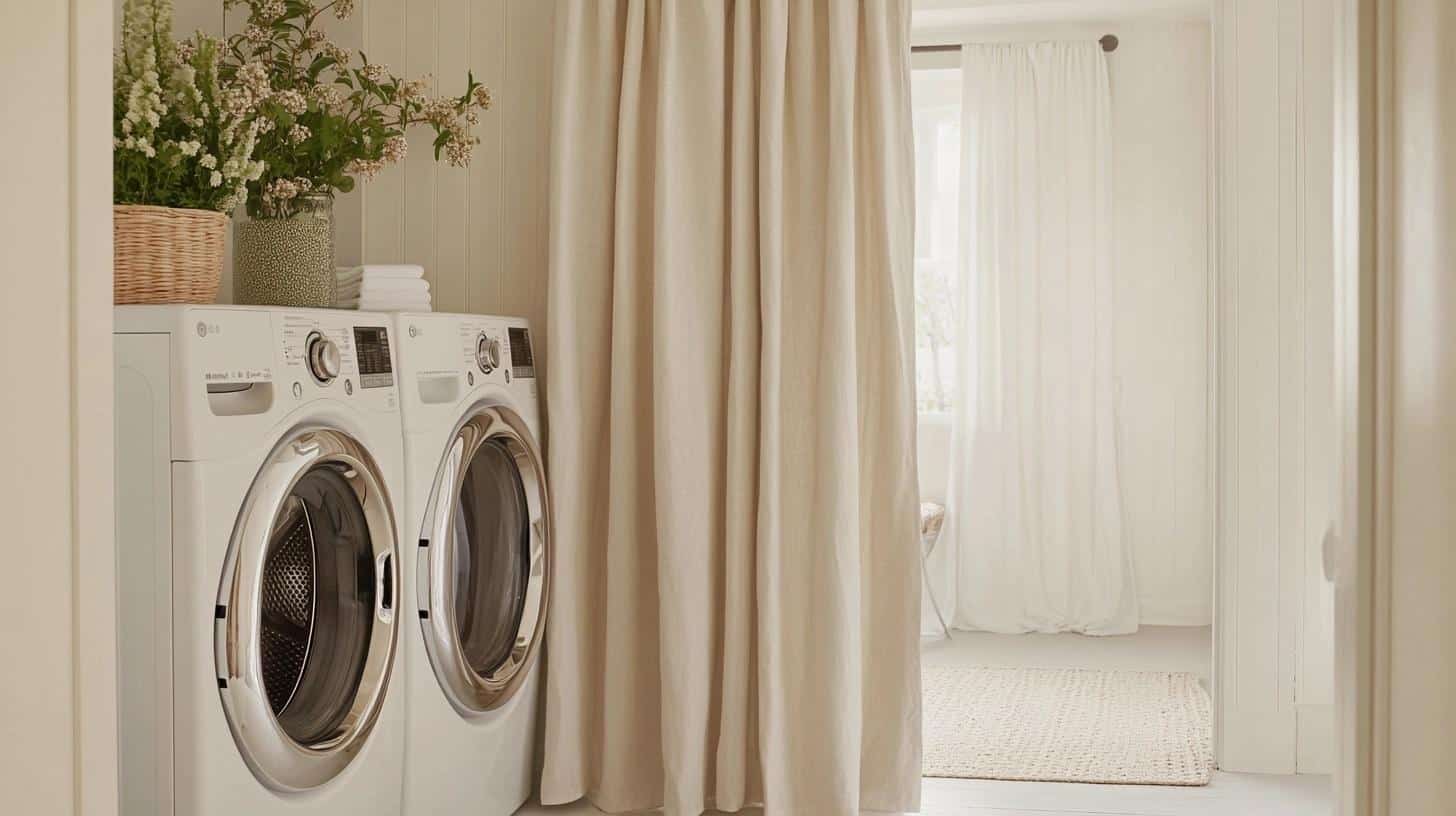
Arranging Appliances
I learned that smart placement makes a big difference. When I got my front-loading machines, I used a stacking kit to save floor space.If you prefer side-by-side placement, leave a 6-inch gap between machines.
Hiding Appliances
Not a fan of seeing machines? I fixed this with a $15 tension rod and pretty fabric. It creates a clean look in seconds.
Another option I love: a sliding door on a basic track. My friend did this for under $100, and it looks like a custom job.
Adding Counter Space
Here’s my favorite trick: I put a sealed wood plank over my front-loading machines. It cost $40 and gives me the perfect spot to fold clothes.
Quick Tips for Appliance Setup:
- Check machine measurements twice
- Leave space for hoses and cords
- Test door swings before finalizing placement
- Consider ventilation needs
- Add bumpers to protect walls
Expert Tips and Advice on Laundry Room Makeovers
What Design Experts Tell Me:
- Stick to light colors in small spaces
- Mix closed and open storage for balance
- Add a small plant or artwork to make the space feel loved
- Keep counter surfaces 90% clear for working space
Organization That Works: I learned from professional organizers that sorting zones matter. Keep supplies at eye level, dirty laundry below, and extra items up high.
They suggest leaving 15 minutes each week for quick cleanup.
Keeping Things Fresh:
- Wipe surfaces daily to prevent dust buildup
- Check and clean lint filters before each use
- Keep a small brush handy for spot cleaning
- Air out the room for 10 minutes each day
- Clean machine seals monthly to prevent mold
Summing It Up
Your laundry room doesn’t need a huge budget to become a space you’ll enjoy. I’ve shared these tips because I believe small changes can make a big difference in how we feel about daily tasks.
Remember, start with a solid plan, focus on one update at a time, and choose improvements that match your needs.
Whether it’s adding simple open shelves, using clever storage solutions, or brightening up the walls, each change helps create a more functional space.
Ready to start your laundry room update? Begin with one small project this weekend.
Maybe try those peel-and-stick tiles or organize supplies in clear bins. Sometimes, the simplest changes bring the biggest smiles to our everyday routines. If you’re looking for inspiration for a stylish and functional laundry space, check out laundry Sydney for local ideas and trends.
Want to share your makeover results? Leave a comment below!

