The Ultimate Guide to Nailers: Pin vs. Finish
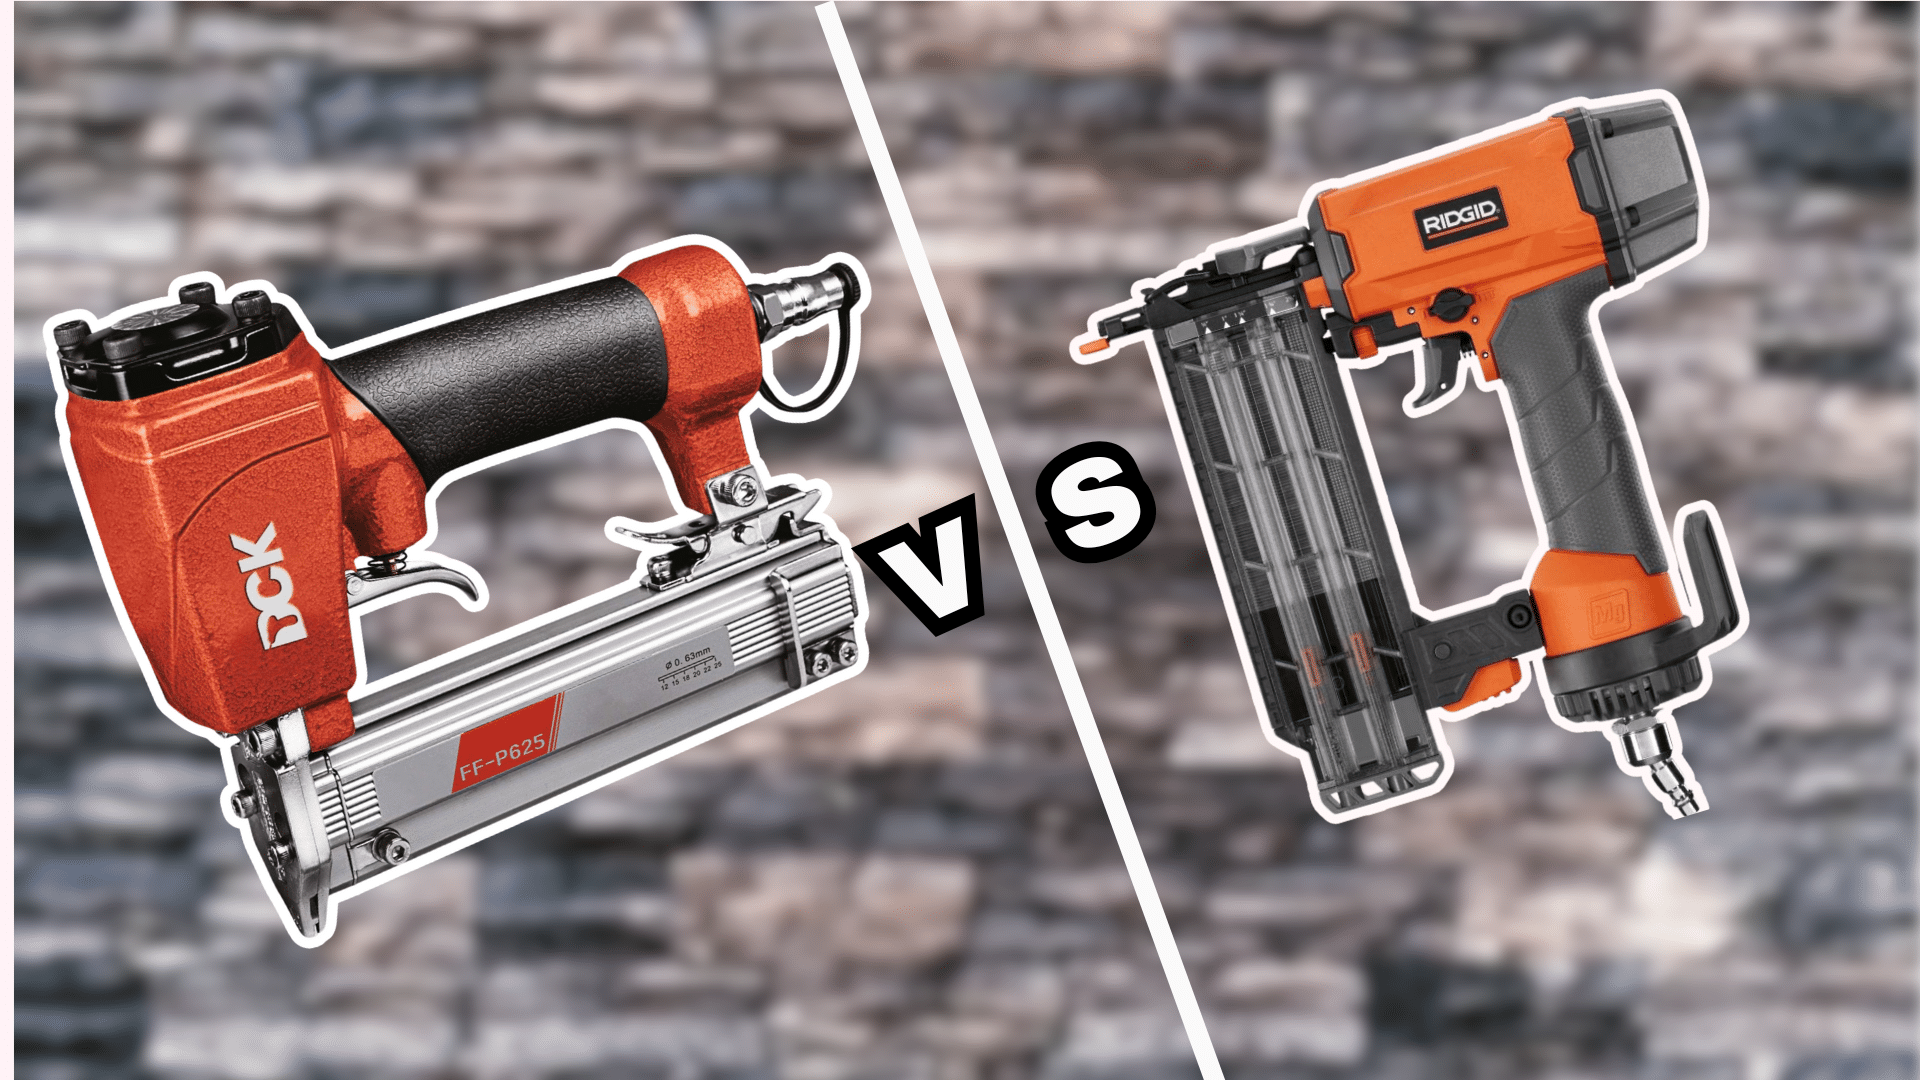
Picking the right nailer can make or break your woodworking project. The choice between a pin nailer vs finish nailer often confuses both new and skilled workers. These tools might look similar, but they serve different needs.
Think of pin nailers as fine-point pens – perfect for small, precise work. They use the thinnest nails and leave tiny marks. Finish nailers, like broader markers, handle bigger jobs and hold stronger.
This guide will help you understand which nailer fits your needs. We’ll look at what each tool does best, compare their strengths, and share real tips for different projects. By the end, you’ll know exactly which nailer to pick for your next project.
Let’s start by looking at these tools up close and seeing what makes each one special.
Getting to Know the Pin Nailer

When comparing a pin nailer vs finish nailer, let’s start with understanding pin nailers. These handy tools play a key role in woodworking and home projects.
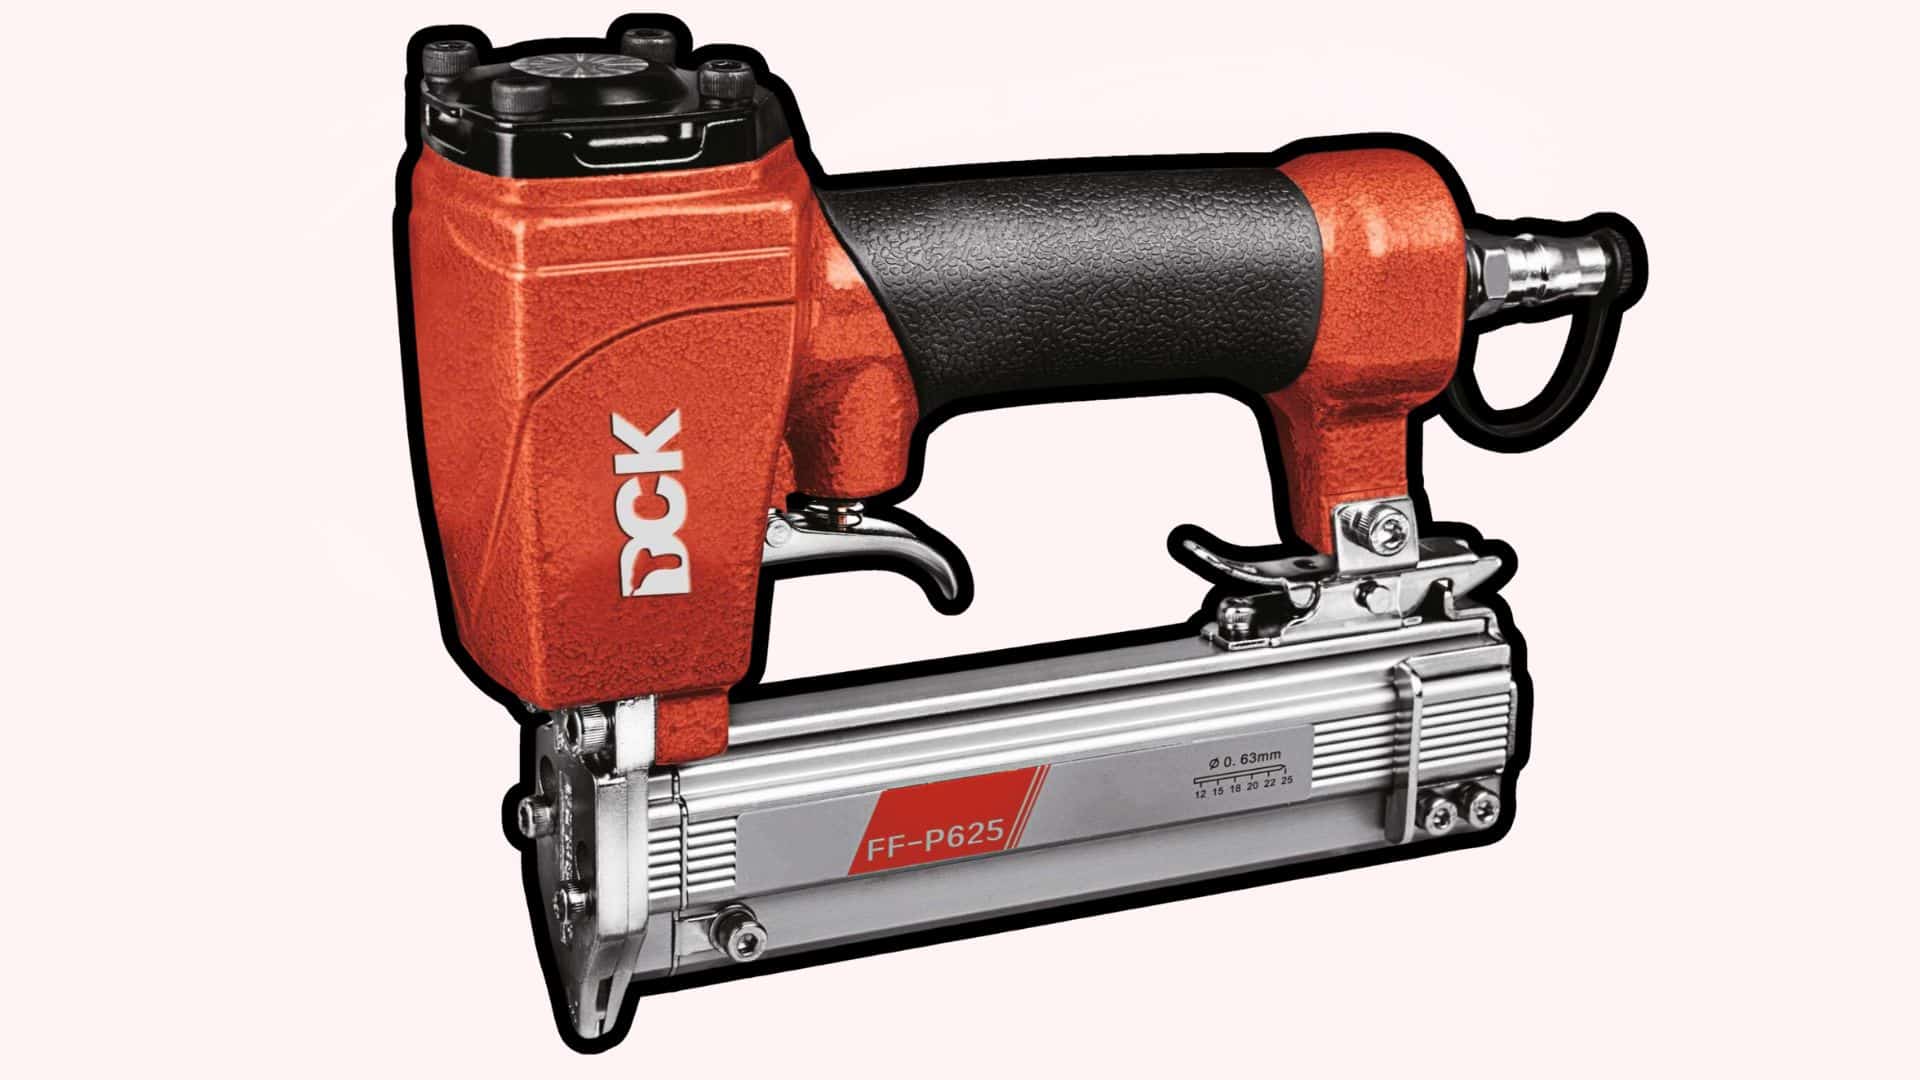
A pin nailer is a small nail gun that uses 23-gauge pins – the thinnest nails available for woodworking. These pins are as thin as sewing needles, making them perfect for detail work. The pins range from 1/2 inch to 2 inches in length, offering options for various project needs.
Optimal Uses for a Pin Nailer
Pin nailers work best in specific situations:
Small trim pieces: They excel at attaching tiny moldings and decorative elements. Delicate woodworking: Perfect for fixing small pieces without splitting the wood. Temporary holding: They can hold parts together while glue dries. Cabinet assembly: Ideal for attaching cabinet trim and inner components.
Benefits of Using a Pin Nailer
The advantages of choosing a pin nailer vs finish nailer include:
- Nearly invisible holes: The tiny pins leave marks so small you barely need wood filler.
- No wood splitting: The thin pins reduce the risk of damage to your materials.
- Strong grip: Despite their small size, these pins hold well when used with wood glue.
- Clean finish: The small entry points mean less touch-up work after installation.
- Easy handling: The lighter weight makes these tools comfortable for long projects.
Exploring the Brad Nailer

In the pin nailer vs finish nailer comparison, brad nailers sit between the two in terms of size and function. Let’s look at what makes these tools valuable for your projects.
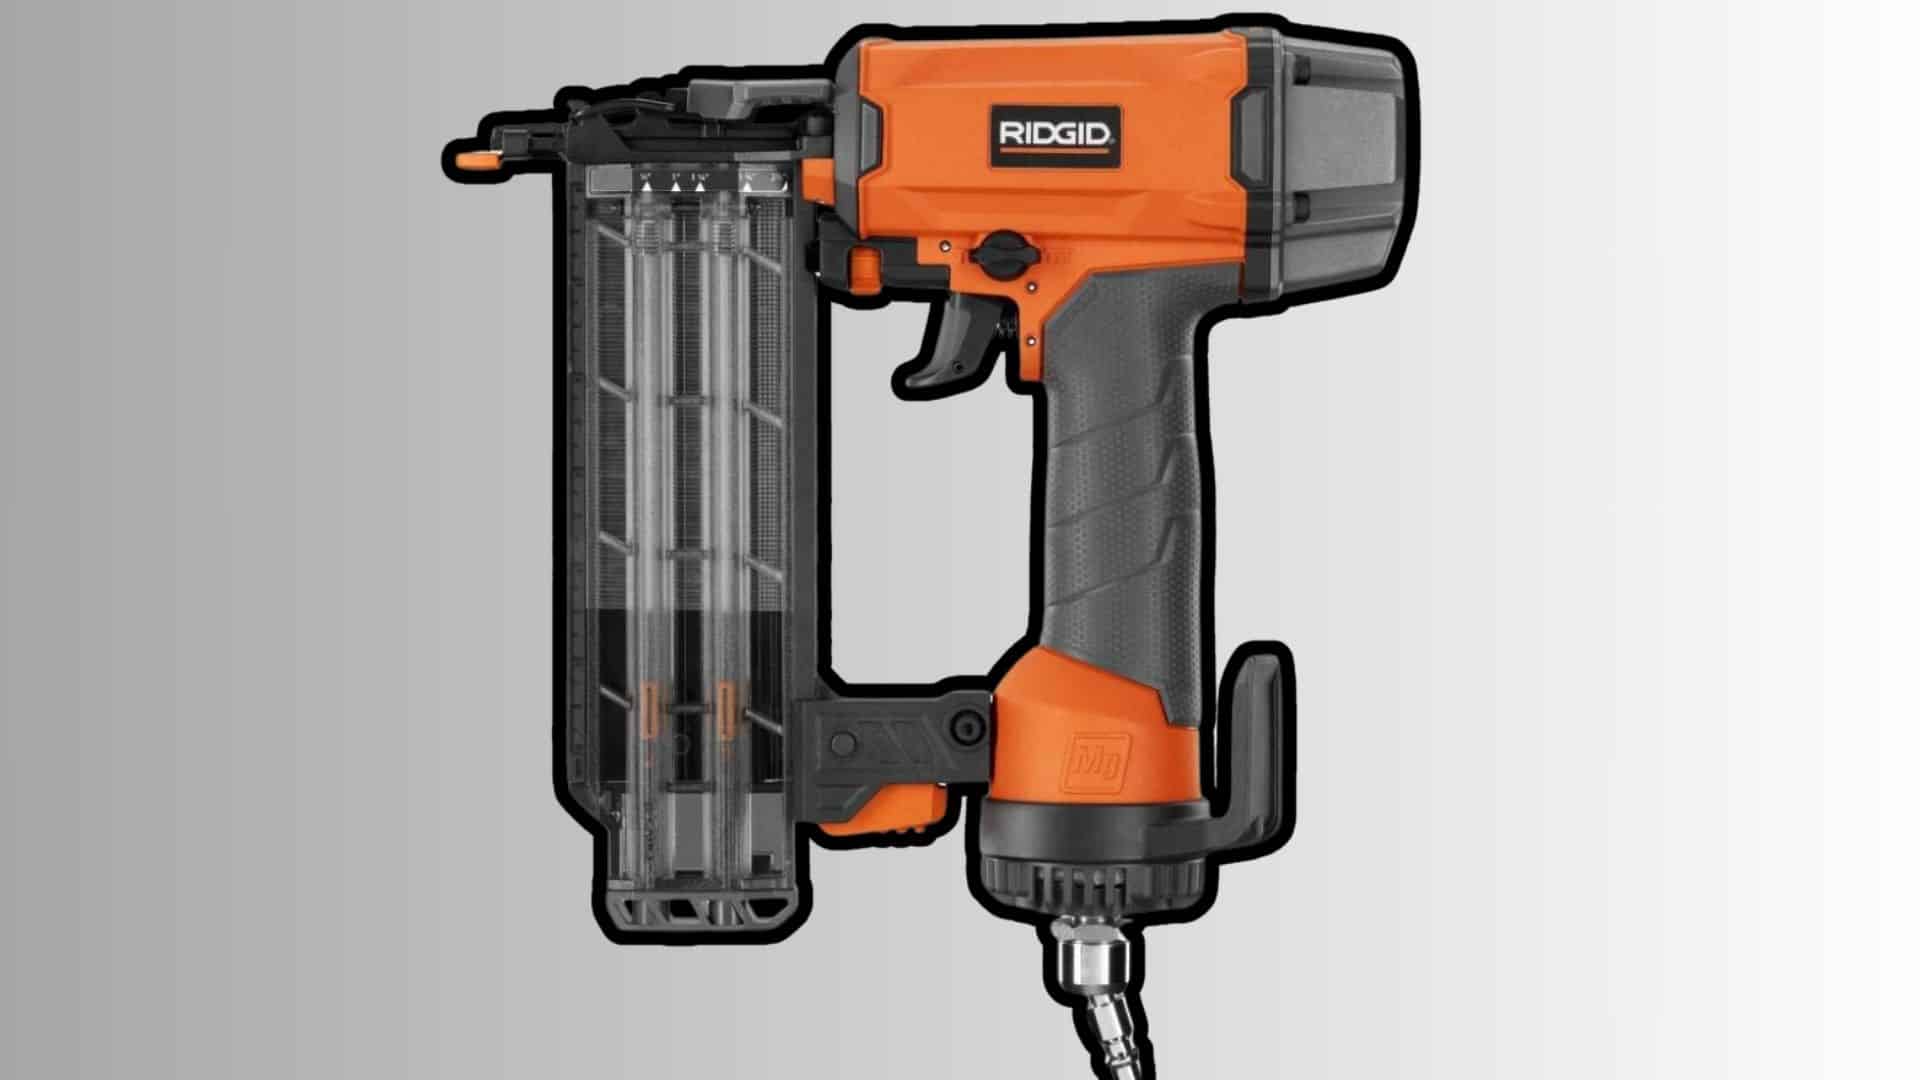
A brad nailer uses 18-gauge nails, which are thicker than pins but thinner than finish nails. These tools shoot brads ranging from 5/8 inch to 2 inches long. The nail size offers good holding power while leaving relatively small holes in your wood.
Ideal Projects for a Brad Nailer
Brad nailers shine in many common projects:
- Window trim: They secure trim pieces firmly without visible damage.
- Door casings: Perfect for installing frames around doors.
- Light paneling: They hold panels securely without coming through the other side.
- Baseboards: Good for lighter baseboards and quarter-round molding.
- Small furniture: Works well for assembling wooden boxes and small furniture pieces.
Advantages of Brad Nailers
When choosing between a pin nailer vs finish nailer, brad nailers offer unique benefits:
- Middle-ground strength: Stronger than pin nailers but gentler than finish nailers.
- Small hole size: The holes need minimal filling compared to larger nail guns.
- Good wood grip: Brads hold better than pins in slightly thicker materials.
- Less splitting: The thin gauge reduces the chance of wood damage.
- Simple repairs: If needed, brads can be removed without major wood damage.
Pin Nailer vs. Brad Nailer: A Detailed Comparison
| Feature | Pin Nailer | Brad Nailer |
|---|---|---|
| Technical Specs | Uses 23-gauge pins Typically headless Lengths ranging from 3/8″ to 2″ |
Uses 18-gauge nails Small heads Lengths ranging from 5/8″ to 2″ |
| Project Suitability | Ideal for delicate trim pieces, small moldings, and fine woodworking without splitting the material Best for temporary holding before gluing |
Suited for slightly heavier trim work, cabinetry, and baseboards where more holding strength is needed without significant damage to wood |
| Handling and Performance | Extremely light and easy to maneuver Virtually invisible nail entry makes it perfect for finishing work |
Slightly bulkier than pin nailers but offers more control and strength Minimal hole visibility requires less putty work after nailing |
| Cost | Generally less expensive due to simpler design and lower demand | More expensive than pin nailers, reflecting greater versatility and demand |
| Durability and Maintenance | Requires minimal maintenance; less robust than brad nailers due to lighter construction | Built to handle more rigorous use; requires regular maintenance to keep performance optimal |
| Material Compatibility | Best used on lighter, more delicate materials that could split with larger nails | Capable of securely fastening thicker and denser materials without significant damage |
| Availability of Consumables | Pins are less commonly available and might come in fewer size options | Nails are widely available in various sizes and finishes to match project needs |
How Pin and Brad Nailers Stack Up Against Other Nailers
| Feature | Pin Nailer | Brad Nailer | Finish Nailer | Framing Nailer |
|---|---|---|---|---|
| Nail Gauge | 23-gauge | 18-gauge | 15 to 16-gauge | 14 to 12-gauge |
| Nail Length | 1/2″ to 2″ | 5/8″ to 2″ | 1″ to 2.5″ | 2″ to 3.5″ |
| Hole Size | Tiny | Small | Medium | Large |
| Holding Power | Minimal | Moderate | Strong | Very Strong |
| Weight | Very Light (2-3 lbs) | Light (3-4 lbs) | Medium (4-5 lbs) | Heavy (7-10 lbs) |
| Main Use | Decorative | Trim | Large Trim | Construction |
| Price Range | $70-$200 | $80-$250 | $100-$300 | $200-$400 |
| Air Pressure Needed | 60-70 PSI | 70-90 PSI | 70-100 PSI | 100-120 PSI |
| Magazine Capacity | 100-200 pins | 100 brads | 100-120 nails | 60-80 nails |
| Skill Level Needed | Beginner | Beginner | Intermediate | Advanced |
| Wood Type Suitability | Softwood, MDF | All wood types | All wood types | Construction lumber |
| Maintenance Level | Low | Low | Medium | High |
| Glue Required | Usually | Sometimes | Rarely | Never |
| Safety Features | Less recoil, safer | Moderate safety | Medium recoil | High recoil |
| Power Source Options | Electric, Pneumatic | Electric, Pneumatic | Mainly Pneumatic | Mainly Pneumatic |
| Indoor/Outdoor Use | Indoor | Both | Both | Mainly Outdoor |
| Typical Warranty | 1-3 years | 1-3 years | 3-5 years | 5-7 years |
| Portability | Very High | High | Medium | Low |
| Replacement Parts Cost | Low | Low | Medium | High |
Choosing the Perfect Nailer for Your Needs
Assess Your Project Requirements
The first step in choosing between a pin nailer and a finish nailer is understanding your project needs. Light materials like thin trim work best with pin nailers. Medium-weight tasks such as baseboards need brad nailers. Heavy materials call for finish nailers.
Size matters in your choice too. Pin nailers handle tiny pieces under half an inch thick. Brad nailers work well with pieces up to one inch. Finish nailers take care of anything larger.
The holding strength you need affects your choice. Pin nailers offer light hold and often need glue support. Brad nailers provide medium grip for most home projects. Finish nailers give the strongest hold for heavy pieces.
Material Types and Their Impacts
Wood type plays a big role in nailer selection. Softwoods like pine accept any nailer well. Cedar needs gentle treatment with pin or brad nailers. Hardwoods such as oak need stronger brad or finish nailers.
Each manufactured material has its own needs. MDF works with both pin and brad nailers. Plywood responds best to brad nailers. Veneer requires the gentle touch of a pin nailer.
Aesthetic Considerations in Nailing
The visible parts of your project influence your nailer choice. Front-facing areas look best with pin nailers. Base moldings can handle brad nailer marks. Hidden spots work with any nailer type.
Filling needs vary by nailer type. Pin nailers leave tiny holes that rarely need filling. Brad nailers make small holes that need light filling. Finish nailers create larger holes requiring more attention.
Balancing Quality with Budget
Your budget shapes your options. Basic models start around $70 and work well for simple projects. Mid-range tools cost $150-$250 and offer more features. Professional models run over $250 but last longer.
Each price point offers different benefits. Entry-level tools suit occasional use. Mid-range models add helpful features. Professional tools provide the best precision and durability.
Usage Frequency: Hobbyist vs. Professional
Your choice is affected by your usage patterns. Weekend warriors can use basic models. Monthly users need mid-range reliability. Daily users should invest in professional tools.
Time spent using the tool matters too. Short projects work fine with simple tools. Regular use needs better quality. Professional work demands top-tier tools.
Conclusion
Choosing between a pin nailer and finish nailer comes down to your specific needs. Pin nailers shine in detailed work, leaving minimal marks and treating delicate wood with care. Finish nailers bring strength to bigger projects, securing heavy pieces firmly in place.
Each tool carries its own value. The tiny holes from pin nailers keep your work looking clean. The solid grip of finish nailers ensures your pieces stay put. Brad nailers offer a middle ground when you need both features.
Your choice depends on your work. Small decorative pieces? Pick a pin nailer. Large trim work? Go for a finish nailer. Regular home projects? Consider both.
Remember: the best nailer is the one that matches your project’s demands.


