The Ultimate Guide to DIY Pantry Shelves
Kitchen storage is a constant headache. I know the feeling of opening cabinets to find spices hidden behind cans or reaching for flour, only to knock over three other containers.
My pantry used to be a mess until I found a better way.
Building your pantry shelves isn’t just about saving money – it’s about creating storage that fits your needs.
You can make strong, good-looking shelves that work perfectly for your space with basic tools and materials.
In this guide, I’ll show you step-by-step instructions to build pantry shelves, share material choices that last, and give you smart tips to organize everything just right.
Benefits of Installing DIY Pantry Shelves
1. Cost-Effective Solution
When I built my pantry shelves, I spent about half the cost of store-bought units. You’ll only pay for raw materials like wood and brackets, which typically cost between $50 and $150, depending on your pantry size.
Plus, I have money left over for storage containers and organizing tools.
2. Perfect Fit for Your Space
I’ve learned that every kitchen has its quirks. Custom-built shelves let you use every inch of space. You can adjust the height, width, and depth to match your storage needs and room layout.
Those awkward corners and tight spots become useful storage areas.
3. Improved Organization
Custom shelves mean better space planning. I can sort items by category, put frequently used items at eye level, and create specific spots for tall items like cereal boxes or small spaces for spice jars.
Since everything has its place, my morning routine is faster.
4. Better Quality Control
By choosing my materials, I ensure the shelves are strong enough for heavy items. Unlike some flimsy store options that might bend or break, I pick sturdy wood and proper supports.
My shelves can hold heavy appliances and bulk items without sagging.
5. Personal Satisfaction
There’s something special about using shelves you built yourself. Whenever I open my pantry, I feel good knowing I created this practical solution with my hands.
After seeing mine, friends often ask me to help them build their pantry shelves.
What Materials Are Best for DIY Pantry Shelves?
| Material | Pros | Cons | Best Uses |
|---|---|---|---|
| Plywood | – Affordable and readily available | – Can warp if exposed to moisture | – Strong shelves for most pantries |
| – Easy to cut and customize | – May require edge banding for a polished look | – Ideal for budget projects | |
| – Available in various grades and thicknesses | |||
| MDF (Medium Density Fiberboard) | – Smooth surface, great for painting | – Not moisture-resistant; can swell if wet | – Painted shelves for dry pantries |
| – Inexpensive and easy to work with | – Heavier than plywood and requires sturdy support | – Decorative storage | |
| Solid Wood (e.g., Pine, Oak) | – Sturdy and durable | – More expensive than plywood and MDF | – Heavy-duty storage |
| – Visually appealing, can be stained or painted | – Susceptible to warping and cracking over time | – Adds natural warmth to pantry | |
| Melamine-coated Particleboard | – Smooth, scratch-resistant surface | – Heavy; may require special brackets for support | – Clean, modern look |
| – Moisture-resistant coating makes it easy to clean | – Edges may chip or peel over time | – Low-maintenance shelving | |
| Metal (e.g., Stainless Steel) | – Highly durable and strong | – Expensive and challenging to cut/customize | – High-capacity storage |
| – Moisture and rust-resistant | – Industrial look might not suit all interiors | – Suitable for humid areas | |
| Wire Shelving | – Lightweight and good ventilation for items | – Limited weight capacity; not ideal for small items | – Pantry with air circulation needs |
| – Easy to clean and moisture-resistant | – Can be noisy when items are placed on it | – Storing cans or larger items | |
| Plastic Shelving | – Lightweight and moisture-resistant | – Lower weight capacity than wood or metal | – Quick, temporary setups |
| – Often modular; easy to assemble | – Limited aesthetic appeal | – Damp areas or rental spaces |
Preparing Your Pantry
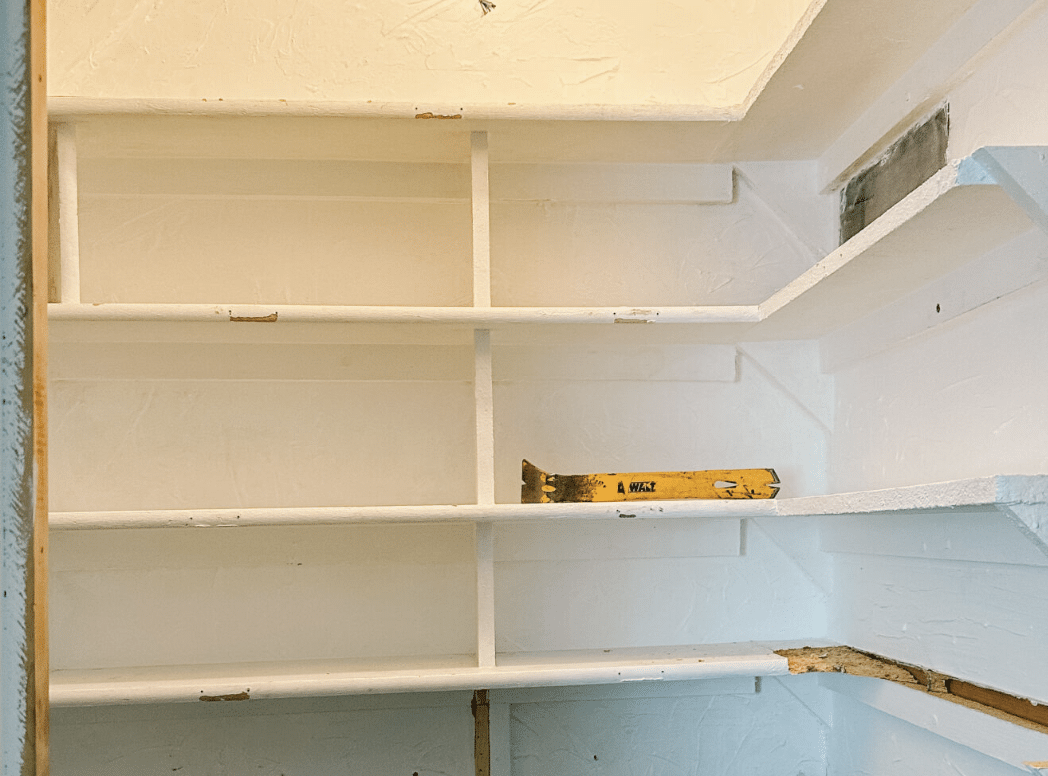
Removing Old Shelving
Steps to safely remove existing shelves:
- I always start by taking everything off the shelves and clearing the area
- Remove shelf brackets with a power drill or screwdriver
- Pull anchors out with pliers – if they resist, I use a putty knife to loosen them
- For wire racks, look for clips or brackets at mounting points
- Keep track of all hardware – some pieces might be useful later
Wall repairs:
- Fill holes with spackling compound using a small putty knife
- Let dry for 4-6 hours (I check package instructions)
- Sand smooth with 150-grit sandpaper
- Wipe walls with a damp cloth to remove dust
Prepping the Space
Cleaning steps:
- Vacuum corners and edges thoroughly
- Wash walls with warm, soapy water
- Let dry completely – I usually wait 24 hours
- Check for mold or moisture issues – fix these before moving forward
Painting and finishing:
- Apply primer to patched areas
- Paint entire area for a fresh look
- Consider semi-gloss paint – it’s easier to clean
- Let paint dry between coats – usually 4 hours
- Add new baseboards if needed – measure twice, cut once
Supplies Needed For Building DIY Pantry Shelves
| Tools | Materials |
|---|---|
| Pencil & Level | 2×6 Lumber |
| Tape Measure | 2×10 Lumber |
| Miter Saw | Tongue-and-Groove Bead Board |
| Drill (with Counter-Sink Bits) | Wood Corbels (small & large) |
| Screwdriver | Fluted Casing |
| Sandpaper | Screws |
| Caulking Gun | Wood Filler |
| Paintbrushes/Rollers | Caulk |
| Spade Drill Bit (1/2″) | Frosted Sage Paint |
| Iron (for hemming curtain) | Curtain Fabric (e.g., Vintage Cake) |
| Sewing Machine (optional) | Curtain Rod and Rings |
| Pleat Tape | Shaker Pegs (for peg rail) |
| Wood Glue |
Step-by-Step Guide to Creating DIY Pantry Shelves
Step 1: Prepare the Wall and Frame
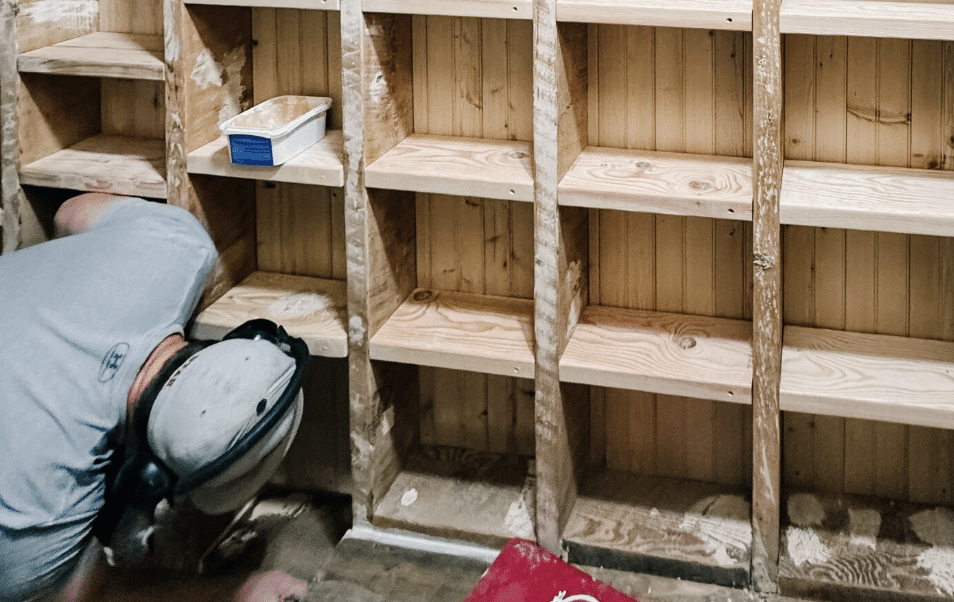
- Begin by removing the drywall to expose the studs.
- Use a pencil and level to mark where each shelf will go, ensuring they’re evenly spaced.
- Measure the distance between studs, subtracting slightly to allow for a snug fit, as walls may not be straight.
Step 2: Install Bead Board Backing
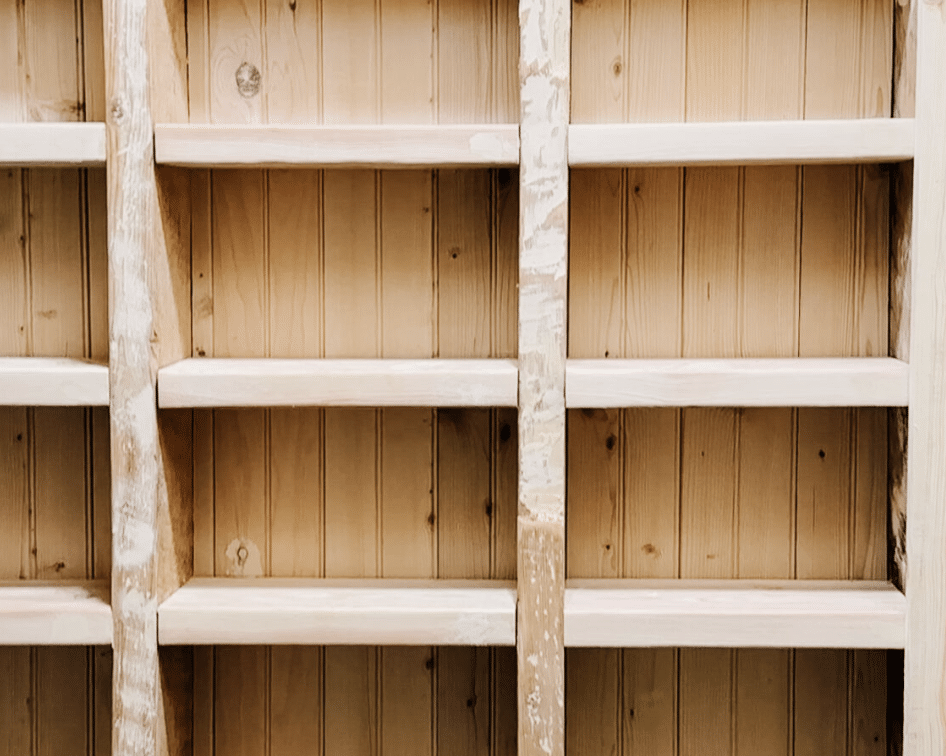
- Cut tongue-and-groove bead board panels to fit between the studs.
- Secure the bead board to the wall with screws, giving your pantry a classic look and strengthening the frame.
Step 3: Cut and Install Shelves
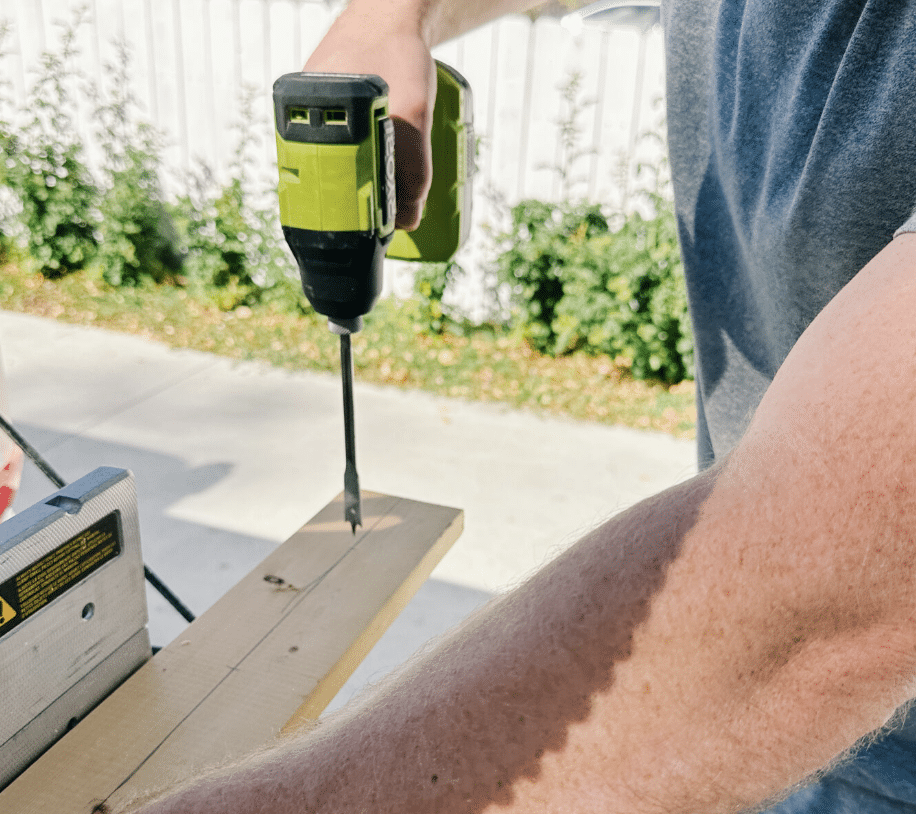
- Measure and cut the 2×6 lumber to the space width between studs.
- Place the shelves between the studs, securing them by driving screws into the studs with countersink drill bits. Adjust the spacing based on the height of the items you plan to store.
Step 4: Attach Trim for a Finished Look
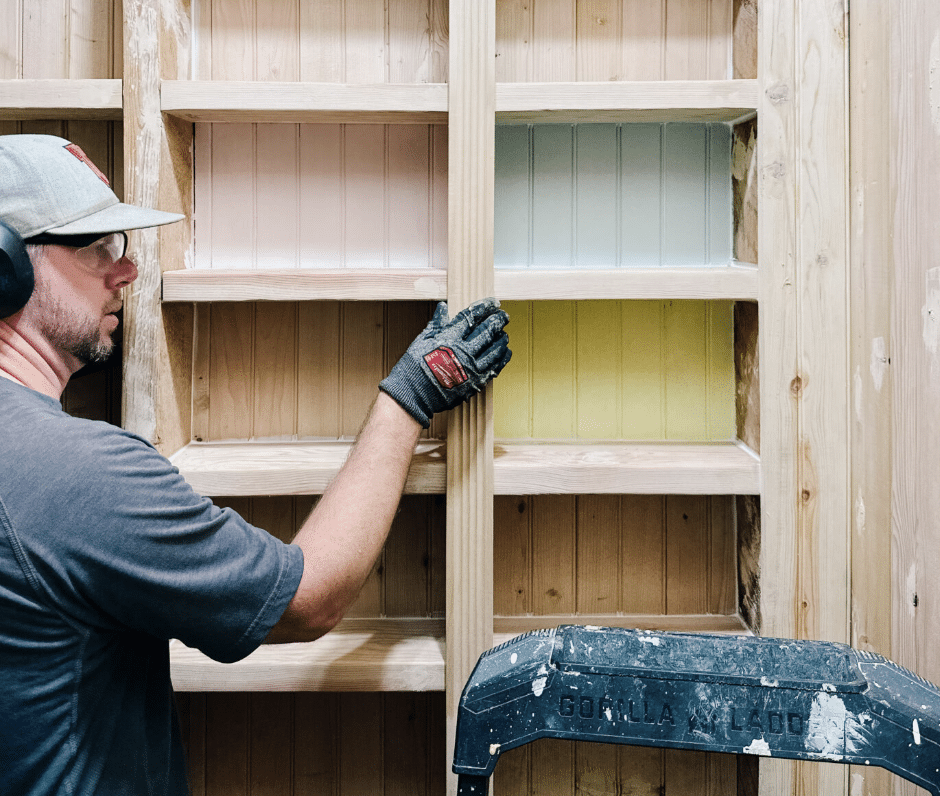
- Nail-fluted casing or trim along the front edge of each stud to create a uniform appearance.
- This adds a finished look, especially if the studs are rough or uneven.
Step 5: Sand, Fill, and Paint
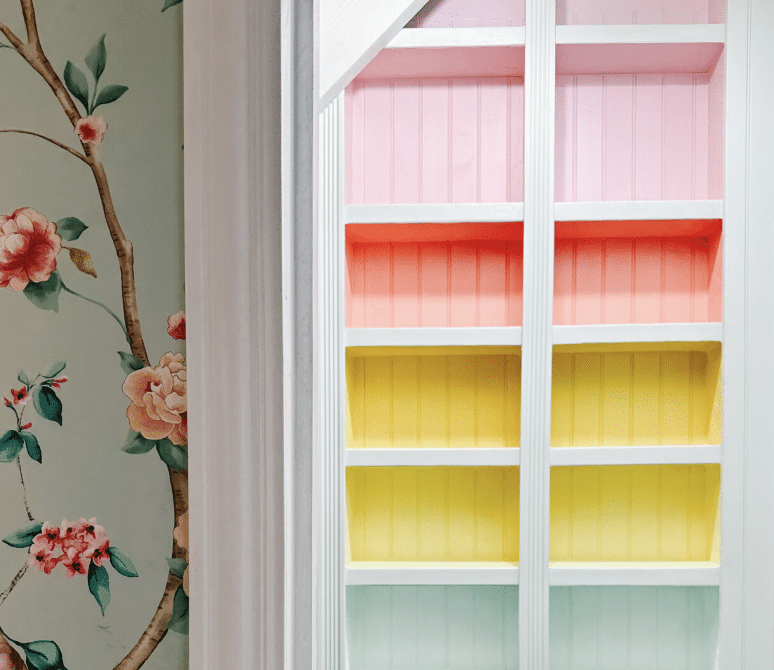
- Use wood filler to cover screw holes and sand until smooth.
- Apply caulk to any seams to achieve a clean, polished look.
- Paint or stain the shelves in colors that match your decor. A rainbow palette, for example, can add a fun touch.
Step 6: Add a Curtain and Final Touches
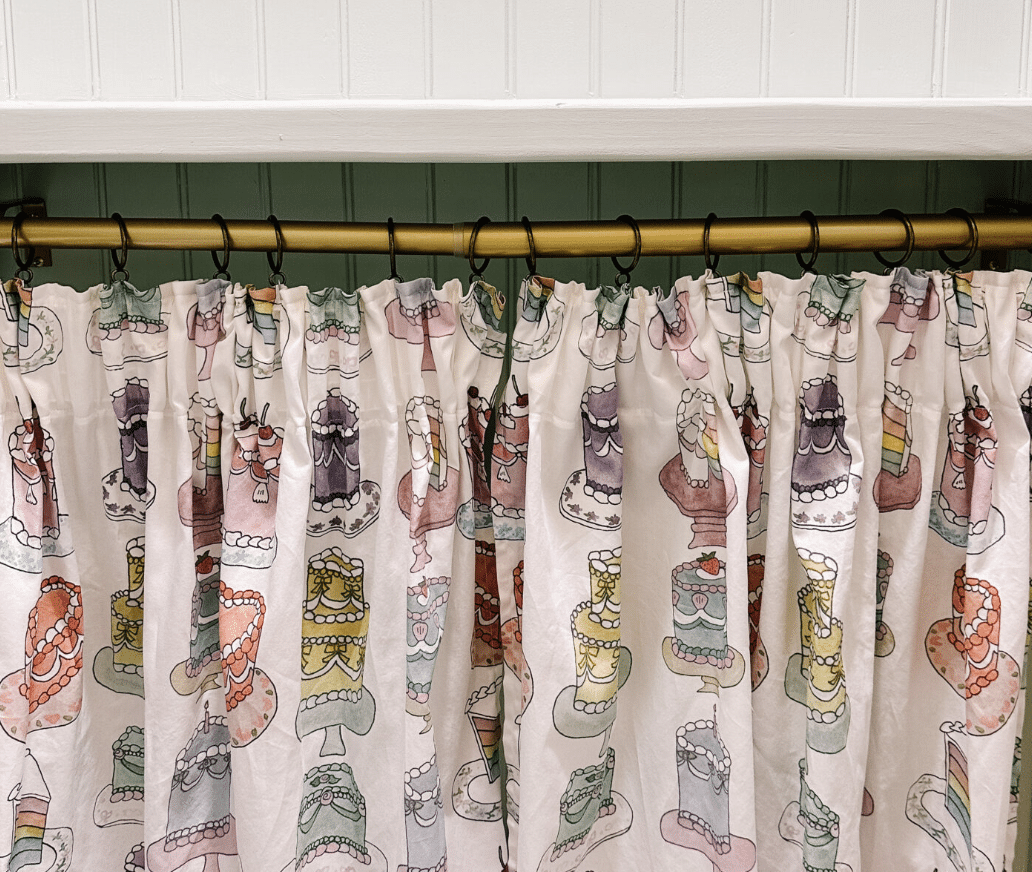
- If desired, install a curtain rod below the bottom shelf to hide additional storage.
- Measure and cut fabric for the curtain, using pleat tape to create wrinkles. Hem the edges, add drapery hooks, and hang the curtain on rings.
Pantry Organizing Tips
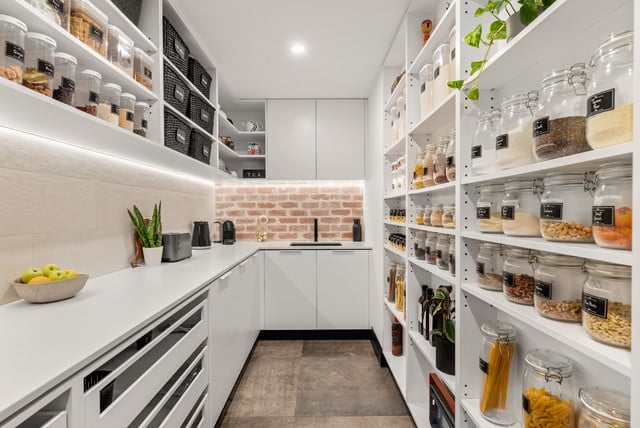
- Zone Planning: I divide my pantry into clear zones: breakfast foods, baking items, snacks, and canned goods. This makes finding items quick and putting away groceries becomes simple.
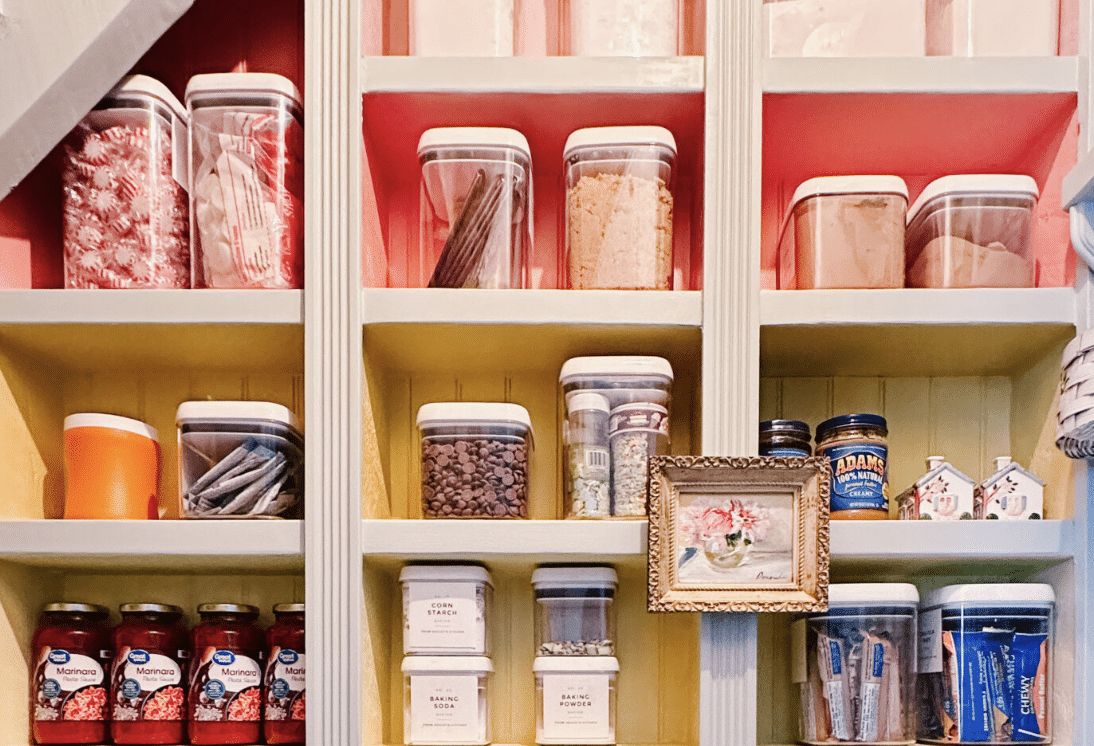
- Container Solutions: Clear storage bins are my go-to choice. I can see what’s inside and check stock levels easily. Square containers use space better than round ones.
- Height Arrangement: I keep daily-use items at eye level. Heavy items stay on lower shelves for safety. The top shelf holds light, rarely-used items.
- Back-Stock System: My “first in, first out” method works great. New items go behind older ones. I check dates monthly and move older products forward, reducing food waste and saving money.
- Smart Spacing: I leave small gaps between containers for airflow. Items need a finger-width space for easy removal. Adjustable shelf heights let me change the setup when needs change.
- Label Everything: This helps the family find and return items to their proper spots.
DIY vs. Professional Help
I tackle pantry projects myself when they involve basic carpentry skills. DIY works well if you can measure accurately, use a drill, and follow instructions. Simple shelf installations typically take one weekend.
Consider Professional Help When:
- Your project needs electrical work or plumbing changes
- Walls need major repairs or structural support
- You’re removing load-bearing elements
- Time is limited – professionals finish in 1-2 days
- Your tools are limited – pros bring everything needed
Some jobs need expert knowledge. Call a pro if you’re unsure about wall strength or support needs. Safe storage matters more than saving money.
Conclusion
Building your pantry shelves might seem like a daunting task at first. But after helping many friends with their projects, I’ve seen how this simple upgrade improves daily life.
A well-organized pantry saves time, reduces stress, and helps you keep track of what you have.
Remember, you don’t need fancy skills or expensive tools. Start with the basics—good planning, the right materials, and careful measurements. Take your time with each step.
Ready to start your pantry project? I’d love to hear how it goes! Share your before-and-after photos in the comments below.

