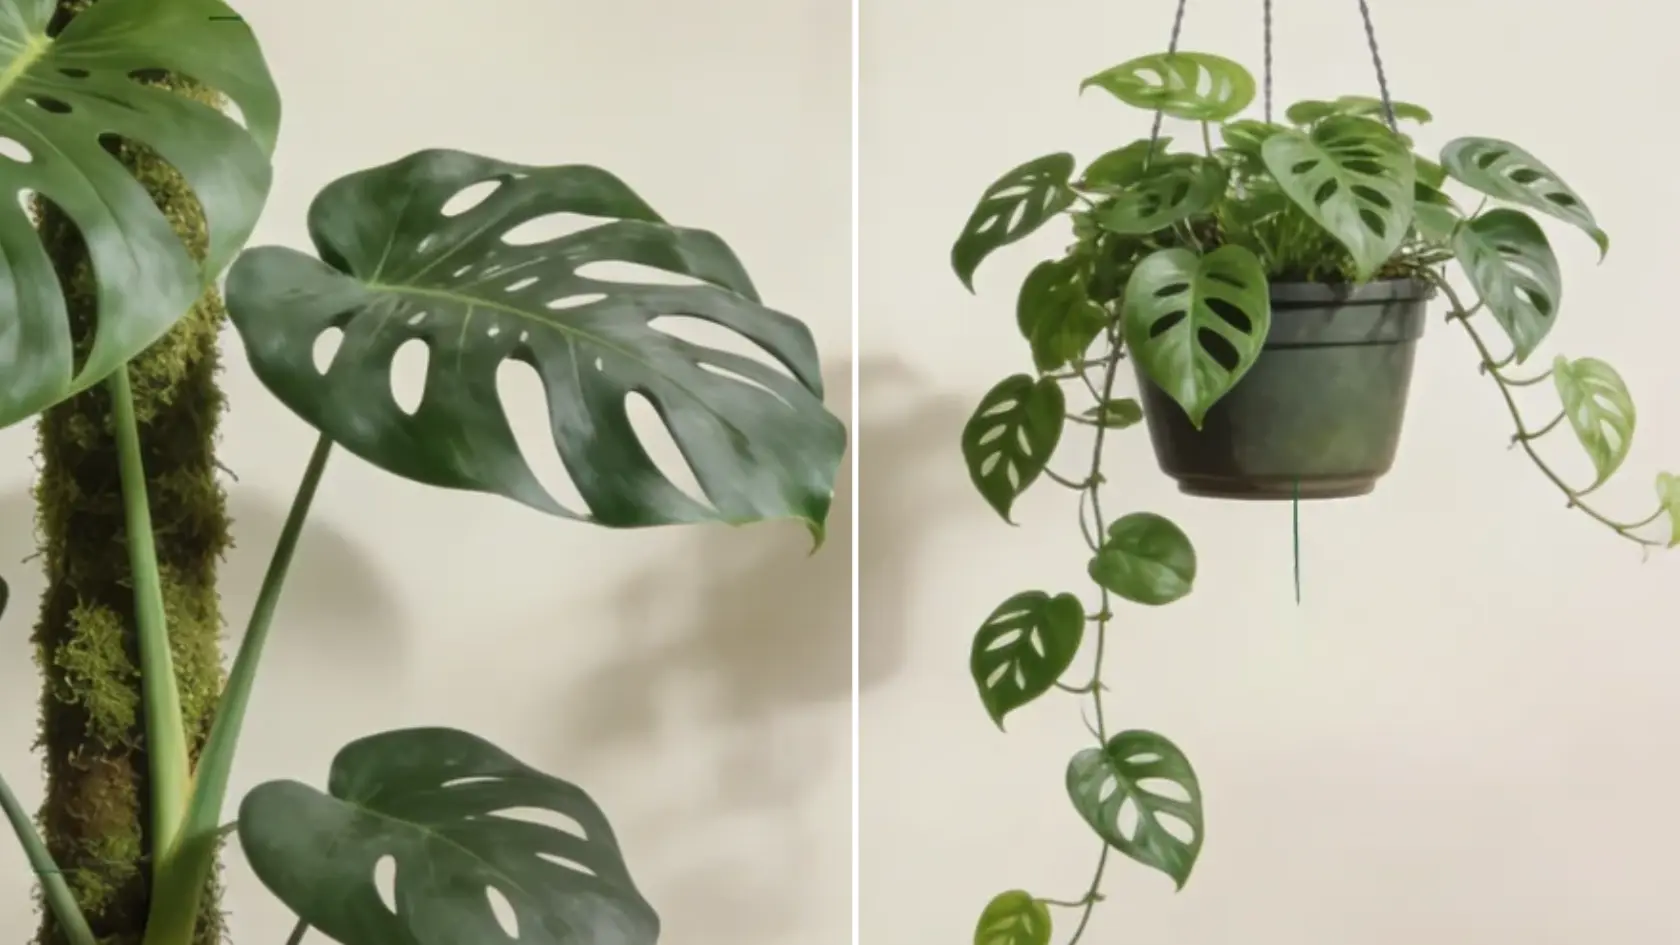
Swedish Ivy Care for Healthy Indoor Growth
There’s a moment every plant owner knows: staring at a stretch of bare, leggy stem and wondering if the plant’s dying or just being difficult.
I’ve stared at that exact stem more times than I’d like to admit. Turns out it’s rarely dying. It’s usually just asking for something slightly different than what it’s getting.
Swedish ivy is far more forgiving than it looks, once you understand what it’s actually reacting to.
In this blog, you’ll find exactly what real Swedish ivy care looks like, from daily habits to fixing that leggy stretch, without the guesswork.
Is Swedish Ivy a Good Indoor Plant?
Yes, Swedish ivy (Plectranthus verticillatus), also called Creeping Charlie, is a good indoor plant. It suits minimalist interiors, where a trailing plant near a window can do the visual work of an entire shelf of objects.
Most varieties have glossy green leaves with scalloped edges, while the ‘Variegata’ selection has white markings along the leaf edges.
It’s also fairly responsive. Changes in its leaves or stems show up quickly, which makes it easier to catch when something in its environment isn’t working.
Trimming helps too. You can cut back long or uneven stems as the plant grows, keeping its shape manageable. Once it settles into a spot, its growth becomes fairly easy to read.
Swedish Ivy Growth and Size Indoors
Swedish ivy has a naturally spreading, trailing growth habit, so it usually grows wider and longer rather than forming a tall, upright shape.
| Growth Feature |
What to Expect |
What It Means Indoors |
|---|---|---|
| Growth habit |
Stems spread outward and trail down |
Works well on shelves and hanging containers |
| Growth rate |
Faster in spring and summer |
New leaves and stems appear more quickly |
| Mature shape |
Broad and cascading over time |
Leave room around the pot for spread |
| Stem development | Older stems grow longer and more flexible | Placement supports the plant rather than staking |
| Seasonal growth |
Slows during darker months |
Slower winter growth is normal |
Swedish Ivy Care Requirements to Know

The main parts of Swedish ivy care work together, and getting one piece wrong tends to show up in the others. A few factors matter more than people expect. Here’s what each part actually involves.
1. Light
Swedish ivy grows best in bright, indirect light. An east-facing window works particularly well here. It offers softer morning light without hours of harsh afternoon sun.
Near south- or west-facing windows, keep the plant slightly back from the glass. That small distance softens the intensity of direct exposure throughout the day.
- Long Leaf Spacing: Wider gaps between leaves usually suggest the light level is too low.
- Leaning Stems: Rotating the pot occasionally helps correct growth that leans toward one side.
- Pale Patches: Faded or dry-looking spots often mean direct light is too intense.
- Slow Growth: Sluggish new growth typically points to a spot that’s too dim.
2. Watering
Swedish ivy prefers soil that stays lightly moist without staying wet too long. Check the upper part of the mix before watering. Soak thoroughly once that layer feels dry.
Checking the soil directly beats sticking to a fixed schedule. Indoor drying time shifts noticeably as temperature and daylight change through the year.
- Even Soaking: Wet the soil evenly throughout, rather than pouring water into one spot.
- Full Drainage: Let excess water drain out completely before setting the pot back down.
- Saucer Check: Empty any water that collects in the saucer after watering.
- Seasonal Shift: Check moisture more often in warm weather, less often when it’s cooler.
3. Soil and Pot
Use a loose indoor potting mix that holds some moisture while still letting excess water escape freely. A standard houseplant blend usually does the job on its own.
The pot needs working drainage holes. Decorative containers without them function better as outer covers than as the plant’s actual growing pot.
- Soil Choice: Skip dense garden soil indoors, since it tends to compact tightly around roots.
- pH levels: Thrives in well-draining soil with a slightly acidic to neutral pH range of 6.0 to 7.0.
- Pot Sizing: Match the container size closely to the plant’s actual root system.
- Excess Space: Extra unused soil around a small plant tends to stay wet far longer.
- Drainage Priority: Confirm functioning holes exist before settling on a final container choice.
4. Temperature and Humidity
Swedish ivy is comfortable in temperatures of 65–75°F (18–24°C) and can tolerate brief dips to around 40°F. The plant tends to struggle more with sudden extremes than with small day-to-day shifts.
Average household humidity is usually enough on its own. Very dry heated air, though, can pull moisture from the soil and foliage faster than expected.
- Heating Vents: Keep the plant clear of direct hot airflow coming from vents.
- Air-Conditioning Vents: Repeated cold air exposure can stress the foliage over time.
- Drafty Spots: Frequent temperature swings near doors cause more harm than steady air.
- Fireplace Proximity: Sudden heat bursts can dry out leaves faster than gradual warmth.
5. Fertilizing
Swedish ivy benefits most from fertilizer while it’s actively producing new leaves and stems. Use a balanced liquid fertilizer at the label’s recommended strength.
Avoid making the solution stronger to push faster growth. Reduce feeding once growth naturally slows during fall and winter months.
- Brown Tips: Discolored leaf edges are a common sign of over-fertilizing the plant.
- White Buildup: A visible crust on the soil surface indicates salt accumulation.
- Rim Crust: Buildup around the pot’s edge is another sign of excess feeding.
- Weak Growth: Check light and root health before assuming more fertilizer will help.
6. Pruning
Pruning helps Swedish ivy keep a fuller shape rather than growing into a few long, sparse trailing stems. Pinch a growing tip just above a healthy leaf node.
Light, regular trimming during active growth is usually easier than waiting. By the time a plant looks noticeably sparse, it’s already overgrown.
- Bare Stems: Trim back sections that have lost most of their leaves over time.
- Damaged Growth: Remove any stem parts that look visibly broken or unhealthy.
- Dead Leaves: Clear these out regularly to keep the plant looking tidy overall.
- Long Trails: Cut back stems that have grown noticeably longer than the rest.
Common Swedish Ivy Leaf Problems
Changes in the leaves often signal what’s happening beneath the surface. A few common patterns are worth recognizing before they spread further.
| What You Notice |
Possible Cause |
What to Check |
|---|---|---|
| Yellow leaves | Soil staying wet too long | Drainage and moisture |
| Long thin stems | Low light | Distance from window |
| Brown dry patches | Strong sun or dryness | Light and soil |
| Drooping foliage | Water stress | Soil condition |
| Very slow growth | Seasonal slowdown or low light | Current conditions |
| Soft dark stems | Excess moisture | Roots and drainage |
When to Repot Swedish Ivy?
Swedish ivy doesn’t need a larger container simply because its stems have grown long. A few actual signs point to when repotting makes real sense.
- Crowded Roots: Roots growing through drainage holes or circling tightly signal the plant needs more space.
- Faster Drying: A mature plant suddenly needing water more often likely has roots filling most of the pot.
- Compacted Soil: Mix that’s hard to wet evenly or slow to drain may need replacing.
- Sizing Up Gradually: Choose a container only slightly larger to avoid excess wet soil around small roots.
- Timing Choice: Spring works well, since the plant is entering a stronger growth period.
Propagating Swedish Ivy From Stem Cuttings

Swedish ivy is commonly propagated from healthy stem cuttings, so pruning doubles as an easy opportunity to start another plant.
Choose a stem with several leaves and cut just below a leaf node using clean scissors. Strip the leaves from the lower portion, leaving a few healthy ones near the top.
Root the cutting in water or directly in lightly moist potting mix. In water, keep the lower node submerged in water while the leaves stay above the surface, then transfer once roots develop.
In soil, bury at least one bare node and keep the cutting in bright, indirect light.
Several rooted cuttings can eventually share one container for a fuller look. Pruning an older plant becomes especially useful this way, since you reuse healthy stems rather than toss them.
How Do You Keep Swedish Ivy Full and Bushy?
A fuller plant usually comes down to a few consistent habits. A handful of pointers below can help encourage branching before stems get too long.
- Enough Light: Dim conditions push stems to stretch, creating wider gaps between leaves.
- Pinch Growing Tips: Removing the soft tip early encourages growth from nodes farther down.
- Trim Bare Sections: Cut back stems that have lost too many leaves.
- Rotate the Pot: Turning the container periodically keeps light from favoring one side.
- Use Rooted Cuttings: Rooting cuttings back into the pot fills thin spots near the center.
- Avoid Heavy Pruning: Light, regular trims create a more balanced shape than one big cutback.
Common Swedish Ivy Pests and Treatment
Like most indoor plants, Swedish ivy can occasionally develop pests. A quick breakdown of common ones and how to handle them follows.
| Pest | What You May Notice |
What to Do |
|---|---|---|
| Spider mites | Fine webbing or pale speckles | Rinse foliage and treat if needed |
| Mealybugs | White cotton-like clusters | Remove visible pests and treat affected areas |
| Aphids | Small insects around soft growth | Rinse them away and monitor new stems |
| Scale | Raised brown or tan bumps | Remove visible scale and check repeatedly |
| Fungus gnats | Small flying insects near soil | Let soil dry more between waterings |
| Whiteflies | Tiny insects that scatter when disturbed | Rinse foliage and use sticky traps |
Swedish Ivy Care Through the Seasons
The same spot on your shelf feels different in January than it does in July. Here’s what to actually adjust, season by season.
- Spring: Move the plant closer to the window as light increases. Start fertilizing again and take cuttings for propagation now.
- Summer: Shield leaves from harsh afternoon sun. Check soil moisture more frequently as it dries faster in the heat.
- Fall: Cut fertilizing to once a month. Let the soil dry slightly more between waterings as growth slows.
- Winter: Pull the pot away from cold glass. Stop fertilizing entirely and watch for overwatering – soil stays damp far longer now.
Wrapping It Up
Swedish ivy rarely fails because you’re neglecting it. Most of the time, it’s just reacting to something small, a little too much shade, a little too much water sitting around.
I’ve learned that real Swedish ivy care isn’t about doing more. It’s about paying attention to what the plant’s telling you, and adjusting instead of panicking.
Give it decent light, let the soil dry between waterings, and trim it back when it starts to sprawl. That’s genuinely most of it.
So if yours looks a little leggy right now, don’t toss it. Give it a trim, be patient, and watch it fill back in for you.
Frequently Asked Questions
Can Swedish Ivy Live for Several Years?
Yes. With steady indoor conditions and routine maintenance, Swedish ivy can remain productive for several years.
Is Swedish Ivy Safe Around Pets?
Yes. The ASPCA lists Swedish ivy as non-toxic to dogs, cats, and horses, with no identified toxic principle in its leaves, stems, or roots.
Does Swedish Ivy Flower Indoors?
Yes, small white, lavender, or purple spikes occasionally appear on established plants. A non-blooming plant is still completely healthy.
Can Swedish Ivy Grow Outdoors?
Yes. It can spend warm weather outdoors in a protected spot, but it should be brought inside before cold conditions become a problem.