Step-by-Step Guide to DIY Box Beams
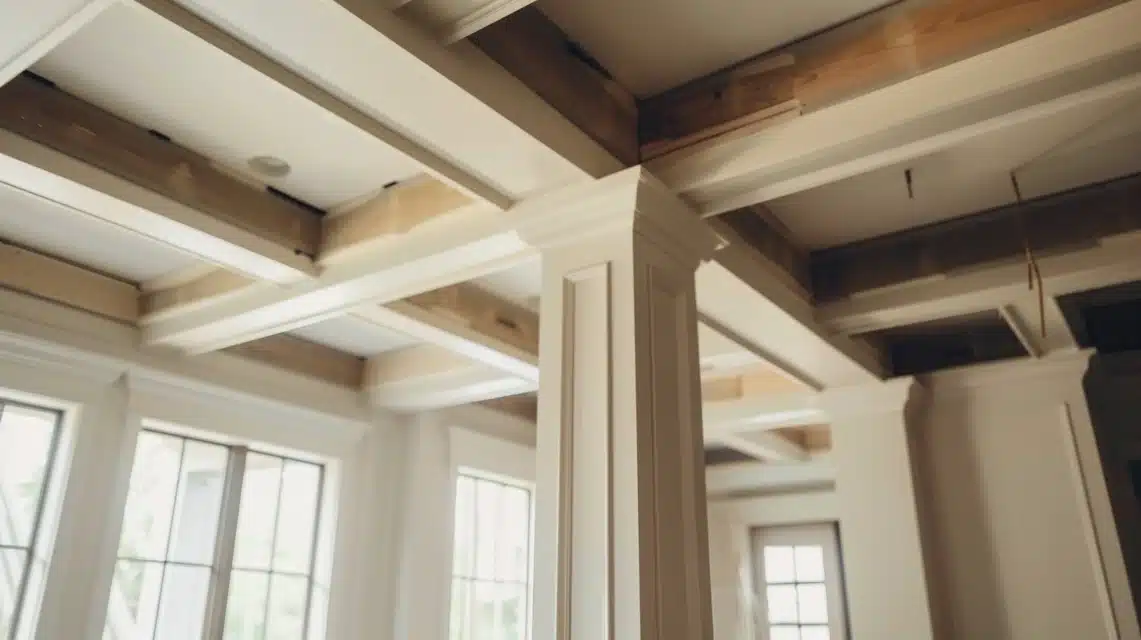
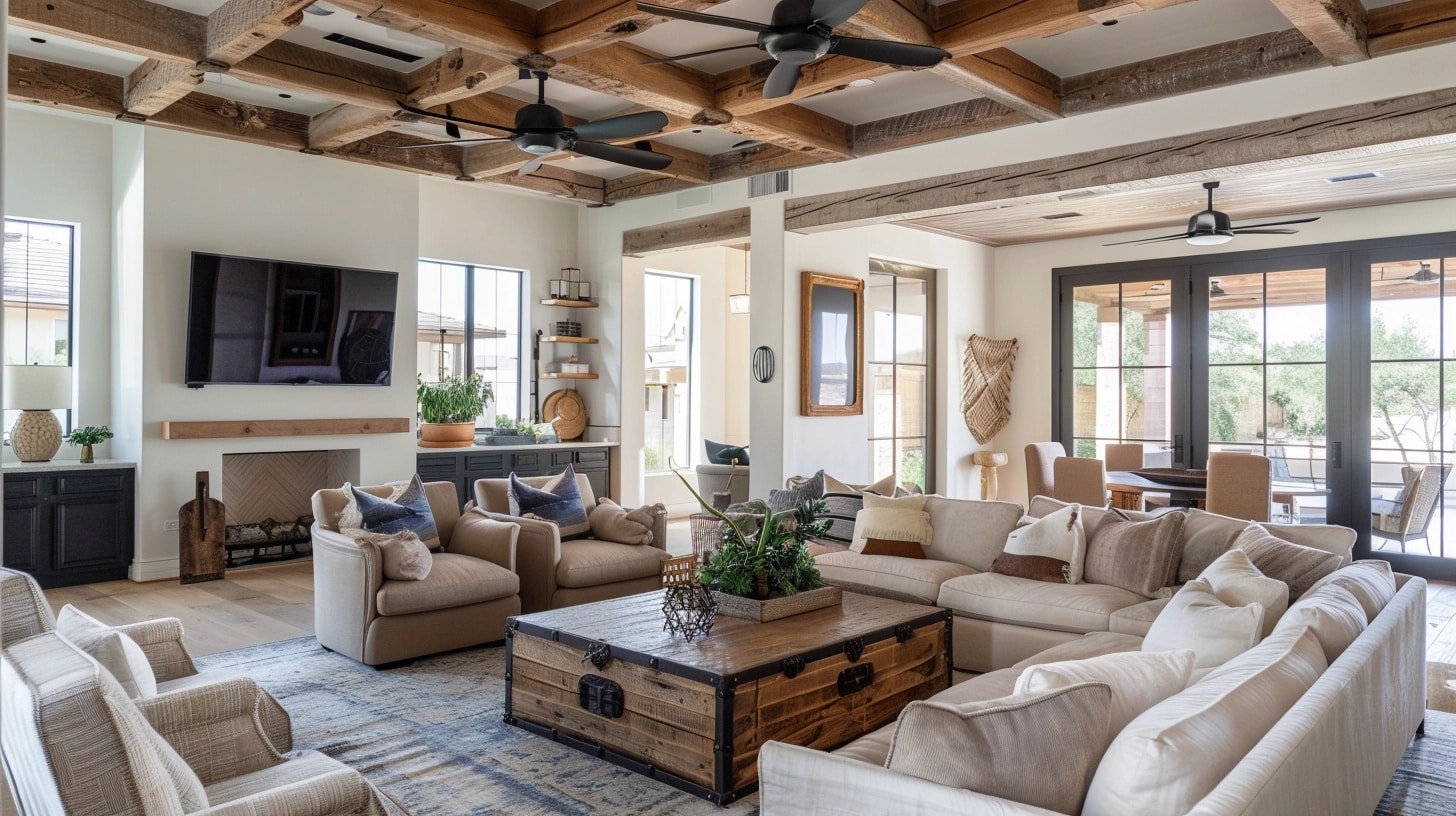
So, you want to add wooden box beams to your ceiling? I get it – it seems like a huge project at first.
But let me tell you, I’ve broken this down into steps that make it doable.
I’ll guide you through everything from picking your wood to putting on that final coat.
Whether you’ve never picked up a saw or are pretty handy, I’ll share all my tips and tricks.
Let’s work together to create those beautiful beams you’ve been wanting. Trust me, you can do this!
TLDR
The process takes eight main steps, from basic boards to finished beams.
- Prepare your ceiling by marking grids and finding support points
- Cut and prepare your wood pieces (pine for ceiling supports, poplar for beam sides)
- Size your beam sides to fit your space perfectly
- Shape the beams to match any ceiling unevenness
- Add inner support pieces for strength
- Attach the beam sides with adhesive and fasteners
- Put in the bottom pieces to complete each beam
- Finish with stain and protective coating
Time needed: 2-3 days
Skill level: Intermediate
Main materials: Pine boards, poplar boards, construction adhesive, fasteners
Key tools: Track saw, miter saw, nail gun, levels
Stepwise Guide to DIY Box Beams
Materials Required
- Common Board Pine (for ceiling strapping)
- Poplar Boards (3/4 inch thick for beam sides and bottoms)
- PL Premium Construction Adhesive
- 2-inch Brad Nails
- 2-inch Trim Screws
- Wood Filler
- Black Stain (or desired color)
- Shellac Finish
Tools Required
- Track Saw or Circular Saw with a 12-tooth blade (Panther blade recommended)
- Miter Saw
- Parallel Guides (for consistent ripping)
- Backer Boards (same thickness as the material being cut)
- Stud Finder
- Chalk Line
- Torpedo Level and Long Level
- Scribe Tool
- Tape Measure
- Combination Square or Pocket Rule
- Clamps
- Nail Gun
- Drill
- Vacuum Cleaner (for dust collection)
- Safety Gear (goggles, dust mask, ear protection)
Step 1: Getting Your Ceiling Ready
Set Up the Grid:
- Take time to measure your ceiling’s center point
- Use chalk lines to mark where each beam will go
- Make sure your layout looks balanced from all angles
- Double-check your measurements – this step matters more than you might think
Finding Your Support Points:
- Get a good stud finder – it’s worth the investment
- Mark each ceiling joist you find clearly
- Keep track of these spots – they’re vital for strong attachment points
Cutting Your Boards:
- Pick straight, good-quality pine boards
- Set your track saw with a 12-tooth blade for clean cuts
- Make 5.5-inch wide strips
- This width gives you the perfect base for 7-inch finished beams
Getting the Boards Up:
- Cut each board to fit your space
- Line them up with your chalk marks
- Leave small spaces near walls for natural wood movement
- Mark the middle of each board to match your grid lines
Pro Tips:
- Work with a partner if possible – it makes everything easier
- Keep your lines straight – they’ll show in the final result
- Check your work with a level as you go
- Take your time with this step – it sets up everything else
Step 2: Getting Your Materials Ready
Setting Up Your Workspace:
- Position your track saw with parallel guides at 6.75 inches
- Place a support board behind the one you’re cutting
- This extra board keeps everything steady and straight
- Double-check all measurements before making cuts
Making the Cuts:
- Install a 12-tooth blade for smooth results
- Take your time with each cut
- Put a pencil mark on the straight side after cutting
- This helps you keep track of your reference edge
Creating Inner Supports:
- Use your leftover wood wisely
- Cut strips that will hold the bottom piece
- Make sure all pieces are uniform in size
- Keep these organized and labeled
Getting That Perfect Finish:
- Sand every board before you begin assembly
- Pay extra attention to the cut edges
- This prep work makes a big difference
- Do this step now – it’s much harder later
Tips for Success:
- Keep your workspace clean between cuts
- Check your measurements twice
- Label your pieces as you go
- Store boards flat to prevent warping
Step 3: Making Perfect Cuts for Your Beams
Checking Your Walls:
- Get your torpedo level out
- Place it against each wall where the beams will meet
- Check if the walls stand straight up and down
- Make notes of any spots that lean in or out
Why This Matters:
- Straight walls mean straight cuts
- Leaning walls need special attention
- Small gaps look noticeable on the ceiling
- Taking time here saves fixes for later
When Walls Aren’t Straight:
- Find how much the wall leans
- Measure at the top and bottom
- Write down the difference
- For example, if the bottom leans 1/8 inch out, note this
Making Your Cuts:
- Transfer measurements to your boards
- Use a long level to mark your lines
- Set miter saw to match wall angle
- Most leaning walls need about 2 degrees
- Cut on your marks with confidence
Helpful Tips:
- Make test cuts on scrap wood first
- Keep track of which end goes where
- Label everything clearly
- Check measurements one last time
Step 4: Getting Your Beams to Fit Perfectly
Test Fitting the Sides:
- Put your beam sides up against the ceiling
- Line them up with your support boards
- Hold them steady, or use a few small nails
- This is just for marking, so don’t secure it fully
Using Your Scribe Tool:
- Set your scribe to 1/4 inch
- Hold it flat against the beam
- Run it smoothly along the ceiling
- Watch as it copies the ceiling’s shape
- You’ll see the line form on your wood
Cutting Tips:
- Set your circular saw to a 5-degree angle
- This slight tilt helps create a tight fit
- Follow your marked lines carefully
- Take your time with each cut
Staying Safe:
- Work in a well-lit area
- Keep your workspace clean
- Use a vacuum for dust control
- Hold the vacuum behind the saw
- Keep the hose well away from the blade
- Wear safety glasses and a dust mask
Extra Tips:
- Cut slightly outside your line at first
- You can always trim more if needed
- Test fit after cutting
- Make small adjustments as needed
Step 5: Adding the Inner Support Pieces
Setting Up Your Support System:
- Take your prepared nailer strips
- Position them inside each beam side
- Set them back 30 millimeters from the bottom
- This creates a perfect spot for your bottom piece
Getting Them in Place:
- Line up each strip carefully
- Check your measurements
- Make sure they’re straight and level
- Use brad nails to hold them steady
Why This Step Matters:
- Creates a solid base for the bottom piece
- It makes the final assembly much easier
- It helps keep everything lined up
- Results in clean, even edges
Tips for Success:
- Mark your 30-millimeter line first
- Check strips are at the same height
- Use a spacer block for consistency
- Test fit the bottom piece before the final install
Step 6: Putting Up Your Beam Sides
Applying Your Adhesive:
- Choose a strong construction adhesive
- Put a thick line on each beam side
- Focus on areas that touch the ceiling
- Don’t skimp – this holds everything together
Positioning Tips:
- Line up with your chalk marks
- Keep sides straight and true
- Match heights with nearby beams
- Check your work from all angles
Making it Stick:
- Start with brad nails to hold the position
- Put nails every few feet
- Keep checking that sides stay level
- Add 2-inch trim screws for strength
Key Points to Remember:
- Work with a partner if possible
- Keep checking your levels
- Clean up any excess glue right away
- Take your time getting things straight
Pro Tips:
- Have all tools within reach
- Keep a level handy
- Check alignment often
- Fix any issues before the adhesive sets
Step 7: Completing Your Beams with Bottom Pieces
Measuring and Cutting:
- Take careful measurements
- Account for both beam sides
- Cut pieces slightly short at first
- Test fit before final cuts
- Make tiny adjustments as needed
Setting the Final Piece:
- Line up bottom boards with care
- Rest them on your support strips
- Check that the edges look even
- Make sure gaps match on both sides
Making It Secure:
- Get your clamps ready
- Press pieces firmly together
- Remove any small gaps
- Keep everything lined up
- Add nails into support strips
Smart Tips:
- Mark nail spots beforehand
- Use a square to find support strips
- Work from the center outward
- Check your work from below
- Step back often to look
Final Checks:
- All seams should be tight
- Edges should line up nicely
- Nails should be hidden
- Everything should look clean
Step 8: Making Your Beams Look Their Best
Smoothing Things Out:
- Look for spots that need attention
- Fill nail holes with wood filler
- Let everything dry completely
- Sand until perfectly smooth
- Wipe away all dust
Adding Color:
- Choose your black stain
- Test on a scrap piece first
- Use smooth, even strokes
- Work in small sections
- Follow each product’s instructions
- Let dry between coats
Protecting Your Work:
- Pick your shellac finish
- Apply thin, even layers
- Wait between coats
- Use a quality brush
- Work in good lighting
- Keep air moving if possible
Tips for Hand Application:
- Use long, steady strokes
- Don’t overwork the finish
- Watch for drips
- Three thin coats work better than one thick coat
Wall Clean-Up:
- Check walls for marks
- Clean any smudges
- Fix any wall damage
- Touch up paint as needed
- Clean up any dust
Optional Enhancements and Clean-Up

Consider adding trim inside the beams for a refined look. Crown molding creates a special touch that makes rooms feel more complete.
When picking your trim, choose a size that matches your beam size. You want balance, not something that looks too small or takes over the space.
Before you begin putting up beams, take a good look at what’s in your ceiling space. You’ll need to plan around air ducts and electrical boxes.
While you can handle basic changes, moving air systems or electrical wires requires expert help. Call in licensed pros for these tasks—they’ll make sure everything stays safe and follows local rules.
After installation comes the important cleanup phase: put away all your tools and then vacuum every inch of the workspace.
Wipe down the beams with a soft, clean cloth before you apply any finish. Good cleaning now means better results later.
Summing Up
You’ve done it! I know this project took some effort, but look at what you’ve created – those beams look fantastic!
We’ve gone through every step together, from turning simple boards into something special for your home.
I always say the little details matter most, and you’ve paid attention to each. You tackled a project many people wouldn’t try, and now you have skills to be proud of.
Every time you look up, you’ll remember that you built those beautiful beams yourself. Well done!


