Step-By-Step Guide to a DIY Restroom Makeover
When it comes to home makeovers, bathrooms are often the most overlooked spaces.
Yet, with a bit of creativity and effort, even the smallest powder room can become a showstopper.
In this blog, I’ll walk you through an incredible DIY restroom makeover inspired by a bold yet budget-friendly transformation that blends vintage charm, modern textures, and statement-making decor.
Let’s dive in!
Step-by-Step Guide to DIY Restroom Makeover
Step 1: Setting the Vision
Before you start any DIY project, defining the style you want for your space is essential.
In this makeover, the goal was to step out of the comfort zone of simplicity and embrace bold designs.
The vision included dark walls, rich textures, vintage pieces, and unique decor—all while keeping costs manageable.
Tips for Setting the Vision:
- Mood Boards Help: Use Pinterest or mood boards to visualize your ideas.
- Focus on Functionality: Remember, powder rooms are high-traffic spaces for guests, so keep them inviting and practical.
- Inspiration in Color: Dark taupe and moody hues were the cornerstone of this transformation, balanced with warm accents.
Step 2: Preparing the Space
Clearing the Clutter
Before diving into painting and decorating, ensure the room is empty. Remove unnecessary items, including old fixtures and decor, to have a clean slate for your new design.
Addressing Builder-Grade Flaws
Many new builds come with basic fixtures and plain designs. This makeover started by adding window trim to elevate the space, a small yet impactful change.
DIY Tip: If your home lacks window trims, watch a few tutorials or use simple pre-cut materials for an affordable upgrade.
Step 3: Walls that Speak Volumes
Going Bold with Venetian Plaster
One of the standout features of this makeover was the use of Venetian plaster in a stunning rustic taupe shade. Venetian plaster is thicker than paint and offers a unique texture that gives walls a rich, luxurious feel.
How to Apply Venetian Plaster
- Preparation: Mix the plaster thoroughly with a bit of water for smoother application.
- Application: Use a trowel to spread the plaster in random, sweeping motions.
- Drying: Allow the plaster to dry completely before evaluating its final color. Don’t be alarmed if it looks darker when wet.
- Sealing: Apply a polycrylic top coat to add a subtle sheen, protect the surface, and ensure it’s easy to clean.
Personal Note: I was initially hesitant about such a dark color but was amazed by how it added depth and warmth to the space.
Step 4: Adding Vintage Charm
A Vanity with Character
The outdated pedestal sink was replaced with an antique wash station. Vintage furniture pieces can be repurposed beautifully as vanities, adding both functionality and charm.
Restoring Vintage Furniture
- Use oven cleaner to strip away old stains and bring out the natural wood tones.
- Add a water-based polycrylic top coat to protect against water damage.
Pro Tip: Vessel sinks and gold faucets are perfect companions for vintage vanities, blending old-world charm with modern convenience.
Step 5: Wallpaper for Pattern and Personality
Wallpaper is a game-changer in small spaces, and the addition of striped peel-and-stick wallpaper balanced the moody plaster perfectly.
Tips for Wallpaper Success
- Choose Prepasted or Peel-and-Stick Options: These are easier to work with for DIY projects.
- Apply Generously: Ensure the wall is fully coated with wallpaper paste to avoid air bubbles.
- Sharp Tools Matter: Use a sharp cutter to trim excess paper for clean edges.
Lesson Learned: Cover the entire wall with paste before applying wallpaper to save time and achieve a smooth finish.
Step 6: Fixtures and Finishing Touches
Statement Lighting
Replacing the builder-grade light fixture with a scalloped-edged sconce added a whimsical yet sophisticated touch. Milky glass shades softened the light, creating a cozy atmosphere.
Window Solutions for Privacy
A cracked window was temporarily covered with decorative privacy film and a charming cafe curtain. Both added functionality and aesthetic appeal.
Debate Alert: Not everyone loves cafe curtains, but in this case, they added an element that tied the look together.
Gold Accents and Mixed Metals
While the space predominantly featured gold fixtures, mixing in a silver-toned soap dispenser added subtle contrast and prevented visual monotony.
Step 7: Layering Decor and Textures
Artful Additions
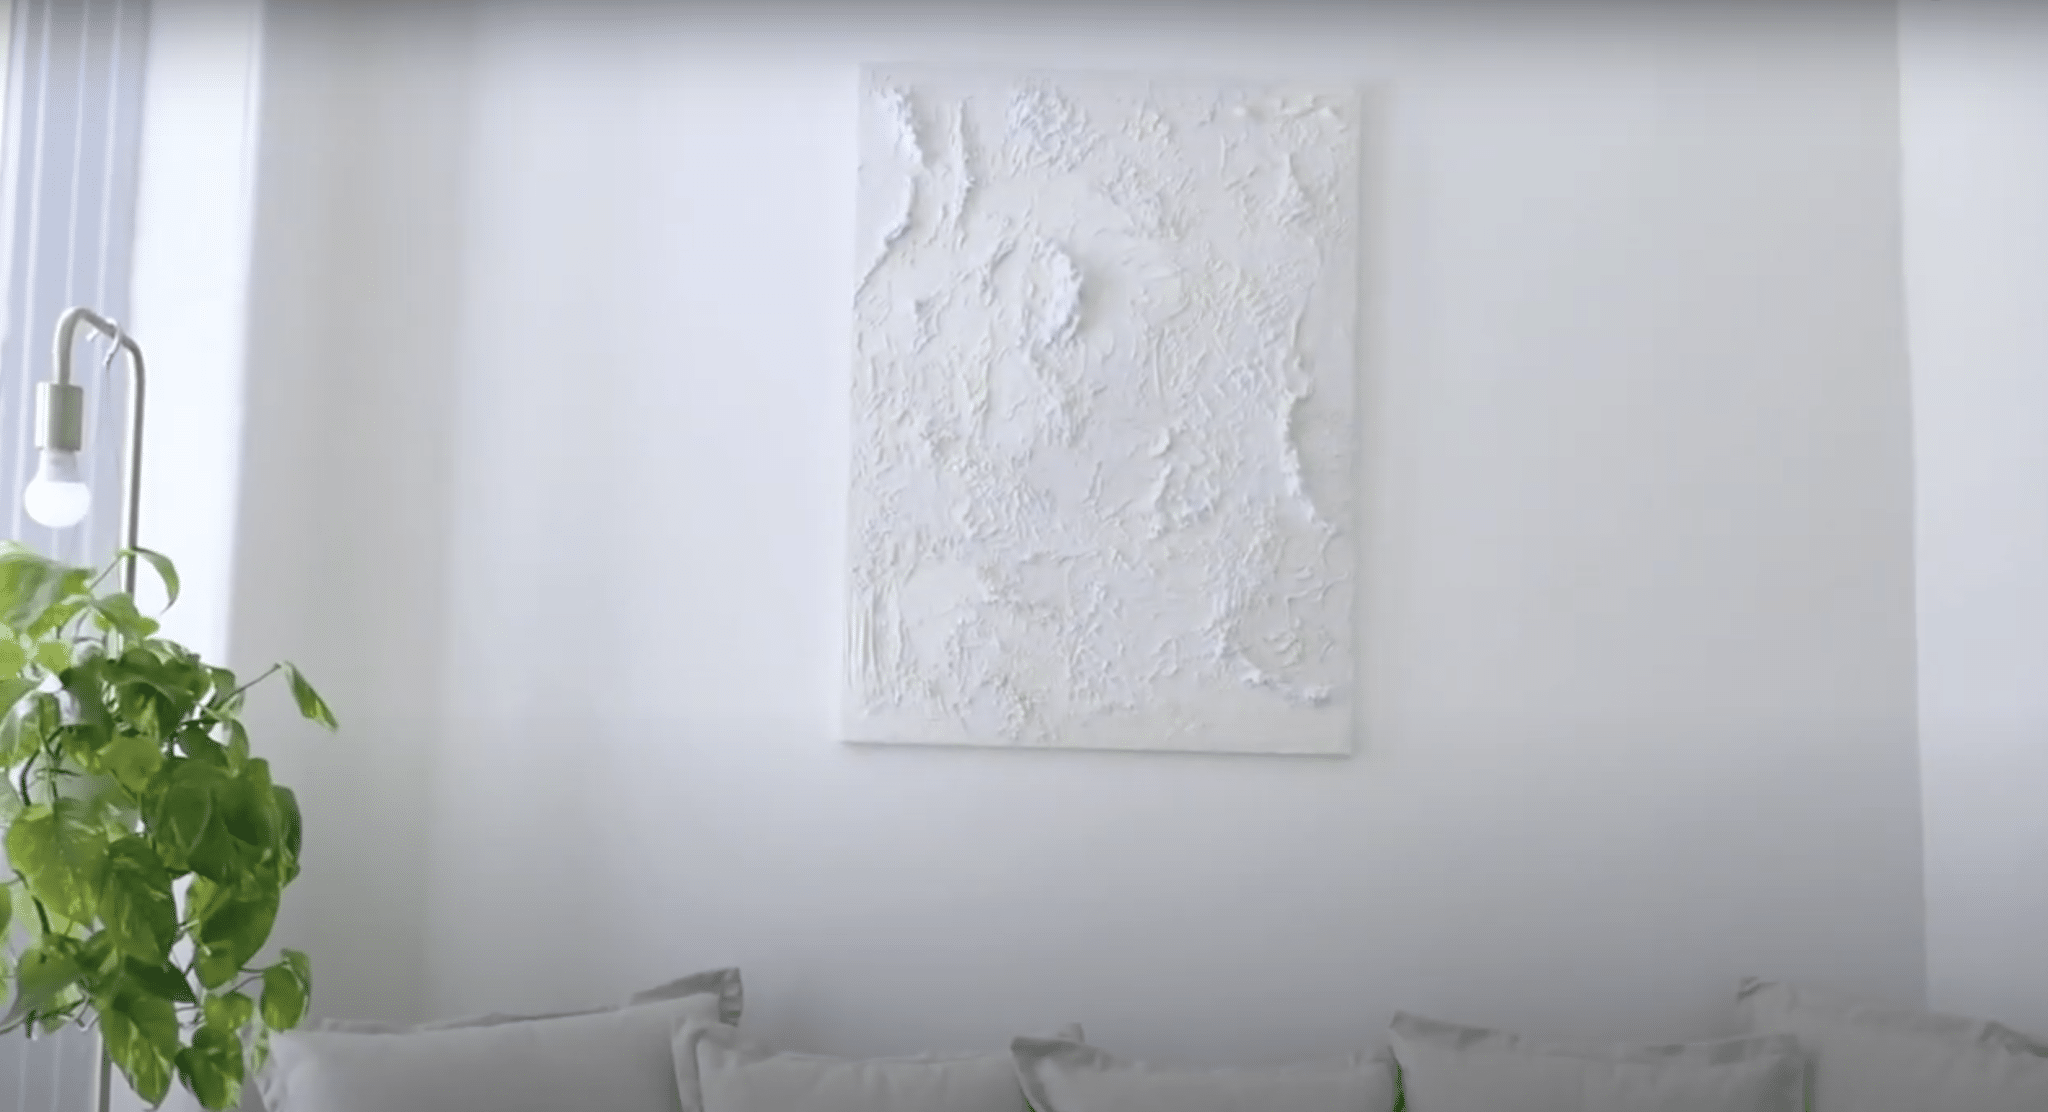
A gallery wall wasn’t necessary here. Instead, a single canvas print complemented the textured plaster walls.
Functional Decor
- Woven Baskets: Perfect for storing extra toiletries while adding warmth and texture.
- Waffle-Textured Bath Mat: A cozy addition that’s practical and stylish.
Unexpected Elements
Using a wooden candle holder as a soap dispenser stand was an innovative touch that combined utility with charm.
Budget Breakdown & Final Reveal
One of the most impressive aspects of this makeover was the cost-effectiveness.
By sourcing items from budget-friendly marketplaces and taking on most tasks as DIY projects, the transformation was achieved on a tight budget.
| Item/Material | Cost | Details |
|---|---|---|
| Venetian Plaster (1 Gallon) | $70 | Authentic rustic taupe color with a polycrylic top coat for protection. |
| Vintage Vanity | Free | Sourced secondhand; restored using oven cleaner and top coat. |
| Vessel Sink | $80 | Marble vessel sink with beige veining for a luxurious touch. |
| Gold Faucet | $50 | Satin gold finish, budget-friendly and stylish. |
| Peel-and-Stick Wallpaper | $9 | Neutral striped pattern, covering a single accent wall. |
| Light Fixture | $40 | Scalloped-edge sconce with milky glass shade. |
| Privacy Window Film | $12 | Decorative privacy cover for the cracked window. |
| Cafe Curtain | $10 | Subtle pattern with tassels for added charm. |
| Gold Hardware (Set) | $25 | Includes towel hooks, toilet paper holder, and additional hooks. |
| Canvas Prints (Set of 4) | $6 | Vintage-inspired prints used for minimal decor. |
| Woven Storage Baskets | $15 | Set of two seagrass baskets for functional storage. |
| Waffle-Textured Bath Mat | $13 | Soft and non-slip, adds texture and comfort. |
| Fluted Candle Holder (Repurposed) | $10 | Used as a soap dispenser stand for added uniqueness. |
| Paintbrushes, Trowel, Tools | $25 | Essential tools for plastering, painting, and wallpaper application. |
| Polycrylic Top Coat | $15 | Seals and protects the plaster walls and vanity. |
| Miscellaneous Decor | $20 | Small faux plants, soap dispensers, and other finishing touches. |
Total Estimated Cost: $400
After weeks of careful planning and effort, the powder room went from bland to bold.
The Venetian plaster, vintage vanity, and layered decor turned it into a cozy, welcoming space with personality and charm.
Conclusion
A DIY restroom makeover doesn’t have to break the bank.
With bold choices, vintage finds, and a touch of creativity, you can transform any powder room into a stunning retreat.
Don’t be afraid to step out of your comfort zone—you might just create your favorite space in the house!
Frequently Asked Questions
Is Venetian Plaster Difficult to Apply?
Not at all! While it takes a bit of practice, the process is straightforward. With a trowel and the right consistency, you can achieve a professional finish.
How Do I Restore Vintage Furniture for a Bathroom Vanity?
Start by stripping the old stain using oven cleaner, then apply a protective polycrylic top coat to shield it from water damage.
Can I Mix Metals in a Bathroom Design?
Absolutely! Mixing metals like gold and silver adds depth and prevents the space from feeling too one-dimensional.
What’s the Best Wallpaper for Bathrooms?
Peel-and-stick or prepasted wallpaper is ideal as they’re easy to apply and remove. Look for water-resistant options for durability.
How Do I Make a Small Bathroom Feel Bigger?
Opt for dark walls balanced with light fixtures, mirrors, and strategic lighting to create depth without overwhelming the space.

