Spray Paint Furniture Right: Prime, Seal, Sand or Not
I’ll never forget my first furniture painting disaster, a beautiful thrift store dresser that I was so excited to change.
I skipped the boring prep steps, slapped on some spray paint, and six months later watched in horror as it peeled off in sheets.
That expensive lesson taught me everything about when you absolutely need to prime, sand, and seal, and when you can actually skip these steps without regret.
If you’re standing there with a can of spray paint, wondering which shortcuts you can take, I’ve got you covered with the real answers.
Choosing the Right Furniture and Paint
Not all furniture is created equal when it comes to spray painting. Some materials practically beg to be painted, while others will fight you every step of the way.
Best Materials for Spray Painting:
- Wood
- MDF
- Metal
- Particleboard
- Laminates
Paint Brands That Won’t Let You Down:
When you’re standing in the paint aisle, confused between milk paint & chalk paint while feeling overwhelmed, reach for these tried-and-true options:
Rust-Oleum: The workhorse of furniture painting. Their Universal series sticks to almost anything.
Krylon: Great coverage and comes in tons of trendy colors.
Rust-Oleum 2X Ultra Cover: My personal favorite for furniture because it’s paint and primer in one.
Pro tip: Don’t go cheap on paint. That $2 can might seem like a steal, but you’ll use twice as much and get half the durability.
The Complete Guide to Spray Painting Furniture
Before you spray paint furniture, the prep work is key. Here’s how to clean, sand, and repair your piece before painting:
Step 1: Prepping the Furniture

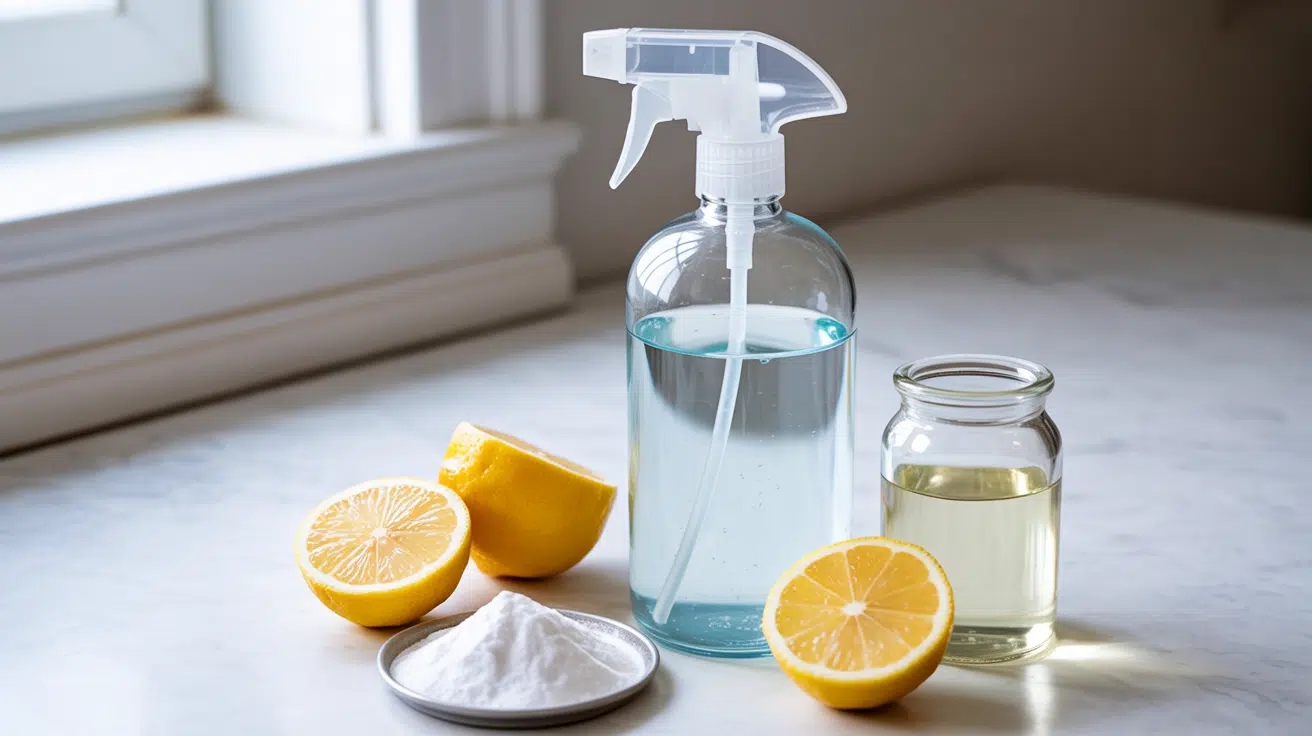
Start with a thorough cleaning using a degreaser like TSP or dish soap to remove years of accumulated grime, grease, and fingerprints that can prevent paint adhesion.
Then inspect for damage like dents, loose joints, missing hardware, and stains. Fill any holes or gouges with wood filler, let dry completely, then sand smooth.
Step 2: Sanding

Sand when you have glossy surfaces, rough or damaged areas, old peeling paint, or need to remove the existing finish. You can skip sanding on clean matte-finished wood in good condition or previously painted furniture with intact flat finishes.
Use 120-150 grit sandpaper and hand-sand most pieces; you’re just roughing up the surface for paint adhesion, not stripping to bare wood.
Be gentle with MDF and particle board, as they can get fuzzy or dissolve with aggressive sanding.
Step 3: Primer

Prime when working with bare wood or MDF, making dark to light color changes, covering stained furniture, or painting glossy surfaces and high-use pieces.
Skip primer for light to dark color changes, previously painted furniture in good condition with similar color choices, or when using quality paint-and-primer-in-one products.
Apply primer in thin, even coats and let each coat dry completely before proceeding.
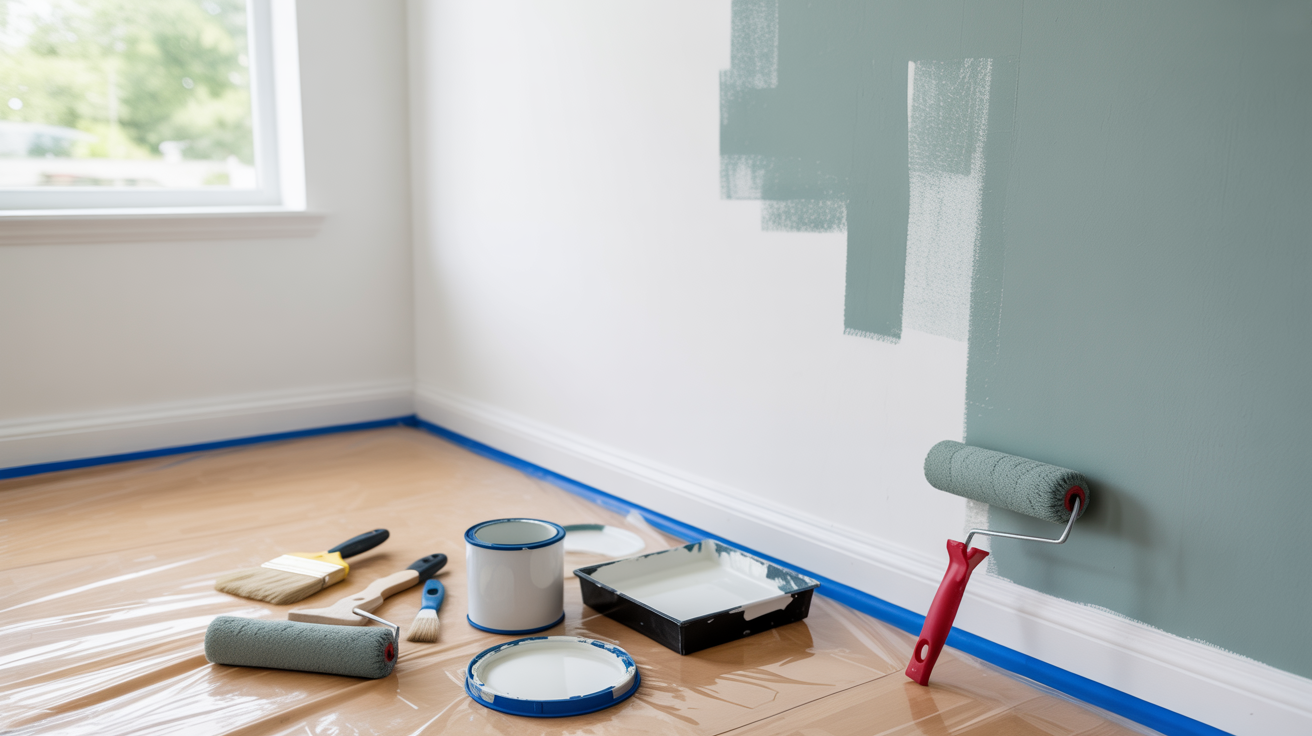
Step 4: Spray Painting Technique

Hold the can about 8–12 inches away from the surface and spray using steady, sweeping motions. Begin spraying just before the furniture and continue past the edges for an even coat.
Instead of trying to cover everything at once, apply 3–4 light layers, letting each coat dry properly in between. For the best finish, work in temperatures between 65–75°F with low humidity and no wind.
Done right, your furniture will be colored and brand new.
Step 5: Sealing

Seal high-traffic pieces like dining tables and coffee tables, kitchen and bathroom furniture, kids’ furniture, outdoor pieces, and light-colored paint that shows wear easily.
Skip sealing for decorative pieces with minimal handling, dark colors, furniture in low-use areas, or when using high-quality, durable paint.
Choose from polyurethane for maximum durability, polycrylic for white paint, wax for beauty with maintenance, or clear acrylic as a middle ground. Apply in thin, even coats just like paint.
Here’s a detailed step-by-step video tutorial on how to spray paint smoothly that you can refer to:
Troubleshooting & Tips
Even with perfect technique, things can go wrong. Here’s how to fix the most common issues:
- Drips and Runs: If you catch them while wet, you can sometimes brush them out with a foam brush. If they’re dry, you’ll need to sand them smooth and touch up the area.
- Rough, Orange-Peel Texture: Usually caused by spraying too far away or in conditions that are too hot. Light sanding between coats can help, or try thinning the paint slightly.
- Uneven Coverage: This often happens when you rush between coats. Make sure each coat is completely dry before adding the next, and don’t try to fix thin spots by spraying extra paint in just that area.
- Forgot to prime over stains: You might see bleed-through. Sand lightly and apply a stain-blocking primer, then repaint.
- Skipped sanding on glossy furniture: If the paint isn’t sticking, you’ll need to sand and start over.
- No sealer on high-use furniture: You can add it later, but the surface needs to be clean and lightly sanded first.
Final Thoughts
Here’s what I’ve learned after countless furniture makeovers: there’s no magic formula that works for every piece.
The key is honestly assessing what you’re working with and how you plan to use it. That gorgeous dining table your family gathers around every night? Don’t skip the primer and sealer.
Trust your gut, but when in doubt, do the prep work. Your future self will thank you when your paint job still looks great years later instead of chipping after a few months.
Ready to upgrade your furniture? Start with one piece, grab some quality paint, and put these tips to work.