Refinish Cabinets Like a Pro: Step-by-Step Cabinet Refinishing with Stain
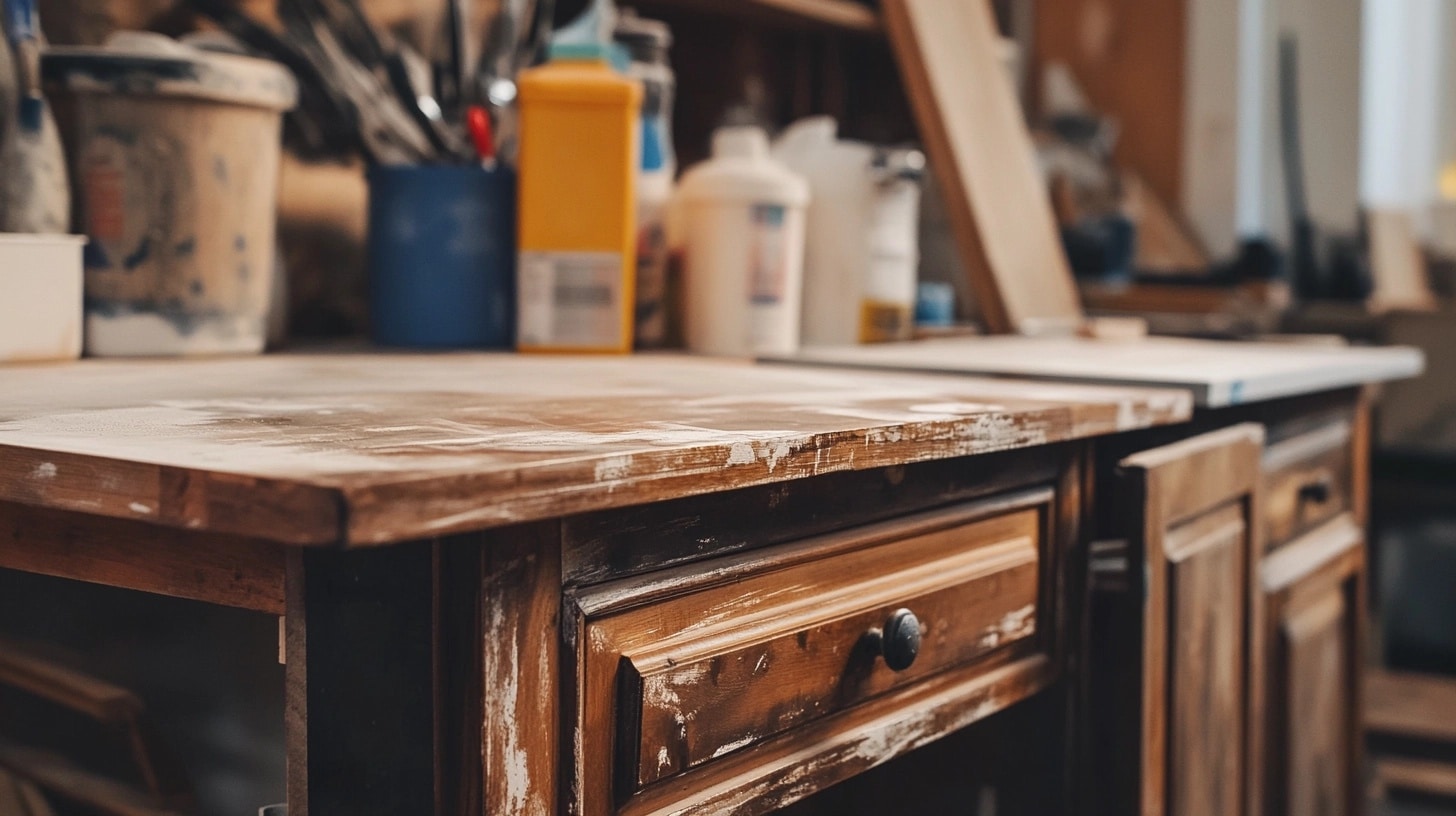
Want to update your cabinets without spending too much? Cabinet refinishing with stain offers a smart fix to refresh your space.
This guide walks you through each step to get expert-looking results at home.
With basic tools and the right steps, you can turn worn-out cabinets into beautiful, refreshed pieces that look brand new.
The process might take time, but the end results are worth the effort – and the money you’ll save compared to replacing your cabinets.
I’ll cover everything: picking your stain, getting your cabinets ready, applying the stain correctly, and finishing up with a protective coat.
By following these steps carefully, you’ll end up with cabinets that look professionally done, at a fraction of the cost.
Let’s start transforming your cabinets.
Understanding Cabinet Refinishing with Stain
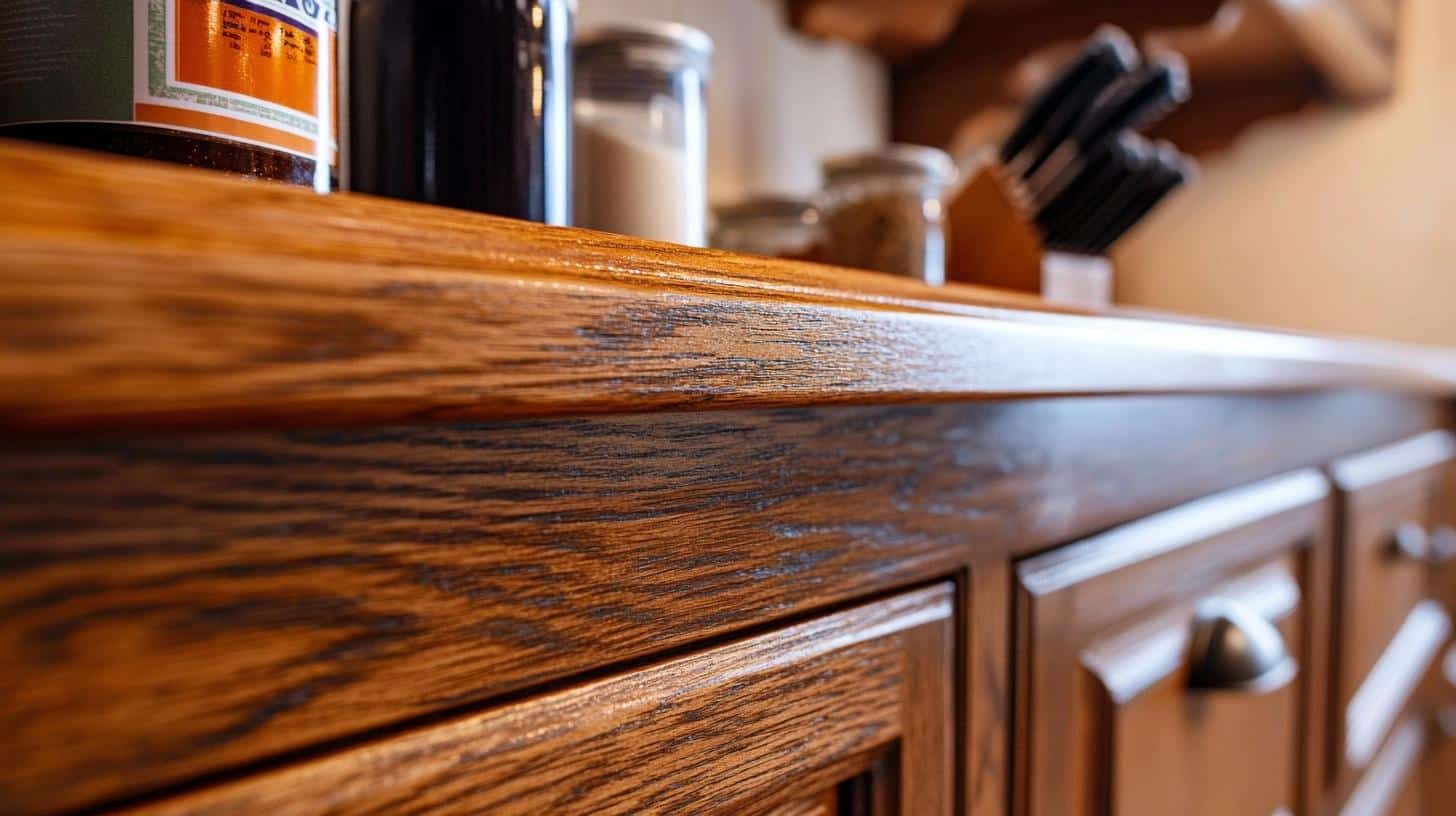
Cabinet refinishing with stain is a cost-effective method to give your cabinets a fresh look. In this section, I’ll explain the basics of staining, help you pick between stain types, and show why staining might be the right choice for your project.
What is Cabinet Refinishing?
Cabinet refinishing means updating existing cabinets by changing their color and finish.
Unlike painting, which puts a solid color on top, staining soaks into the wood to change its shade while keeping its natural patterns visible.
The process includes cleaning, sanding, and applying new stain and finish to make old cabinets look new again.
Why Choose Stain Over Paint?
Staining lets the wood’s natural patterns show through, adding depth to your cabinets.
Paint covers everything with one solid color, but stain brings out the unique marks and lines in your wood.
This gives a rich, warm look that many people prefer.
Stain also tends to hide small marks better than paint and often costs less to maintain over time.
Types of Stains: Oil-based vs. Water-based
| Feature | Oil-Based Stains | Water-Based Stains |
|---|---|---|
| Durability | Last longer | Typically less durable |
| Drying Time | Take more time to dry | Dry faster |
| Odor | Have a stronger smell | Have less smell |
| Color Depth | Give deeper color in fewer coats | Need more coats for deep color |
| Cleanup | Require mineral spirits for cleanup | Clean up with soap and water |
| Color Variety | Limited color variety | Come in many colors |
Pick your stain type based on:
- How much time you have
- Your skill level
- The look you want
- Where you’ll work (good air flow needed for oil-based)
- How much upkeep you want to do
Tools and Materials You’ll Need
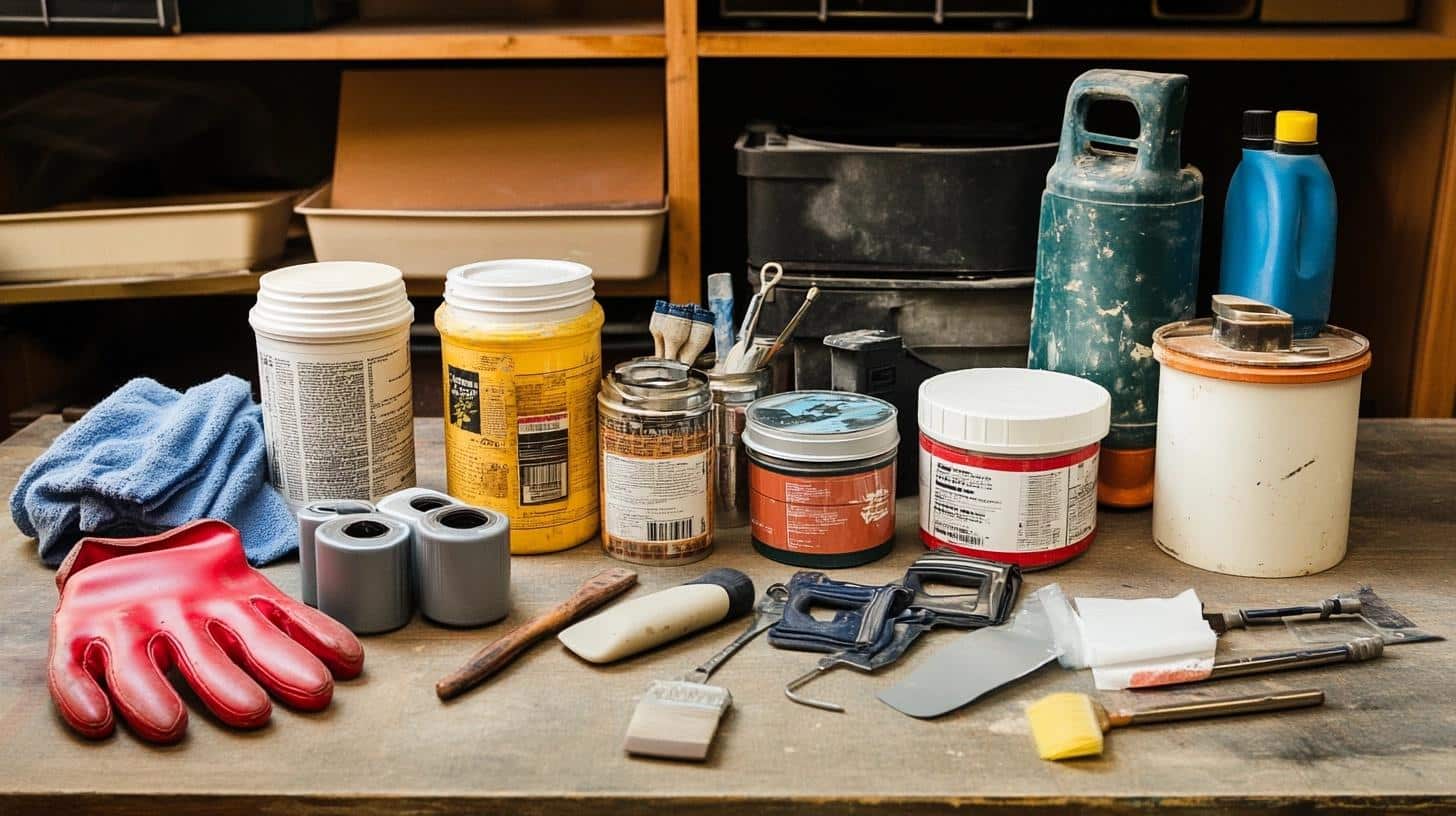
Before starting your cabinet project, getting the right tools and safety items is key. Here’s a complete general list of what you’ll need to do the job right and stay safe while working.
Essential Tools
You’ll need these basic tools:
- Screwdrivers (flathead and Phillips)
- Sanding blocks or electric sander
- Multiple grits of sandpaper (80, 120, 220)
- Good quality brushes
- Lint-free rags
- Painter’s tape
- Drop cloths
- Clean buckets
Materials
Your main materials include:
- Wood stain (oil or water-based)
- Protective top coat
- Wood filler for holes/dents
- Cleaning solution
- Degreaser
- Tack cloths
- Extra stir sticks
Remember: Good ventilation is essential. Open windows and use fans to move air through your work space. Never work in a closed room with these products.
Safety tip: Store all materials safely away from heat and direct sunlight, and keep them out of reach of children and pets.
Refinishing Cabinets With Stain: A Step-by-Step Guide
Preparing Your Cabinets for Refinishing
Step 1: Remove Cabinet Doors and Hardware
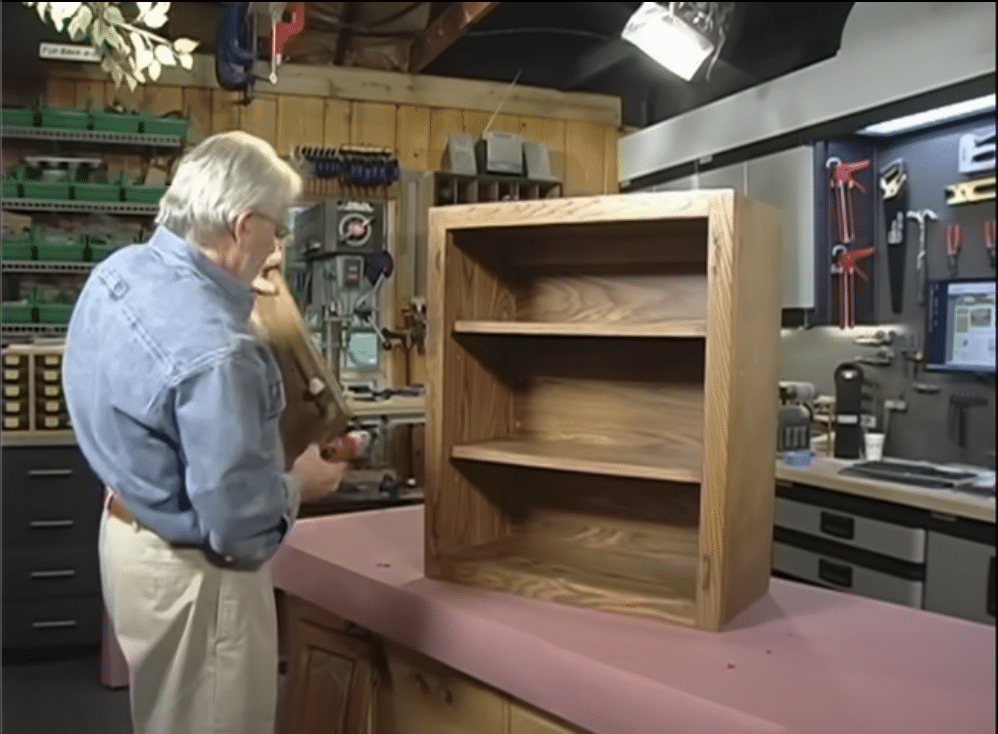
- Take off all cabinet doors
- Remove shelves completely
- Take out all knobs and handles
- Remove all hinges
- Keep hardware in small containers
- Consider updating hardware during this process
Step 2: Clean and Degrease Cabinets
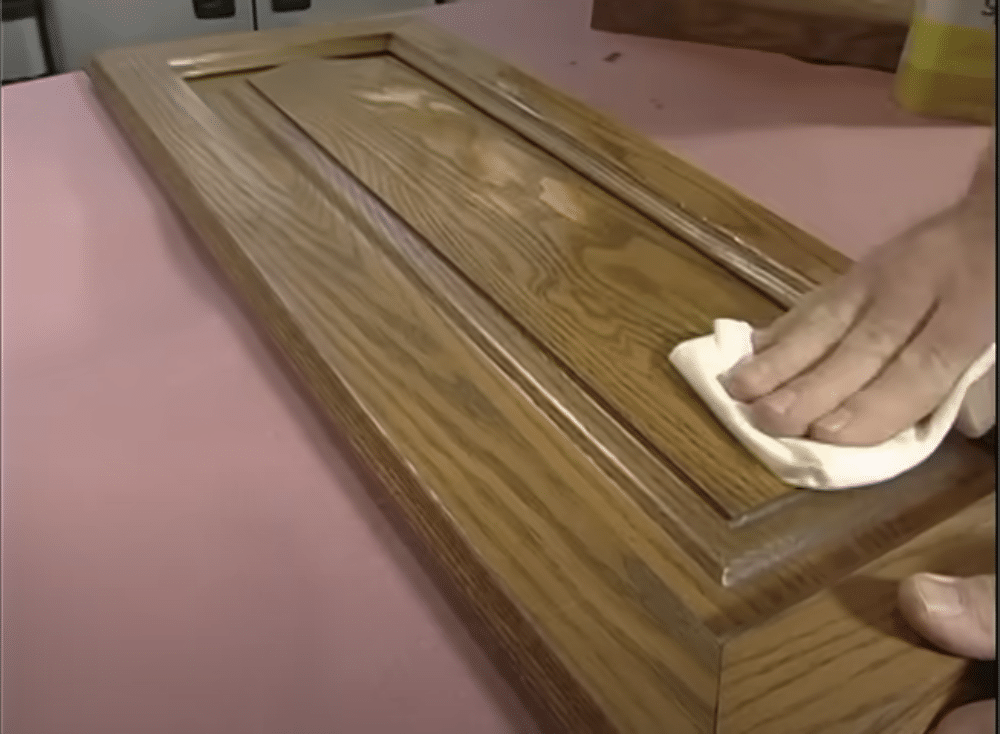
- Use mineral spirits from hardware store
- Dampen a soft cloth with mineral spirits
- Clean surfaces 2-3 times
- Turn cloth regularly while cleaning
- Pay special attention to areas near cooking spaces
- Look for visible grime removal as you clean
Step 3: Sanding the Surface
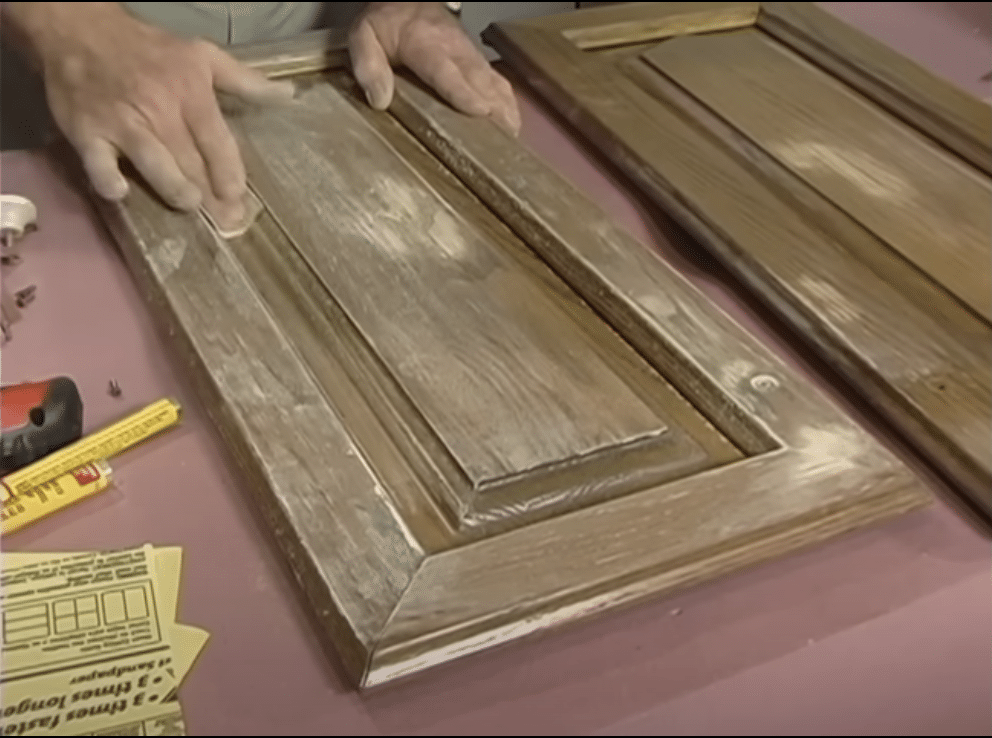
- Use fine 220-grit sandpaper
- Fold sandpaper into thirds to use entire sheet
- Press evenly with fingers
- Use long strokes following wood grain direction
- For curved areas: Use individual fingers and make sandpaper follow curved profiles
- Sand just enough to roughen existing finish
- Remove dust with clean rag or tack cloth
Staining Your Cabinets
Step 1: Choose the Right Stain
- Select combination stain and polyurethane product
- Stir product thoroughly
- Pull pigments up from bottom while mixing
- Don’t shake the can (prevents air bubbles)
- Stirring stick should come out clean when mixed well
Step 2: Applying the Stain
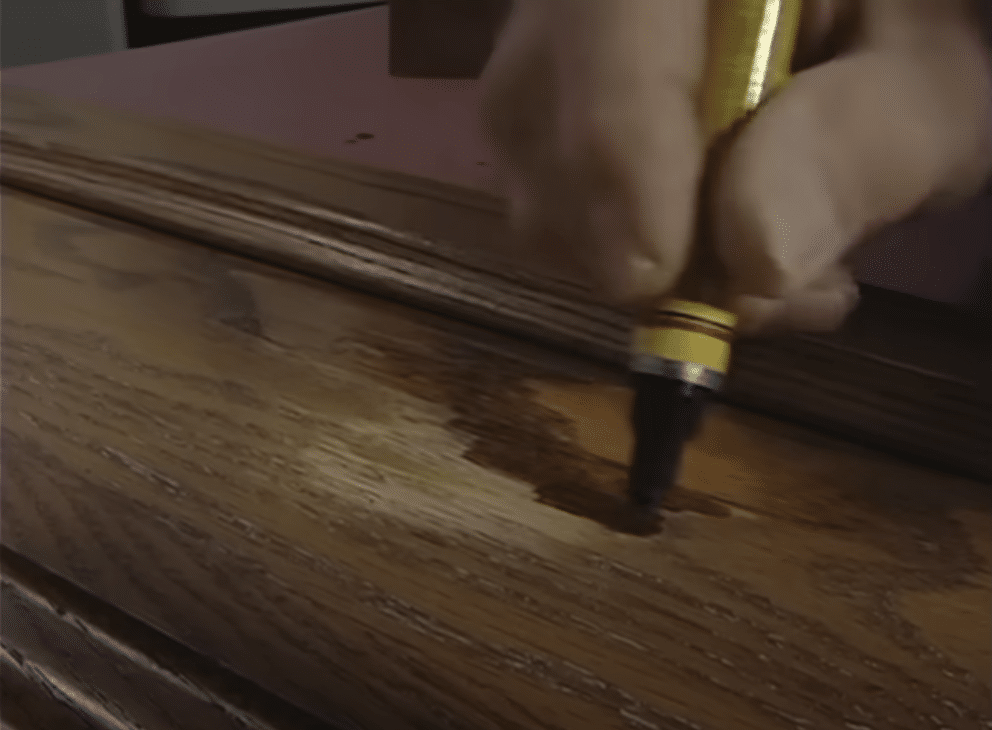
- Use quality brush with secure bristles
- Start with coating detailed areas and panels
- Move to flat surfaces
- Apply smooth, even film
- Don’t over-brush
- For deeper color, add second coat after drying
Step 3: Letting the Stain Dry
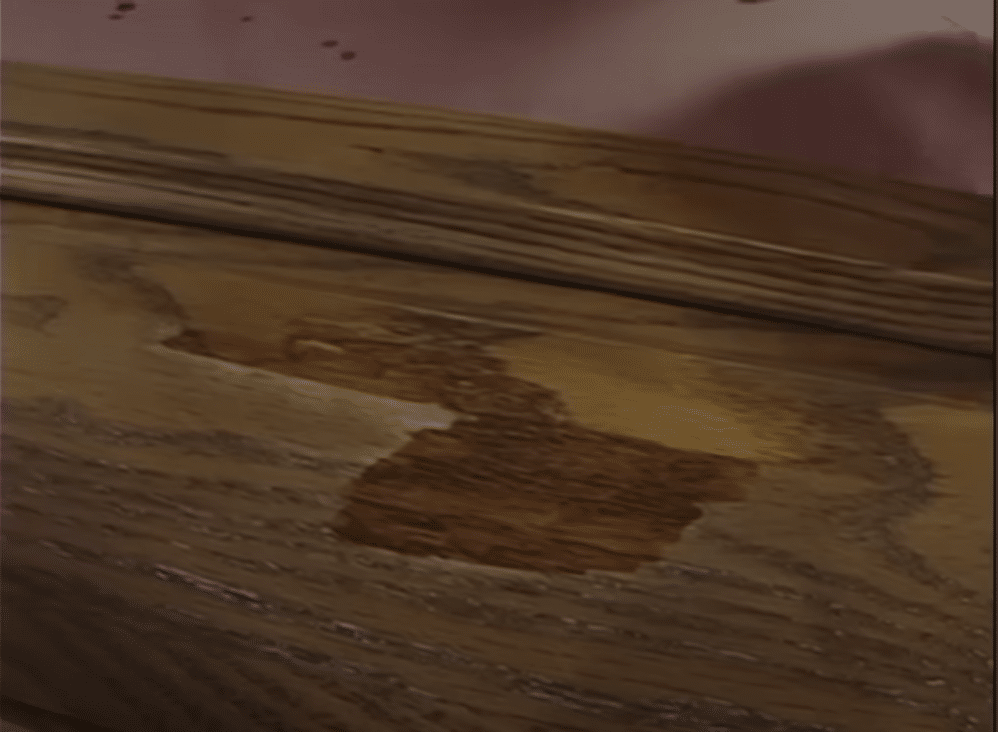
- Allow finish to dry completely
- Follow product instructions for drying time
- Keep area well-ventilated during drying
Finishing and Protecting Your Cabinets
Step 1: Applying a Protective Finish
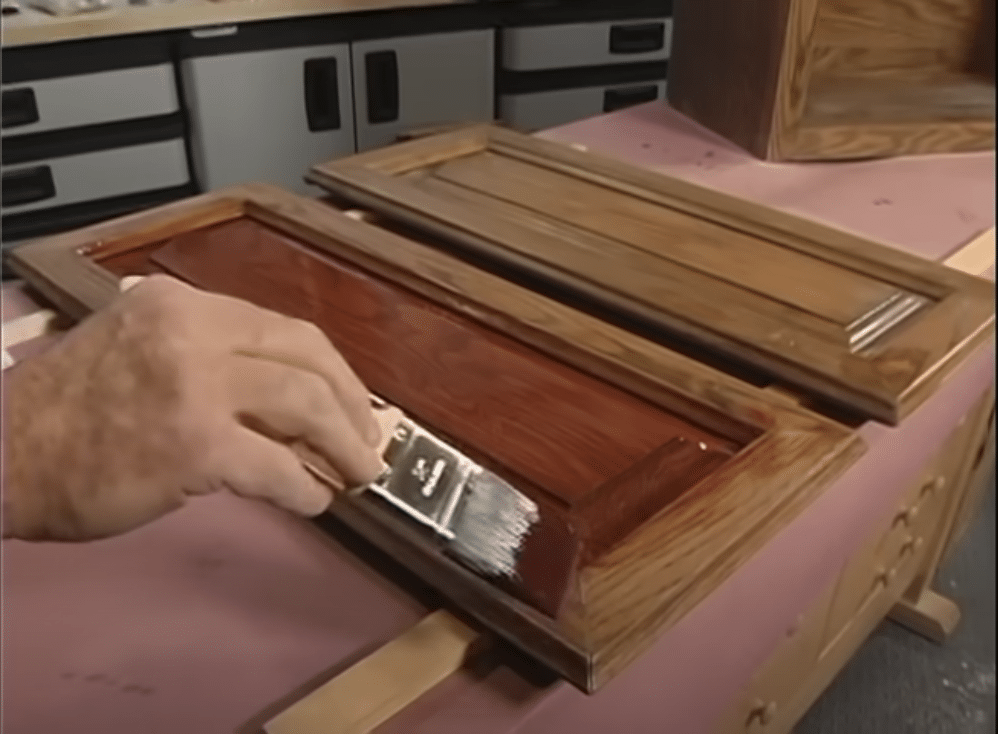
- Use long, straight parallel strokes
- Apply in one direction (“striking off” technique)
- Ensure even coverage
- Don’t pile on too much material at once
Step 2: Final Touches
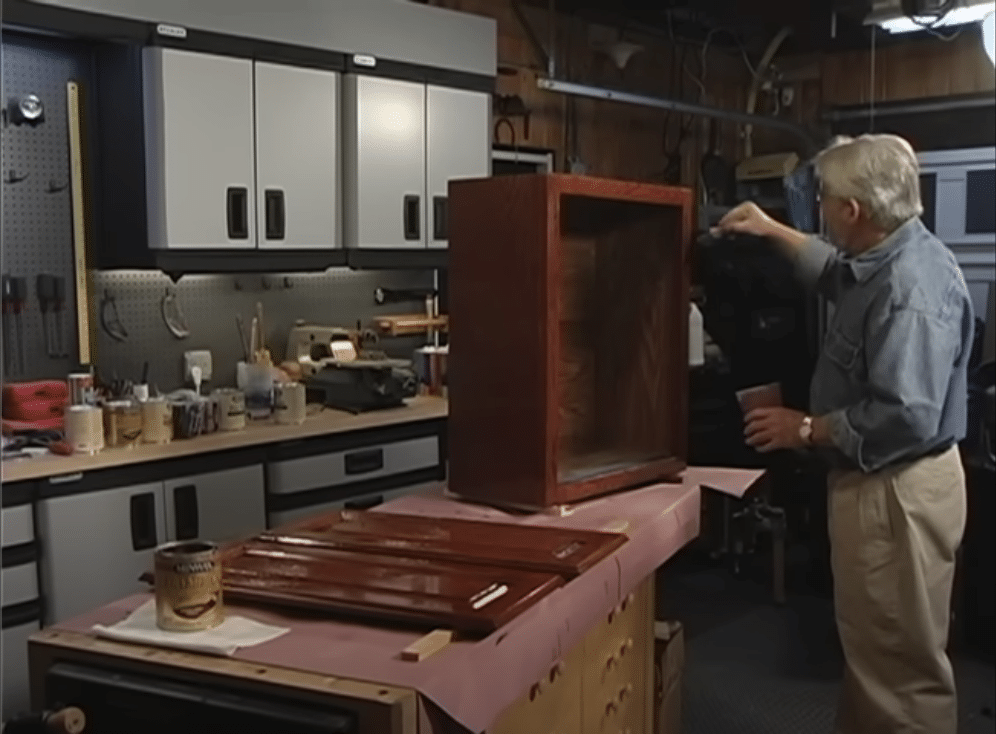
- Check for any bristles in finish
- Fix any uneven areas
- Let protective coat dry fully
Step 3: Reinstalling Cabinet Doors and Hardware
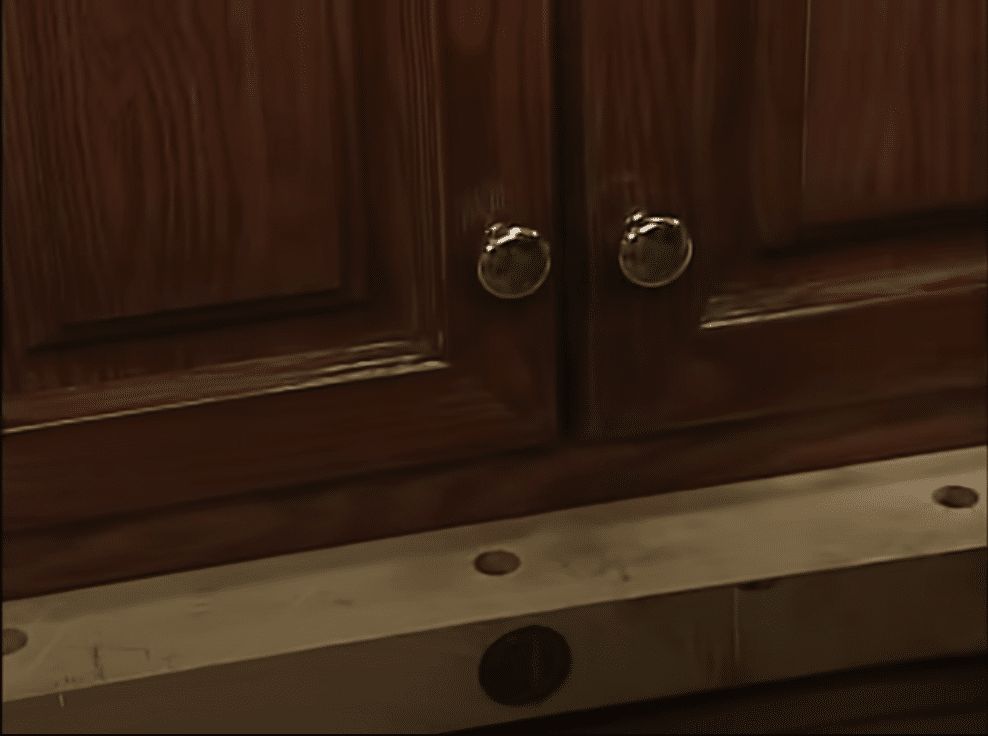
- Wait until completely dry
- Install new hinges if needed
- Put on new knobs if updating
- Carefully reattach doors
- Test all hardware for proper function
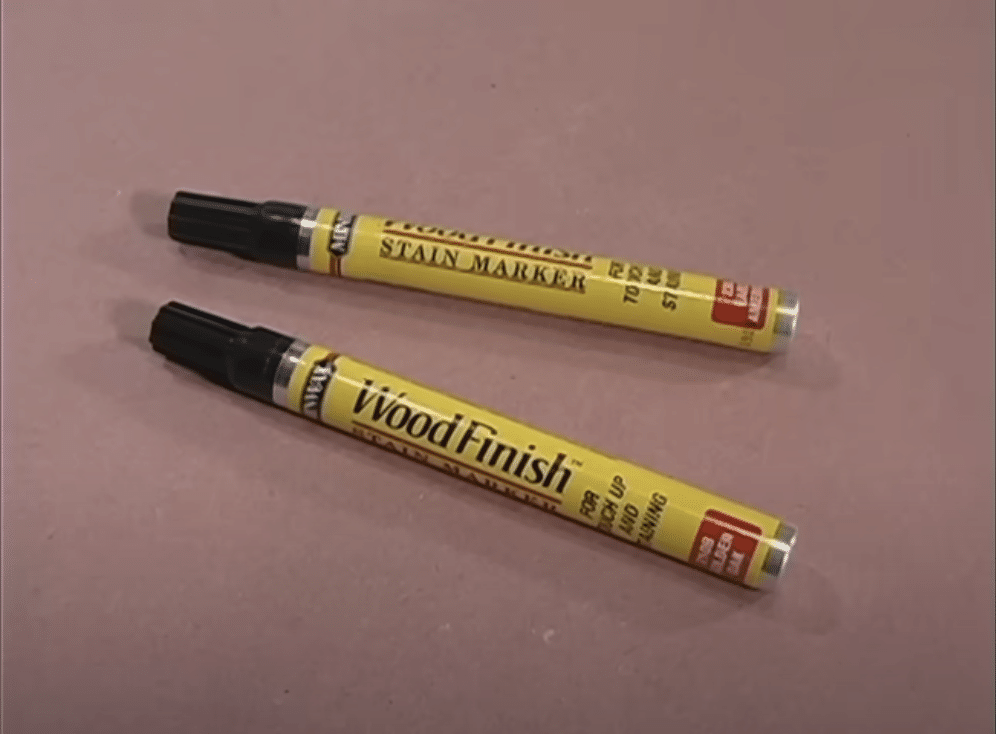
Note: For worn spots, use touch-up pens:
- Choose matching wood tone
- Apply like felt marker
- Let color dry briefly
- Wipe off excess
- Blend edges carefully
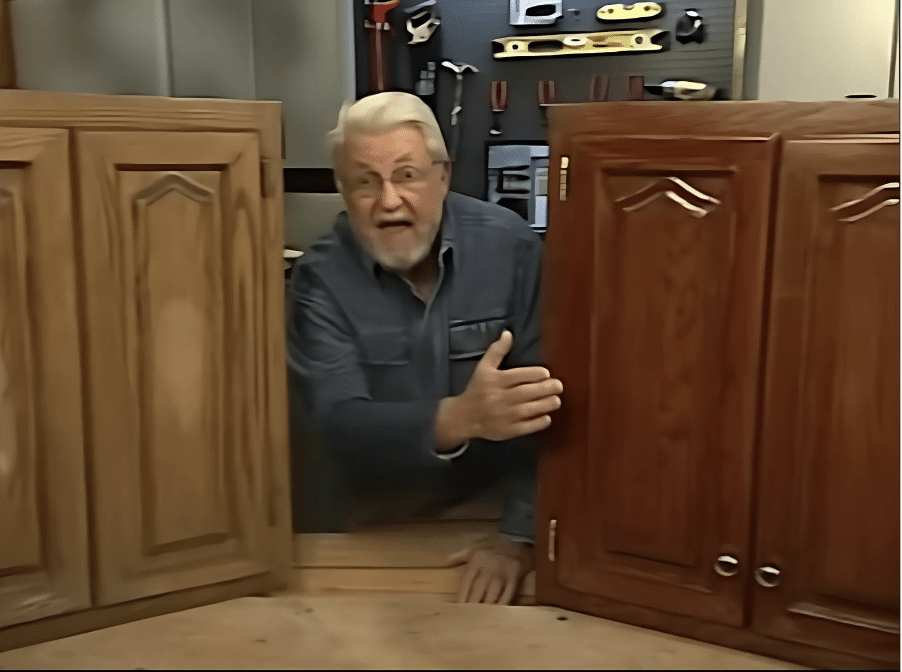
Watch this to get more in depth information on refinishing the cabinets.
Common Mistakes to Avoid
Let me help you skip the trial and error by sharing the typical errors people make when staining cabinets. Knowing these will save you time, money, and frustration.
Skipping Sanding or Inadequate Preparation
Many people rush past proper prep work, but this leads to poor results. Watch out for:
- Not removing all old finish
- Using the wrong sandpaper grit order
- Missing spots in corners and edges
- Not cleaning dust between sandings
- Starting to stain before the surface is fully ready
Fix: Take time to sand properly. Start with rough grit, then move to finer grits. Clean thoroughly between steps.
Overapplying Stain or Using the Wrong Type
Too much stain doesn’t mean better results. Common issues include:
- Putting on thick layers
- Not wiping excess stain
- Mixing different stain types
- Not testing on a hidden spot first
- Using old or expired products
Fix: Apply thin, even coats. Wipe off extra stain after a few minutes. Always test first.
Not Allowing Sufficient Drying Time
Rushing between coats ruins the finish. Problems include:
- Adding new coats too soon
- Not checking weather conditions
- Working in high humidity
- Not following product instructions
- Moving cabinets back too quickly
Fix: Read product labels for exact drying times. Add extra time for humid days.
Ignoring Protective Measures
Skipping the final steps affects longevity. Watch for:
- No protective topcoat
- Wrong type of sealer
- Too few sealer coats
- Poor application method
- Not sealing all edges
Fix: Always use a good topcoat. Apply several thin layers for the best protection.
Tips for Achieving Professional Results
Getting that expert finish isn’t magic – it’s about using the right methods. Here’s how to get results that look like a pro did the work.
Work in a Well-Ventilated Area
Good air flow is crucial for:
- Helping stains dry properly
- Keeping you safe from fumes
- Making sure each coat sets right
- Preventing dust from sticking
Tips:
- Open windows on opposite sides
- Set up fans for cross-ventilation
- Work in dry weather when possible
- Check weather forecasts for humidity levels
- Consider working outdoors if possible
Apply Multiple Thin Coats for Better Coverage
The secret to smooth results:
- Start with light coats
- Let each layer dry fully
- Build up color slowly
- Keep strokes even
- Watch for drips
Tips:
- Use soft, steady pressure
- Work in small sections
- Keep a “wet edge”
- Remove excess quickly
- Check for missed spots
Use Quality Brushes or Cloths
Good tools make a big difference:
- Buy quality brushes
- Use lint-free cloths
- Clean tools between uses
- Store brushes properly
- Replace worn items
Tips:
- Natural bristles for oil-based stains
- Synthetic for water-based
- Wash brushes right after use
- Use clean cloths for each coat
- Check for loose bristles
Test on a Hidden Area Before Full Application
Always sample first:
- Try stain on cabinet backs
- Test different products
- Check drying time
- See true color
- Practice method
Tips:
- Use scrap wood pieces
- Try different application times
- Check in various lights
- Wait full drying time
- Keep notes on results
Conclusion
Getting great results with cabinet staining is all about patience and following the right steps. With this guide, you now know the key steps to make your old cabinets look fresh and new.
Remember to focus on proper preparation, choose the right stain type for your needs, and never skip safety measures.
Take time between coats, use quality tools, and always add a protective finish at the end.
If you’re ready to start your cabinet project, begin with a small test area. This lets you practice your technique and see how the stain looks on your specific wood type.
Take it step by step, and you’ll end up with cabinets that look professionally finished.
Need more home improvement tips? Check out our other DIY guides to help make your home projects successful.
Frequently Asked Questions
Can I stain over painted cabinets?
No. Paint must be completely removed first. Stain needs bare wood to soak in and show the natural grain.
Is it necessary to remove cabinet doors before staining?
Yes. Removing doors helps you work better on all surfaces and prevents drips. It also makes tracking parts and even coverage easier.
How long does the refinishing process take?
A full cabinet refinishing job typically takes 4-7 days, including drying time between coats. Weather and humidity can affect this timeline.
Can I refinish cabinets without sanding?
No. Sanding is essential to remove old finish and open wood pores so stain can penetrate. There’s no shortcut that gives good results.

