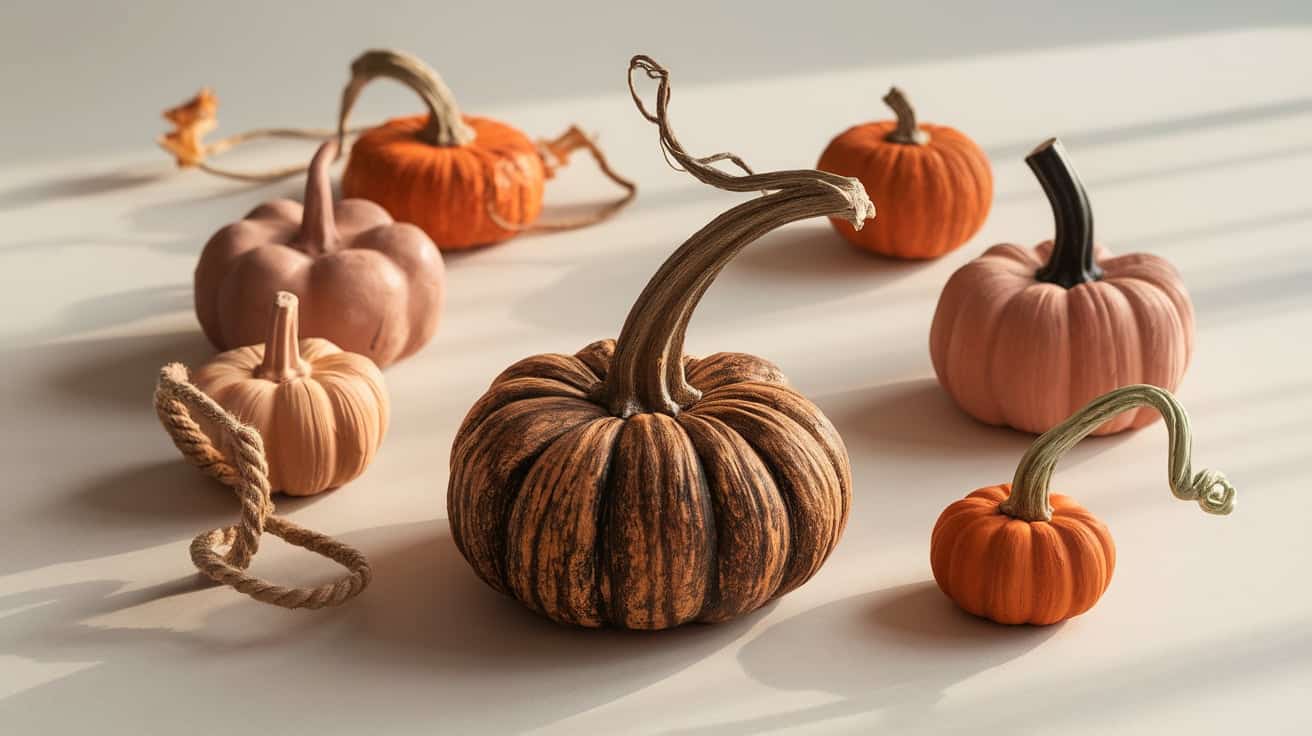
Pumpkin Stems: A Detailed Guide for Better Fall Crafts
Pumpkin stems are key in making seasonal decorations look authentic and appealing. These small but important parts turn ordinary craft pumpkins into eye-catching pieces that stand out in any fall display.
Many crafters find that switching basic plastic stems with more natural options makes their projects look better.
Real stems bring special details to each piece, from tiny cracks to rich colors that catch the light. Their shapes vary, letting you pick the perfect match for your project.
This guide covers everything about pumpkin stems. You’ll learn where to find them, attach them safely, and make them last longer.
We’ve gathered tips from skilled crafters and tested methods that work well. By the end, you’ll know how to choose and use stems that make your decorations look their best.
What is a Pumpkin Stem?
A pumpkin stem works as a natural feeding tube for the growing fruit. This part carries water and essential nutrients that help the pumpkin grow strong and healthy.
The stem has three key sections: a tough outer shell, soft inner fibers, and a connection point at the base. Natural stems show unique marks from sun and rain, which makes them stand out from plastic versions.
Uses of Pumpkin Stems in Crafts and Decor
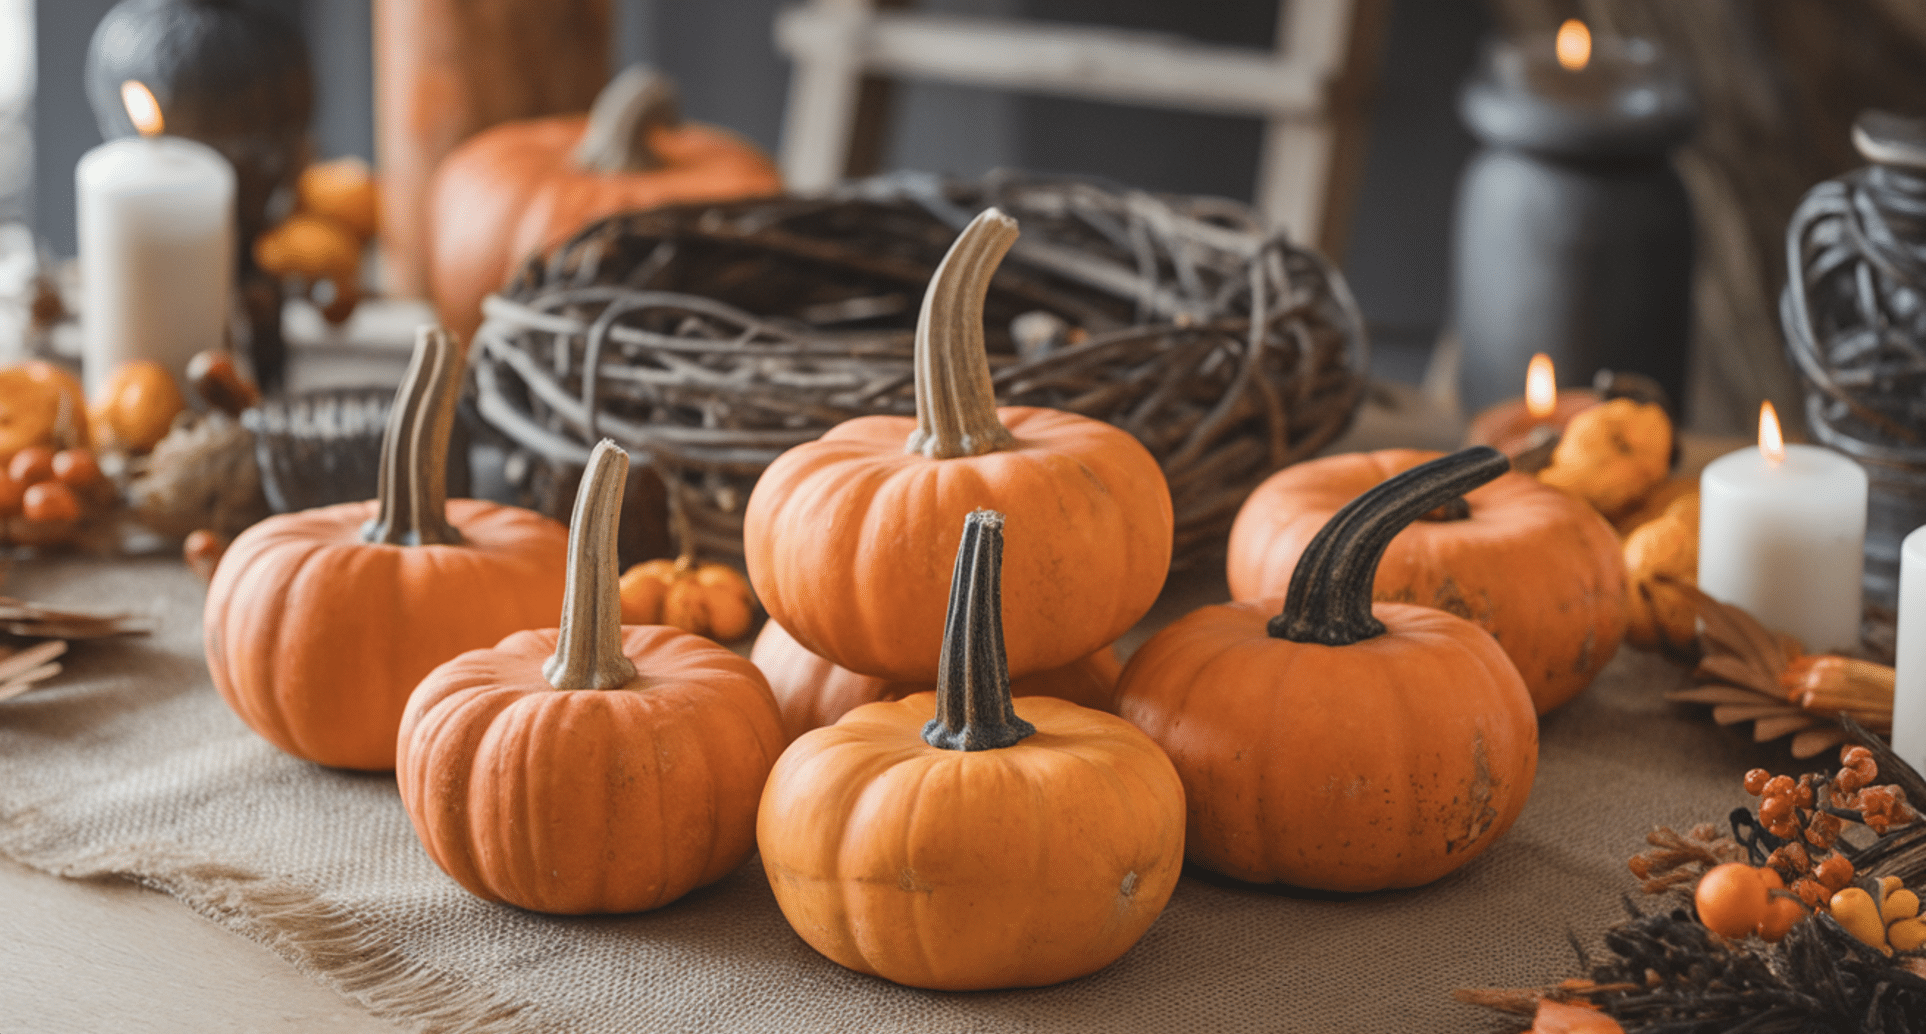
Real stems transform basic craft store pumpkins into special pieces for home decor. Small pumpkins with natural stems are perfect for fall table settings and door wreaths.
These stems create better-looking seasonal decorations at a lower cost. They can be added to centerpieces, wall hangings, and garden displays.
Are Pumpkin Stems Edible or Safe to Use?
Pumpkin stems should never be used in food—they’re too hard and woody to eat. To prevent mold growth, always clean and dry stems before using them in your projects.
Put on gloves when handling stems to avoid small splinters. Some people get itchy skin from raw stems, so it’s best to be careful while working with them.
Sourcing Pumpkin Stems
1. Where to Buy Pumpkin Stems?
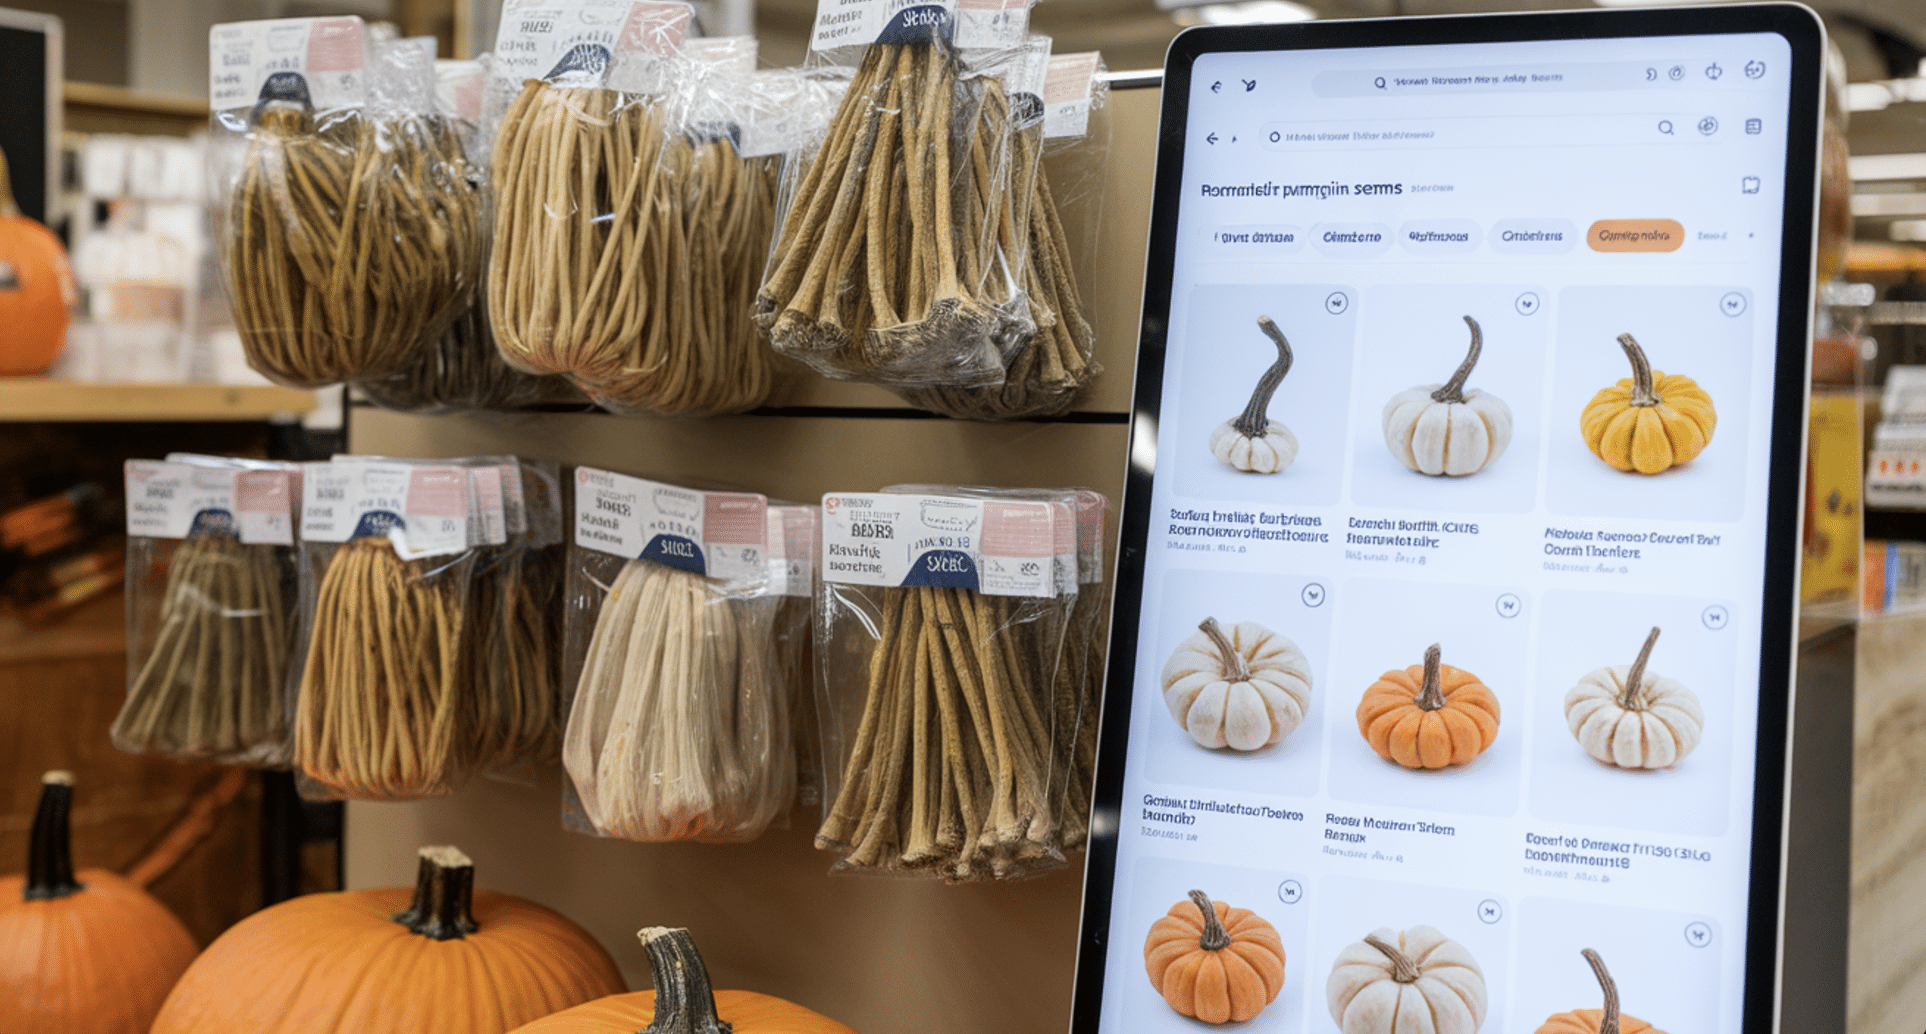
Craft stores like Michaels and Hobby Lobby stock pumpkin stems in their fall sections. Online marketplaces offer both natural and handmade options at different price points.
Local garden centers sometimes sell dried stems during the fall season. Farm shops near pumpkin patches might keep stems aside for crafters who ask.
2. Collecting Real Pumpkin Stems
To gather stems yourself, visit pumpkin patches after the main season ends. Most farmers let you collect stems from leftover pumpkins, but always ask first.
Look for thick, sturdy stems without signs of rot or damage. The best stems come from pumpkins that grow in sunny spots with good airflow.
3. Sustainable and Eco-Friendly Options
Making stems from natural rope or twine offers an earth-friendly choice. These materials break down naturally and cost less than store-bought options.
You can reuse stems year after year by storing them in a dry place. Some crafters share or swap stems in local groups, building community while saving resources.
If you have space to plant pumpkin stems, consider using them. Home-grown stems connect your decorations to your garden story.
A Step-By-Step DIY Pumpkin Stem Crafting Guide
STEP 1: Prepare the Original Pumpkin Stem
Start by removing the base of the plastic pumpkin stem and trimming away any extra parts. Ensure the stem is clean and smooth to serve as the base for your DIY project.
Preparing stems in advance saves time when crafting later.
STEP 2: Cut and Attach Rope
Cut thick jute rope into strips of desired lengths. Use a hot glue gun to attach the rope strips to the plastic stem, covering it entirely. Apply the rope in the same direction and twist it around the stem for a cohesive look.
STEP 3: Fill Gaps with Smaller Rope Pieces
Cut smaller pieces and glue them into gaps for areas where full rope strips don’t fit. Ensure the entire stem is covered evenly. This step helps create a seamless and rustic appearance for your pumpkin stem.
STEP 4: Untwist and Fluff the Rope Ends
Untwist the rope at the top of the stem to create a fuller, natural look. Each strand of rope typically separates into three pieces, adding volume and texture. Trim any excess length with scissors for a clean finish.
STEP 5: Add Finishing Details
For extra flair, attach a small loop of rope at the base or middle of the stem and secure it with hot glue.
Paint the stem in harvest tones or metallic shades for a festive touch. Enjoy your beautiful, custom-made pumpkin stems!
Video Tutorial
For more information, check out this video tutorial by DIY Diva.>
Attaching Pumpkin Stems to Various Surfaces
Foam Pumpkins
Choosing the right glue combination is key to attaching stems to foam pumpkins. Start with a layer of E6000 adhesive, which forms a strong bond with the foam and stem materials.
Adding a small amount of hot glue helps hold the stem in place while the stronger adhesive dries. Cut a small circle in the foam top to create a flat surface for better stem attachment.
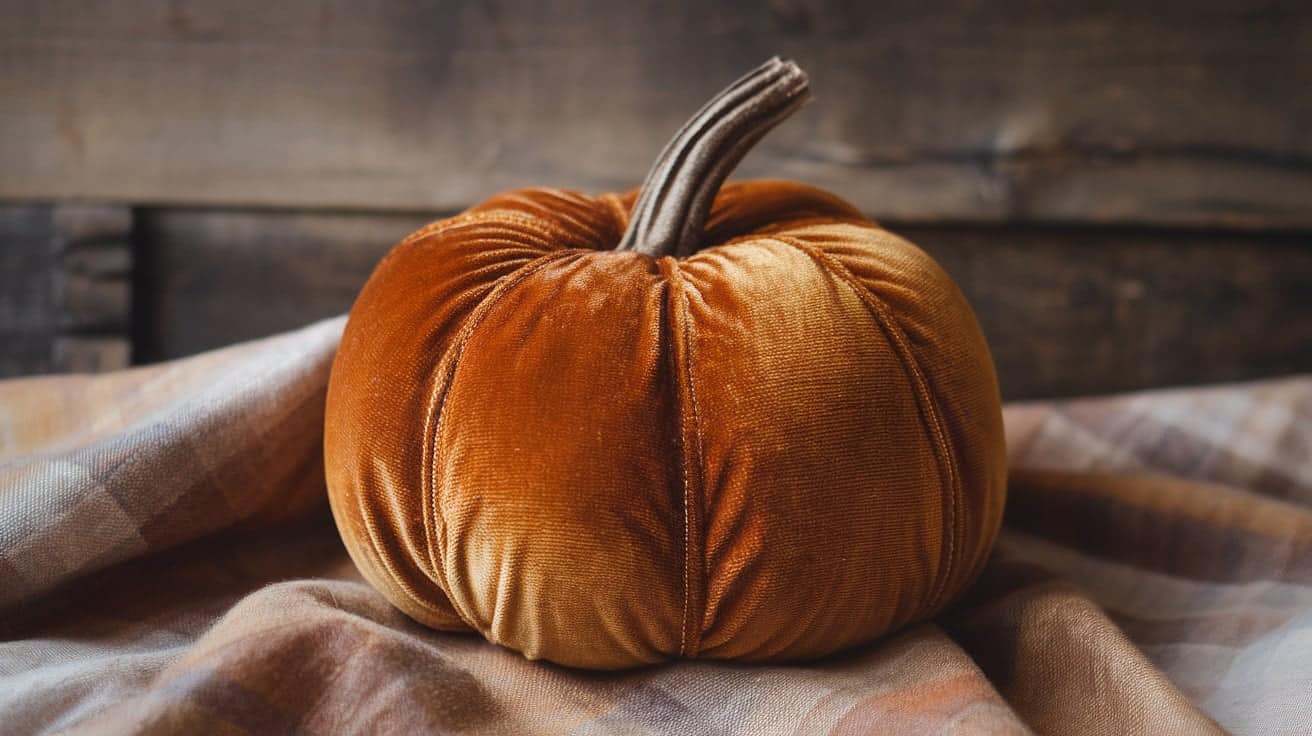
Fabric and Velvet Pumpkins
Securing stems to fabric pumpkins requires special care to protect the material. Begin by creating a small opening at the top, then insert a cardboard circle for support.
Hand-stitching, using strong thread in a circular pattern, offers the most secure method for fabric pumpkins. When gluing becomes necessary, fabric glue helps prevent damage to fragile materials.
Real Pumpkins
Working with real pumpkins requires quick action since their surface changes as they age. Remove any soft spots around the natural stem area before adding reinforcement.
Apply wood glue around the base of loose stems to strengthen their attachment. A thin, clear sealant layer helps preserve the stem and the surrounding pumpkin surface.
For best results, work in a well-ventilated area and let each layer of adhesive dry fully. Keep the pumpkin in a cool, dry spot while waiting for the glue to set. Complete curing typically takes about 24 hours.
Tips and Tricks from the Experts
1. Professional Insights
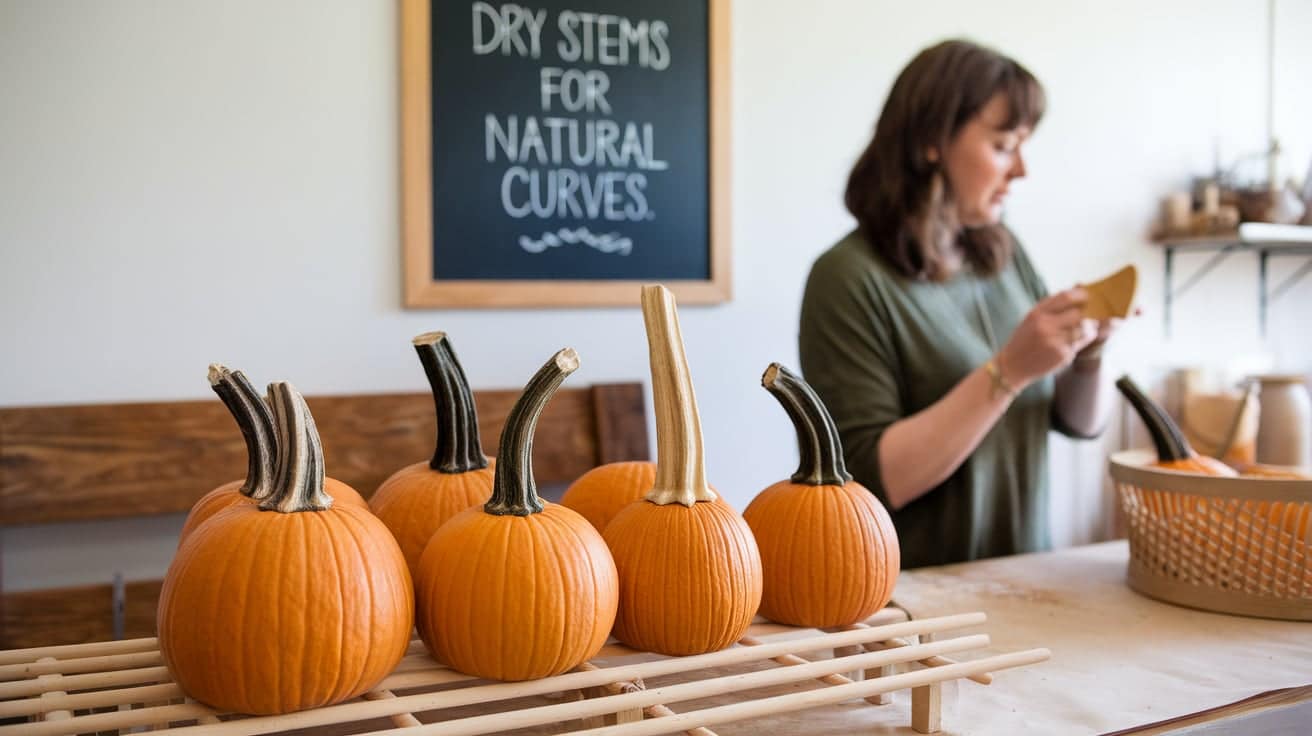
Professional crafters recommend testing adhesives on a small area before full application. Mary Smith, who creates pumpkin decorations for local stores, suggests drying stems upright to maintain their natural curve.
Sarah Lee, owner of Autumn Crafts Co., shares her method of using sandpaper to shape stems. She points out that light sanding creates tiny grooves that help adhesives stick better to the surface.
2. Common Mistakes to Avoid
People often rush the drying process, which leads to stems falling off later. Letting each adhesive layer dry completely makes your work last much longer.
Many crafters use too much glue, creating messy edges around the stem base. A small amount applied carefully works better than large globs that might show through.
3. Enhancing Realism
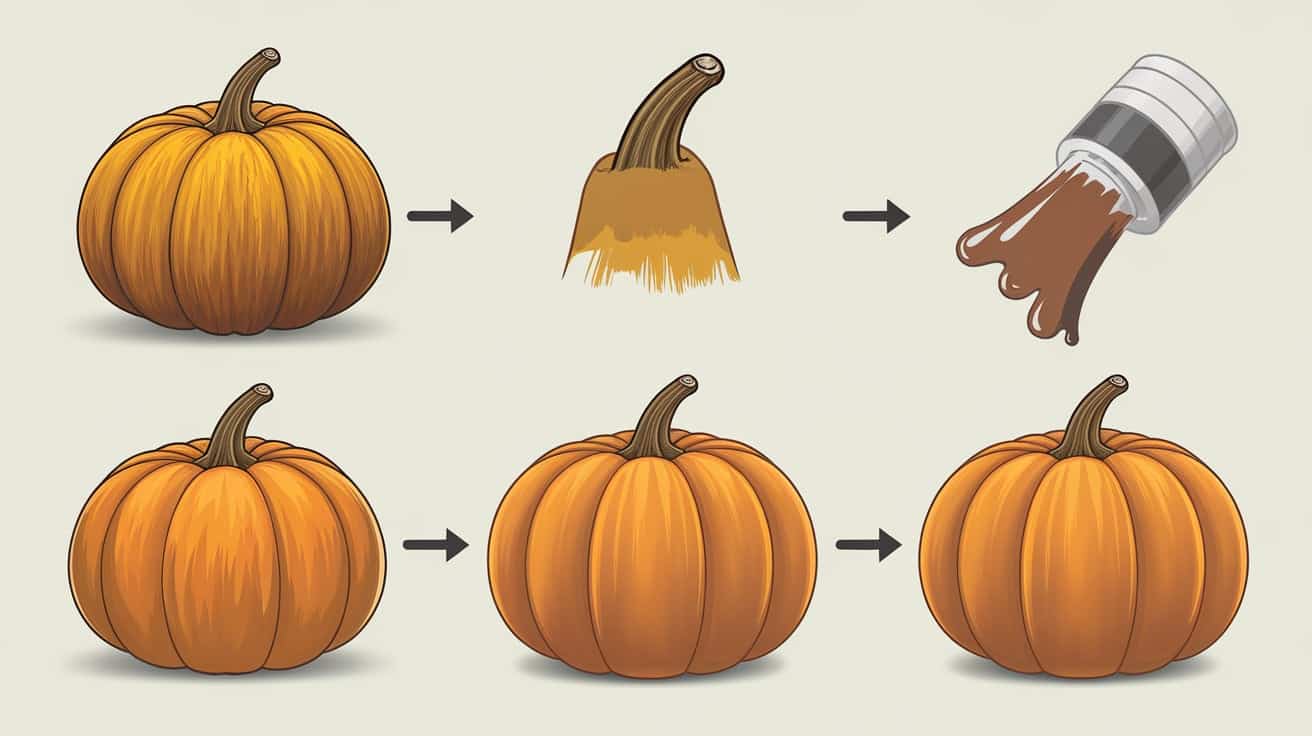
Paint application makes a big difference in how natural your stems look. Start with a dark brown base coat, then add lighter shades to create depth and texture.
Small details matter when making stems look real. Try adding fine lines with a dry brush, mimicking the natural wood grain patterns in real stems.
The final touch involves creating a slight texture on the surface. Mixing a small amount of fine sand with paint adds the perfect finishing touch to your stem project.
Working with stems takes practice, but these methods help create lasting results. Remember that each stem turns out slightly different, just like in nature.
Conclusion
Creating better pumpkin stems adds a special touch to your fall decorations. The methods we’ve covered help you turn simple craft store items into decorations that look true to nature.
You can make stems that last through many seasons with the right tools and techniques.
We’d love to see how you use these ideas in your projects. Share photos of your pumpkin stem creations on social media. Your unique take might spark ideas for others in our crafting community.
Do you have questions or want to show off your work? Leave a comment below.
Each project teaches us something new, and sharing helps everyone create better seasonal decorations. Let’s keep building our skills together.

