Polyurea Garage Floor Coating 101: Benefits, Drawbacks and Costs
Garage floors take constant abuse from vehicle traffic, spills, and daily wear. Protecting these surfaces has become a key focus for homeowners seeking lasting solutions.
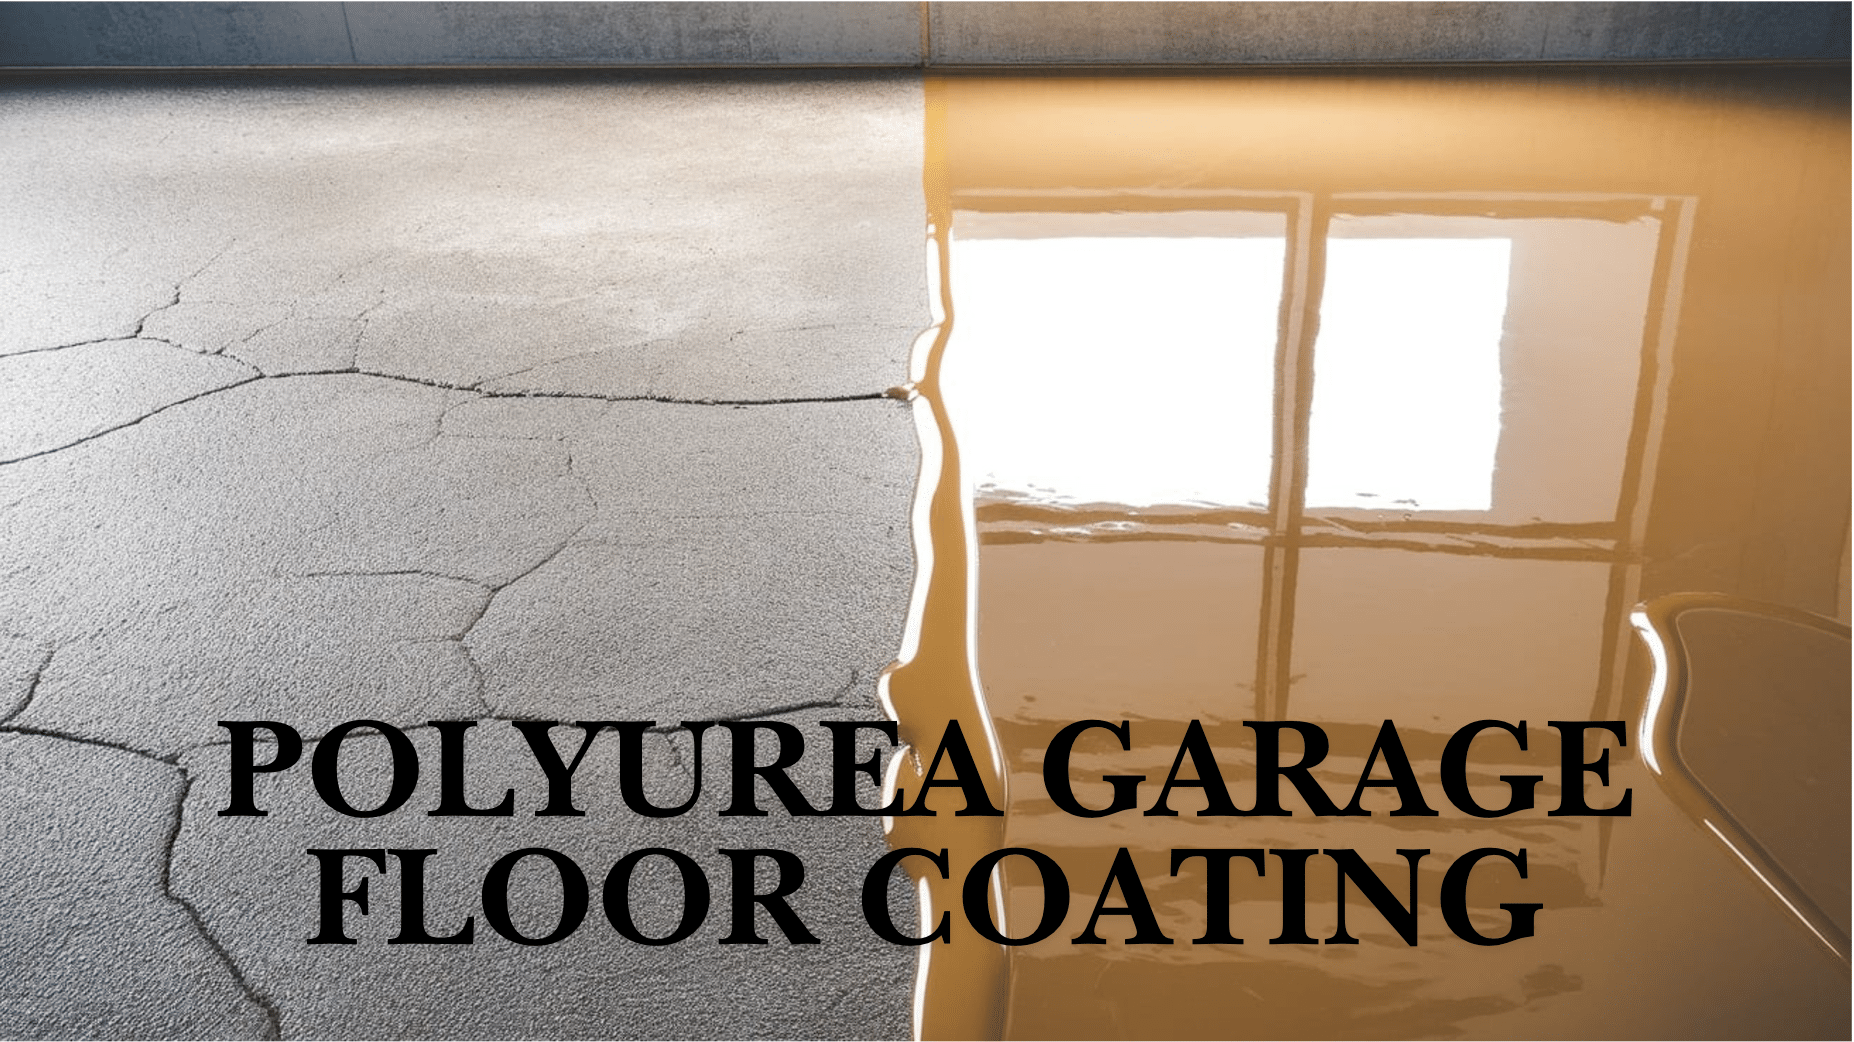
Enter polyurea floor coatings, a modern answer to garage floor protection. These coatings create a strong barrier that shields concrete from damage while adding visual appeal.
More homeowners now pick polyurea over traditional options like paint or epoxy. The reasons include faster installation times and better protection against chemicals and wear.
This guide covers everything you need to know about polyurea garage floor coatings. From basic facts to installation tips, we’ll help you understand if this option fits your needs.
Let’s explore why these coatings have become a top choice for garage floor protection.
What is Polyurea?
Polyurea is a unique compound that combines synthetic resin with specific reactive materials. This chemical combination forms a strong protective layer that bonds well with concrete surfaces.
The material stands out because of its quick-setting nature and excellent adhesion properties. When applied to garage floors, polyurea creates a shield-like surface that prevents damage from various sources.
The coating process involves a chemical reaction that produces a firm yet slightly flexible surface. This surface coating offers better protection than standard paint or basic sealers.
How Polyurea Coatings Work
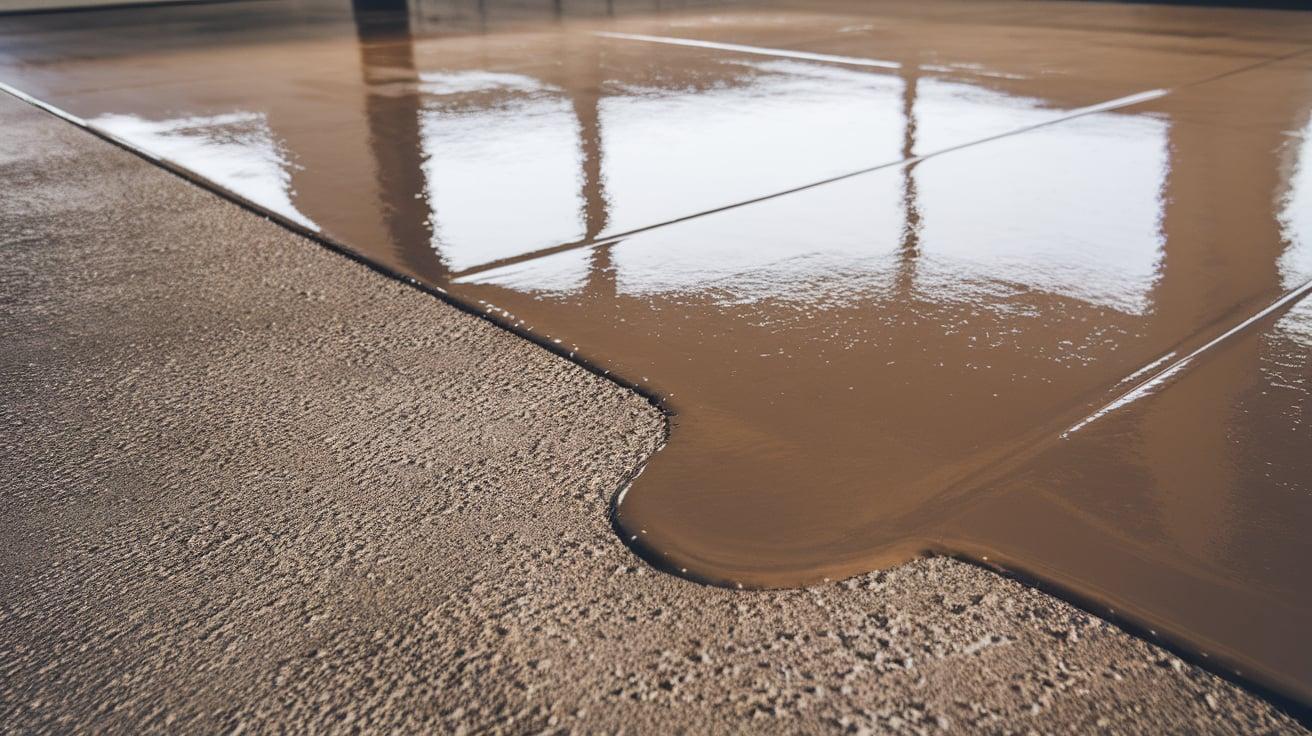
Through molecular bonding, polyurea coatings form a strong barrier between your garage floor and harmful elements. This bond creates a protective layer that stops water, chemicals, and other substances from reaching the concrete below.
As it cures, the coating fills tiny pores and cracks in the concrete surface. This filling action helps prevent future damage and extends the life of your garage floor.
The material also creates a non-porous surface that stops liquids from seeping into the concrete. This protection is vital in garages where oil, gas, and other fluids might spill.
Polyurea vs. Epoxy: A Detailed Comparison
Polyurea offers several advantages over traditional epoxy coatings in terms of performance and application. The main difference lies in the curing time – polyurea hardens within hours, while epoxy needs several days.
Polyurea is more resistant to temperature changes than epoxy. Polyurea maintains its integrity, while epoxy might crack or chip during temperature shifts.
The cost factor differs between these options, with polyurea having a higher upfront cost. However, its longer lifespan and reduced need for repairs often make it more cost-effective.
Epoxy tends to turn yellow when exposed to sunlight, requiring more frequent maintenance. In contrast, polyurea maintains its color and clarity even with regular sun exposure.
Benefits of Polyurea Garage Floor Coatings
1. Superior Durability and Flexibility
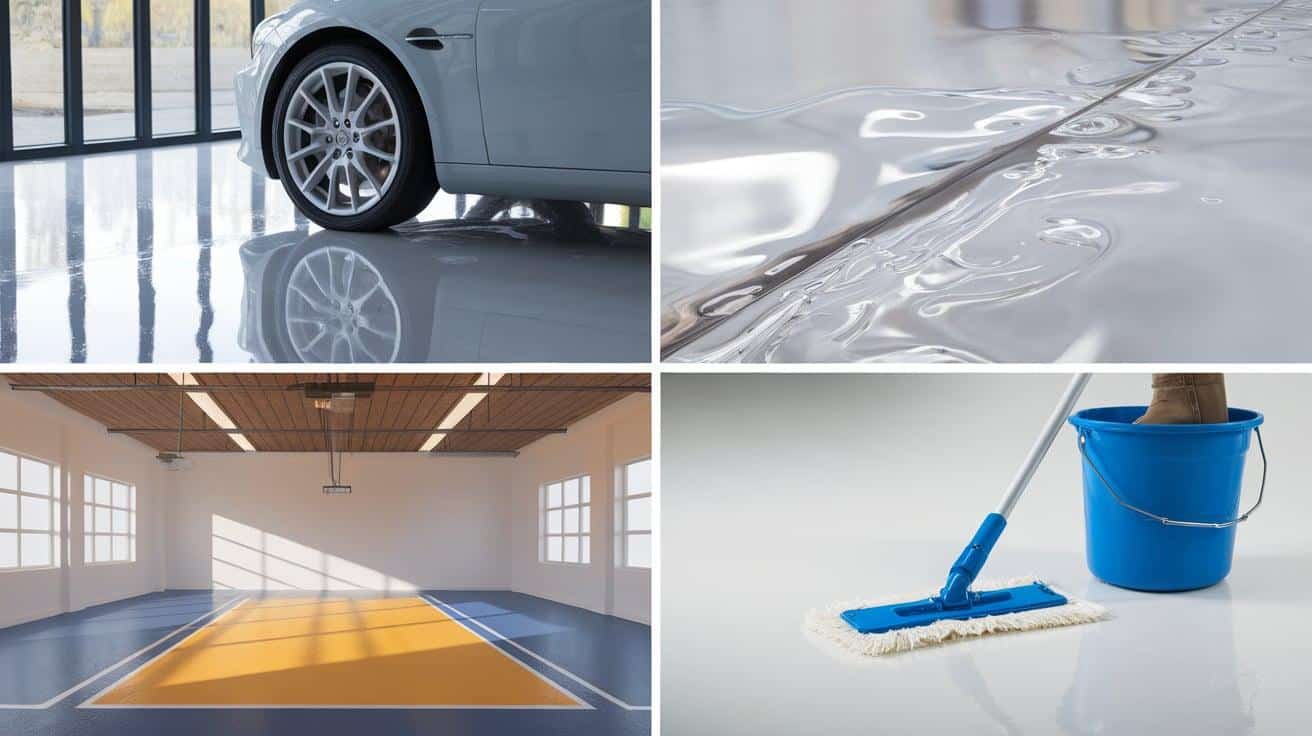
Polyurea coatings stand up well to daily wear from vehicles, tools, and foot traffic. The material’s strength prevents common issues like peeling, chipping, and surface wear that often affect garage floors.
The coating bends slightly with temperature changes without breaking. This flexibility helps prevent cracks from often appearing in more rigid floor coatings during seasonal shifts.
These coatings resist damage from heavy items dropped on the floor. Unlike basic concrete, a polyurea-coated surface handles impacts without showing marks or dents.
2. Quick Cure Time and Minimal Downtime
Polyurea coatings typically dry and harden within a few hours of application. This quick-setting feature means you can walk on the floor the same day it’s installed.
Most vehicles can return to the garage within 24 hours of coating. This fast turnaround makes polyurea an ideal choice for busy households that need their garage space quickly.
The speedy curing process also reduces the risk of dust and debris getting stuck in the coating. This clean curing leads to a better-looking final result.
3. UV Stability and Aesthetic Options
Polyurea maintains its original color even after years of sun exposure. The coating doesn’t turn yellow or fade like other floor coverings might.
The coating comes in many colors to match your preferences. You can choose from solid colors, flaked patterns, or textured finishes to create your desired look.
Adding decorative chips during installation creates a unique, speckled appearance. These chips look good and provide extra grip for better safety.
4. Low Maintenance Requirements
Cleaning a polyurea-coated floor requires only basic tools and methods. Simple sweeping and occasional mopping keep the surface looking fresh and clean.
Spills wipe up easily from the smooth, non-porous surface. Oil, gasoline, and other garage fluids don’t permanently stain properly installed polyurea coatings.
The coating resists dirt and grime buildup, reducing the need for deep cleaning. Regular light cleaning is usually enough to maintain the floor’s appearance.
Polyurea Garage Floor Coating Drawbacks and Considerations
1. Higher Initial Costs
Polyurea floor coatings cost more upfront than basic concrete sealers or paint. Depending on your location and specific needs, a typical garage coating project might cost from $6 to $12 per square foot.
The total cost includes materials, labor, and surface preparation work. These expenses add up, making polyurea a bigger investment than simpler coating options.
The higher price comes with long-term benefits that often justify the cost. Better durability and fewer repairs mean less maintenance spending over time.
2. Application Sensitivity
The mixing process requires exact measurements and timing for proper results. Even small mistakes in the mixture can affect the coating’s performance.
Weather conditions play a key role during application. Temperature and humidity levels must fall within specific ranges for the coating to cure properly.
Professional installers need proper training to handle these sensitive materials. The coating process follows strict steps that must be done correctly for the best outcome.
3. Accessibility for DIY
Most high-quality polyurea products are sold through approved dealers or contractors. This limited availability makes it harder for homeowners to find suitable materials for DIY projects.
The application process requires special equipment and skills. Many tools required for proper installation are expensive and rarely used in other home projects.
DIY installation carries risks that might affect the warranty coverage. Most manufacturers prefer or require professional installation to guarantee their product’s performance.
The time pressure during application challenges DIY efforts. Since the material sets quickly, beginners might struggle to apply it evenly before it starts to harden.
Cost Analysis of Polyurea Garage Floor Coatings

1. Breakdown of Costs
The base materials for polyurea coatings make up about 40-50% of the total project cost. This includes primers, base coats, and top coats for proper coverage.
Labor costs typically account for 30-35% of the total expense. Professional installation teams charge based on square footage and surface preparation needs.
Equipment rental or purchase adds to the overall cost—special tools like floor grinders, mixers, and application equipment factor into the final price.
Additional materials like repair compounds and decorative chips affect the total. These extra items usually comprise 15-20% of the project budget.
2. Cost Comparison with Epoxy and Other Coatings
Basic epoxy coatings cost about half as much as polyurea systems. However, epoxy needs more frequent replacement, increasing long-term expenses.
Standard concrete paint offers the lowest upfront cost but requires yearly touch-ups. These regular repairs make it more expensive over time than polyurea.
Polyurea’s longer lifespan offsets its higher initial price. With proper care, most installations last 10-15 years, reducing the yearly cost of ownership.
3. Financing and Budgeting Tips
Many contractors offer payment plans to help manage the upfront costs. These plans often split the total amount into smaller monthly payments.
Setting aside money each month before starting helps prepare for the investment. A savings plan of 6-12 months usually provides enough time to build the needed budget.
Getting multiple quotes helps you find the best value for your money. Different contractors might offer varying prices and package deals.
Some home improvement credit cards provide interest-free periods. This option helps spread the cost over time without adding extra expenses.
DIY Polyurea Coating Installation Guide
1. Assessing DIY Feasibility
The success of a DIY polyurea project depends heavily on your experience with floor coatings. To attempt this project, you need basic knowledge of concrete work and coating applications.
Technical skills matter when working with fast-setting materials. The quick cure time leaves little room for mistakes during application.
You must honestly evaluate your ability to complete each step properly. Poor installation can lead to coating failure and wasted materials.
2. Tools and Materials Needed
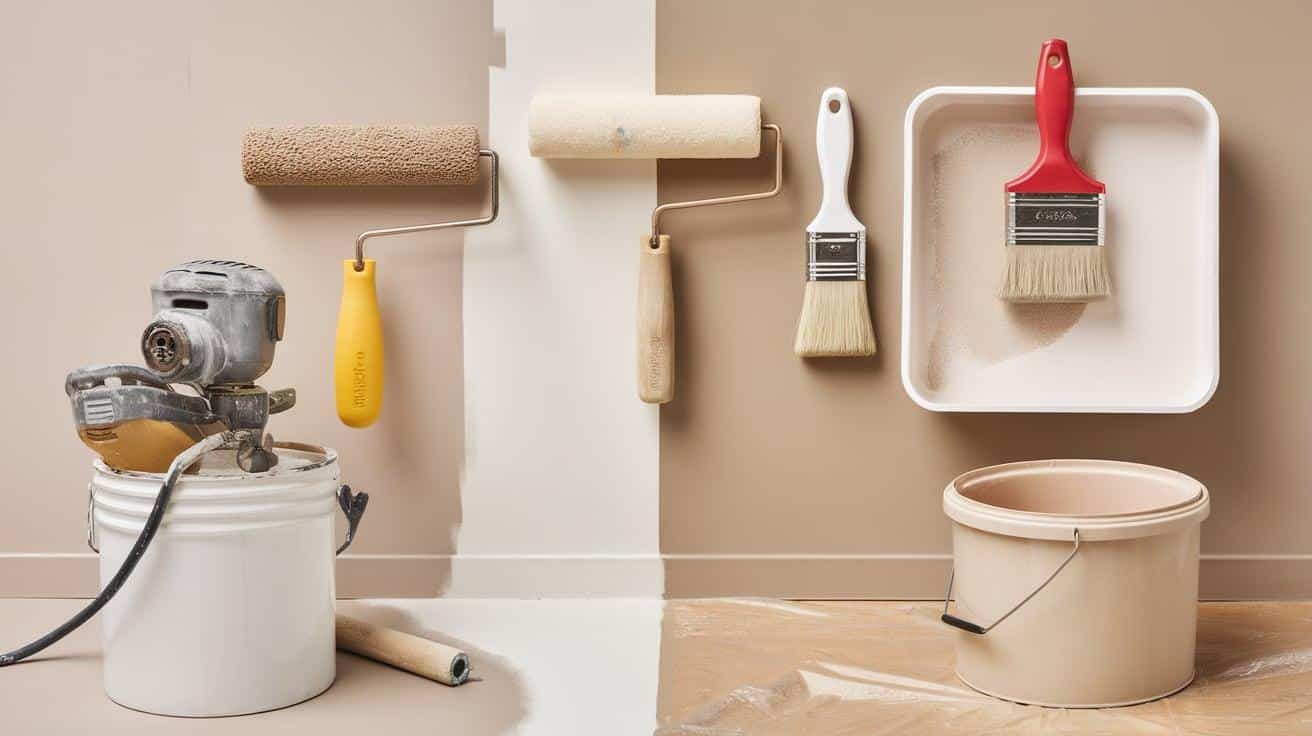
Basic supplies include floor grinders, pressure washers, and application rollers. A moisture meter helps check if the concrete is ready for coating.
Safety equipment requires respirators, chemical-resistant gloves, and eye protection. Proper ventilation tools keep the work area safe during application.
Mixing tools include calibrated containers and power drills with mixing paddles. Clean buckets and measuring tools ensure proper material ratios.
3. Surface Preparation
Start by testing the concrete for moisture and previous sealers. The surface must be completely clean and open to accept the new coating.
Use appropriate cleaners and degreasers to remove oil spots and stains. Then, follow with a thorough pressure washing to clear all residues.
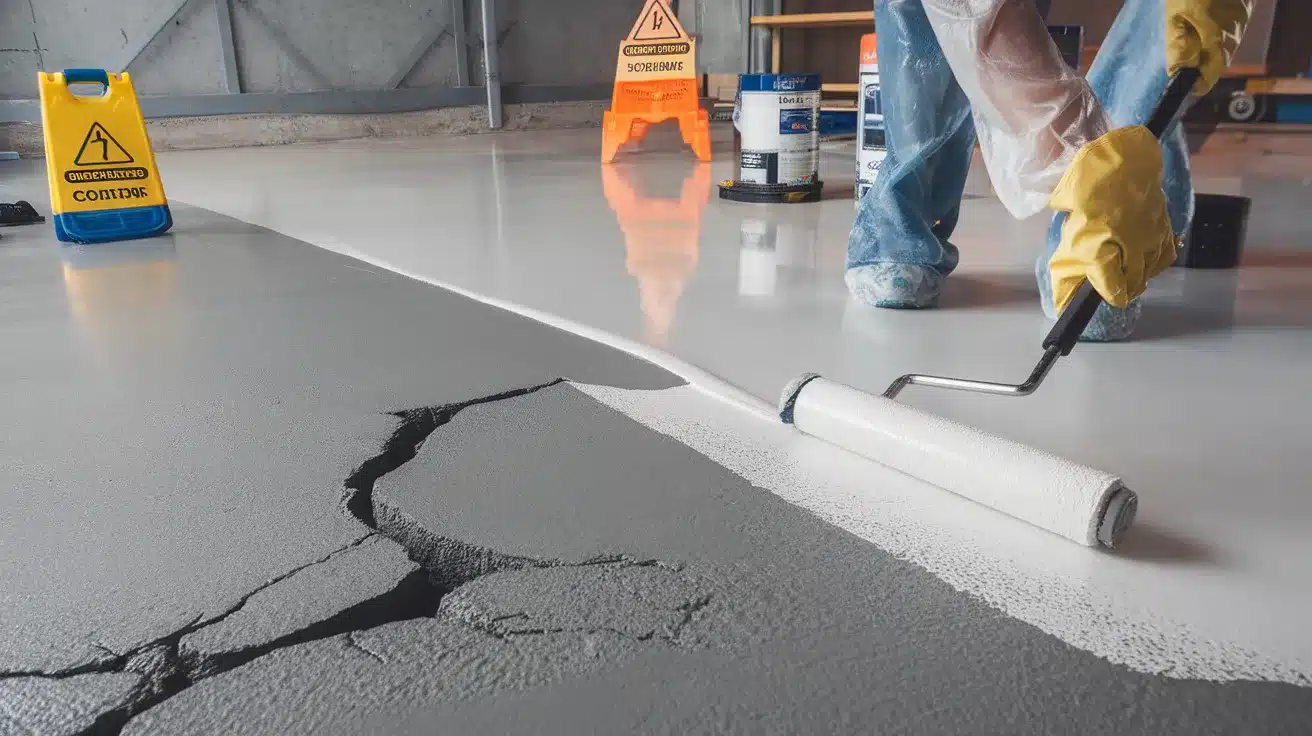
Fix cracks and holes with proper repair compounds before coating. Allow all repairs to cure fully according to product instructions.
4. Application Steps
Begin by applying the primer coat evenly across the prepared surface. Use consistent rolling techniques to avoid missed spots.
Mix the base coat materials according to the manufacturer’s exact specifications. Apply this coat within the suggested temperature range.
If desired, add decorative chips while the base coat remains wet. Spread them evenly to create a balanced appearance.
Apply the top coat after the base layer sets within the recoat window. Keep wet edges during application to prevent lap marks.
5. Curing and Post-Application Care
Leave the garage door open for proper ventilation during curing. Keep all traffic off the floor during the recommended waiting period.
Monitor the temperature and humidity during the entire curing process. These factors affect how well the coating hardens.
Start with light foot traffic before allowing vehicle access. Follow the manufacturer’s timeline for different types of use.
6. Safety Precautions
Work in a well-ventilated area with proper air movement. Use fans to maintain airflow throughout the application process.
Wear all required safety gear from start to finish. Change respirator filters as needed during the project.
Keep children and pets away from the work area—post signs to prevent accidental chemical exposure.
Professional Polyurea Coating Installation
When to Consider Professional Services?
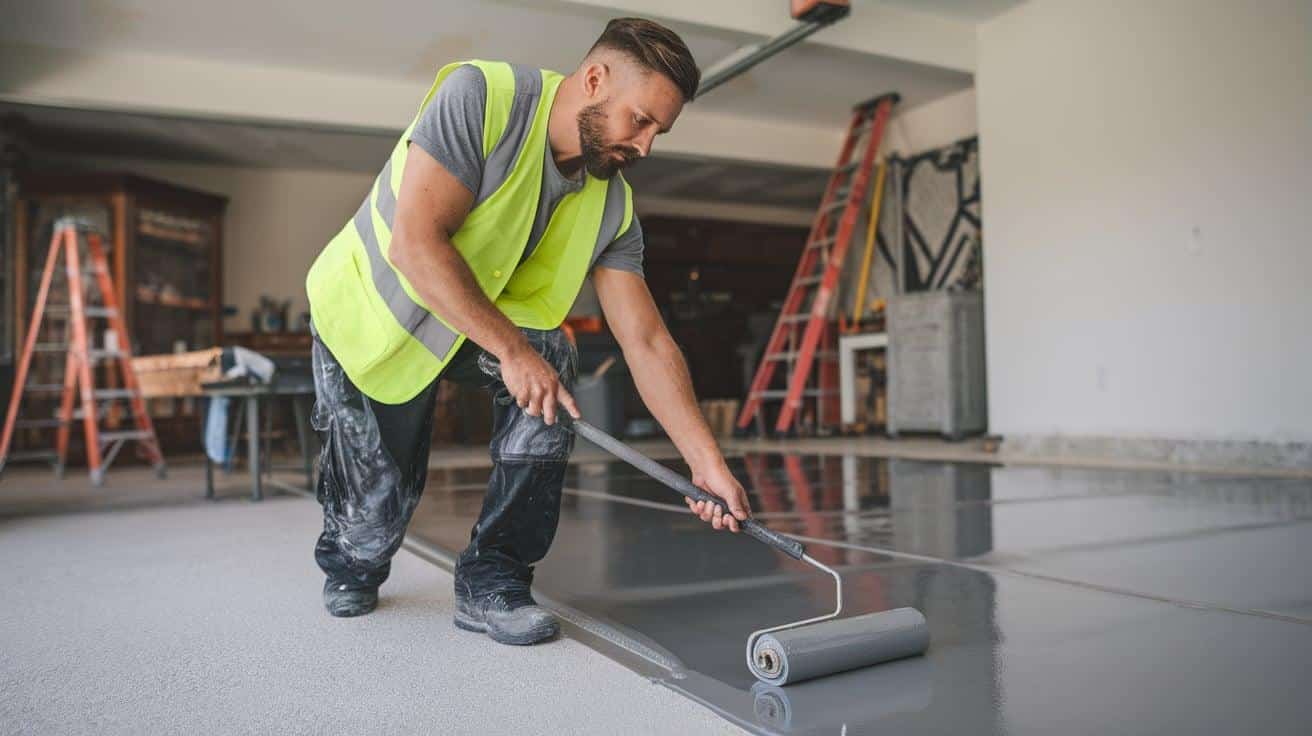
Complex garage layouts and old concrete floors need expert handling. Large projects often exceed DIY skill levels and tools.
Warranty coverage depends on the certified installation. Most companies only back work done by approved contractors.
How to Choose a Qualified Installer?
Look for proven polyurea coating experience and references. Ask to see past work photos and contact previous clients.
Verify insurance and licenses before hiring. Get written quotes listing all costs and materials.
What to Expect During Professional Installation?
DAY 1: Surface prep and concrete repairs. Teams check moisture and fix floor issues.
DAY 2: Complete coating application in one day. Teams apply primer, base coat, and top coat rapidly.
The final steps include care instructions and timelines. The pros tell you when to park cars and how to clean the floor.
A Product Selection Guide
Top Polyurea Products and Brands
Professional-grade products offer better quality than retail options. Leading brands include trusted names in concrete coatings.
Each brand offers different formulas for specific needs. Quality varies between basic and premium product lines.
Key Features to Look For
Check the solids content – higher percentages mean better coverage. Good products contain 85% or more solids.
Look at cure times and temperature requirements. Products should work in your local weather conditions.
VOC levels matter for safety and local rules. Lower VOC numbers mean safer application and use.
Where to Purchase?
Buy from authorized dealers to ensure genuine products. Local concrete supply stores often stock quality brands.
Online sellers must show proper certification. Avoid general marketplaces that might sell fake products.
Work with sellers who provide technical support. Good suppliers answer questions and offer application advice.
Factory-direct purchases often save money on larger jobs. Bulk orders might qualify for better pricing.
Final Words
Polyurea garage floor coatings offer solid protection and value for your garage floor. While they cost more upfront, their durability and low maintenance needs make them worth considering.
Success depends on proper installation and product choice. Whether you pick DIY or professional help, focus on surface prep and using quality materials.
Remember to:
- Research products and installers carefully
- Plan your budget for long-term value
- Follow maintenance guidelines
- Consider professional installation for the best results
With the right approach, a polyurea coating can give you a long-lasting, good-looking garage floor that withstands daily use.

