LVT Flooring Meaning: Everything Explained
Floors that wear out fast, get stained, or cost too much to keep up can turn into a real problem.
Many people deal with this at home – scratches, spills, and repairs that never seem to end.
That’s why LVT flooring has become a popular choice. It’s made to handle busy homes without giving you more work.
But there’s more to LVT than just a strong surface.
In this blog, I’ll explain what LVT is made of, how it compares to other floors, where it works best, how to clean it, how it’s installed, and the pros and cons that matter.
By the end, you’ll have a clear idea if LVT fits your needs and helps you avoid the mess that other floors can bring.
Understanding LVT Flooring
LVT means Luxury Vinyl Tile. It’s a type of flooring that looks like real wood or stone, but it’s not made from them. Instead, it’s made from vinyl, a kind of plastic that’s strong, bendable, and made to last.
What is Luxury Vinyl Tile Made From?
LVT flooring is made of several layers:
- Wear Layer: This top layer protects against scratches, dirt, and damage.
- Image Layer: This layer has the printed photo that makes the floor look like wood, stone, or tile.
- Vinyl Core: This is the main part. It’s thick and flexible. It gives the tile strength.
- Backing Layer: This layer helps the tile stick to the ground and keeps it steady.
These layers are pressed together with heat and pressure to make a tough floor that looks real and lasts a long time.
LVT vs Traditional Vinyl
Here’s a quick way to compare the two:
| Feature | LVT (Luxury Vinyl Tile) | Traditional Vinyl |
|---|---|---|
| Look | Looks like real wood or stone | More basic look, not very real |
| Shape | Comes in planks or square tiles | Comes in big sheets |
| Feel | Thicker and stronger | Thinner and softer |
| Installation | Easier to replace small parts | One big piece, harder to fix, just a small spot |
| Durability | Very strong and long-lasting | Not as tough |
| Waterproof | Yes | Some types are, some aren’t |
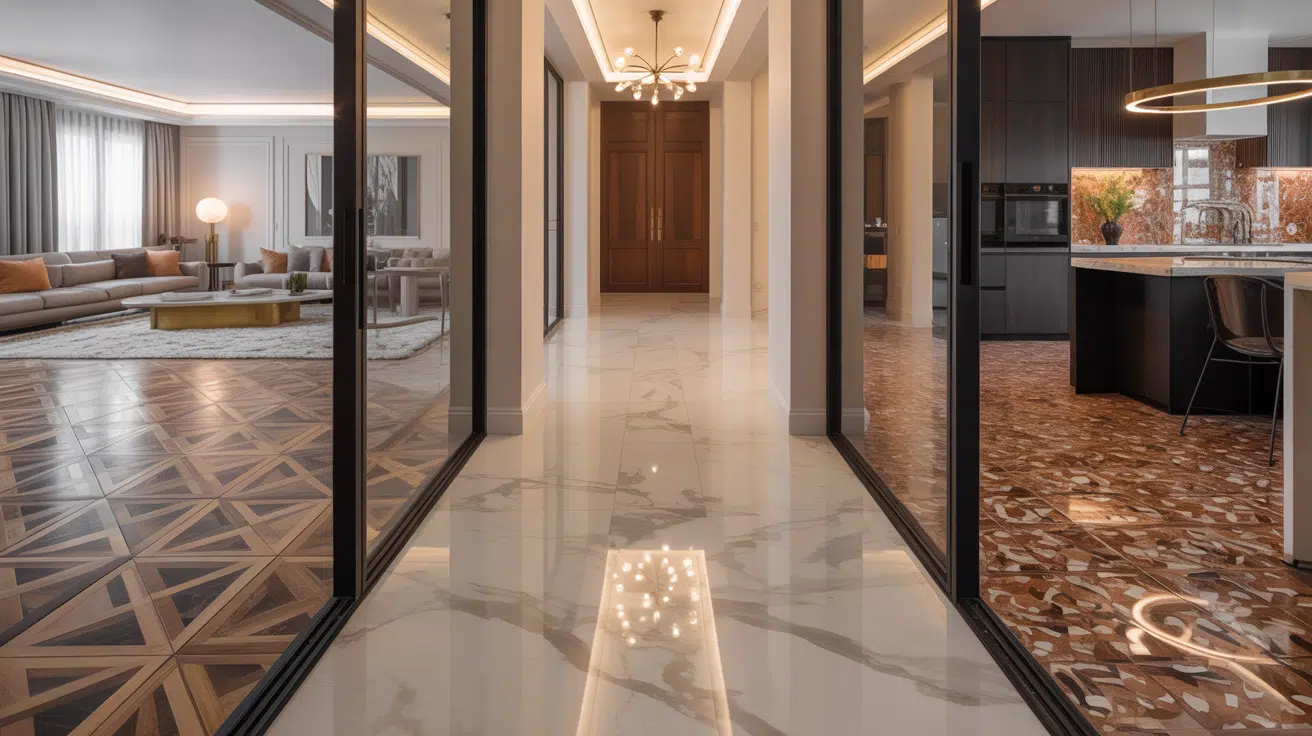
What Does LVT Flooring Look Like?
LVT flooring can look like many kinds of real flooring. It copies the look of natural materials using high-quality printing and surface textures.
Tile, Stone, Wood, and Abstract Visuals

LVT flooring comes in many different looks that copy real materials or create completely new design styles. You can find options that match almost any decorating style from traditional to ultra-modern.
- Tile Look: Some LVT styles look like ceramic or porcelain tile. They have square shapes and grout-like lines.
- Stone Look: You’ll find LVT that looks like marble, slate, or granite. It gives a clean, solid feel.
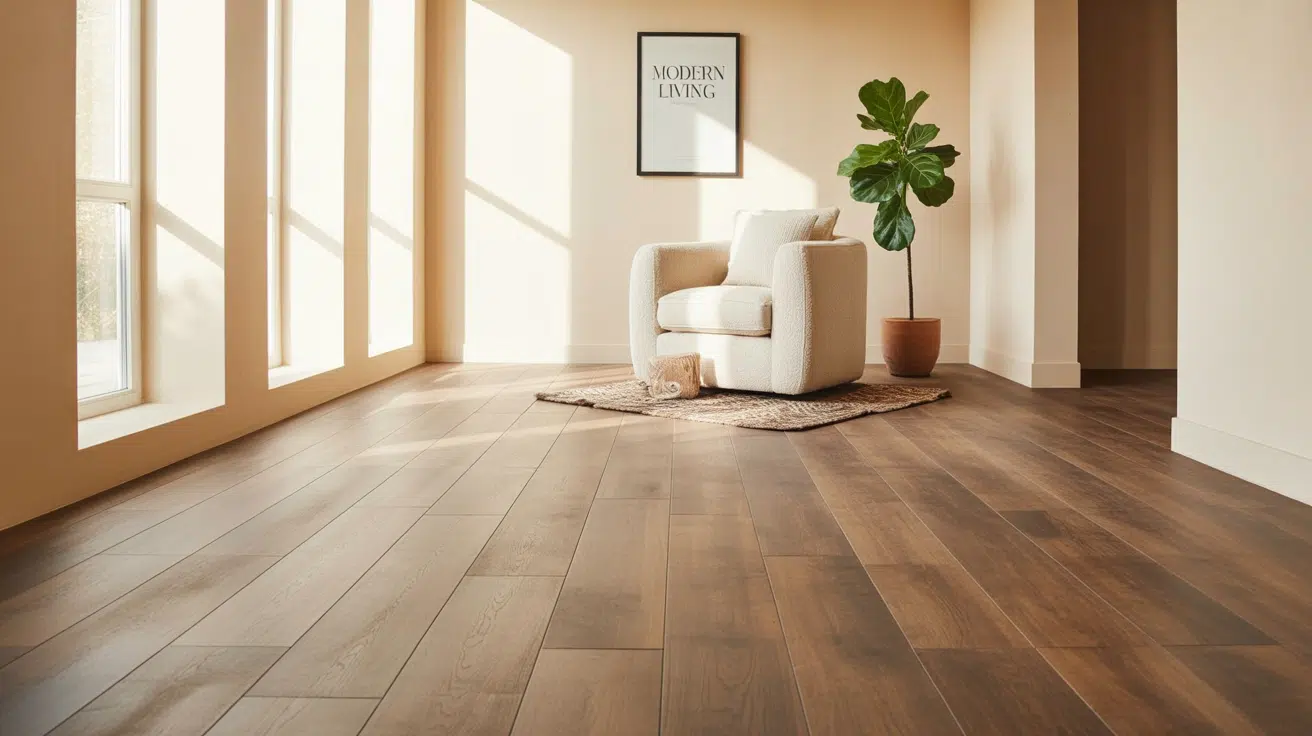
- Wood Look: One of the most common styles. It can look like oak, maple, walnut, or even rustic barn wood.
- Abstract Designs: Some LVT styles don’t copy real materials. Instead, they use bold lines, patterns, or soft blends of color for a more modern look.
The realistic textures and colors make it hard to tell the difference between LVT and real materials. This variety means you can get the look you want without the high cost or maintenance of natural materials.
Photo Layer and Embossing Techniques

LVT flooring gets its appearance from a special photo layer. This layer holds a clear, high-quality image that shows patterns like wood grain, stone, or tile.
It’s what makes the floor look real. But looks aren’t enough, so to add a lifelike touch, a process called embossing is used.
Embossing refers to the process of pressing a surface to create texture. For example, wood-look LVT might have tiny grooves that feel like real wood grain.
Stone-look styles can feel a bit rough, just like actual stone. Some modern designs feature smooth finishes with raised patterns, creating a clean and stylish look.
Together, the photo layer and embossing help LVT flooring look and feel much closer to natural materials.
Popular Colors and Textures
LVT comes in many shades. Some of the most liked choices are:
Light Colors: Gray, white, and beige. These make rooms look bigger and brighter.
Medium Tones: Warm browns or honey shades. These give a cozy and clean look.
Dark Colors: Deep brown, black, or charcoal. These are bold and feel modern.
Textures vary too:
Smooth: A clean, flat look is good for modern rooms.
Textured or Hand-Scraped: Adds depth, often used for wood-look floors.
Matte Finish: Less shiny, looks more natural.
Glossy Finish: Shiny and polished, good for high-end style.
Material Required for Lvt Installation
Here’s a list of the materials and tools you’ll need before starting your LVT flooring project. Getting everything ready first makes the job much smoother.
- LVT flooring planks
- Suitable underlay (if not pre-attached)
- Self-leveling compound (optional, for uneven floors)
- Carpenter’s square
- Spacers (4–5 mm)
- Rubber mallet
- Step drill bit (for pipe holes)
- Jigsaw with laminate blade
- Measuring tape and pencil
- Door bars or transition strips
- Strong adhesive (or mechanical fixings)
- Multi-tool (for undercutting door frames)
Having these tools nearby saves time and helps you work more efficiently. You don’t want to stop mid-project to run to the store.
How to Install LVT Flooring: Step-by-Step Guide
Installing LVT flooring involves five main phases that take you from preparation to a professional-looking finished floor. Following these steps in order ensures your new flooring looks great and lasts for years to come.
Step 1: Clean and Level the Surface

Before laying LVT, make sure your floor is clean and smooth. Use a broom or vacuum to remove dust and debris. If the floor isn’t level, use self-leveling compound to fix low spots.
LVT shows every bump, so this part really matters. Take your time and get the surface right before moving forward. Skipping this step will make the whole floor look uneven.
Step 2: Install the Right Underlay

Lay down underlay that matches your LVT brand. Roll it out across the space and cut around pipes or corners. Push it tight against the walls and trim the edges so it sits flat. You don’t want any bumps underneath the flooring.
Some premium LVT comes with underlay attached, so check your product before buying extra. This layer helps cushion the floor and improves sound and heat control.
Step 3: Plan the Layout Carefully

Let your flooring sit in the room for a few days to adjust to the temperature. Then dry-lay the planks from the left corner. Avoid tiny edge cuts by adjusting the layout first.
Work along the longest wall for a neat look. Use spacers for the expansion gap. This step helps avoid awkward cuts later and makes the final layout look neat and balanced.
Step 4: Cut and Click the Planks

Start clicking in full planks, locking tongues into grooves. Use offcuts to continue the pattern across the room. Make clean cuts using a knife or jigsaw for tricky areas like pipes or door frames.
Always cut under the door frame instead of around it. For the final rows, tilt the plank at an angle and snap it into place. Don’t rush, keep checking the pattern and joints as you go.
Step 5: Finish with Door Bars and Trim

Once all planks are laid, fit door bars where rooms meet. Measure the gap, mark, and cut the bar to size. Stick it with strong adhesive or use screws if no pipes are under the floor. Reinstall skirting boards or add trims to hide gaps.
Make sure everything looks tidy and safe. With care and planning, you’ll end up with a smooth, professional-looking finish that holds up well.
Watch how its done in this LVT flooring installation video tutorial:
For more details, check out the video explanation by The DIY Guy
LVT vs. Other Flooring Types
LVT, or Luxury Vinyl Tile, stands out for being durable, easy to clean, and simple to install. Let’s see how it compares with other popular flooring options.
LVT vs. LVP Flooring

LVT and LVP (Luxury Vinyl Plank) are both types of vinyl flooring. LVT usually looks like tile or stone, while LVP looks like wood. They feel and work similarly.
Comparison Table: LVT vs LVP
| Feature | LVT | LVP |
|---|---|---|
| Durability | Very good | Very good |
| Installation | Easy (glue or click) | Easy (click or peel-and-stick) |
| Maintenance | Easy to clean | Easy to clean |
| Look | Looks like stone/tile | Looks like wood |
LVT vs. SPC (Stone Plastic Composite) Flooring

SPC (Stone Plastic Composite) is stronger and stiffer than LVT. It works well in busy spots like hallways and stores. LVT is softer underfoot and has more flex.
Comparison Table: LVT vs SPC
| Feature | LVT | SPC |
|---|---|---|
| Durability | Good | Excellent |
| Installation | Easy (glue or click) | Easy (click only) |
| Maintenance | Easy to clean | Easy to clean |
| Look | Softer, flexible design choices | Stiff and tough, more rigid look |
LVT vs. Laminate

LVT does better with water. Laminate is wood-based and can swell when wet. LVT is plastic, so it’s safer for kitchens and bathrooms.
Comparison Table: LVT vs Laminate
| Feature | LVT | Laminate |
|---|---|---|
| Durability | Good | Decent (less water-resistant) |
| Installation | Easy (glue or click) | Easy (click only) |
| Maintenance | Water-resistant, easy to clean | Needs more care |
| Look | Looks like tile or stone | Looks like wood |
LVT vs. Hardwood

Hardwood floors are natural and strong, but need care. LVT gives the same look and handles moisture better, making it great for busy or wet areas.
Comparison Table: LVT vs Hardwood
| Feature | LVT | Hardwood |
|---|---|---|
| Durability | Good | Excellent (with care) |
| Installation | Easy (DIY-friendly) | Hard (needs pros) |
| Maintenance | Low (just sweep and mop) | High (refinishing, careful cleaning) |
| Look | Faux wood or stone designs | Natural, rich wood grain |
Where Can You Use LVT Flooring?
LVT flooring works well in places with lots of movement and moisture. It’s great for kitchens, bathrooms, basements, and laundry rooms both in homes and in commercial spaces.
Best Rooms to Use LVT
LVT works great in rooms that deal with water, spills, and foot traffic. In kitchens, it holds up well against spills, heat, and constant walking.
Bathrooms are another good spot since LVT is water-resistant and won’t get ruined by damp floors.
For basements, LVT is a smart choice because it can be placed right over concrete and won’t soak up moisture like wood.
In laundry rooms, LVT makes cleaning easy and won’t be damaged by leaks or water splashes from the washer.
Residential vs. Commercial Use
LVT flooring works well in both homes and businesses, but different thicknesses work better for different traffic levels. Choosing the right type for your space ensures better performance and longer-lasting results.
Residential:
LVT is a smart pick for homes, especially ones with kids or pets. It feels softer under your feet than tile and stands up well to daily wear.
It doesn’t need much upkeep, just sweeping and mopping now and then. This makes it a great fit for living rooms, bedrooms, kitchens, and hallways.
Commercial:
In places like offices, stores, and rental units, LVT performs well when you pick a thicker wear layer (20 mil or more). It handles heavy foot traffic without wearing out fast.
It’s also easy to keep clean and doesn’t need much care, which saves time and money in busy public spaces.
Maintenance & Cleaning Tips for LVT Flooring
Keep LVT floors clean with simple care. Daily sweeping, weekly mopping, and monthly deep cleaning help them last. Avoid harsh tools, strong chemicals, steam mops, and wax for best results.
- Sweep or use a dry microfiber mop daily to remove dust and dirt.
- Mop weekly with a damp mop and mild, vinyl-safe cleaner (avoid soaking the floor).
- Do a monthly deep clean using a soft brush and gentle cleaner to reach corners and tough spots.
- Avoid abrasive scrubbers, steam mops, harsh chemicals (like bleach or ammonia), and wax or polish products.
Following these simple care steps will keep your LVT flooring looking new for many years to come. Regular maintenance prevents damage and protects your investment while keeping the floors safe for your family.
Pros and Cons of LVT Flooring
Here are some simple pros and cons of using LVT flooring in your home. This table gives you a quick look at what to expect.
| Advantages | Disadvantages |
|---|---|
| Water resistant Great for wet areas like bathrooms and kitchens | Not biodegradable Made from plastic not eco friendly |
| Durable Handles scratches dents and foot traffic well | Can dent under heavy furniture Needs pads or protectors |
| Low maintenance Simple cleaning no special care needed | Feels cooler underfoot Less warmth than wood floors |
| Cost effective Offers a high end look without a high price | Think about both lists before choosing LVT for your home |
Knowing both the benefits and drawbacks helps you decide if LVT is the right choice for your space. Use this guide to plan smart and avoid surprises later.
Sustainability and Safety of LVT Flooring
LVT flooring is safe for indoor use when labeled low-VOC. Some types come with eco-certifications and recycling options, helping reduce harm to the environment while staying strong and lasting.
- VOC Emissions: Look for LVT labeled as low-VOC. This means it gives off fewer harmful gases, making indoor air safer, especially important for homes with kids or pets.
- Eco-Friendly Certifications: Choose products certified by organizations like FloorScore or GREENGUARD. These labels mean the flooring meets safety standards for air quality and material use.
- Recyclability and Life Cycle: Most LVT is not biodegradable, but some brands offer recyclable options. Check for take-back programs or materials with a longer life cycle to reduce waste.
Final Thoughts
Now that you know what LVT flooring really means, it’s easy to see why I chose it for my own space and why so many others do too. It’s tough, low-maintenance, and looks good in any room.
From how it’s built to how it goes in, this guide gave you the basics you need. If you’re updating your home or starting from scratch, LVT gives you that clean look and solid feel without spending a fortune.
Still thinking it over? I suggest checking out local samples, comparing brands, and asking a few pros for their take.
Start planning your LVT flooring upgrade today, it might just be the easiest step toward a better space.