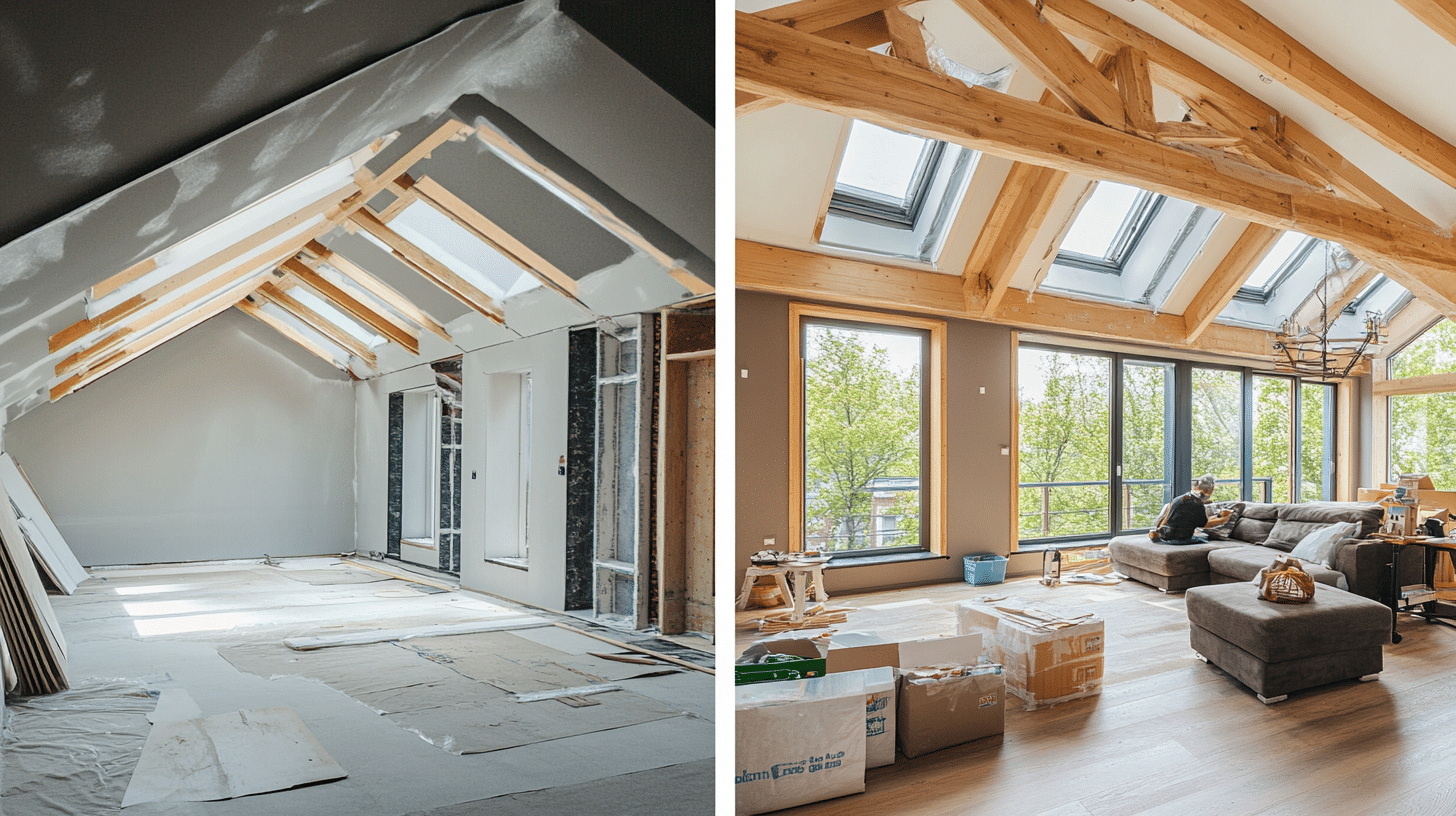
Loft Renovation 101: Your Complete Guide to Success
Have you dreamed of turning your unused loft into a stunning living space? Your attic holds untapped potential, waiting to be transformed into your home’s newest treasure.
This guide walks you through every aspect of a loft renovation, from the early planning stages to the final touches. We’ll explore how to assess your space, handle legal requirements, and create a budget that works for you.
Successful renovation starts with knowledge, Whether you build a peaceful home office, a cozy bedroom, or a family entertainment area. We’ll cover essential steps like:
- Understanding building requirements
- Planning your space wisely
- Choosing between DIY and professional help
- Managing costs effectively
- Adding modern features
Let’s explore how to turn your loft dreams into reality while avoiding common pitfalls.
Understanding Loft Renovation
What Is Loft Renovation?
A loft renovation involves updating and improving your home’s top floor or attic space. This process includes modifying the existing space to create a more useful and livable area, often by adding new features or changing the layout.
The scope of loft renovation can range from simple updates to complete structural changes. Many homeowners renovate their lofts to create extra living space without needing a full extension.
The key difference between a loft renovation and a conversion lies in the extent of the changes. A loft renovation improves a usable space by updating flooring, walls, or fixtures.
A conversion, however, transforms an unused attic into a fully functional room.
Benefits of Loft Renovation
The primary advantage of renovating your loft is adding more living space. A well-planned renovation can turn an underused area into a practical space that meets your family’s needs.
The financial benefits of loft renovation make it an attractive option for homeowners. Studies show that a properly executed loft renovation can increase property value by up to 20%, making it a smart investment choice.
Beyond the practical aspects, a renovated loft brings fresh appeal to your home. New windows, improved lighting, and modern finishes can transform a basic attic into an inviting space that complements your home’s style.
Most renovated lofts offer better temperature control and reduced energy costs. Modern insulation methods and materials help maintain comfortable temperatures year-round, lowering utility bills.
Storage solutions in renovated lofts help organize your belongings more effectively. Built-in cabinets and custom storage spaces make the most of unusual angles and hidden corners.
Planning Your Loft Renovation
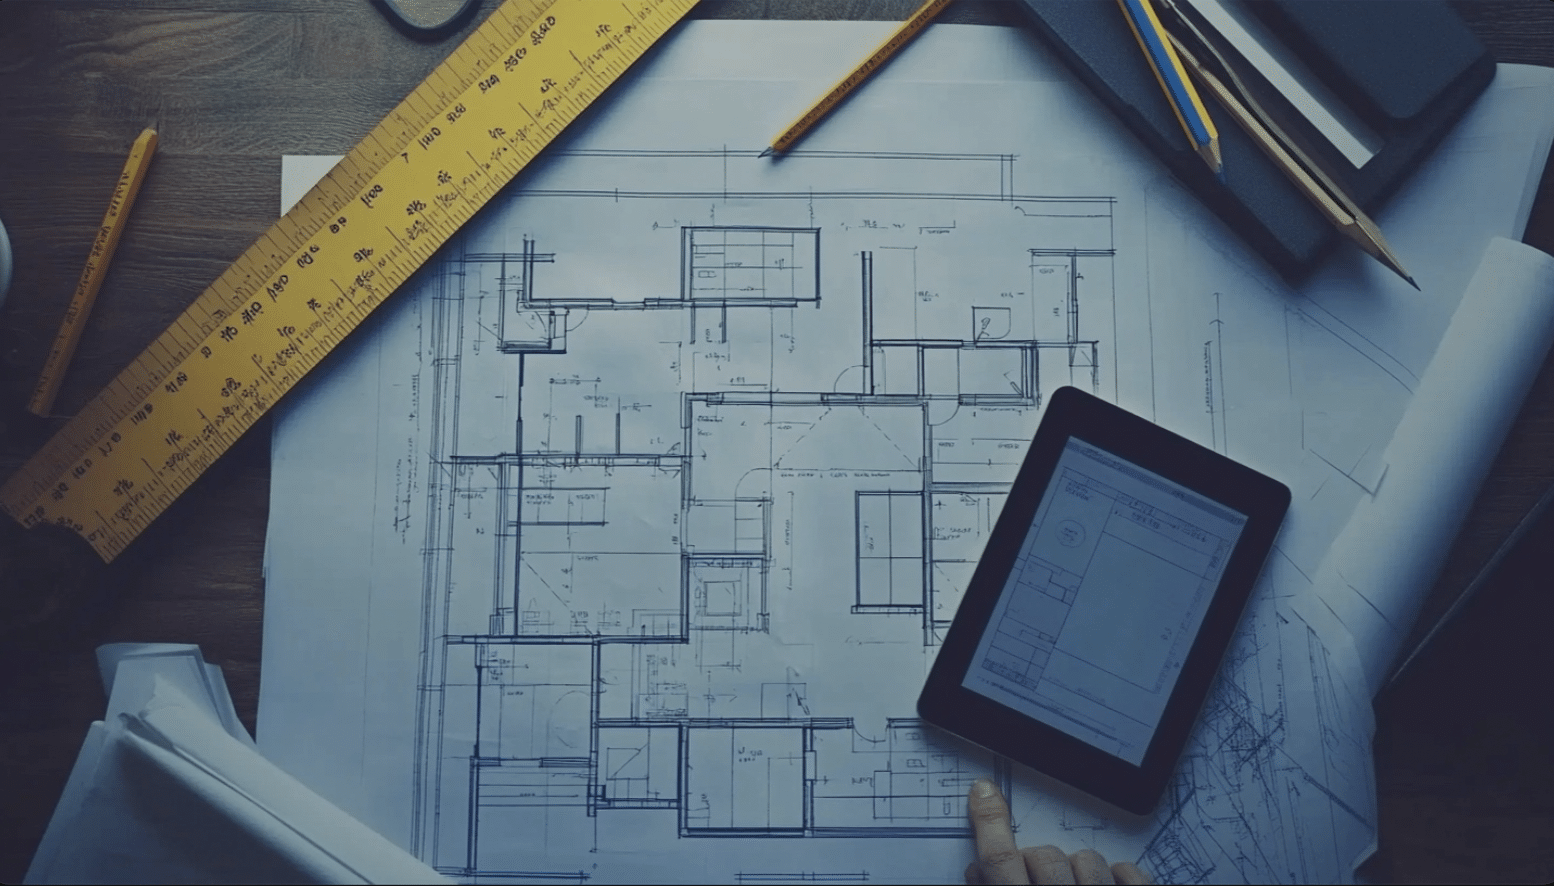
Setting Goals and Priorities
The first step in planning your loft renovation is to establish a clear purpose for the space. Consider how you want to use your loft, such as a bedroom, home office, or family room.
Make a list of essential features your new space must have to function well. For example, a home office might need plenty of natural light and electrical outlets, while a bedroom requires good ventilation and enough height for comfortable movement.
Good planning involves separating your wants from your needs. Start with the basics, like proper insulation, lighting, and ventilation. Extra features like built-in shelving or skylights can come later if the budget allows.
Timeline Estimation
A basic loft renovation typically takes 6-8 weeks from start to finish. This timeline includes initial construction work, electrical installations, and finishing touches.
Several factors can extend your renovation schedule:
- Weather conditions affecting construction
- Material availability and delivery times
- Building permit approval processes
- Contractor schedules and workforce availability
The planning phase usually takes 2-3 weeks. This period includes measuring the space, creating designs, and getting necessary approvals.
Basic construction work often spans 3-4 weeks. This phase covers structural changes, flooring installation, and wall modifications.
The finishing phase typically takes 1-2 weeks. During this time, painters complete their work, and the final fixtures are installed.
Remember to add extra time for unexpected issues that might come up during renovation. Planning for delays helps reduce stress and keeps the project running smoothly.
Consider seasonal timing for your renovation project. Starting in spring or summer often means better weather conditions for construction work.
Guiding Regulations and Permits

1. Understanding Building Codes
Building codes protect your safety and ensure your loft meets basic living standards. Most areas require a minimum ceiling height of 7 feet for living spaces, with some regions allowing 6.5 feet for portions of the room.
Floor strength is a critical requirement in building codes. Your loft floor must safely support the weight of furniture and people using the space.
Proper fire safety measures must be part of your renovation plan. This includes installing smoke detectors and ensuring suitable escape routes from the loft area.
The windows in your loft need to meet specific size requirements. These rules ensure enough natural light and ventilation and provide emergency exits if needed.
2. Obtaining Necessary Permits
Start by contacting your local building department to learn about required permits. Most areas need permits for structural changes, electrical work, and plumbing installations.
The permit process typically follows these steps:
- Submit detailed plans for your renovation
- Pay the required fees
- Wait for plan review and approval
- Schedule necessary inspections
- Get final approval after completion
Keep all documentation related to your permits in a safe place. These papers prove your renovation meets local standards and can be important when selling your home.
3. Working with Homeowners’ Associations
Check your HOA rules before starting any renovation work. Many associations have specific guidelines about external home changes, including new windows or roof modifications.
The approval process usually involves:
- Submitting a detailed proposal
- Waiting for the review committee meeting
- Making any requested changes
- Getting final written approval
Follow community guidelines about construction hours and cleanup. Good communication with your HOA and neighbors helps avoid problems during renovation.
Always get approval in writing before starting work. This will protect you from future issues and ensure your renovation complies with all community standards.
DIY vs. Hiring Professionals
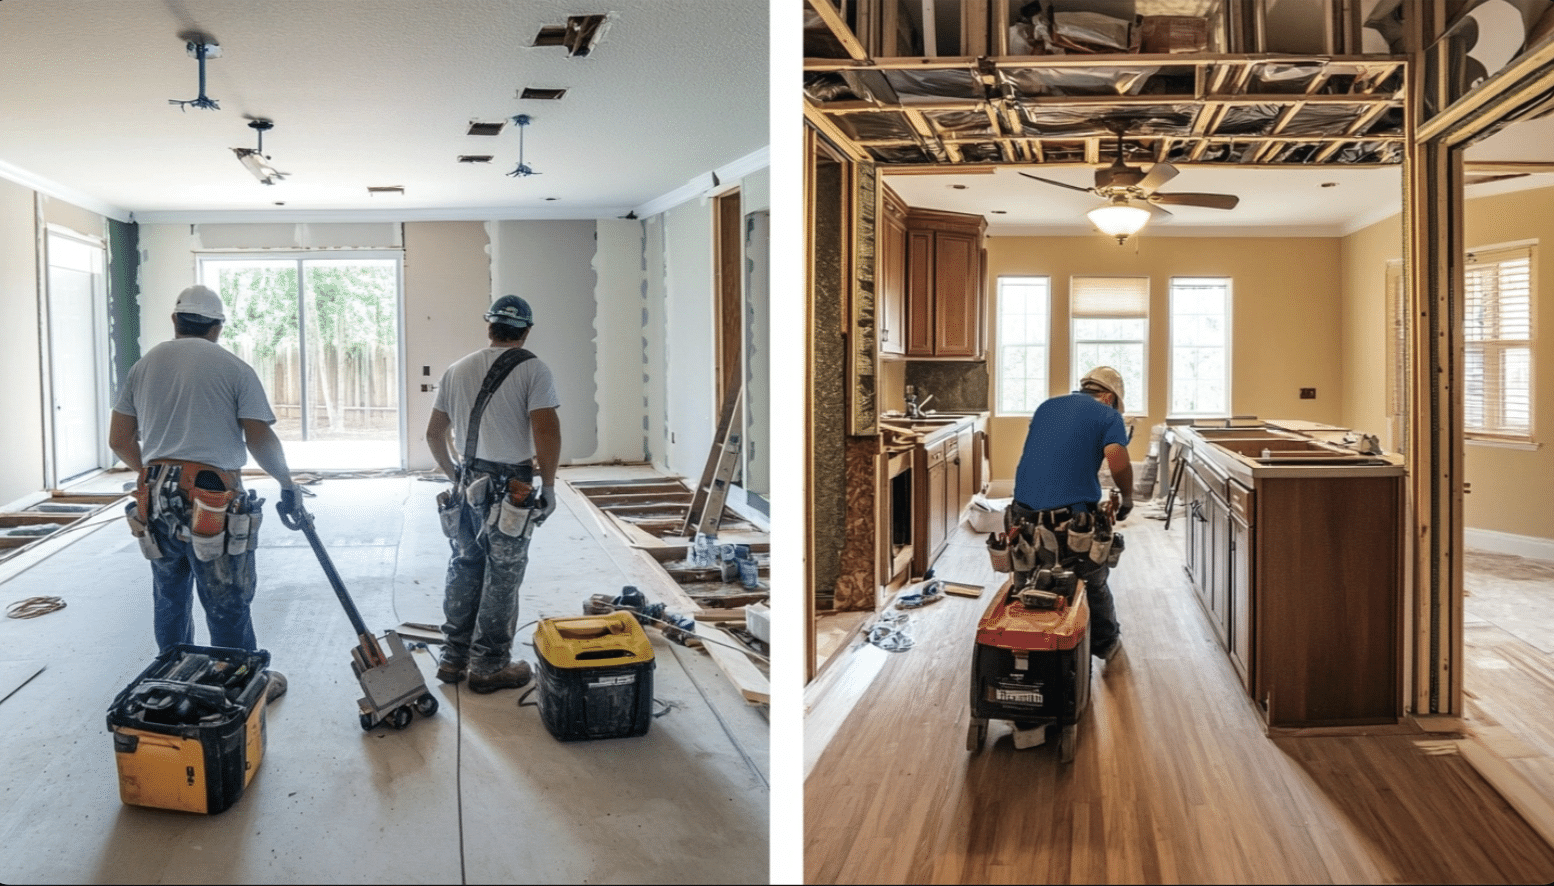
When to Consider DIY
Simple tasks like painting, decorating, or installing shelves can be suitable for DIY work. These jobs need basic tools and skills that many homeowners already have.
Safety comes first when deciding to do the work yourself. Only take on tasks you feel confident about and understand completely.
Basic skills needed for DIY loft work include:
- Measuring and marking accurately
- Using hand and power tools safely
- Following detailed instructions
- Basic math for calculations
- Physical ability to handle materials
Cost savings make DIY appealing, but consider the value of your time. Sometimes, paying professionals save money by avoiding costly mistakes and redoing work.
Hiring Contractors and Architects
Look for licensed contractors with specific experience in loft renovations. Ask friends, family, and neighbors for recommendations of professionals they trust.
Essential questions for potential contractors:
- How many loft projects have you completed?
- Can you provide references?
- What permits will you handle?
- How long will the project take?
- What payment schedule do you require?
Get at least three detailed quotes from different contractors. Compare prices, scope of work, materials quality, and time estimates.
Read contracts carefully before signing. Make sure they include:
- Clear project timeline
- Detailed cost breakdown
- Payment schedule
- Warranty information
- Cleanup responsibilities
Collaborative Approaches
Consider mixing DIY work with professional help. Let experts handle complex tasks like electrical work while you take on the finishing touches.
Create a clear plan showing which tasks you’ll do and which require professional help. This will help avoid confusion and keep the project moving forward.
Stay involved in the project even when working with professionals. Regular communication helps catch potential issues early and ensures the result matches your vision.
Keep a detailed record of all work done, whether DIY or professional. This information helps with future maintenance and adds value when selling your home.
The Renovation Process
1. Preparation and Demolition
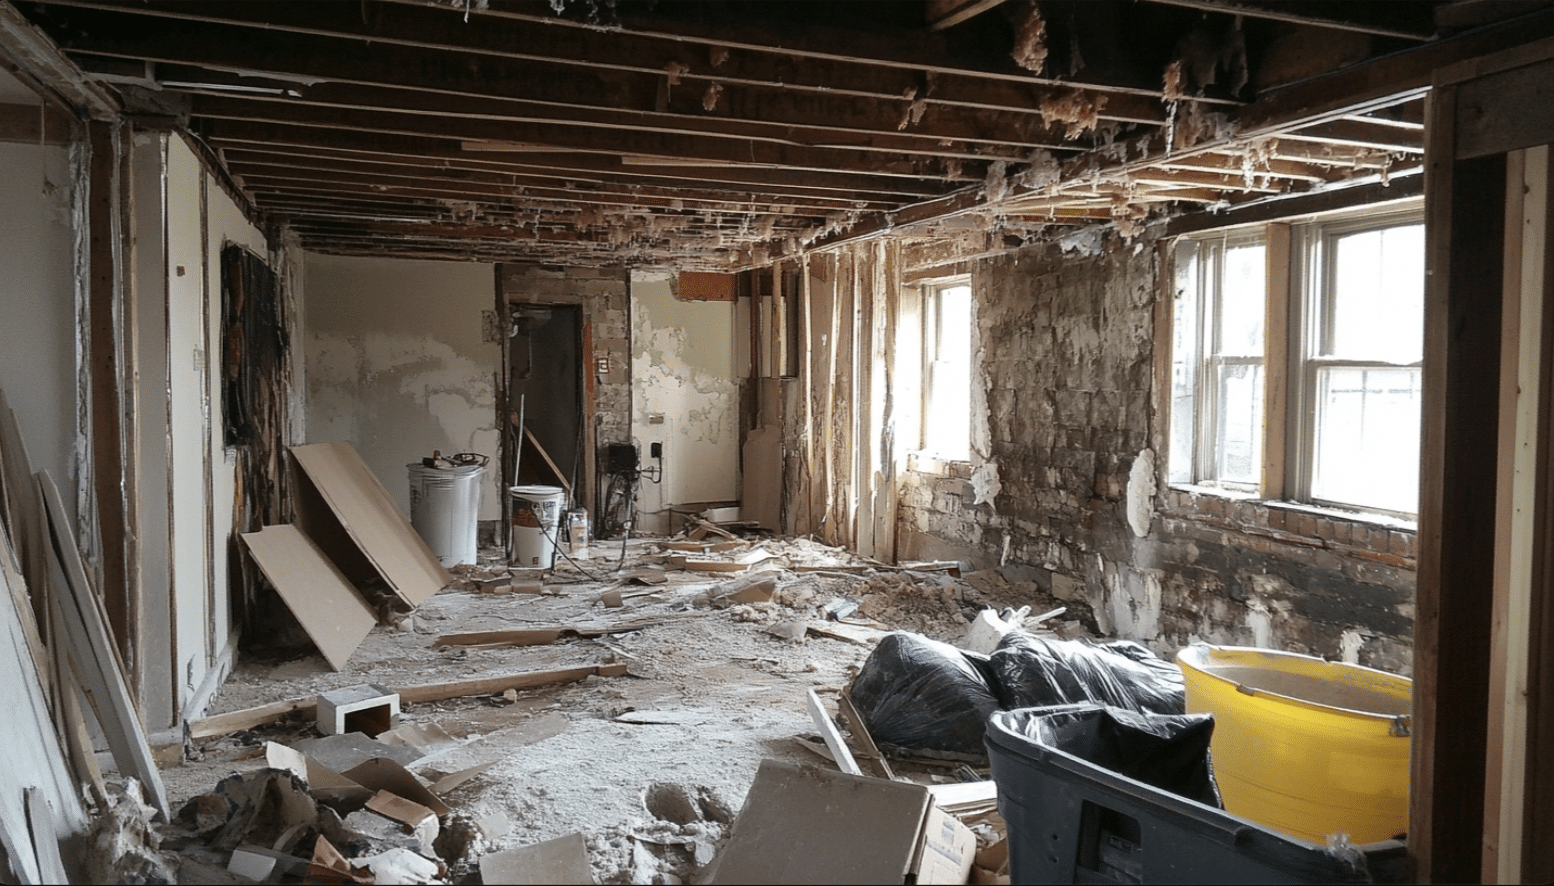
Start by removing everything from your loft space. Cover any items below the work area to protect them from dust and debris.
Before any work begins, safety measures must be in place. Turn off electricity in the work area and wear safety gear, including goggles, gloves, and dust masks.
The demolition phase requires careful planning. Materials should be removed correctly, starting with non-load-bearing elements before moving to bigger changes.
Keep a large waste bin nearby for debris. Sort materials that can be recycled or reused to reduce waste and possibly save on costs.
2. Structural Work
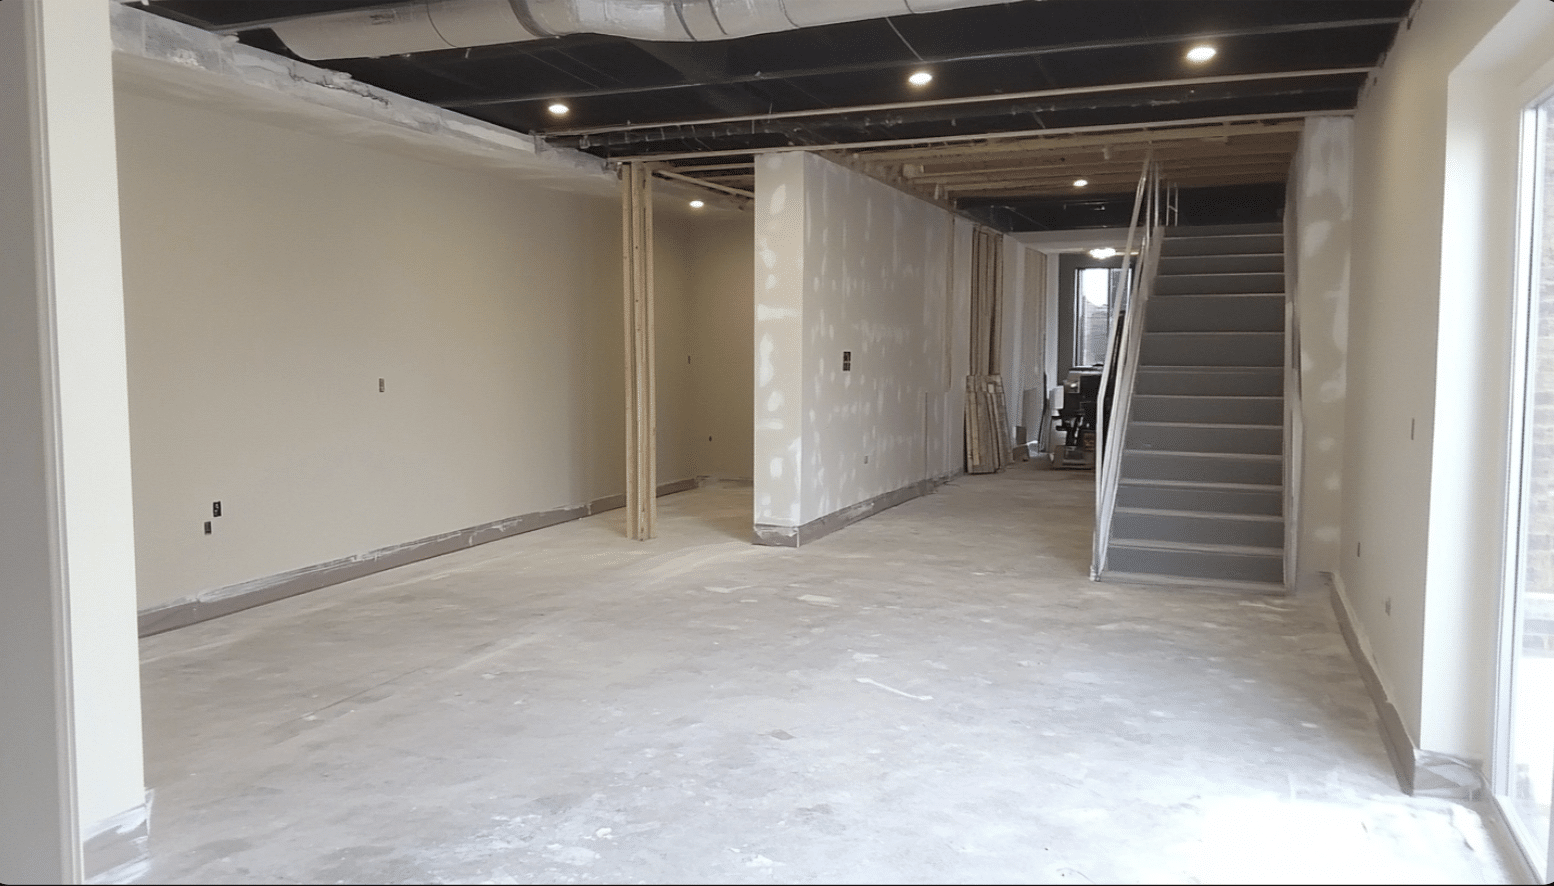
Floor reinforcement often comes first in structural changes. This ensures a solid base for the rest of the renovation work.
Wall updates might include adding insulation and new drywall. Good insulation helps control temperature and reduces noise between floors.
Ceiling work requires special attention to maintain proper height clearance. Consider options like exposed beams to add character while preserving space.
Sound-proofing materials between floors help reduce noise transfer, making the space more comfortable, especially if used as a bedroom or office.
3. Electrical and Plumbing Considerations
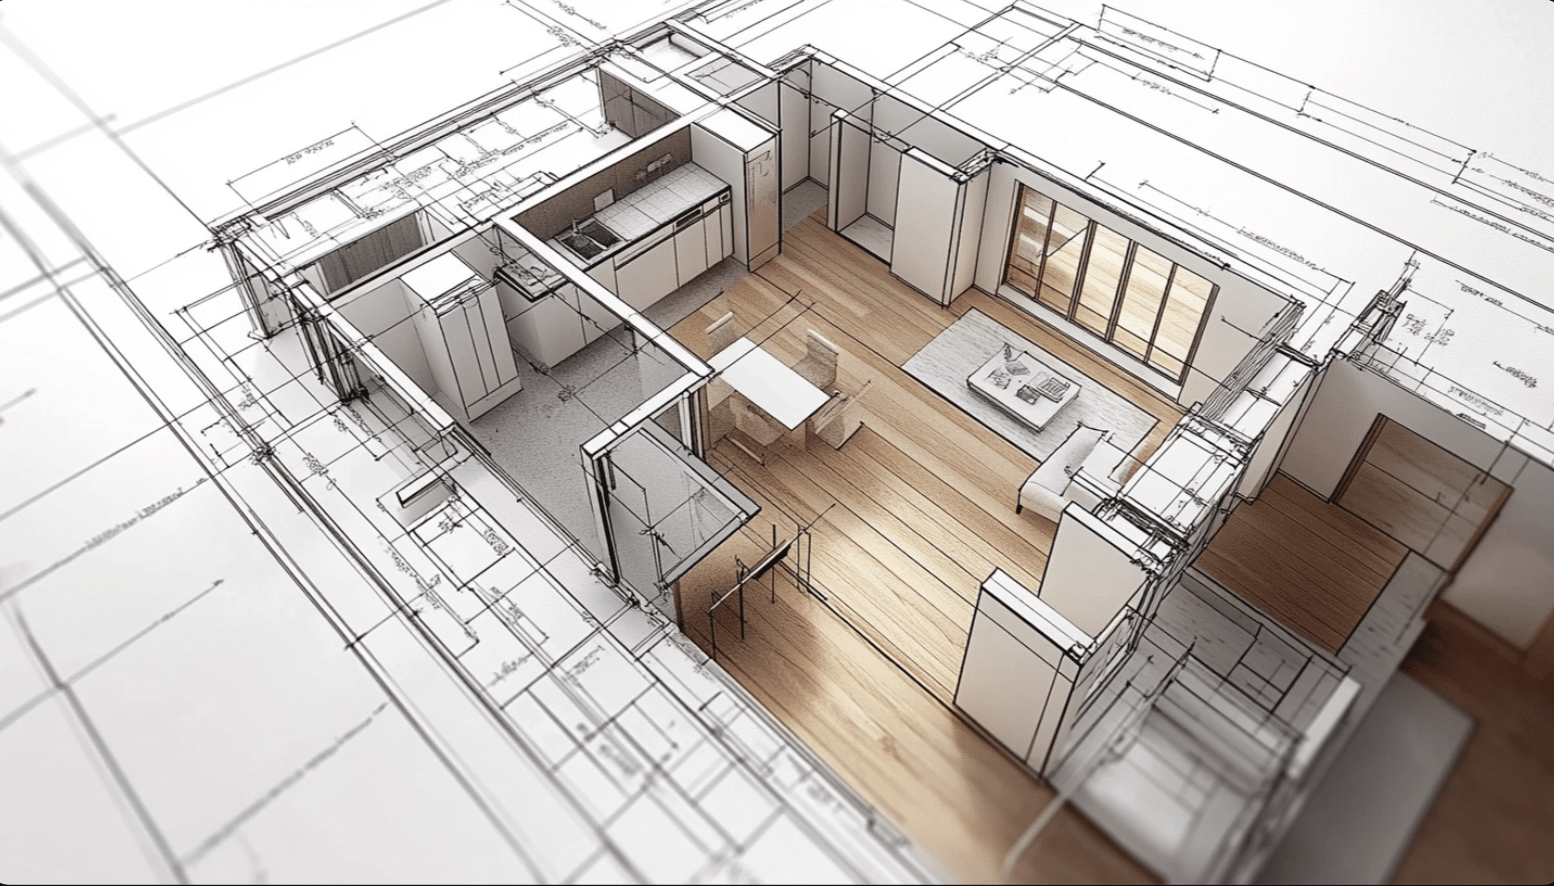
Plan electrical outlets based on how you’ll use the space. Include extra circuits for high-power items like air conditioning or office equipment.
Lighting needs careful planning:
- Task lighting for work areas
- Ambient lighting for general use
- Accent lighting for style
- Natural light from windows
Add plumbing only if necessary, as it increases complexity and cost. When planning bathroom additions, consider the location of existing water lines.
Install proper ventilation systems to control moisture and temperature. This will help prevent mold and keep the space comfortable year-round.
5. Finishing Touches

Wall finishes should match the space’s planned use. Light colors often work best to make the area feel larger and brighter.
Floor finishing needs to be both practical and attractive. Consider materials that are easy to maintain and suit your style preferences.
Add storage solutions that work with your room’s shape. Built-in cabinets can make good use of areas with low ceiling height.
Final decorative elements should enhance the space without cluttering it. Choose items that serve both functional and aesthetic purposes.
Video Tutorial
For more details, check out this meticulous visual aid by NEVER TOO SMALL.
Sustainable and Smart Renovations

Eco-Friendly Materials
Natural and recycled materials offer excellent options for green renovation. Cork flooring provides warmth and comfort while coming from renewable sources.
Wool insulation stands out as an effective natural choice. It regulates temperature well and comes from sustainable sources.
Look for low-VOC paints and finishes to maintain good air quality. These products release fewer harmful chemicals into your living space.
Local materials help reduce transportation impacts. They often cost less and support your local economy.
Consider reclaimed wood for design features. It adds character while giving materials a second life.
Smart Home Integration
Start with basic smart lighting controls. They save energy and let you easily adjust the atmosphere of your space.
Temperature control systems help manage comfort levels. Smart thermostats learn your patterns and adjust automatically to save energy.
Consider these smart additions:
- Motion sensors for automatic lighting
- WiFi-enabled smoke detectors
- Smart window blinds
- Security cameras
- Climate control systems
Plan cable routes during construction. This makes it easier to add or update technology later. Smart plugs help monitor and control energy use. They can turn off devices automatically when not needed.
Think about future technology needs. Install extra electrical capacity and data points for later upgrades.
Voice control systems can manage multiple features. They add convenience and help make the space more accessible.
Smart locks provide security and convenience. They let you control access without physical keys.
Remember to choose systems that work together. This prevents the need for multiple apps or control systems.
Post-Renovation Considerations
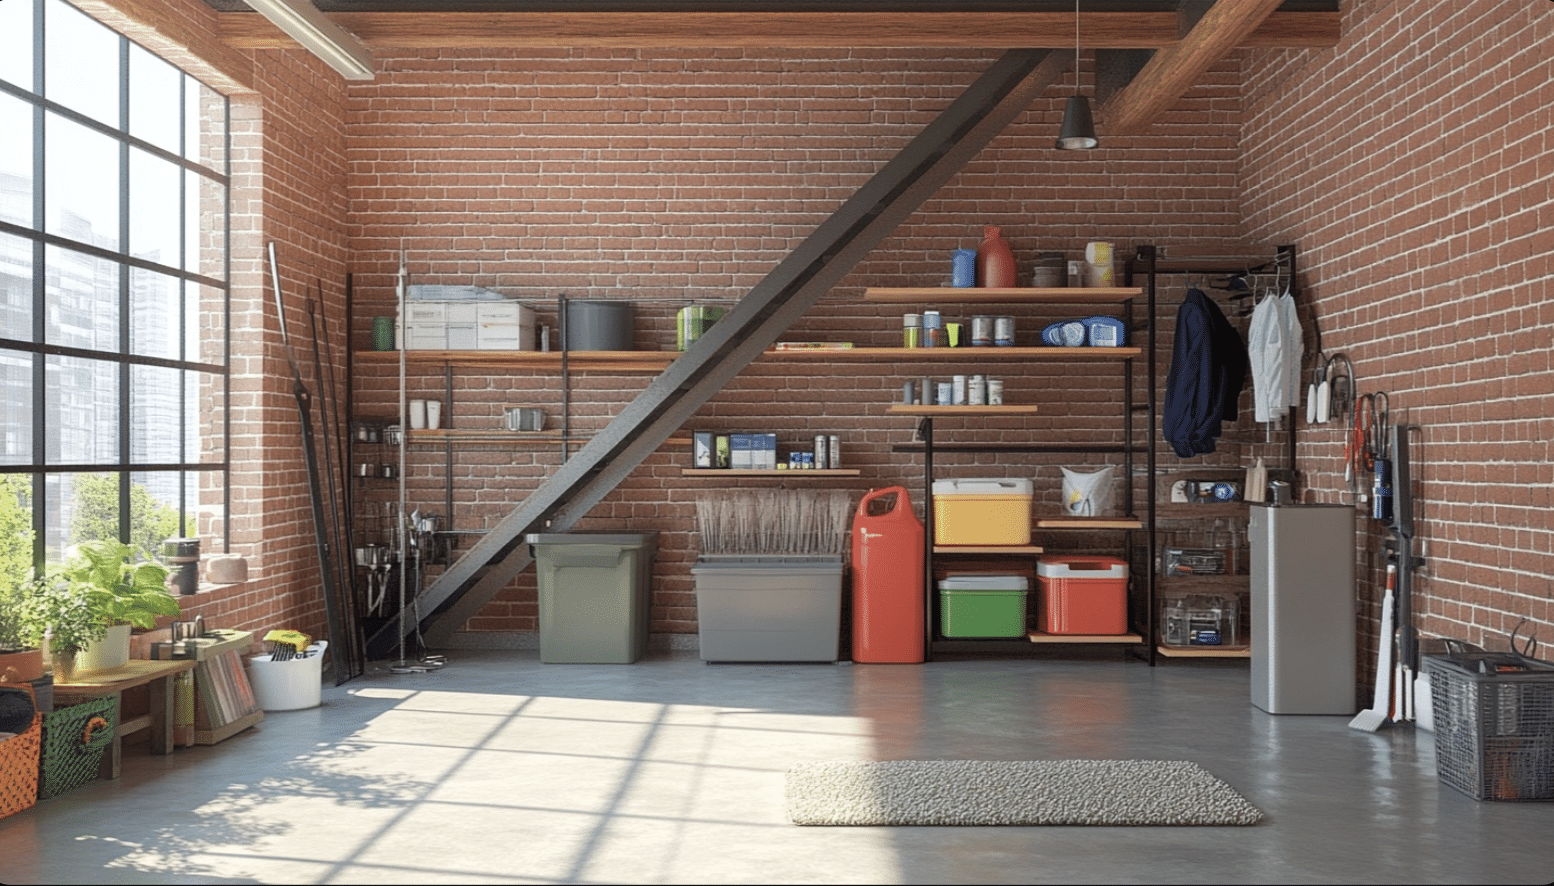
Maintenance Tips
Regular checks help prevent small issues from becoming big problems. Look for signs of wear or damage every few months.
Clean your ventilation systems regularly to maintain good air quality. Replace or clean filters according to manufacturer guidelines.
Water creates the biggest risk to your renovated space. Check for leaks around windows and roof joints after heavy rain.
Keep an eye on these key areas:
- Window seals and frames
- Floor condition and stability
- Electrical outlets and fixtures
- Heating and cooling systems
Document all maintenance work you perform. This record helps track when items need attention or replacement.
Create a schedule for routine upkeep tasks. Regular maintenance costs less than fixing major problems later.
Showcasing Your New Loft
Take photos during daylight hours to capture your space well. Good lighting shows off your renovation’s best features.
Clean thoroughly before taking any photos. A tidy space looks more appealing and professional.
Show your loft’s various uses through careful staging. Set up different areas to display the space’s flexibility.
Share your renovation story with these details:
- Before and after comparisons
- Special features you added
- Unique solutions to challenges
- Energy-saving improvements
Keep records of all improvements made. These details add value when selling your home—track energy bills to show efficiency gains. Lower utility costs can attract future buyers.
Share your experience with others who are planning similar projects. Your insights might help them avoid common mistakes.
Use different angles when photographing your space. This shows how well you used the available area.
Budgeting and Cost Breakdown

Smart budget planning prevents costly surprises during renovation. Basic costs include flooring at $35-$75 per square foot, insulation around $500-$750, and windows at $600-$1,200 each.
Labor accounts for nearly half the total project costs and professional fees vary depending on location and project size.
Main Expenses Include:
- Structural work
- Electrical systems
- Insulation
- Finishing materials
- Professional fees
Save 10-15% extra for unexpected issues. Get multiple quotes and track all spending carefully.
Remember hidden costs like permits, waste removal, storage, and insurance updates. Quality materials cost more upfront but save money over time through better durability and less maintenance.
Compare prices from different suppliers and watch for seasonal sales to maximize your budget.
Conclusion
A well-planned loft renovation adds valuable living space and increases your home’s worth. From initial planning and permits to choosing between DIY and professional help, each step shapes your project’s success.
Remember these key points:
- Start with clear goals and proper permits
- Focus on safety and building codes
- Choose between DIY and professional help wisely
- Plan your budget with extra room for surprises
- Consider sustainable and smart features
Now is the perfect time to start your loft renovation. With careful planning and the right approach, you can create a beautiful, functional space that your family will enjoy for years.
Frequently Asked Questions (FAQs)
How Can I Make My Loft More Energy-Efficient?
To reduce heat loss and maintain optimal temperature, insulation of walls and floors, double-glazed windows, energy-efficient lighting, and proper ventilation are recommended.
Is a Loft Renovation Disruptive to Everyday Living?
Depending on the scope, it can be mildly disruptive, involving noise, dust, and restricted access. Careful planning and scheduling can minimize inconvenience.

