King-Size Platform Bed Plans: An Easy Guide
Want to sleep better and save money? Building your own king-size platform bed might be the perfect weekend project!
Platform beds are lower to the ground and don’t need a box spring, which immediately cuts down on costs.
When you make your own bed frame, you get to pick exactly how it looks and works in your space.
Add drawers for extra storage, choose wood that matches your room, or keep it basic and clean-looking.
The best part? A DIY platform bed costs much less than store-bought options but can last for many years.
This guide will show you how to build a strong, good-looking king-size platform bed that fits your style and budget.
Understanding Platform Beds
Let’s get to know these simple, useful bed frames that can make your bedroom look better while saving you money and adding function.
What is a Platform Bed?
A platform bed is a low bed frame with a flat, hard surface that holds your mattress without needing a box spring.
Think of it as an all-in-one bed base that sits closer to the floor than regular beds.
Benefits
- With a platform bed, you’ll save money by not buying a box spring.
- Many have built-in drawers for storing clothes or blankets.
- They’re also very strong and won’t squeak or wobble like other beds might.
Types
You can choose from many styles:
- Beds that look like they’re floating
- Ones with drawers underneath
- Simple clean-lined designs
- Modern looks with sleek legs
- Country-style frames made from rough wood.
Choosing the Right Design for a Platform Bed
Before you grab your tools, think about what matters most to you – how much you want to spend, what looks good in your room, and what tools you have on hand.
Factors to Consider
Think about your budget, the look you want, and the tools you own.
Do you need storage? How much space do you have? Also consider your skill level – some designs need more woodworking know-how than others.
Your bedroom style matters too – a rustic bed might look odd in a modern room. Your answers will help you pick the best design for your needs.
1. Simple and Sturdy Platform Bed

This basic design uses 4×4 posts for corners and 2×8 boards for sides.
Add support slats on an inner frame of 2x4s. Steel L-brackets at corners keep everything solid.
It’s perfect if you want something strong that will last for years.
2. Modern Platform Bed with a Minimalist Look

This clean, simple style takes ideas from Japanese beds.
Hidden screws and dowels keep the look smooth. Steel hairpin legs (6 inches tall) give it a floating feel.
Pine or plywood makes it tough enough for nightly use.
3. Budget-Friendly King Platform Bed

Build this bed for under $100 using basic lumber.
The frame uses 2×6 boards with tongue-and-groove slats for mattress support. Pocket holes make joining easy. Finish with a simple stain that matches your room.
4. Platform Bed with Built-in Storage

This smart design comes apart easily when you move.
It includes four front drawers and six side shelves. Hidden spaces inside store seasonal items.
Strong plywood corners mean it won’t wobble even with drawers full.
Materials and Tools Needed

Here’s everything you might need when building your DIY king-size platform bed.
Building Materials
- 2×4s for frame and support
- 1×3s or 1×4s for slats
- Plywood sheets (¾” thickness) for platform or headboard
- Wood screws (2½” and 1¼”)
- Wood glue
- Corner brackets
- Center support beam and legs (essential for king size)
Tools
- Measuring tape
- Pencil
- Circular saw
- Drill/driver
- Drill bits
- Sander
- Level
- Clamps (at least 2)
- Screwdriver
Finishing Materials
- Sandpaper (80 and 220 grit)
- Wood stain or paint
- Polyurethane finish
- Brush or rag for applying finish
Safety Equipment
- Safety glasses
- Ear protection
- Work gloves
- Dust mask
Step-by-Step Guide to DIY King-Size Platform Bed
Let’s break down how to build your bed into easy steps.
Take your time with each part – rushing often leads to mistakes that are hard to fix later.
Step 1: Cutting the Wood

- Measure twice, cut once!
- For a king bed, you’ll need side rails about 80″ long and end rails about 76″ wide.
- Cut your support slats to fit the inside width of your frame.
Step 2: Sanding and Staining

- Smooth all rough edges with sandpaper.
- Start with rough grit, then finish with fine.
- Apply wood stain in even strokes and let it dry completely before moving on.
Step 3: Assembling the Base

- Join the four corners of your frame with screws and brackets.
- Add center support beams – crucial for a king bed!
- Attach slats across the frame, spacing them 3-4″ apart.
Step 4: Adding Storage (Optional)

- Build simple drawer boxes that slide under the bed.
- You can use store-bought plastic bins, too.
- Make sure drawers can open fully without hitting the bed legs.
Step 5: Attaching the Headboard (Optional)

- Connect your headboard to the bed frame with strong bolts.
- For comfort, add padding with foam and fabric if you like to sit up in bed.
Step 6: Final Touches

- Apply a clear coat to protect the wood.
- Check that all screws are tight.
- Place your bed where you want it before adding the mattress – it’ll be heavy once built.
Troubleshooting Common Issues
Even the best DIY projects can hit a few snags. Don’t worry – these fixes are simple and will help your bed last for years.
I’ve faced these same problems and found easy solutions.
1. Frame Wobbling? Strengthening Tips.
Nothing ruins sleep like a wobbly bed.
- Add corner brackets where the rails meet the legs.
- Tighten all screws and bolts regularly.
- For extra stability, install a fifth leg in the center of your king bed – this prevents sagging and adds years to your bed’s life.
2. Slats Bending? Proper Spacing and Support Fixes.
Waking up with a mattress sinking in the middle? Your slats might need help.
- Space them no more than 3 inches apart.
- Add a center beam running head-to-foot with 1-2 support legs touching the floor.
- For really sturdy support, use thicker 1×4 slats instead of thin 1×3s.
3. Creaking Noises? How to Prevent and Fix Them.
Those midnight creaks can drive anyone crazy. Most noise comes from wood rubbing against wood.
- Apply wax to areas where wooden parts touch.
- Place felt pads between the slats and the frame.
- Wrap the ends of slats with old t-shirt fabric for a quiet buffer that works like magic.
Customization Ideas

Once you’ve built your basic bed, why not add some personal touches? I love how these small details can make a big difference in how your bedroom feels.
These simple changes can make your DIY project truly yours.
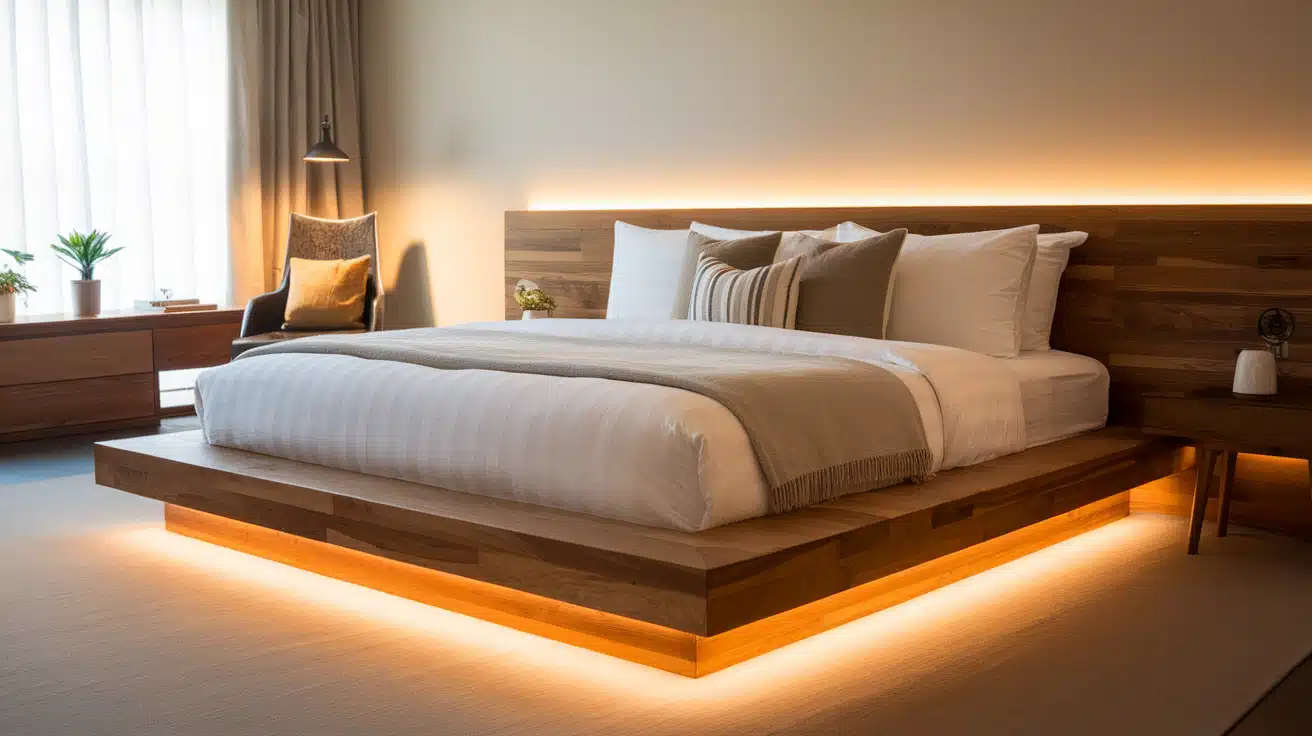
Adding LED Lighting Under the Bed
Stick some battery-powered LED strips under your bed frame for a cool nighttime glow.
They make midnight trips to the bathroom safer and add a cozy feel to your room. Plus, you’ll feel like you’re sleeping in a sci-fi movie!
Using Reclaimed Wood for a Rustic Look
Old barn wood or fence boards give your bed character and history. Each scratch tells a story!
Sand just enough to remove splinters but keep the cool marks and color changes. Your bed will have a one-of-a-kind look.
Upholstering the Frame for a Soft-Touch Finish
Cover your bed frame with foam and fabric for a comfy look and feel. This will reduce the pain of late-night bumps and add color to your room.
Use staples and glue to attach the fabric tight around the corners.
Maintenance and Longevity

Like any piece of furniture you use daily, your bed needs a little care to stay strong and look good.
These simple tips will help your DIY creation last for many years to come.
How to Reinforce a DIY Bed for Durability
- Check all screws and bolts every six months and tighten any loose ones.
- Add extra support blocks in the corners where stress is highest.
- For king beds, make sure your center beam is solid – it’s doing most of the heavy lifting.
- Consider metal brackets at major joints if you tend to toss and turn a lot at night.
Best Ways to Clean and Care for Wooden and Metal Frames
- For wooden frames, dust them weekly with a soft cloth.
- Clean spills right away to prevent staining.
- Once a year, apply a thin coat of furniture wax to protect the finish.
- Metal parts need wiping with a slightly damp cloth to prevent rust.
- Keep your bed away from heating vents, as dry air can crack wood over time.
Conclusion
We’ve been through the whole process of making your own king-size platform bed from start to finish.
From picking the right design to fixing common problems, you now have all the know-how to build a bed that fits your style, needs, and budget.
Remember that your first DIY bed doesn’t have to be perfect. Each small mistake teaches you something useful for your next project.
The best part is the feeling you’ll get when friends visit and ask, “Where did you buy that amazing bed?” and you can smile and say, “I made it myself!”
I’d love to see what you create, so please share photos of your finished bed!