How to Refinish a Table: Step-by-Step Guide
A worn table doesn’t have to mean a new one. Refinishing a table is one of the most satisfying DIY projects you can do at home, and it costs a fraction of what a replacement would.
I’ve seen tables go from scratched and dull to smooth and brand new with just the right steps and a little patience. The key is knowing what to do and in what order.
This Post walks you through everything, from the tools you need to the final seal coat. If it’s a dining table or a side table, the process stays the same.
Follow each step carefully, and you’ll end up with a finish that looks great and holds up for years.
Beginner’s Guide to Refinishing a Table
If you’ve never refinished a table before, don’t worry, this process is easier than it looks. Just follow the steps in order, and you’ll get a clean, professional result.
Tools and Materials
- Cleaning supplies: soft brush, lint-free cloth
- Stain application supplies: wood stain, foam brush, clean rags
- Sealing supplies: water-based polyurethane, high-quality soft brush, foam brush for edges/sides
- Surface prep supplies: 320-grit sandpaper
- Cleanup and storage supplies: sealed bag for storing brushes between coats, dish soap, water, paper towels
- Helpful extra: work light to spot drips, streaks, and missed areas
1. Clean the Surface Well
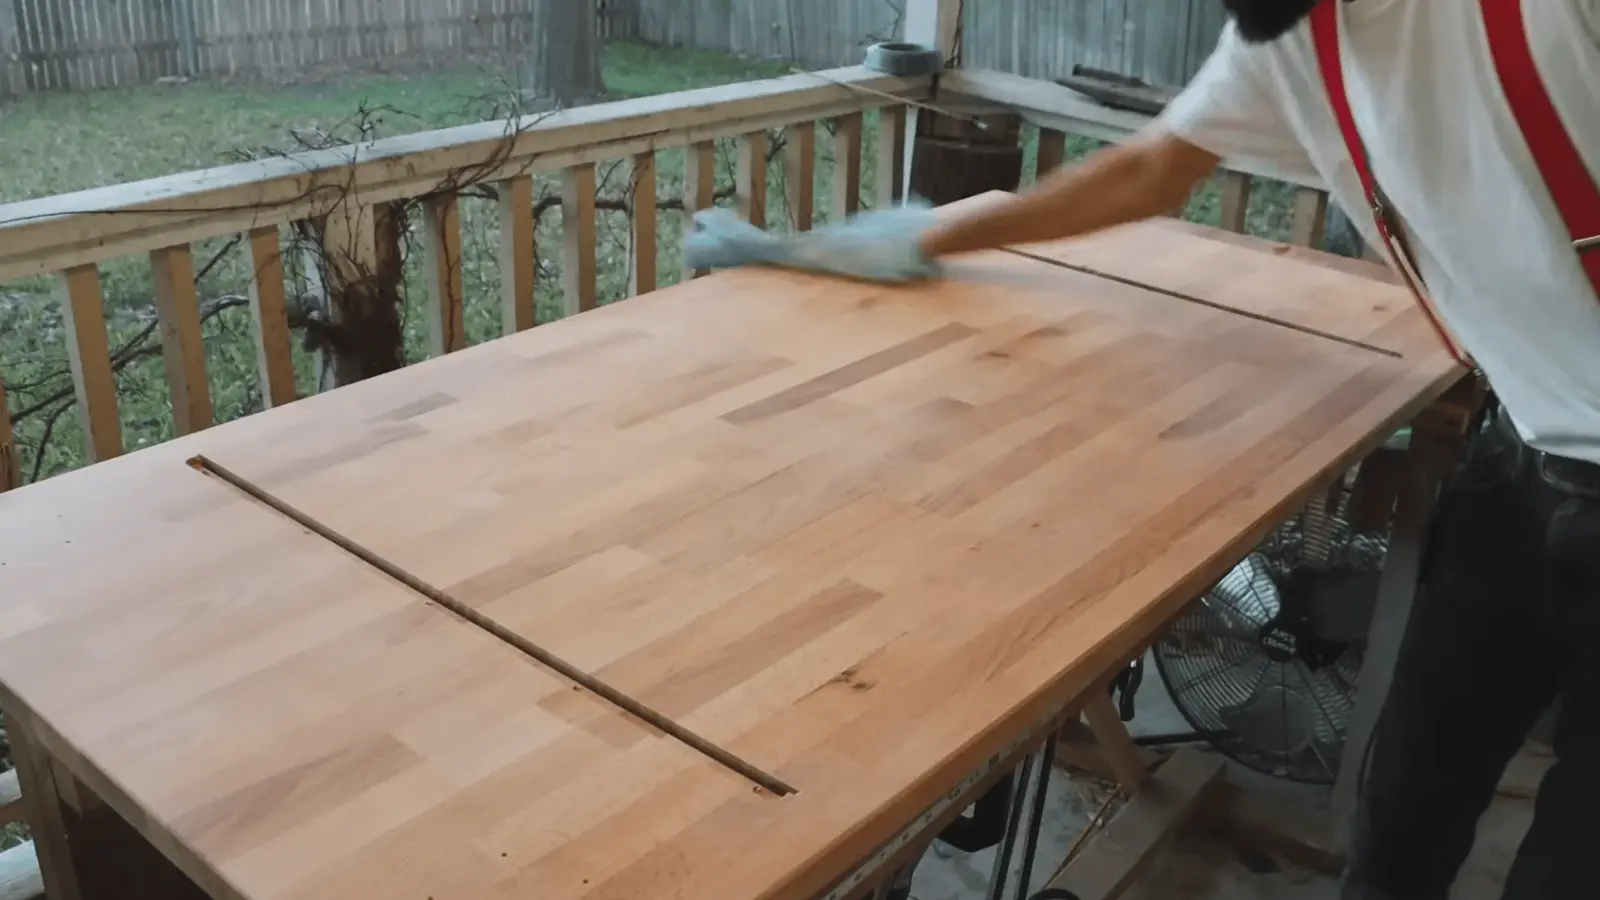
Start by removing every bit of dust from the wood surface. Use a soft brush first to lift dust out of the grain, then wipe the surface with a lint-free cloth to pick up what is left.
Make sure the surface feels clean and dry before moving on, because leftover dust can ruin the finish.
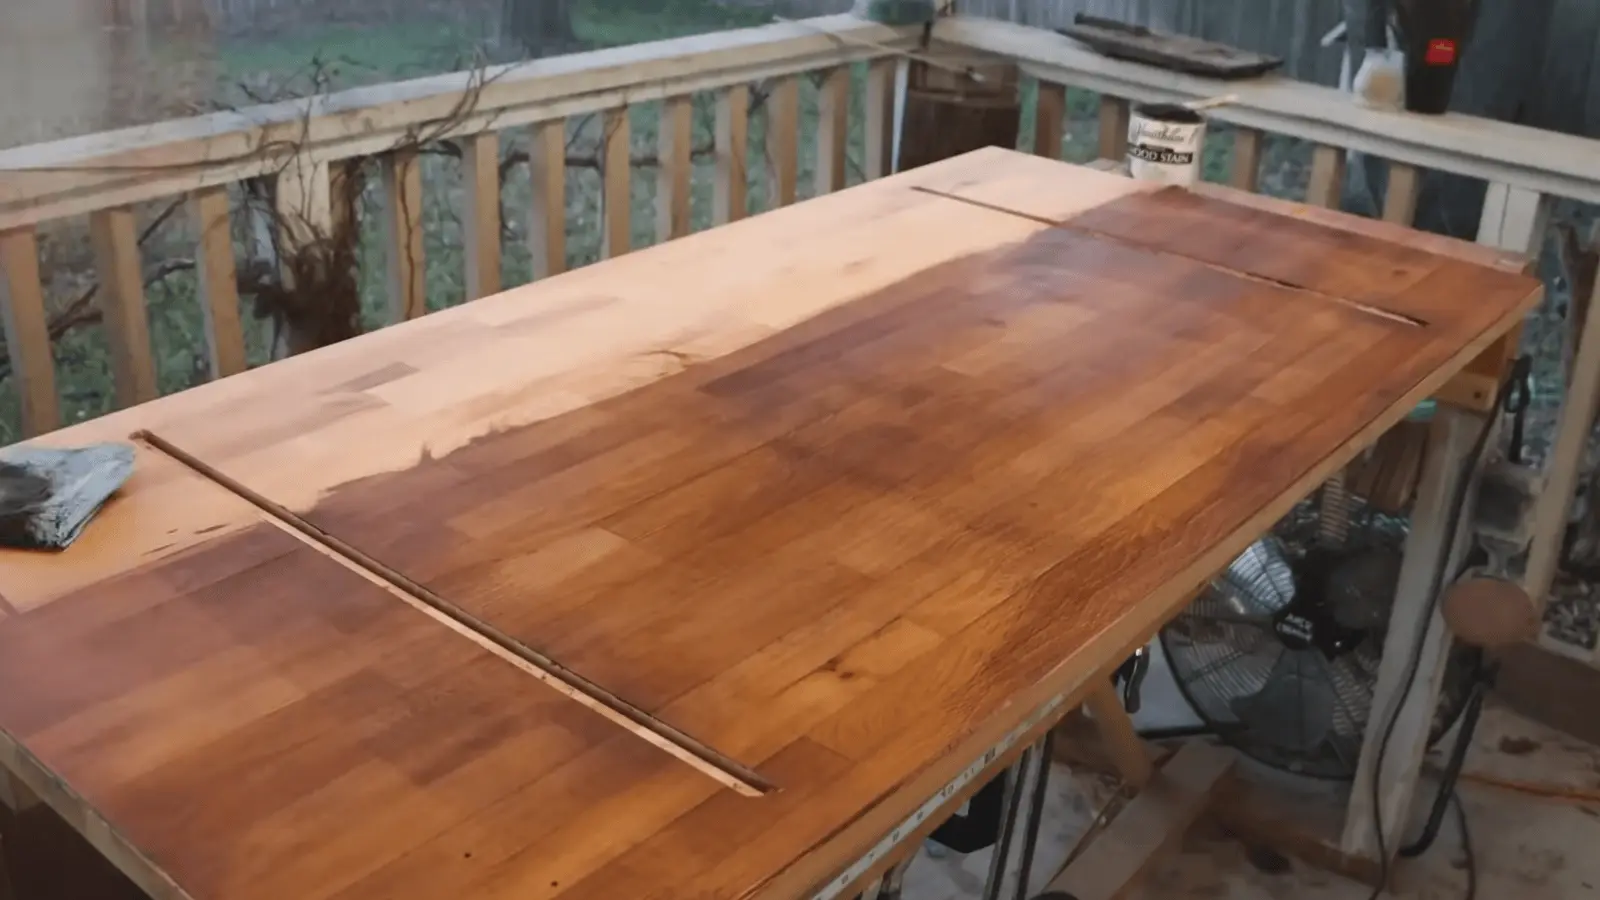
2. Apply the Stain in Small Sections
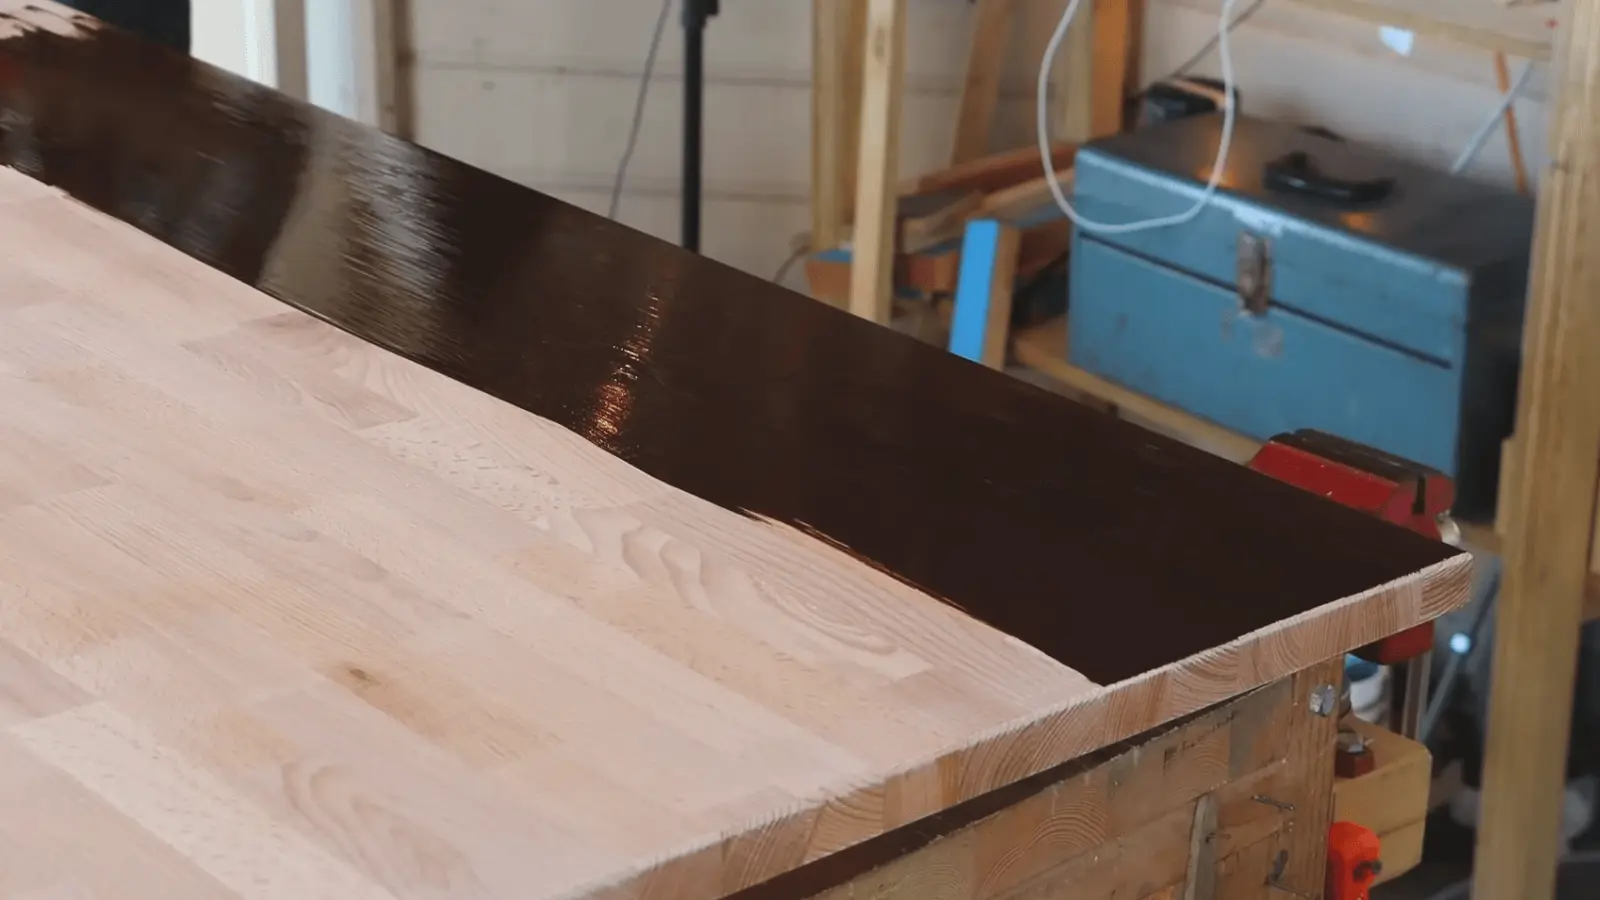
Use a foam brush to spread a thick, even coat of stain over one small, manageable section at a time. Right after applying it, wipe off the excess with a clean rag.
Always wipe with the grain, not against it, so the color stays even, and the wood looks cleaner and more natural.
3. Test Your Method on the Underside First
Before working on the top surface, practice on the underside. This gives you a safe place to check how fast to wipe, how much stain to leave behind, and how the final color will look.
Once you feel comfortable with the process, move to the visible areas.
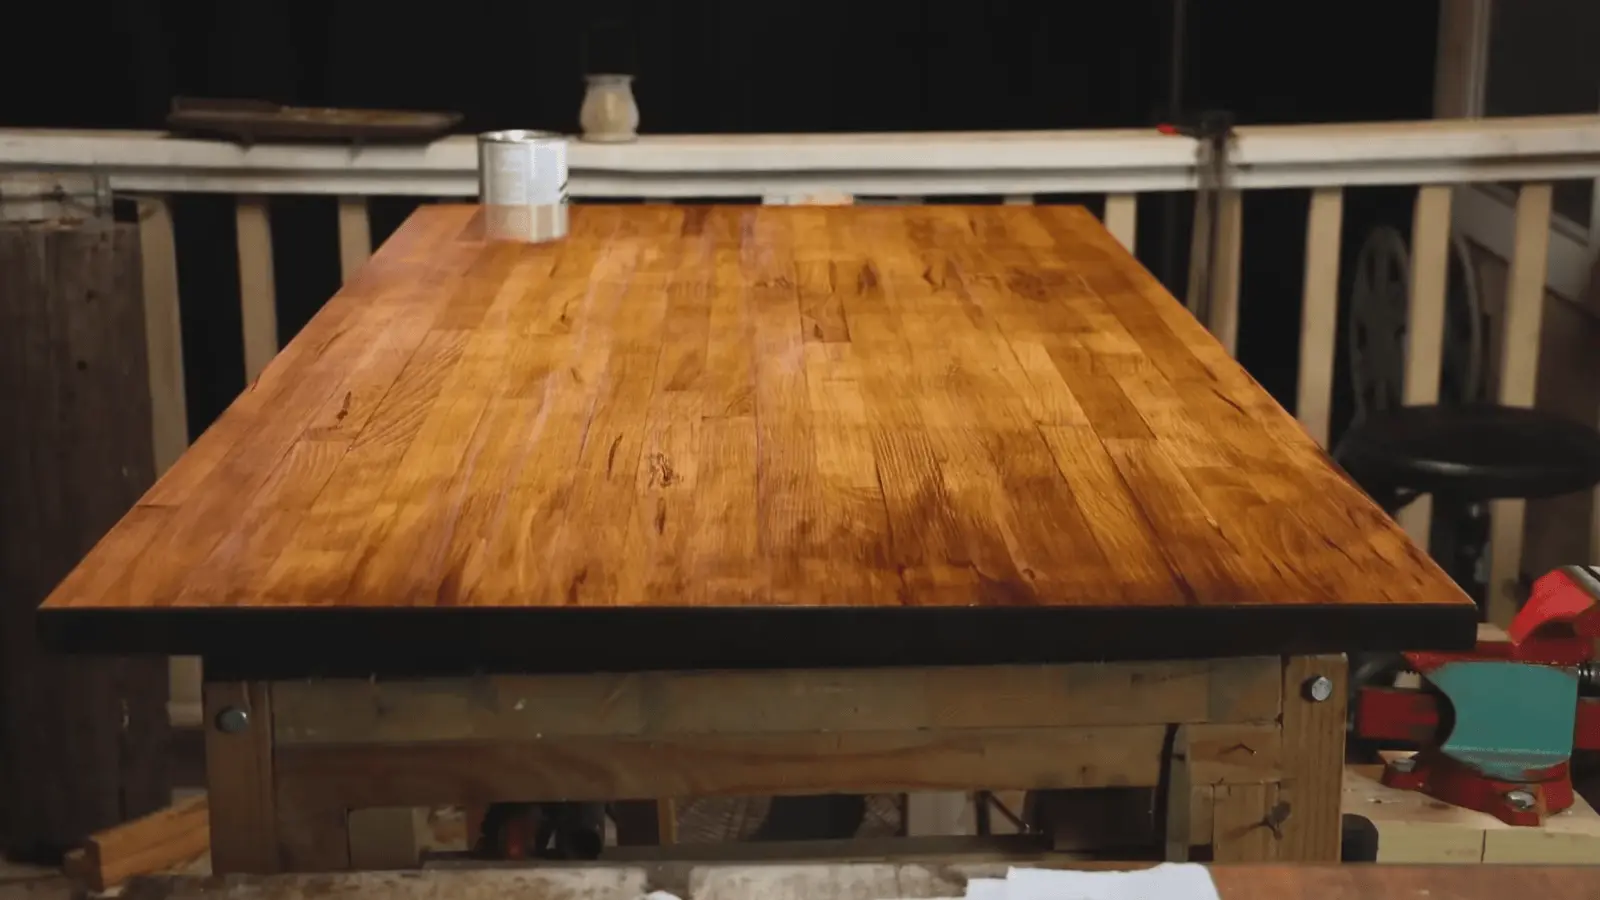
4. Let the Stain Dry, Then Apply the First Seal Coat
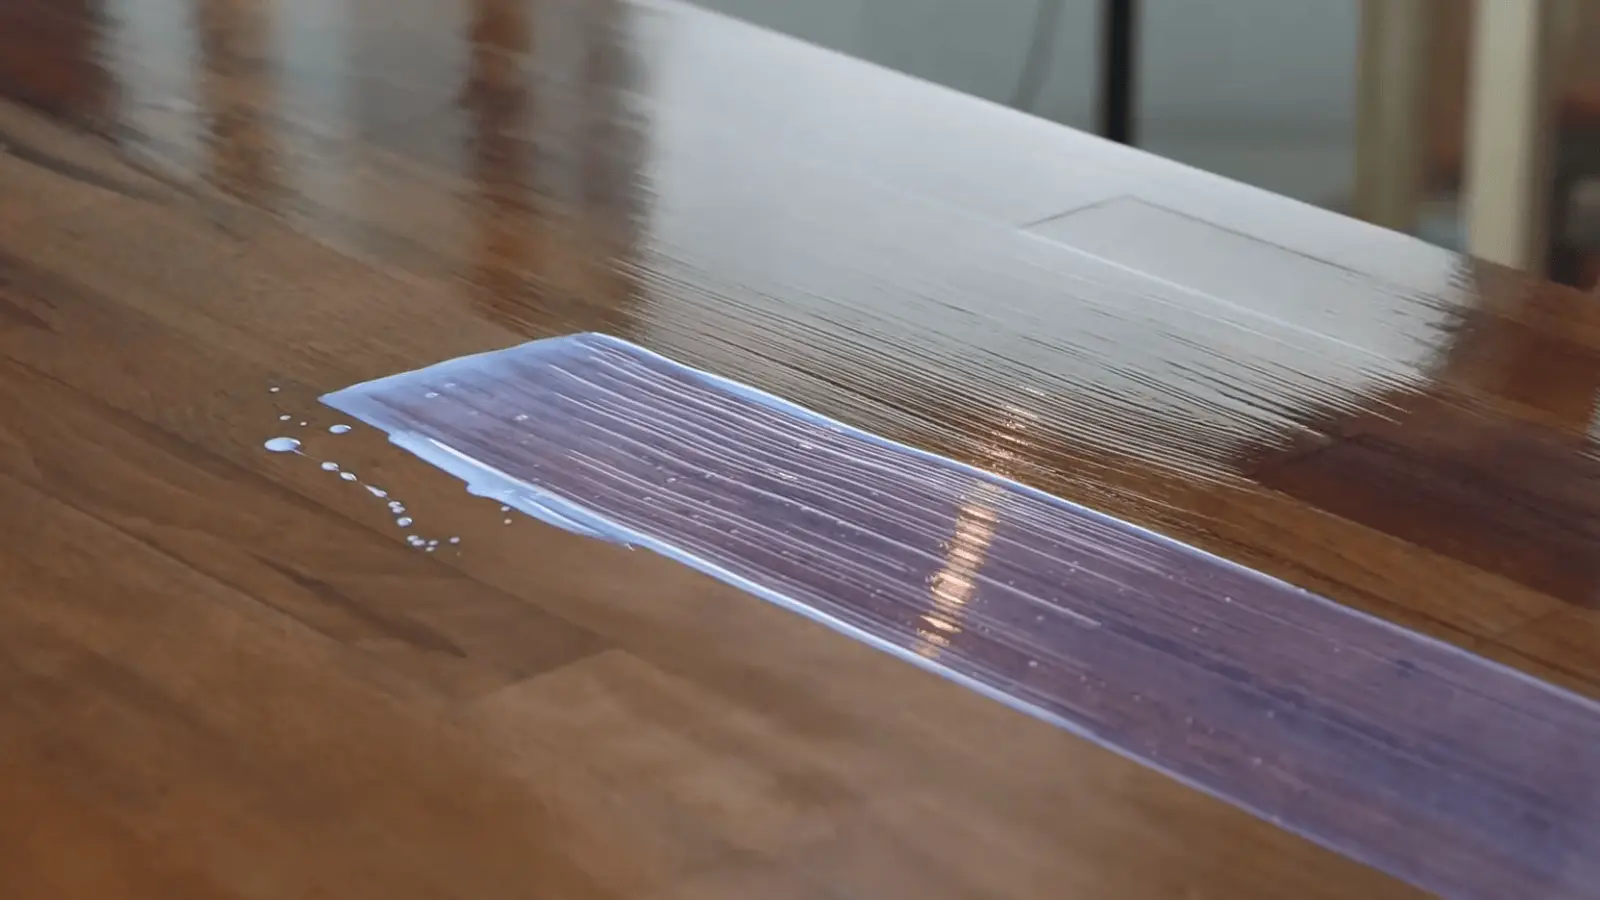
Let the stained surface sit overnight so it has time to dry properly. Then apply water-based polyurethane with a soft, high-quality brush.
Start near the middle and brush outward toward each side. After every couple of strokes, lightly go back over the area with a feathering stroke to smooth the finish and even it out. Use a foam brush on the sides and edges for better control.
Keep a light aimed across the surface so you can quickly catch drips or uneven spots.
5. Sand Lightly and Add the Second and Third Coats
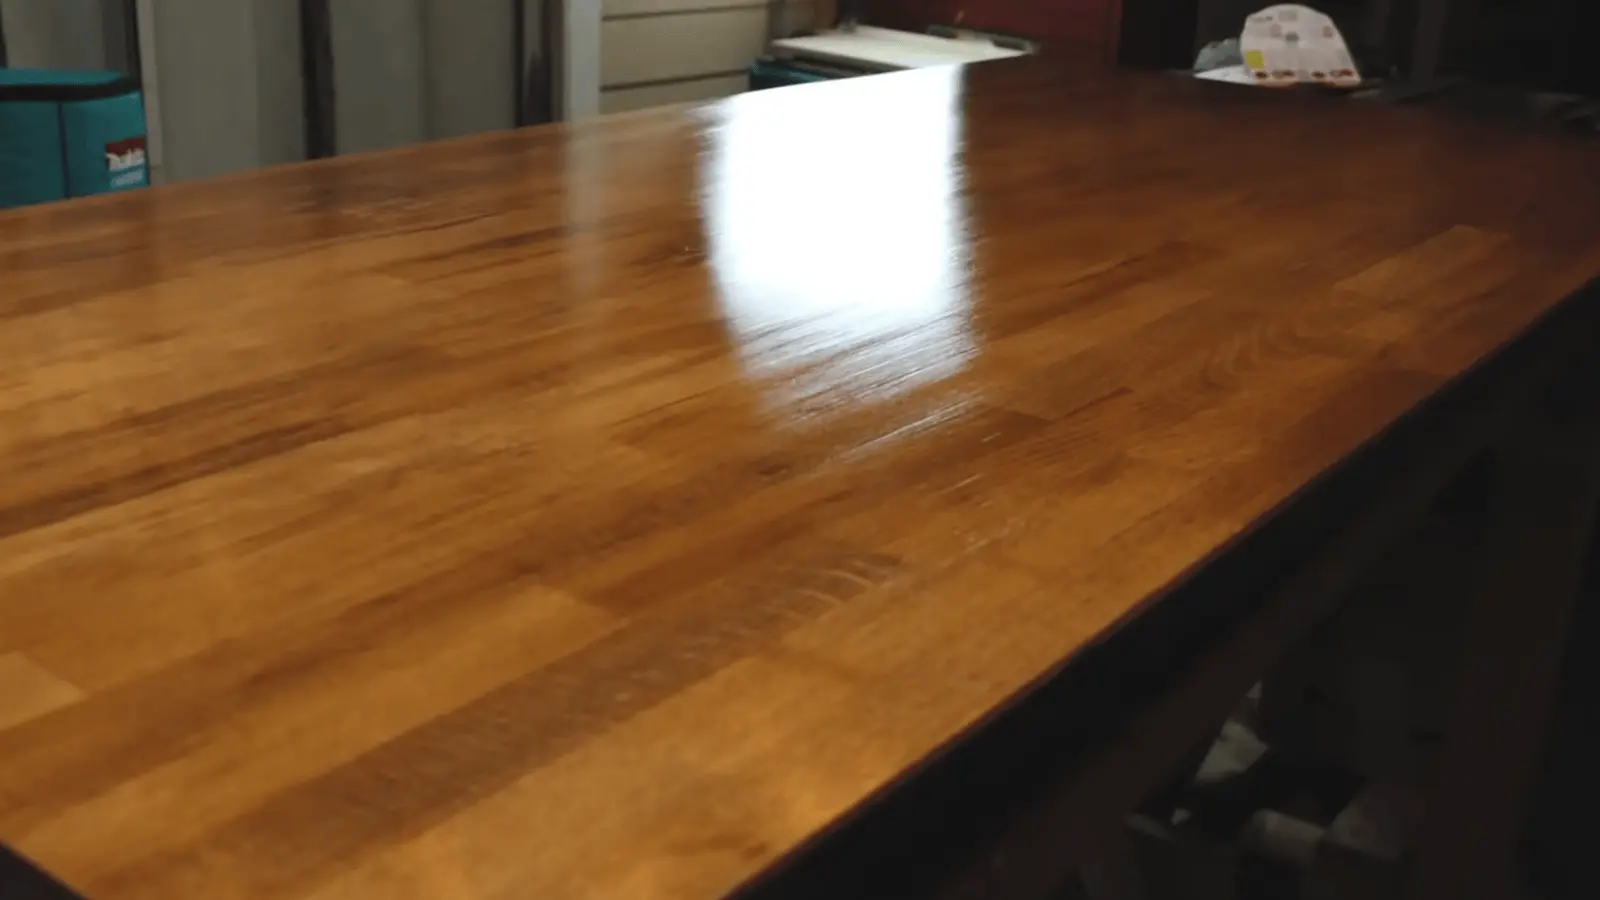
Apply a total of three coats. Between coats, store your brushes in a sealed bag so they stay usable.
After about 20 minutes, lightly sand the surface with 320-grit sandpaper, then wipe it clean before adding the next coat. Keep the sanding very light.
You only want to smooth the surface, not cut through the finish.
6. Clean Your Brushes for Reuse
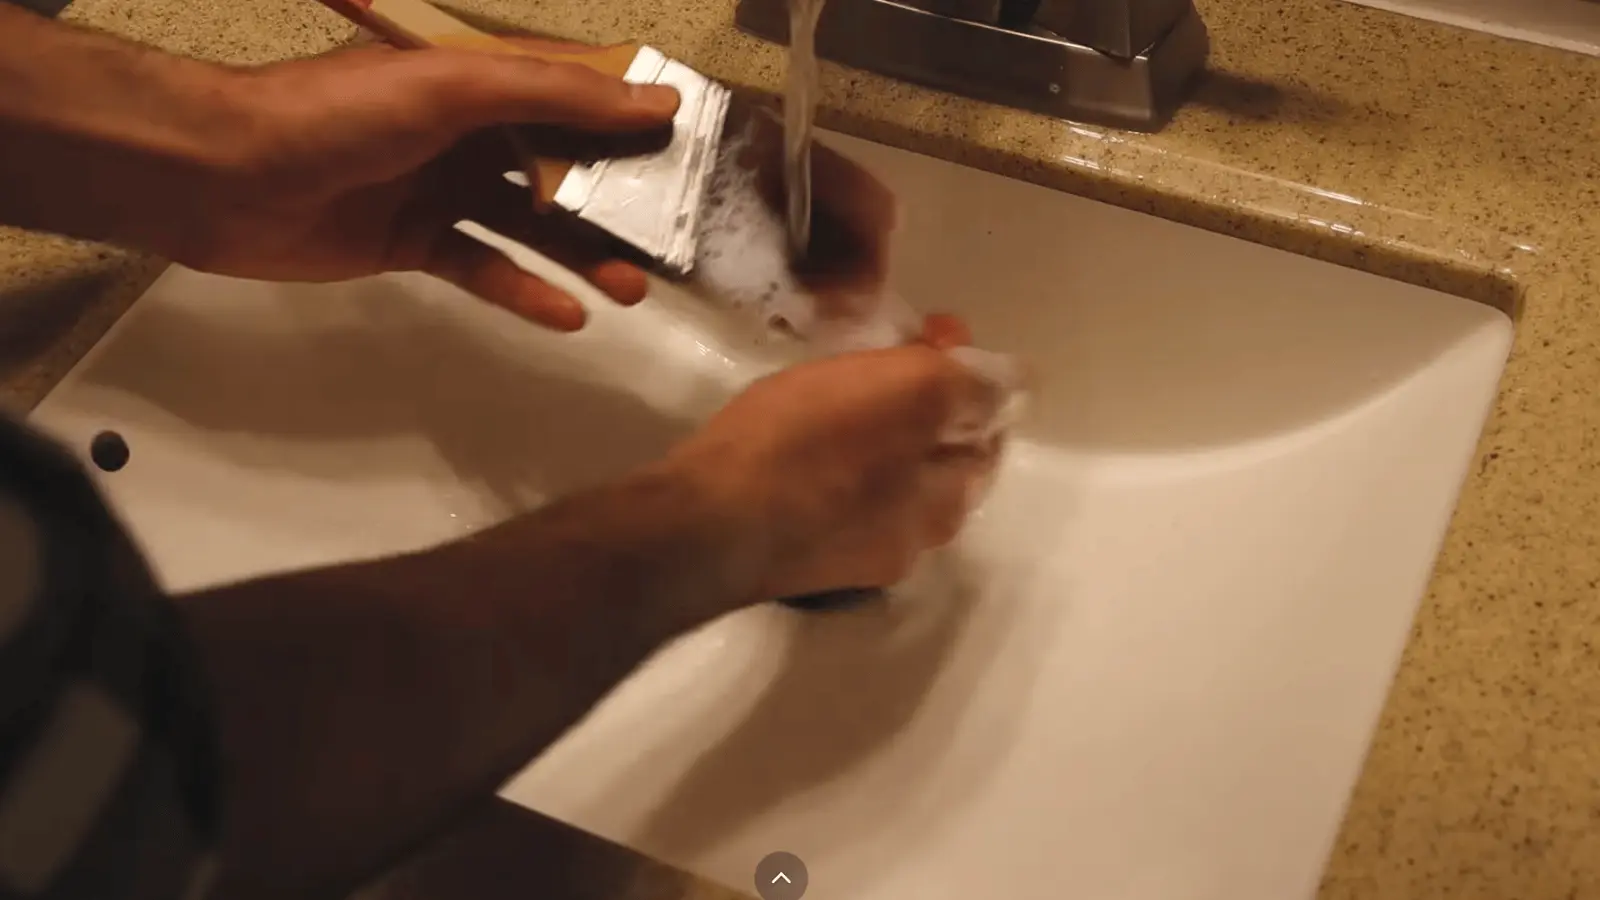
Once all coats are done, wash your brushes with dish soap and water. Rinse them well, reshape the bristles, and let them dry fully before storing them. This helps keep them in good shape for the next project.
For an in-depth walkthrough of the whole process, check out the complete video tutorial below:
Source: A Mere Creator
Common Mistakes to Avoid When Refinishing a Table
Refinishing a table is straightforward, but a few wrong moves can ruin the finish. Knowing what not to do is just as important as knowing what to do.
Here are the most common mistakes beginners make, and how to avoid them:
- Applying too much stain at once. A thick layer doesn’t mean a richer color; it means streaks and uneven patches. Apply thin, even coats and build up gradually.
- Going dark over a dark stain. If your table already has a dark finish, switching to a lighter stain won’t work well. The old color bleeds through and throws off the result.
- Skipping the test patch. Every wood absorbs stain differently. Always test on the underside first, so you know exactly how the color and dry time will look before touching the top surface.
Small oversights like these are easy to miss but hard to fix once the finish is dry. Taking a few extra minutes to get these right will protect all the work you’ve already put in.
Conclusion
Refinishing a table takes time, but the results are worth every step. Clean the surface well, apply the stain evenly, and let each coat dry fully before moving on.
Don’t rush it. The finish needs time to cure, and skipping steps is the fastest way to undo all your hard work.
Follow this guide from start to finish, and you’ll have a table that looks and feels brand new — without spending a dime on a replacement.
Have you refinished a table before? Drop a comment below and share how it turned out. We’d love to hear what worked for you!
Frequently Asked Questions
Can You Refinish a Table without Sanding?
It’s possible in limited cases, but adhesion is weak. A new finish won’t bond properly to a glossy surface, so it’s likely to peel or scratch off quickly.
How Do You Know if A Table Is Veneer?
Check the edges and underside. Veneer shows a thin top layer with a visible seam or change in grain. The base material underneath is usually MDF or plywood.
Why Does My Stain Look Blotchy?
Uneven sanding or leftover residue causes inconsistent absorption. Some spots soak up more stain than others, leaving darker and lighter patches across the surface.