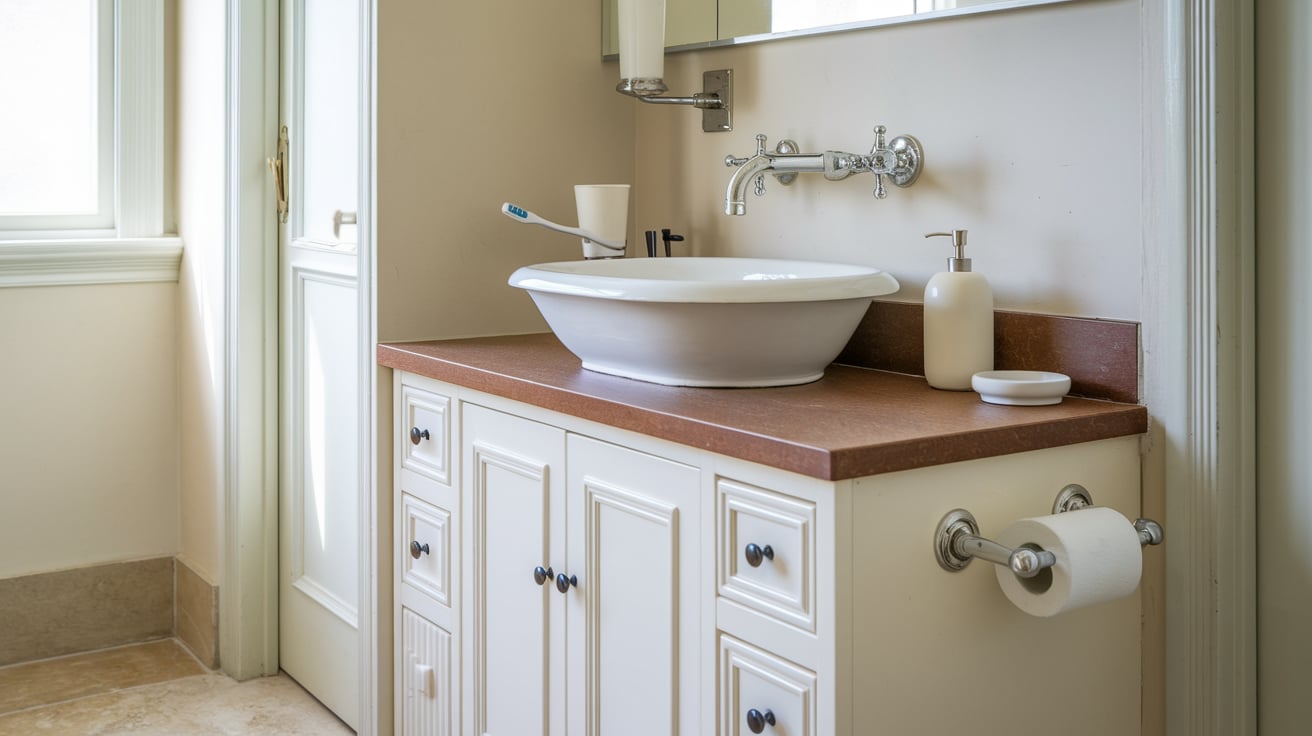
How to Paint a Bathroom Vanity: Guide and Recommendations
Giving your bathroom vanity a fresh coat of paint can breathe new life into your space without breaking the bank.
This guide will walk you through the process, from choosing the right materials to applying the final touches.
We’ll cover everything you need to know, including the best paint types for bathroom environments, essential tools, and step-by-step instructions.
Whether you’re new to DIY or a pro, you’ll find valuable tips to achieve a professional-looking finish.
By following this guide, you’ll be able to transform your bathroom vanity into a stunning focal point that can withstand the unique challenges of a moisture-rich environment.
Stepwise Guide to Paint a Bathroom Vanity
Tools and Materials
- 220 Grit Sanding Sponge or Palm Sander
- Sanding Block
- Tack Cloth
- Painter’s Tape
- 2-inch Synthetic Angled Brush
- 4-inch Foam Roller
- Wet Rag
- KILZ White Water-Based Primer and Sealer
- Magnolia Home by Joanna Gaines Trim Door and Cabinetry Interior Semi-Gloss Paint (Color Signature)
- Dust Mask
- Safety Glasses
Steps for Bathroom Vanity Painting
Step 1: Prep the Vanity
- Take off all the little metal parts, doors, and drawers.
- Give the vanity a good, thorough clean.
- Wash it off with clean water and dry it well.
Step 2: Sanding
- Use a 220-grit sanding sponge or palm sander to remove the gloss from the vanity’s surface.
- Sand until the surface has a dull finish.
Step 3: Clean Up
- Clean the dust with a tack cloth after sanding.
Step 4: Taping
- Apply painter’s tape around areas you don’t want to paint (walls, countertops, floors).
- Press the tape firmly and use a wet rag to ensure a secure seal.
Step 5: Priming
- Use a 2-inch synthetic angled brush and a 4-inch foam roller to apply KILZ white water-based primer.
- Let the primer dry for one hour.
- Lightly sand the surface again using a 220-grit sanding sponge to remove brush marks or splatters.
Step 6: Painting
- Start by trimming the edges first with a brush.
- Use a roller for larger areas to catch any drips.
- Let the first coat dry for two hours.
- Apply a second coat.
Step 7: Finishing
- Remove the painter’s tape after the second coat is almost dry.
- Wait until the vanity is fully cured (seven days) before reinstalling the hardware.
Best Paint Types for Bathroom Vanity
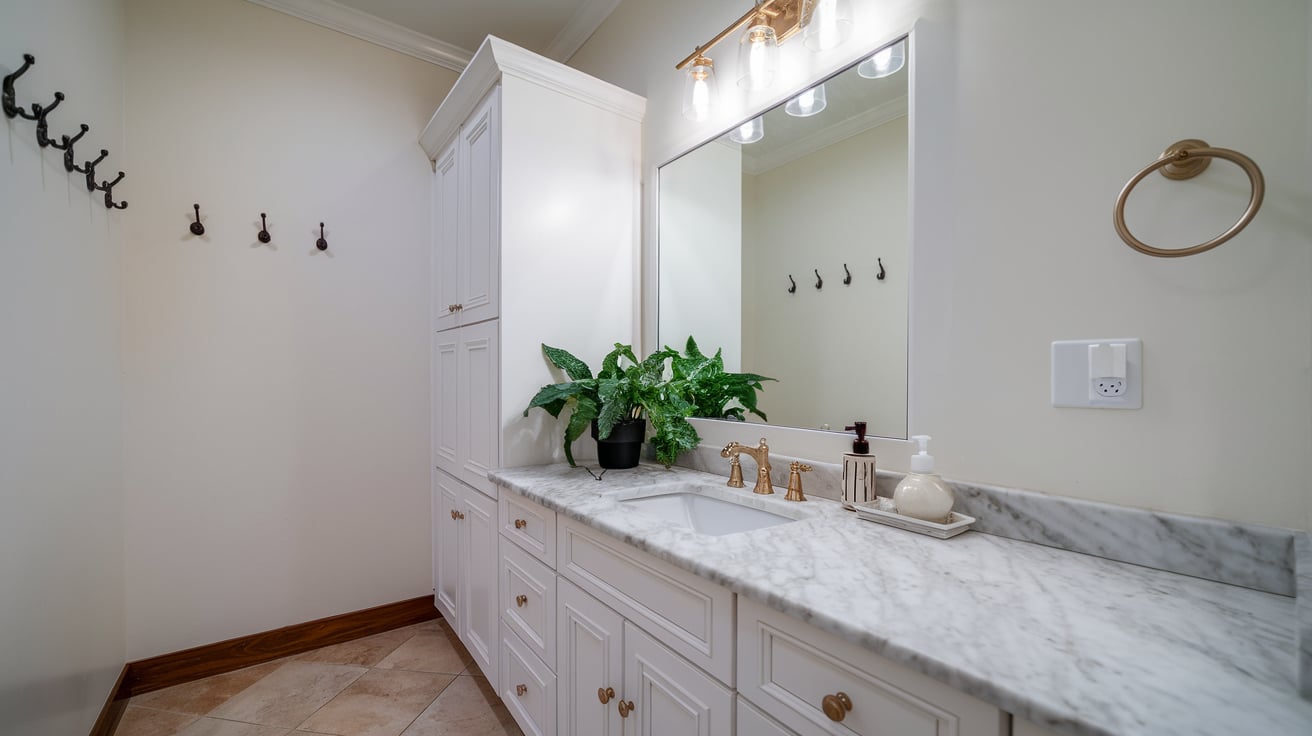
When choosing paint for your bathroom cabinets, two options stand out.
1. Acrylic Enamel Paint
This type of paint is a great choice for many homeowners. It doesn’t give off strong smells, which is nice when working in small spaces like bathrooms.
You can easily clean up any spills or brushes with just water. The best part? It leaves your cabinets looking smooth and lasting for a long time.
2. Alkyd Paint
This oil-based option is worth considering. While you’ll need special liquids to clean it, its tough finish makes up for that.
This paint creates a hard surface that can handle the damp air often found in bathrooms. If you want your cabinets to look good for years, this might be the way to go.
Both types have strengths, so consider what matters most to you—easy cleanup or extra toughness—when making your choice.
Product Recommendations for Best Results
Primers
- Zinsser BIN Shellac Primer: This one’s great for bathroom cabinets. It goes on smoothly, so you won’t see many brush marks.
- KILZ Adhesion Primer: If your cabinets have a tricky surface to paint on, this primer sticks well.
- INSL-X Acrylic Waterborne Bonding Primer: This one is known for how well it sticks to bathroom surfaces.
Paints
- Sherwin Williams Emerald Urethane Enamel: This paint lasts a long time and uses water to clean up, but it looks like the fancy oil paint when it dries.
- Benjamin Moore Advance: This paint can help your cabinets look like nice furniture. It dries to a smooth, even finish.
These products have been picked because they work well in bathrooms and on cabinets.
Remember, using good primers and paints can make your job easier and help your cabinets look better for longer.
Summing Up
Painting your bathroom vanity might seem like a big task, but with the right approach, it’s a project you can tackle with confidence.
By following the steps outlined in this guide, using quality materials, and taking your time, you can achieve results that rival those of professionals.
Remember to choose paints and primers suited for bathroom conditions, prepare your surfaces well, and allow ample drying time between coats.
The effort you put into this project will pay off with a beautifully updated vanity that enhances your bathroom’s overall look.
With your newly painted vanity, you’ll enjoy a fresh, clean space that feels like new.
Frequently Asked Questions
How Can I Ensure a Smooth, Brush-Mark-Free Finish?
Use thin coats and sand lightly between layers. Apply paint with a foam roller for flat areas and a high-quality brush for edges. Work in a dust-free space and let each coat dry fully.
Is Primer Necessary if Using a Paint-And-Primer Combo?
While paint-and-primer combos can work well, a separate primer is often better for bathroom cabinets. It helps the paint stick better and last longer in damp conditions.
Should Bathroom Vanity Be Gloss or Semi-Gloss?
Semi-gloss paint is often the best choice for bathroom vanities. It’s durable, moisture-resistant, and easy to clean, while providing a nice sheen without being too shiny.

