How To Make Wire Wall Art
Wire wall art is becoming increasingly popular as a unique form of home decoration. It appeals to DIY enthusiasts, art lovers, and anyone seeking creative ways to personalize their space. The joy of crafting wire art is its simplicity and the personal touch it adds to your home.
Ready to get into a creative and satisfying DIY project? Continue reading for insights on how to make wire wall art.
Tools You’ll Need
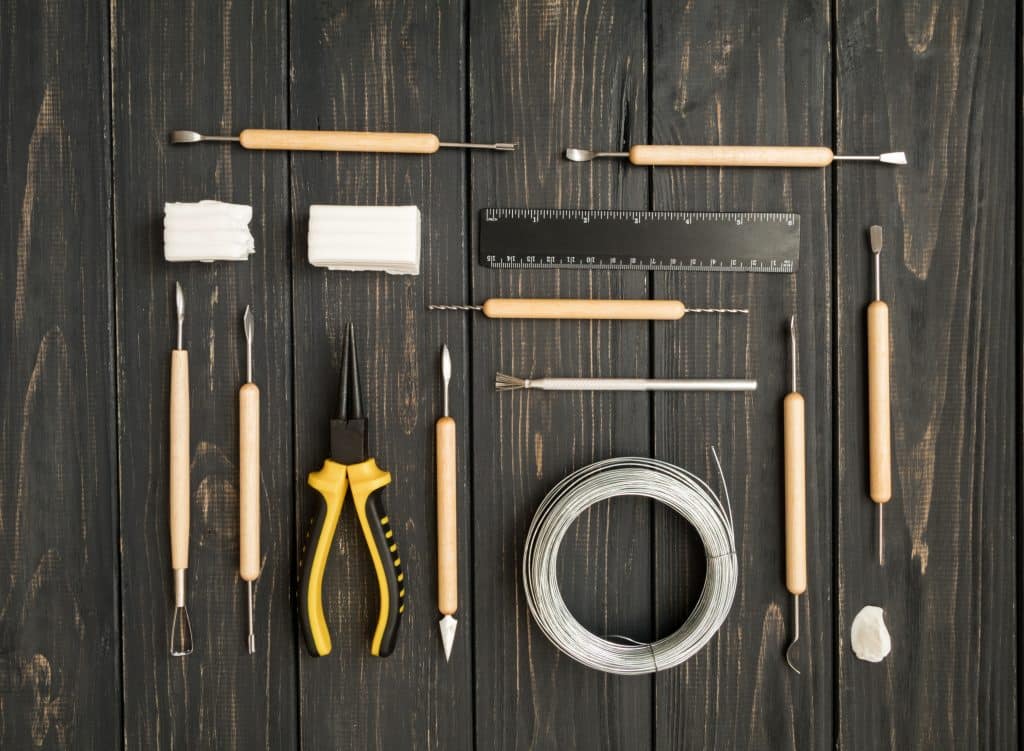
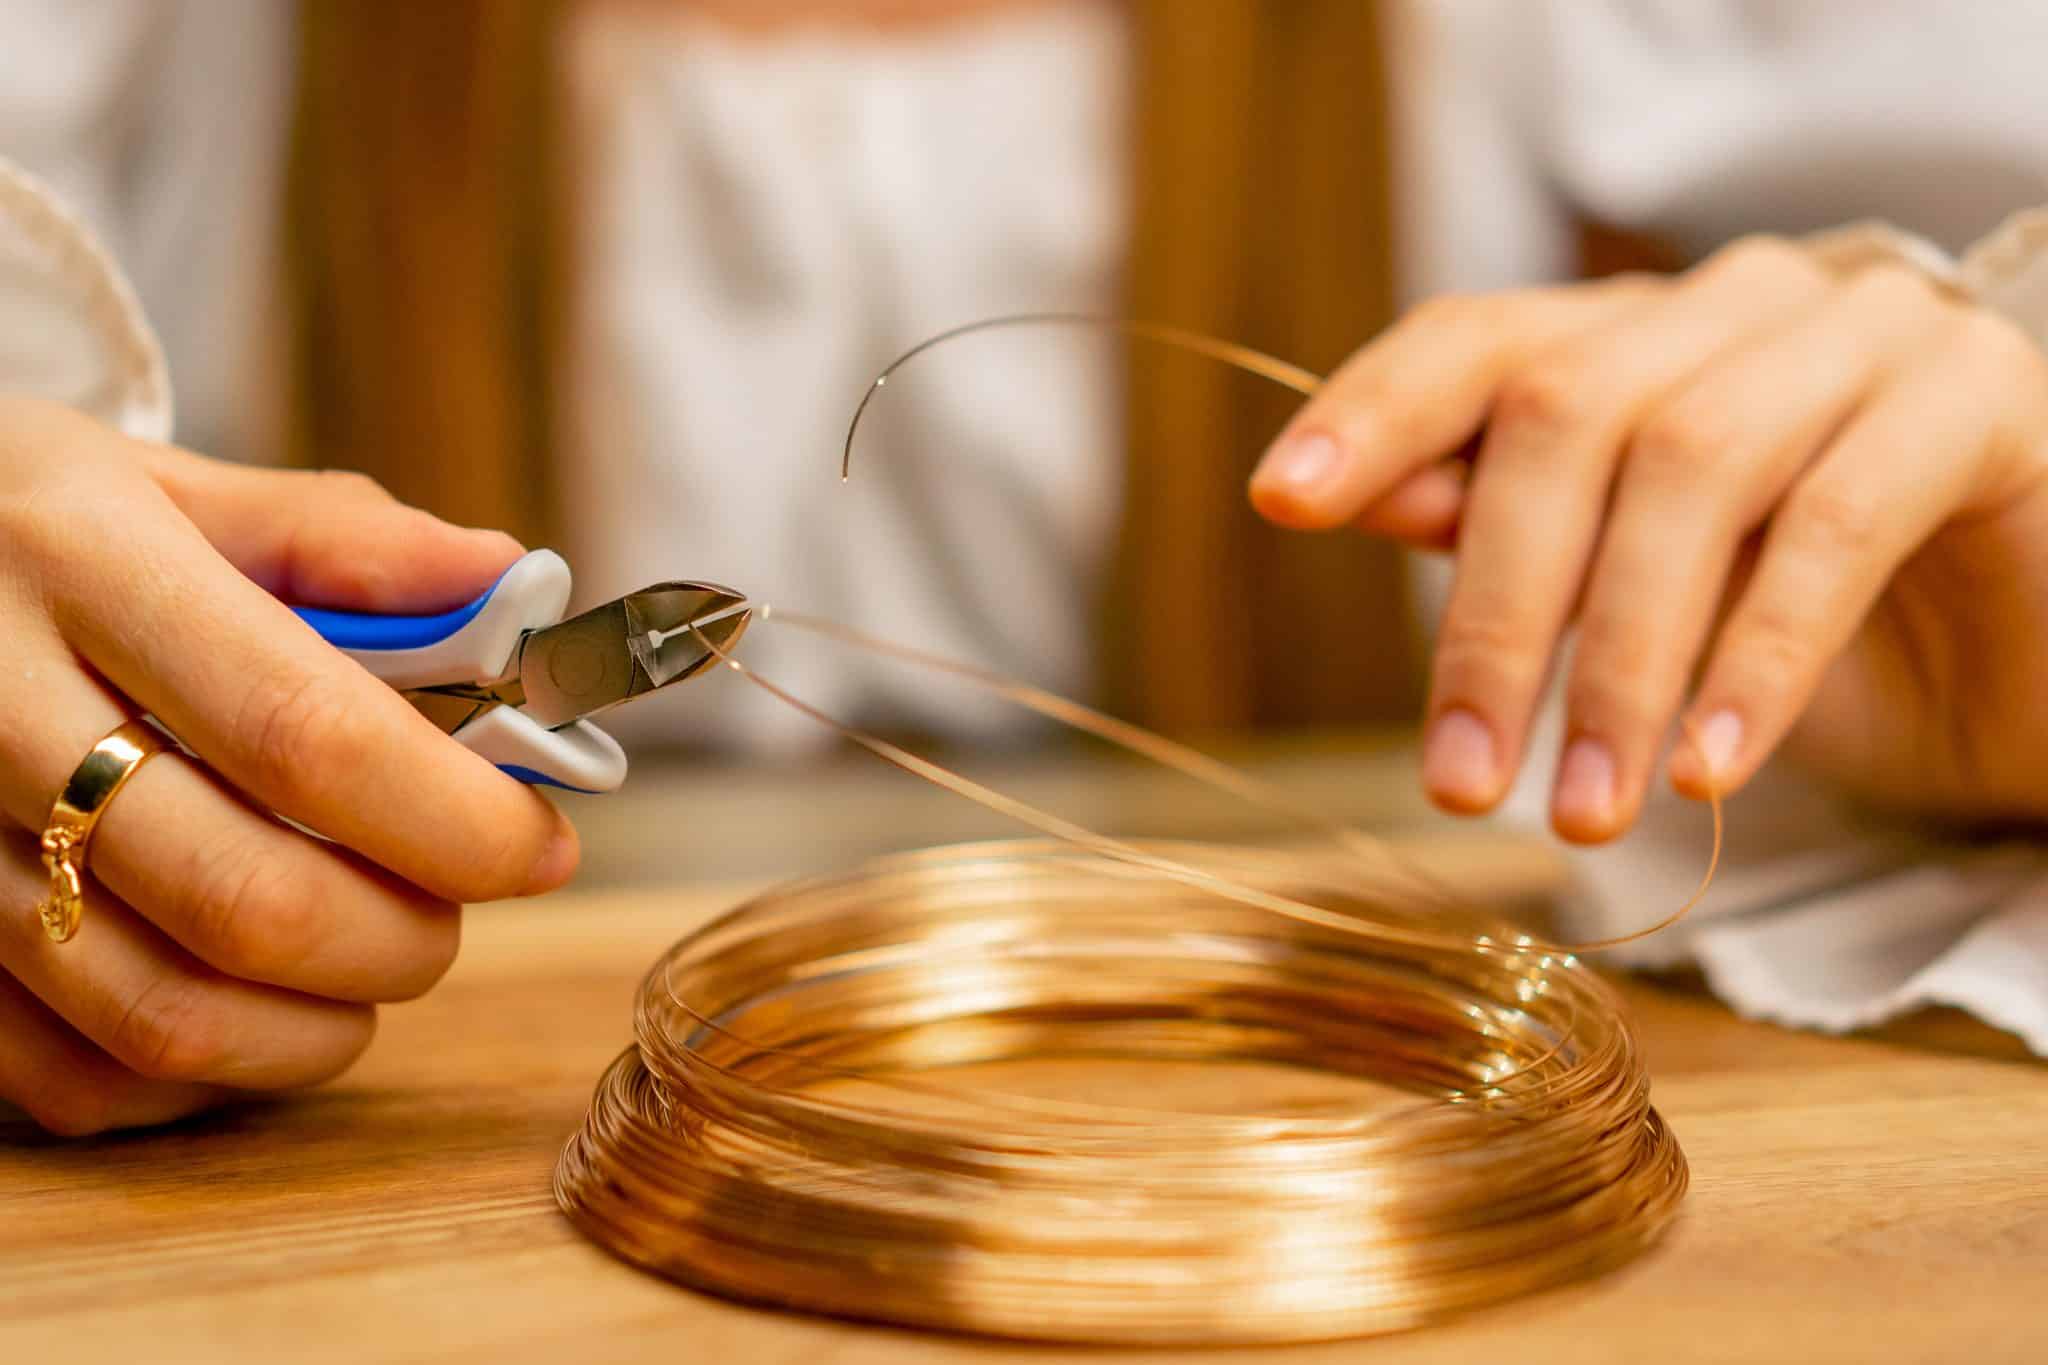
To start, assemble your materials. Gather various wires like aluminum and copper and essential tools like wire cutters and pliers. Choose a wire diameter that suits your design and structural requirements. Thinner wires are great for intricate details, while thicker ones offer more strength for larger pieces. This art project also requires safety glasses, gloves, and a stable work surface.
For sourcing materials, local craft stores or online retailers are great options. Maun parallel-pliers, for instance, are excellent crafting tools. These provide much better grip on wire than traditional pliers, making them ideal for wire work.
Each tool has a purpose: wire cutters for precise cuts, pliers for bending and shaping, and a good surface for safe work. Delving into the history of pliers, you’ll find they’ve evolved significantly, offering today’s DIY enthusiasts precise control and versatility. Technological advancements enable you to create wire wall art at home. All that’s left to do is come up with a design.
Gather Inspiration And Choose A Design
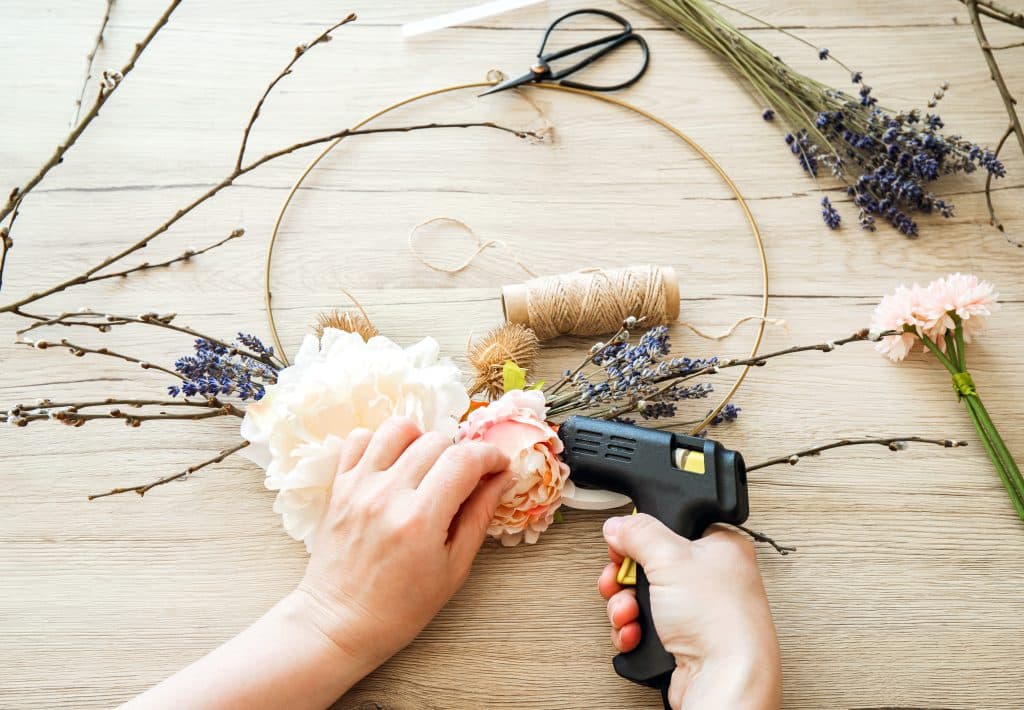
Explore widely for art inspiration; it’s everywhere to spark your wire wall art journey. Online platforms like Pinterest are rich with creative ideas, showcasing diverse styles and complexities. From abstract forms to realistic representations, abundant inspiration awaits to ignite your artistic flair.
Choose a design that resonates with you. With an idea in mind, consider your display area and pick a theme that complements your space and mirrors your individuality.
Creating Your Wire Wall Art
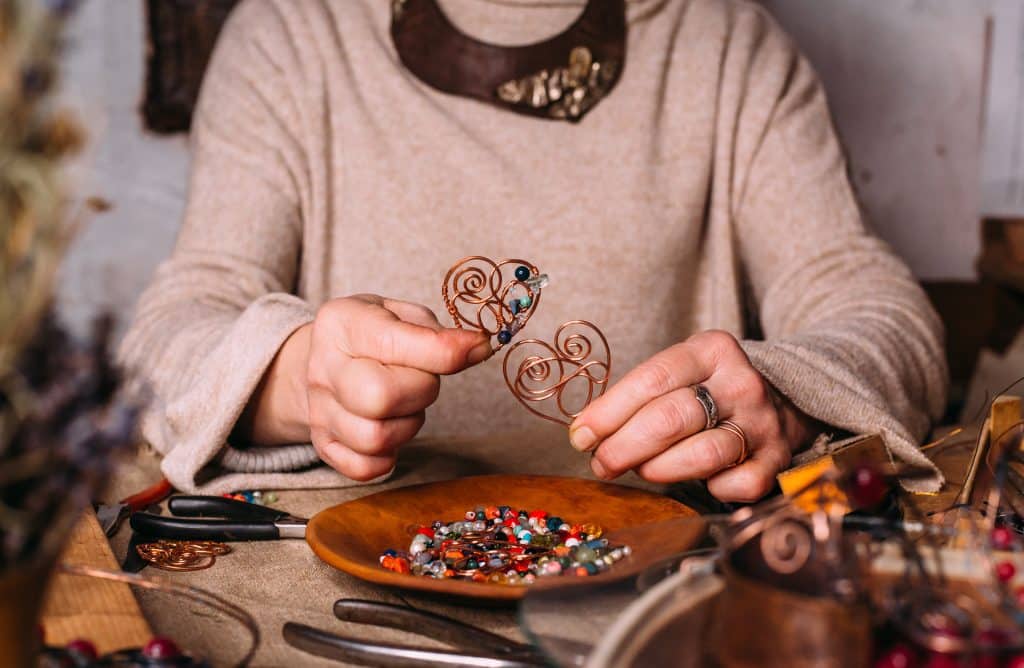 Once you have your tools, materials, and inspiration, you’re ready to begin creating wire wall art. Crafting is often more about creativity than strict guidelines. If you’re unsure where to start, here’s a helpful guide:
- Outline your design on paper. It’ll serve as a roadmap for your project. Keep your sketch nearby for easy reference as you progress.
- Start shaping the wire to match your outline. Use pliers for precision in bending. You can also tape the wire directly onto your design as you shape it, given that your sketch is the actual size of the artwork.
- As you progress, add details by layering wire and integrating different techniques.
Keep in mind your first try won’t always lead to perfection. Each piece of artwork is a step forward in building your creative skills.
Wire Bending Techniques
Knowing how to make wire wall art involves learning how to bend wire. It’s a fundamental step to creating beautiful wire artwork. Here are the basic techniques you should know:
- Coiling: Wrap the wire around a pencil or dowel to form spirals. Coils add texture and volume to your design.
- Twisting: Combine two pieces of wire by twisting them together. Multiple parts add strength and visual interest.
- Looping: Bend the wire back onto itself to create loops. This technique is excellent for intricate designs and adding detailed elements.
In wire bending, precision is critical. Take your time to ensure each bend and twist is intentional and contributes to the overall design. Keep your gloves and safety glasses on, especially when handling sharp wire ends or complex manipulations.
Tips For Customizing Wire Wall Art
Customizing your wire wall art is where you can truly shine. Personalizing your creation makes it stand out with a unique flair you can’t find in wire art stores or other homes. Consider incorporating these ideas into your project:
- Mix wire types and colors for a dynamic look. This adds depth and contrast to your artwork, encouraging visual stimulation.
- Embed beads or small stones into your design for color and texture. These small details can transform the overall appearance even when viewed from afar.
- Blend imagery and text. Form your wires into names or quotes and attach wire art of related images to them for more personality.
Feel free to experiment as you go along. Explore various art media, and keep an open mind to what you can add to your wire wall art.
Displaying And Maintaining Wire Wall Art
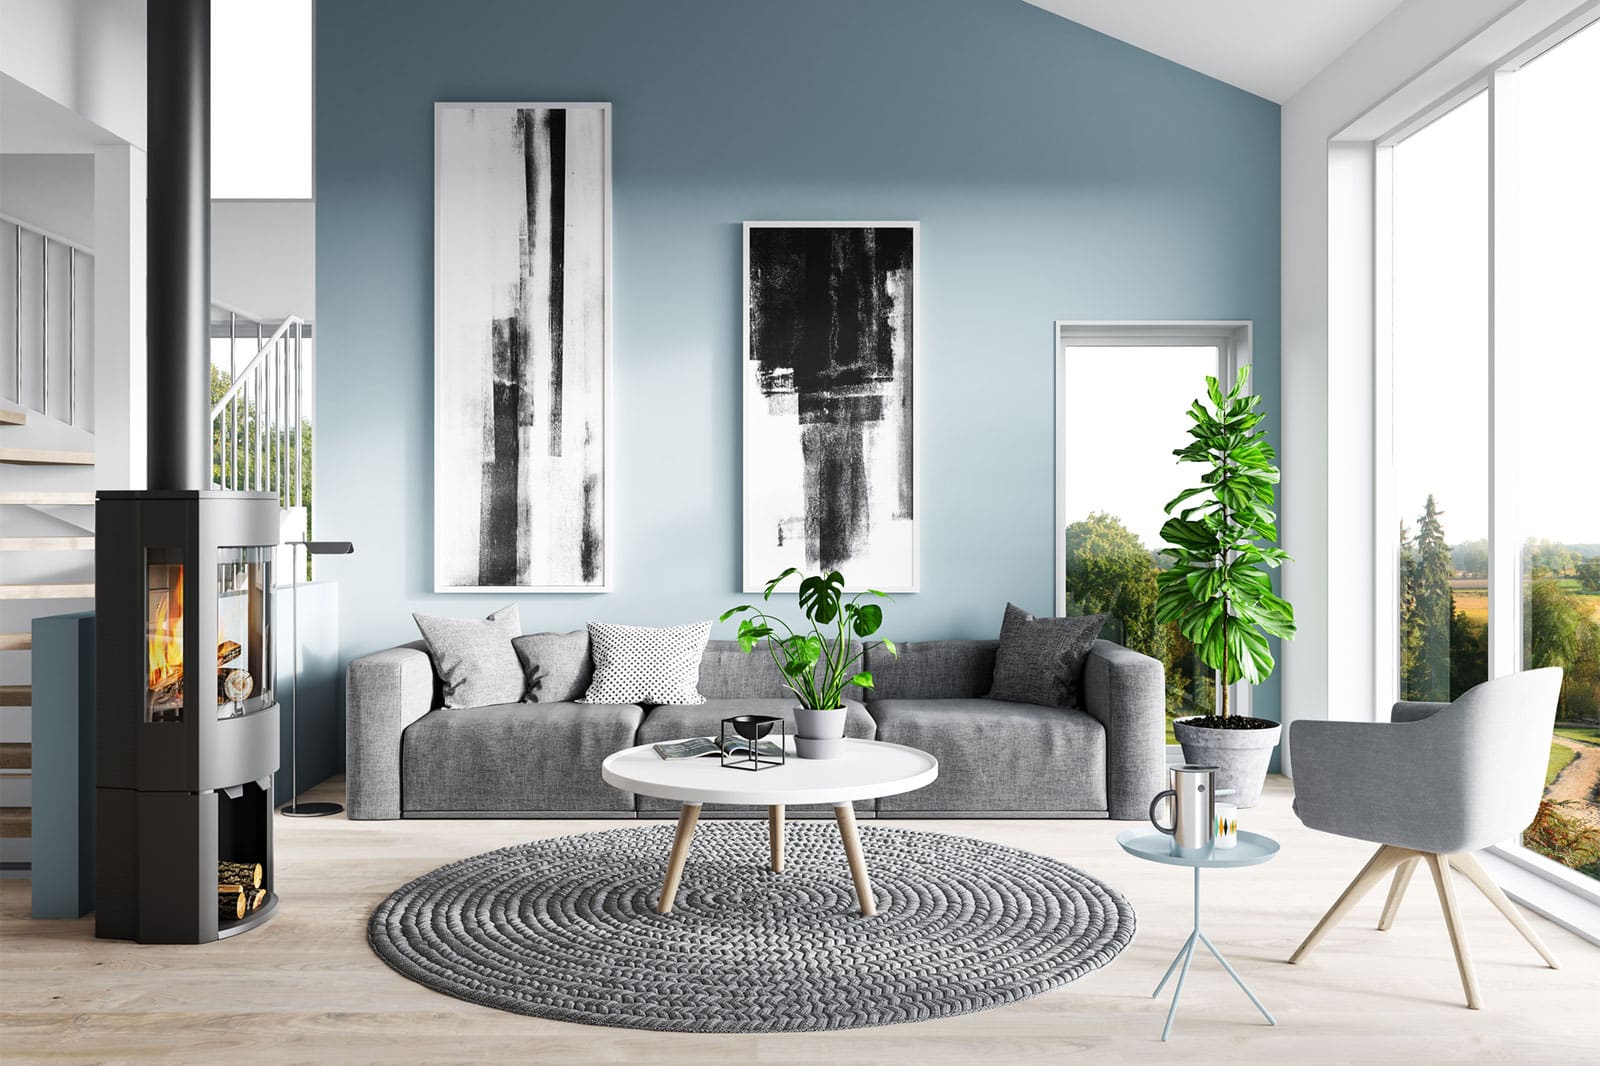
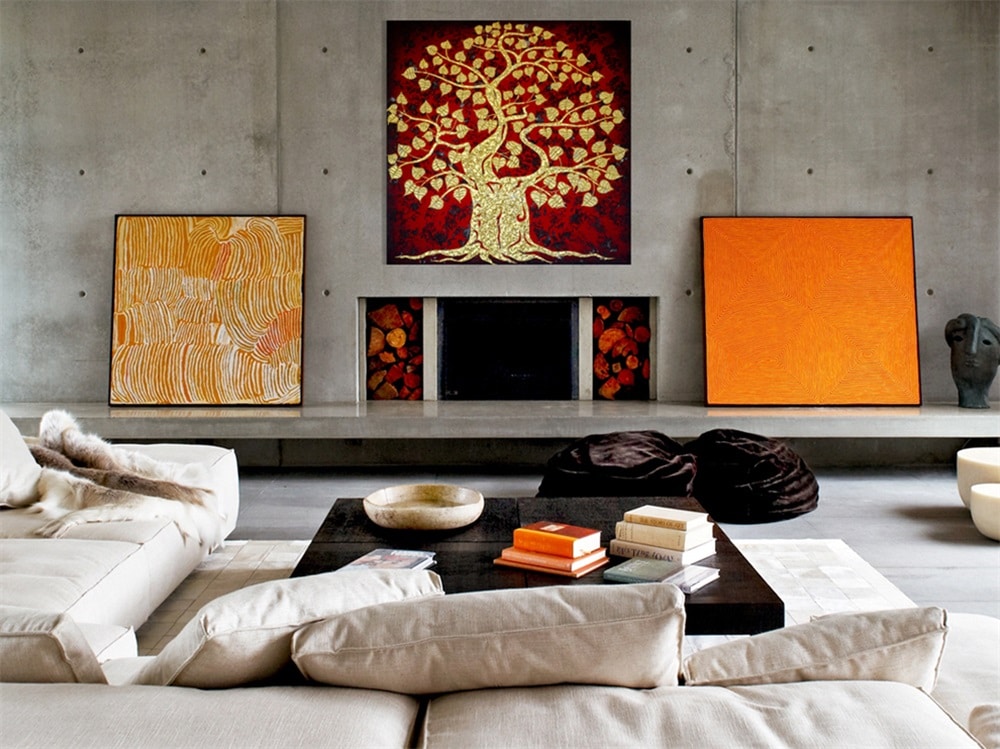
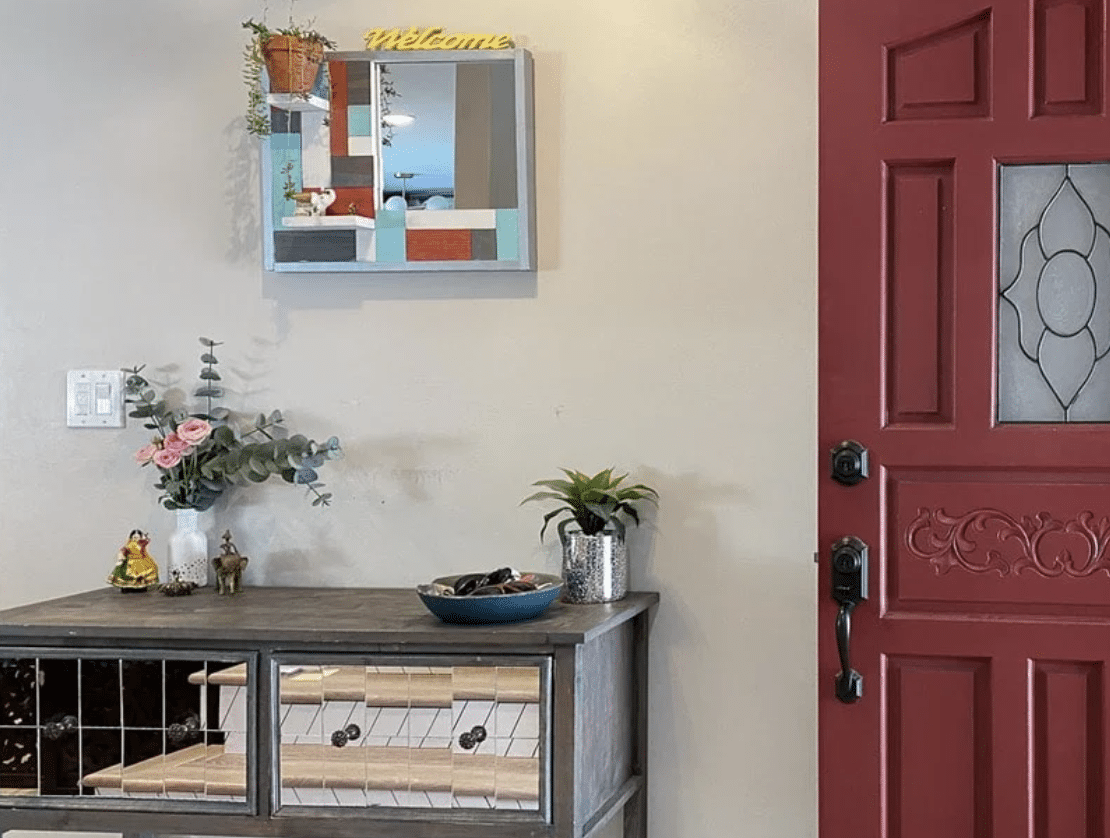
Displaying your art is about finding the right spot. It should be somewhere visible, where it complements your room’s decor. Lighting also impacts how your art is perceived, so place it where it can catch the light beautifully.
Regular light dusting usually suffices for maintenance. If your art uses copper wire, occasional polishing keeps it shiny and vibrant. Tighten any loose wires with pliers to keep your artwork in perfect shape.
Wrapping Up
Open yourself to changes and possibilities when learning how to make wire wall art. This DIY project is a chance to express yourself through every twist and bend and add a unique touch to your home.
Begin your creative journey today and consider sharing your masterpieces with the wire art community for inspiration and feedback. Your design might inspire others in their wire wall art adventures.

