How to Make Stunning Hammer Flower Art
Making flower art with hammers seems odd, right? I found this unique craft method and fell in love with how it brings out natural colors and shapes from flowers.
The catch is that many people try it but end up with mushy petals or faded prints.
I’ve spent months testing different flowers, papers, and hammering methods. Now, I can help you make clear, colorful prints that show every tiny detail of your flowers.
In this guide, I’ll show you:
- Which flowers work best
- The right tools you need
- Step-by-step hammering methods
- Tips to keep your prints bright and lasting
Hammered Flower Art & Its Significance
I first learned about hammered flower art as a nature enthusiast. It’s a simple way to turn real flowers into lasting prints. The process uses gentle taps of a hammer to transfer plant pigments onto paper.
- What makes this art form special is how it preserves the flower’s true colors. Unlike paintings or drawings, these prints show real plant details. I can see tiny veins, petal shapes, and natural color shades in my prints.
- The method comes from Japan, where artists used it to make plant study guides. Today, I use it to create cards, wall art, and even fabric designs.
The best part? Each print is one-of-a-kind. No two hammer prints look the same.
- As someone who often makes these prints, I find it’s a perfect mix of craft and science. The pressure breaks plant cells, releasing their natural colors. When stored properly, these prints stay bright for years.
- You don’t need special skills to start. I began with basic tools and simple flowers. Now, I make detailed prints that capture every part of the flower. It’s a fun way to save garden memories or make personal gifts.
How to Make Hammered Flower Art
Tools & Materials Required
- Cotton muslin fabric
- Fresh flowers and leaves
- Masking tape
- Parchment paper
- Hammer
- Iron
- Poster hanger
- Chalk paint
- Fabric webbing
- Scissors
Step-by-Step Process to Make Hammer Flower Art
1. Prepare Your Base
- Lay out your cotton muslin fabric
- Make sure the fabric is clean and wrinkle-free
2. Design Your Layout
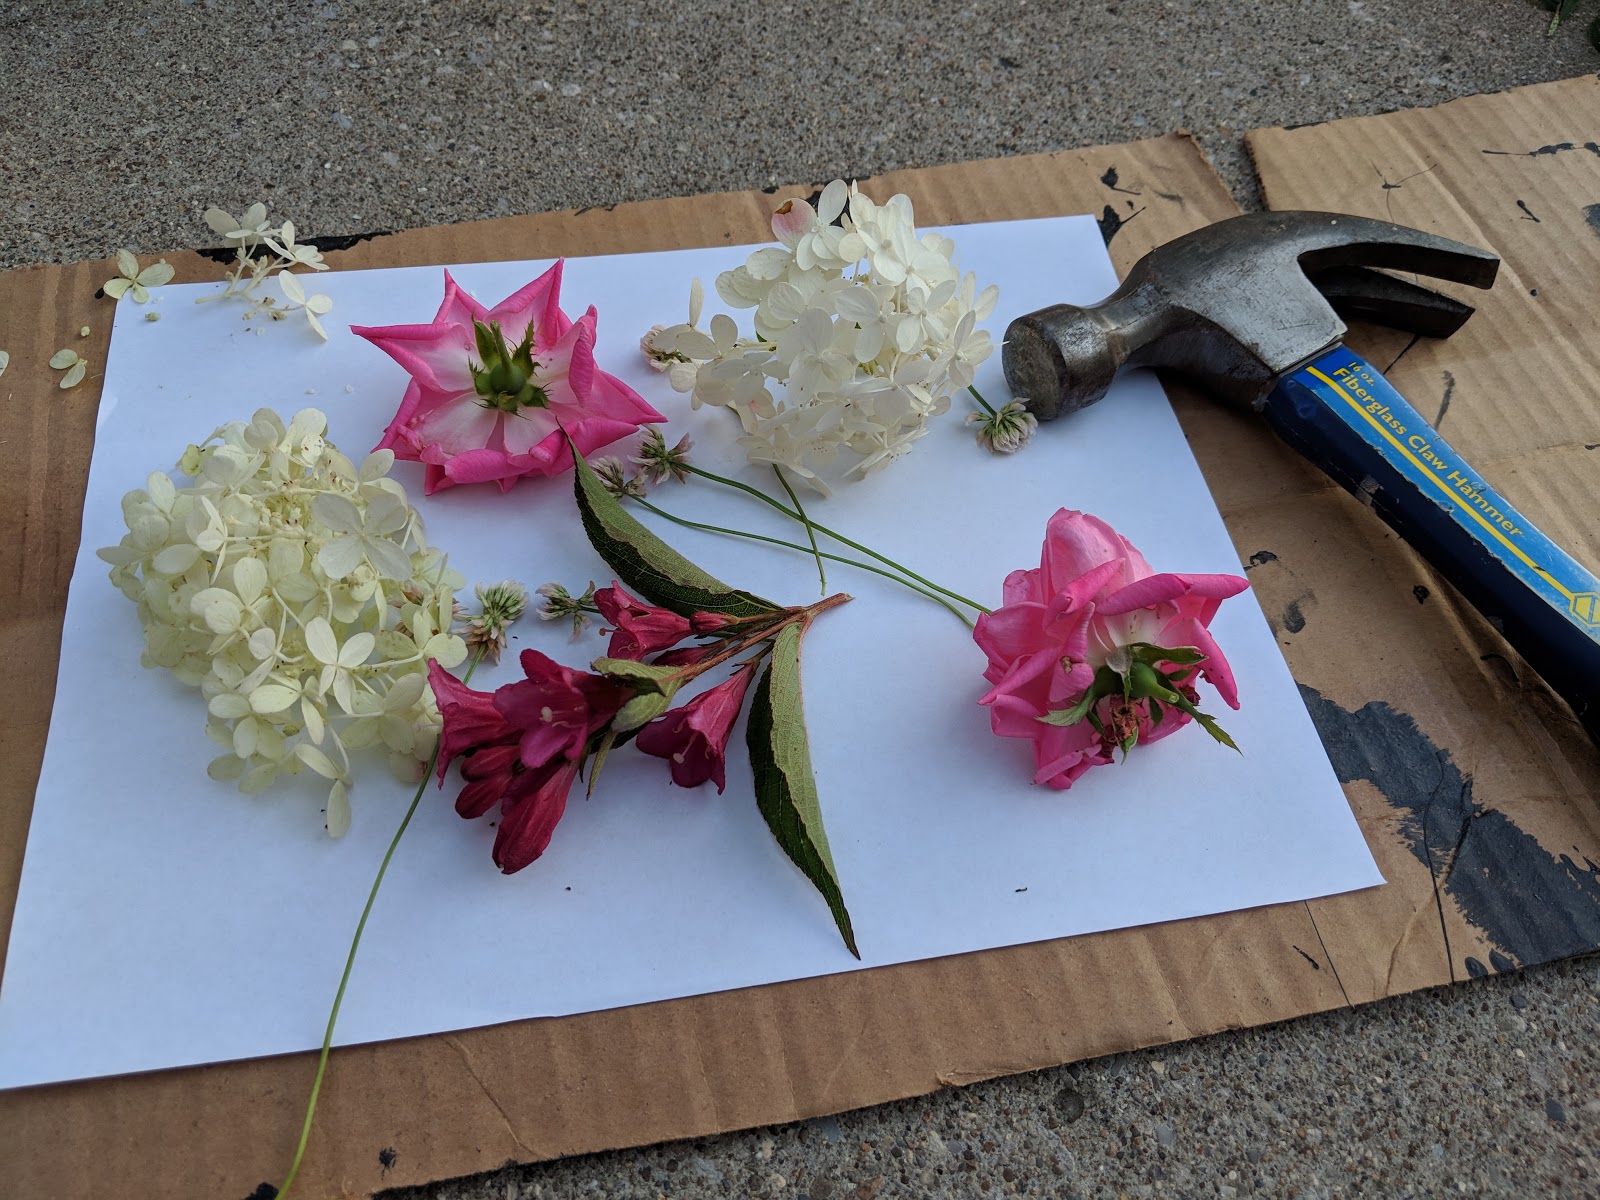
- Place flowers on the fabric
- Mix full blooms, loose petals, and leaves
- Focus on color placement rather than shape
- Think about how colors will blend
3. Secure Everything
- Use tape to hold flowers in place
- Make sure each petal is firmly taped
- Cover the entire design with parchment paper
4. Hammering Process
- Start hammering on a solid surface (concrete works well)
- Use firm, steady hits
- Keep hammering until the flowers look completely flat
- You’ll see the colors transfer to the fabric
5. Clean Up
- Remove all tape carefully
- Take off the crushed flower pieces
- Clean any residue from the fabric
6. Finishing Touches
- Paint your poster hanger with chalk paint
- Measure and trim fabric to fit the hanger
- Iron the edges with fabric webbing
- Attach the fabric to the hanger
Approximate Cost Required for Making Hammer Flower Art
| Category | Item | Cost |
|---|---|---|
| Basic Supplies | Cotton muslin fabric | $5-8 per yard |
| Hammer | Already in most homes, or $8-10 new | |
| Parchment paper | $3-4 per roll | |
| Masking tape | $2-3 | |
| Scissors | $4-5 | |
| Display Materials | Poster hanger | $8-12 |
| Chalk paint | $6-8 | |
| Fabric webbing | $4-5 | |
| Optional Items | Iron | $15-20 (if you don’t own one) |
| Extra fabric for practice | $5-8 | |
| Flowers and Leaves | Garden flowers | Free (if home-grown) |
| Store-bought flowers | $5-15 per bunch | |
| Total Cost Breakdown | Minimum startup cost | $30-35 (using items you might already have) |
| Complete kit cost | $45-65 (buying everything new) |
Money-Saving Tips
- Borrow tools like hammers and irons
- Pick flowers from your garden
- Buy fabric during sales
- Start small with basic supplies
- Use one poster hanger for multiple prints
How to Preserve & Enhance Your Art
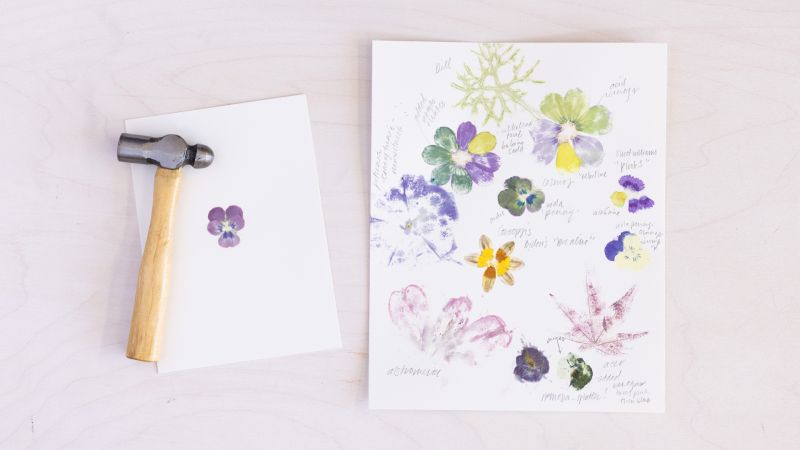
Storage Tips
- Keep your art away from direct sunlight
- Store prints in a cool, dry place
- Never fold the fabric – always roll it
- Use acid-free tubes for long-term storage
- Place tissue paper between stored prints
Display Methods
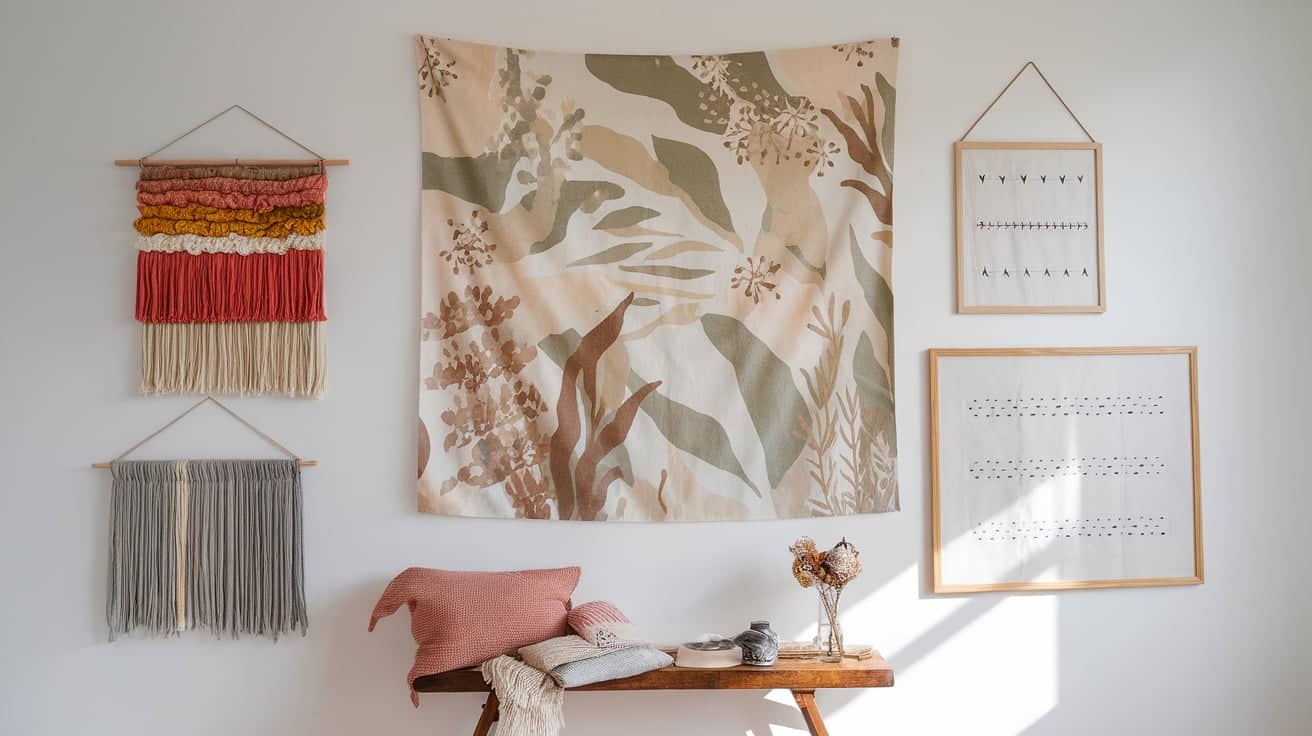
- Hang prints away from windows
- Use the poster hanger method I mentioned earlier
- Change display spots every few months
- Keep prints out of humid areas like bathrooms
- Add a small moisture absorber near stored art
Color Protection
- Press a clean cloth over new prints
- Let prints dry fully before hanging
- Don’t wash the printed fabric
- Handle prints with clean, dry hands
- Keep prints dust-free with light brushing
Frame Options
- Float frame between glass
- Use UV-protective glass or acrylic
- Leave space between print and glass
- Secure edges without tape or glue
- Choose frames with proper backing
Maintenance Tips
- Check prints monthly for color changes
- Dust with a soft, clean brush
- Fix loose edges right away
- Keep prints flat when not hanging
- Store extra prints in dark places
Quick Fixes
- Fix loose threads with fabric glue
- Clean smudges with a dry cloth
- Reshape warped hangers
- Remove dust with an air blower
- Fix minor tears with matching thread
Top Advanced Techniques & Creative Ideas You Can Try
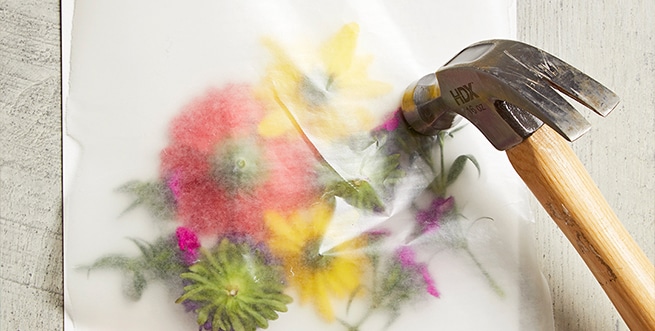
1. Layer Effects
- Put small flowers under large ones
- Mix light and dark petals
- Try leaves as background patterns
- Blend multiple flower types
- Create depth with petal layers
2. Color Mixing Ideas
- Place purple next to yellow flowers
- Mix pink and white for soft effects
- Use green leaves between bright blooms
- Try red and blue flower combos
- Make color gradients with similar shades
3. Pattern Techniques
- Create circular flower mandalas
- Make border patterns
- Try stripe designs with petals
- Form letter shapes with flowers
- Build geometric patterns
4. Seasonal Projects
- Spring: Make cherry blossom prints
- Summer: Use bright garden flowers
- Fall: Try changing maple leaves
- Winter: Work with dried flowers
- Mix seasons for unique looks
5. Size Variations
- Make tiny prints for cards
- Create large wall pieces
- Try medium sizes for gifts
- Make sets of different sizes
- Mix small and large flowers
6. Special Effects
- Add pressed ferns for texture
- Try double hammering for depth
- Make mirror image prints
- Create shadow effects
- Mix flowers with herbs
7. New Surface Ideas
- Print on silk scarves
- Try cotton napkins
- Make table runners
- Design pillow covers
- Create flower bookmarks
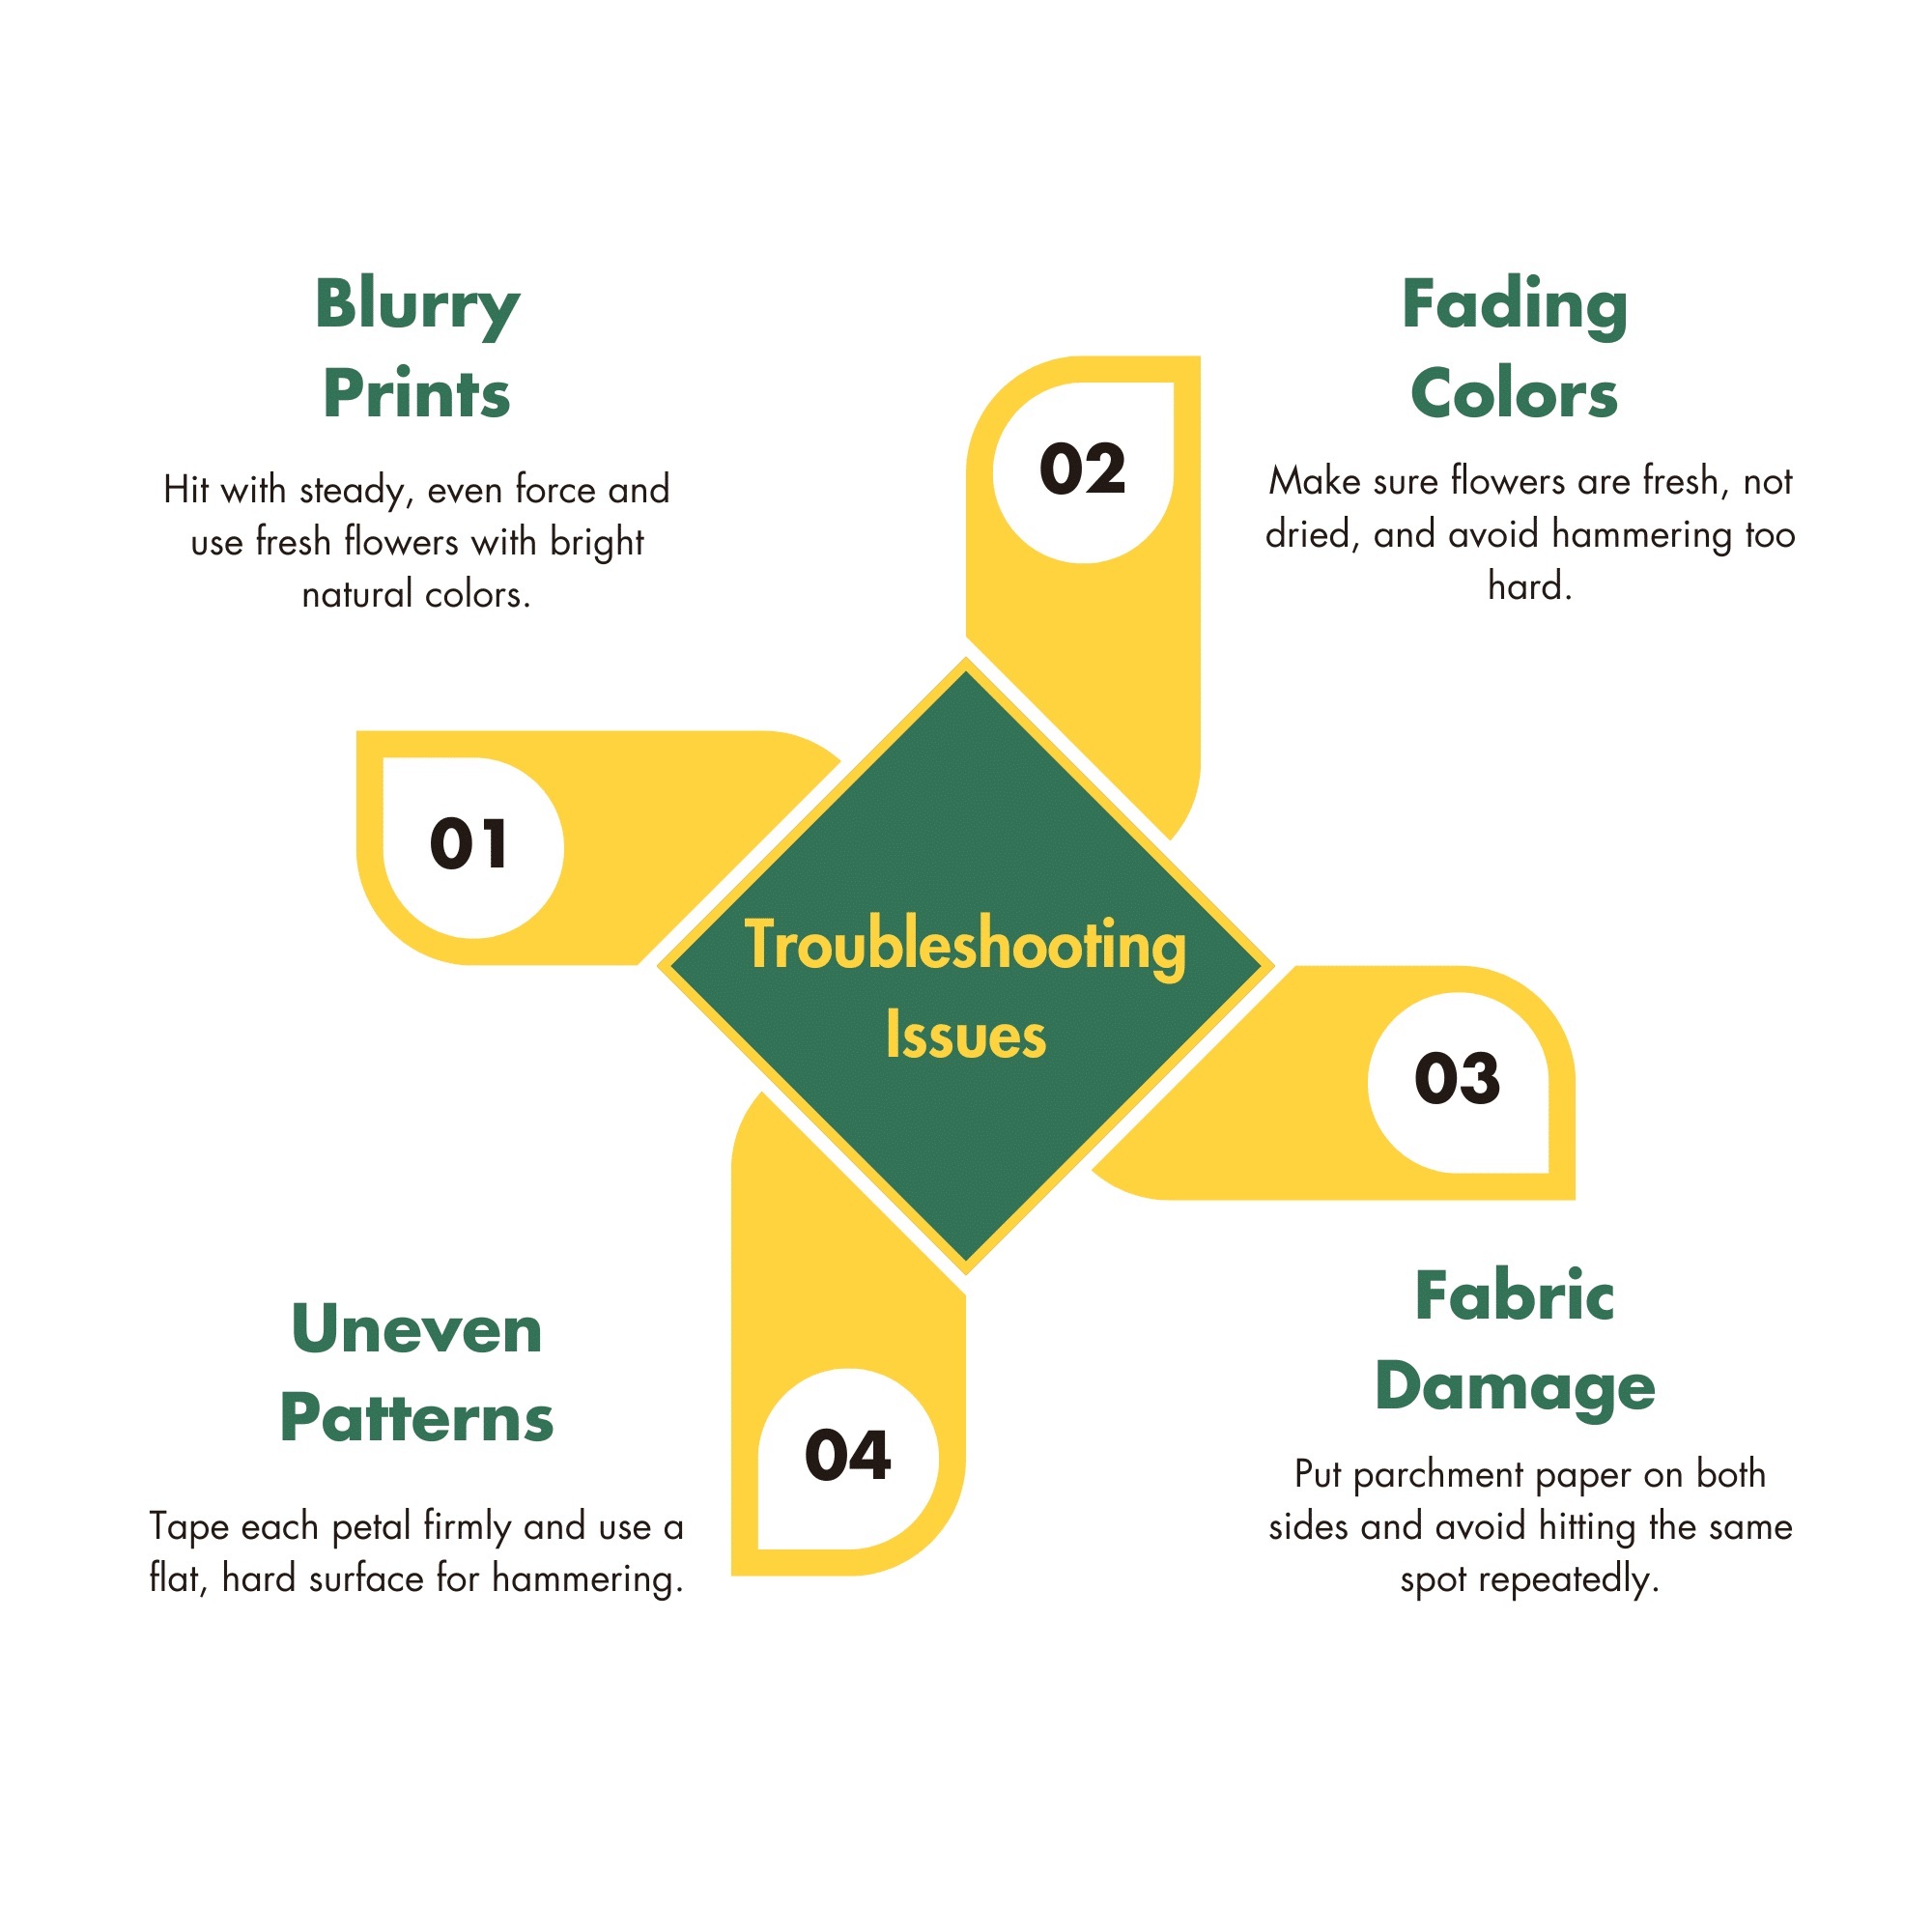
Top Online Resources for Further Learning
1. https://www.youtube.com/watch?v=I4_Gi9cfPws – If you are a beginner, check this out for a basic overview of beautiful hammer flower art!
2. https://youtu.be/GVJZADFocbE – For more clarity, you can check out this amazing tutorial!
Conclusion
Making flower art with hammers is easier than you might think. I’ve shown you everything from basic steps to advanced tricks. These prints can turn into beautiful wall art, cards, or gifts that last for years.
I started this craft with simple daisies and now create detailed pieces I’m happy to display. You can, too! The tools are simple, and the process is straightforward.
Ready to start? Pick up some cotton muslin and fresh flowers from your garden. If you make your first hammer flower art, I’d love to see it!
Share your creation in the comments below, or sign up for my newsletter for more crafting tips and seasonal flower suggestions.
Frequently Asked Questions
How Do I Preserve the Artwork so It Doesn’t Fade?
Keep your prints out of direct sunlight and store them in a cool, dry place. I use acid-free storage tubes and put tissue paper between prints. Regular checks help spot any early signs of fading.
Which Flowers Work Best for Vivid Colors?
I find that pansies, violets, and marigolds give bright prints. Fresh flowers with natural dyes work better than pale ones. Pick flowers in the morning when they’re full of moisture and color.
Can I Do This on Fabric as Well as Paper?
Yes! Cotton muslin works great for this. I’ve tried it on cotton napkins and scarves, too. Just make sure your fabric is light-colored and natural – synthetic materials won’t hold the plant dyes well.

